
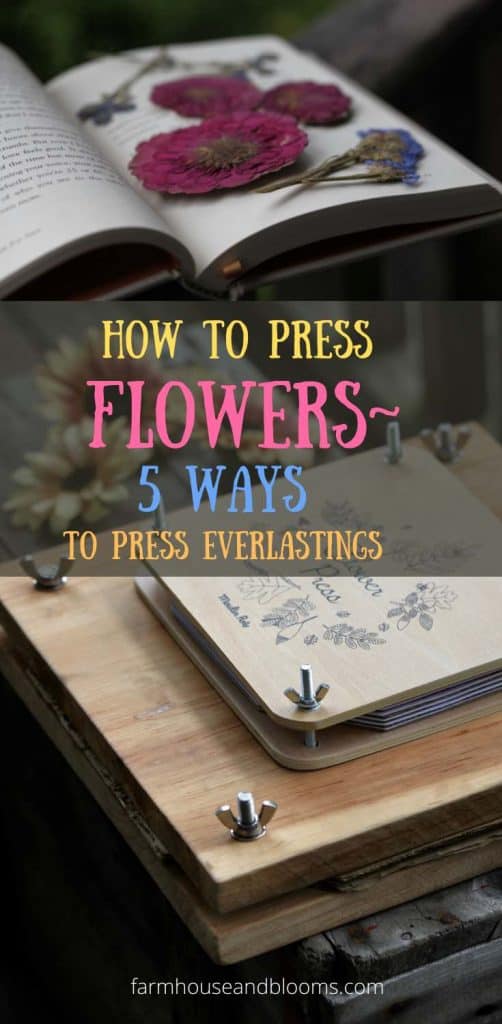
Pressing flowers is an ageless and creative form of floral art. All you need are some fresh flowers or leaves, and something to press them with. Learn how to press flowers and experience this wonderful form of dried flowers in their pressed state.

Many years ago I pressed my prom corsage between the pages of a book in my parent's small library. These small yellow roses and buds, tied with a satin ribbon, were just too beautiful to waste and toss away.
I checked on them frequently as they started to transform, checking the drying process every couple of days, keeping an eye out for anything that might go awry.
On some level I was a bit worried that they might damage the book, but was also amazed at what was happening to the flowers themselves in such a short period of time.
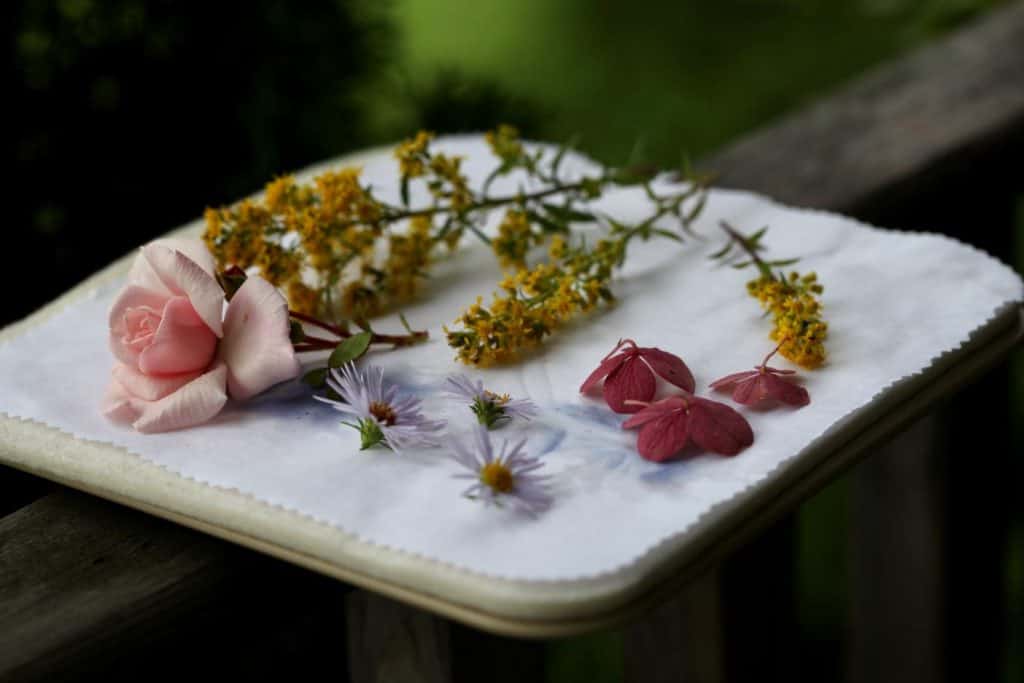
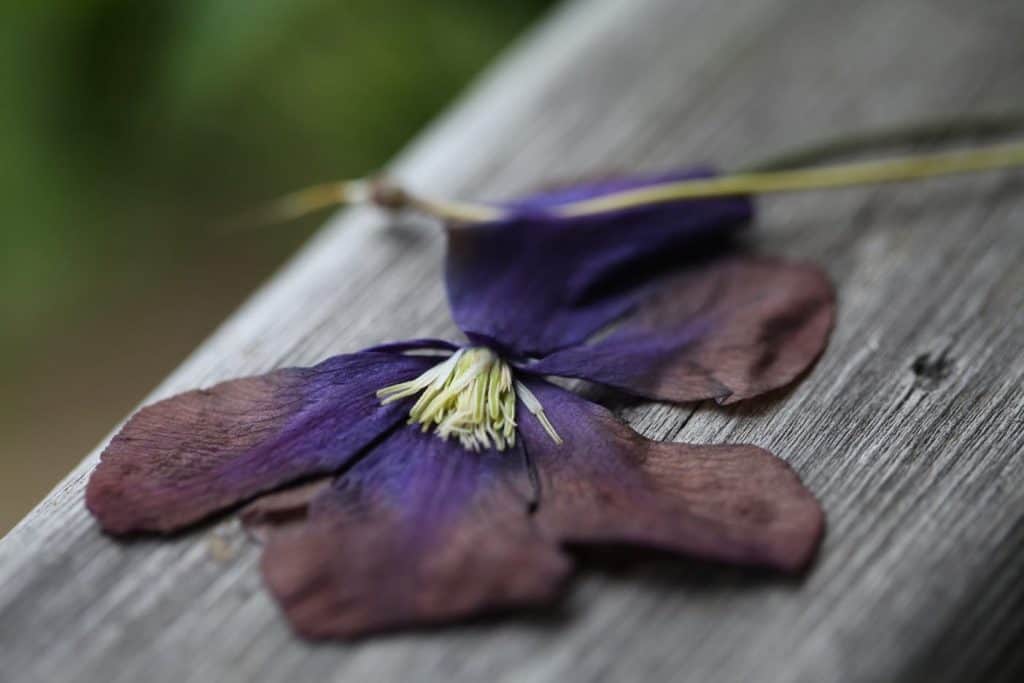
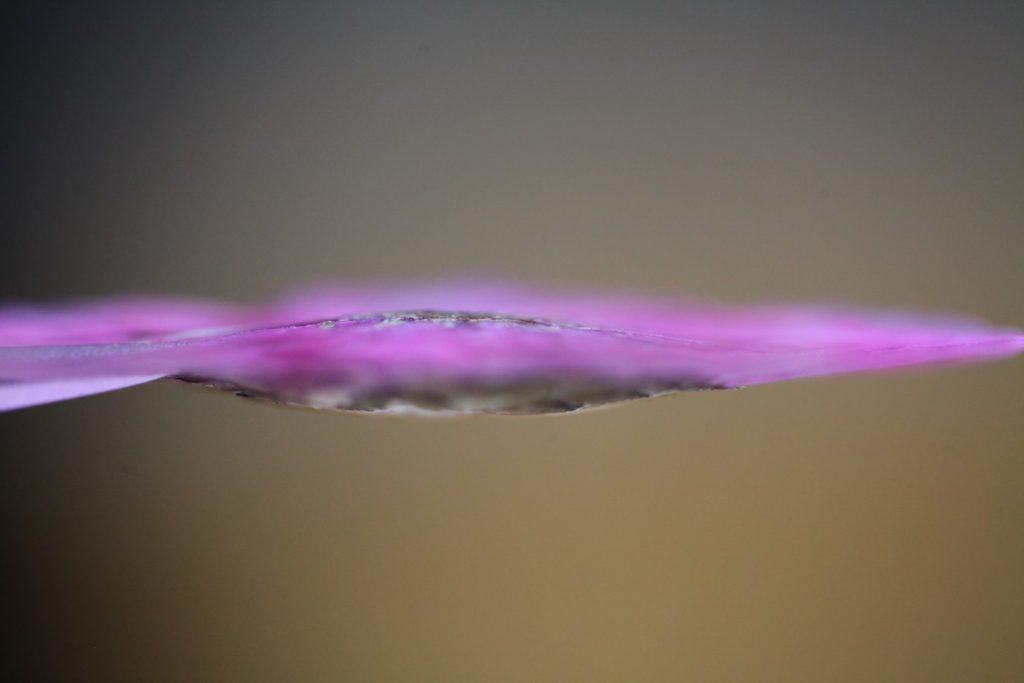
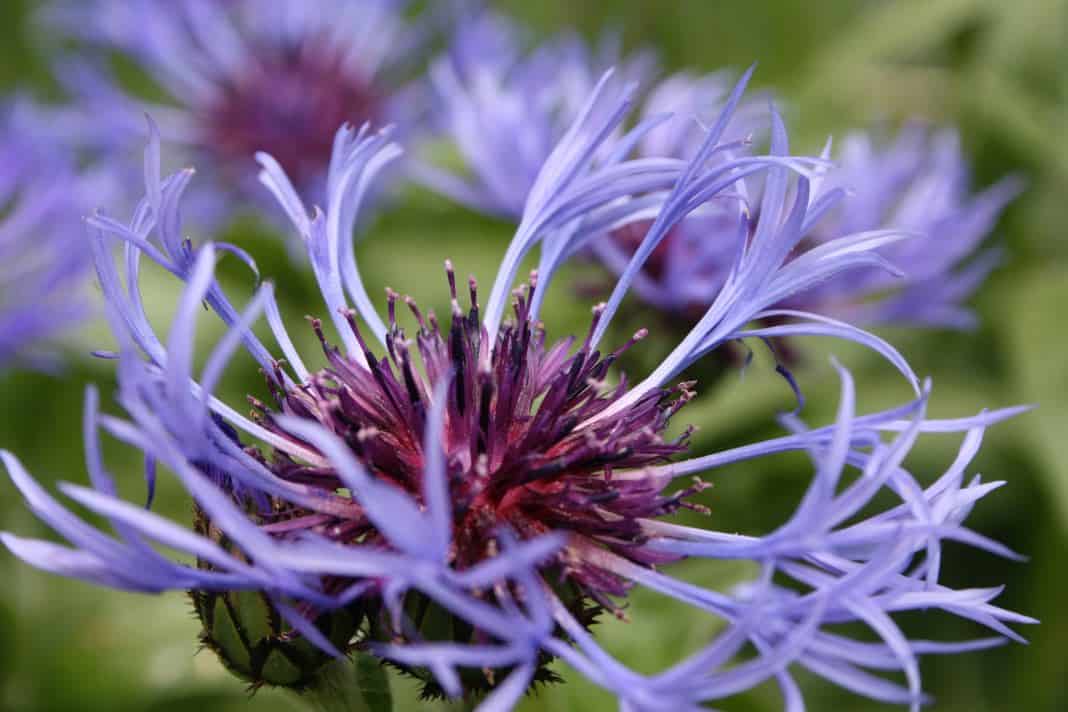
It's hard to describe the beauty of pressed flowers, as they are so unique and individual in their presentation. As petals and leaves are folded and pressed, each bending of a blossom or wrinkling of a bloom is captured, and highlighted in the pressed state.
In my case, the end result of pressing the flower corsage was absolutely perfect. The flowers pressed flat and dried, and preserved in a gorgeous state.
My parent's book had a few little marks, but not too bad I thought, and it certainly could have been worse. I made a mental note to myself to make sure to use an unimportant book the next time, just in case.
I was able to enjoy these wonderful flowers long beyond their fresh state. This was just the beginning of my journey into pressing flowers throughout the years.
What are Pressed Flowers?
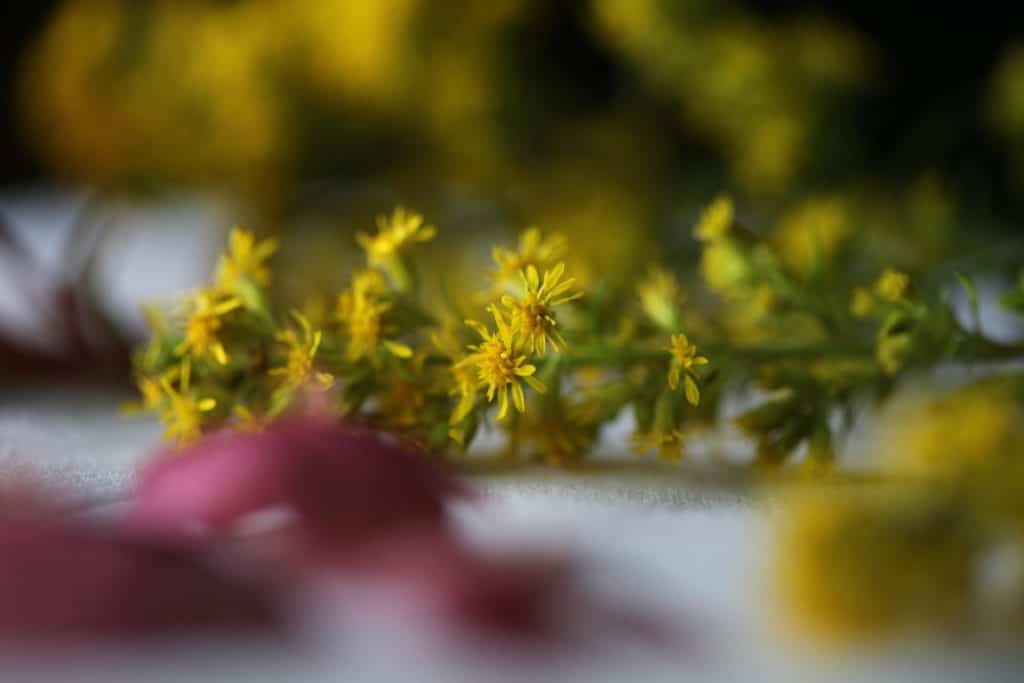
Pressed flowers are dried flowers that are preserved by the process of being pressed flat. The preservation of the flowers and leaves occurs as they are pressed, and the moisture in the cells of the blooms and foliage is removed.
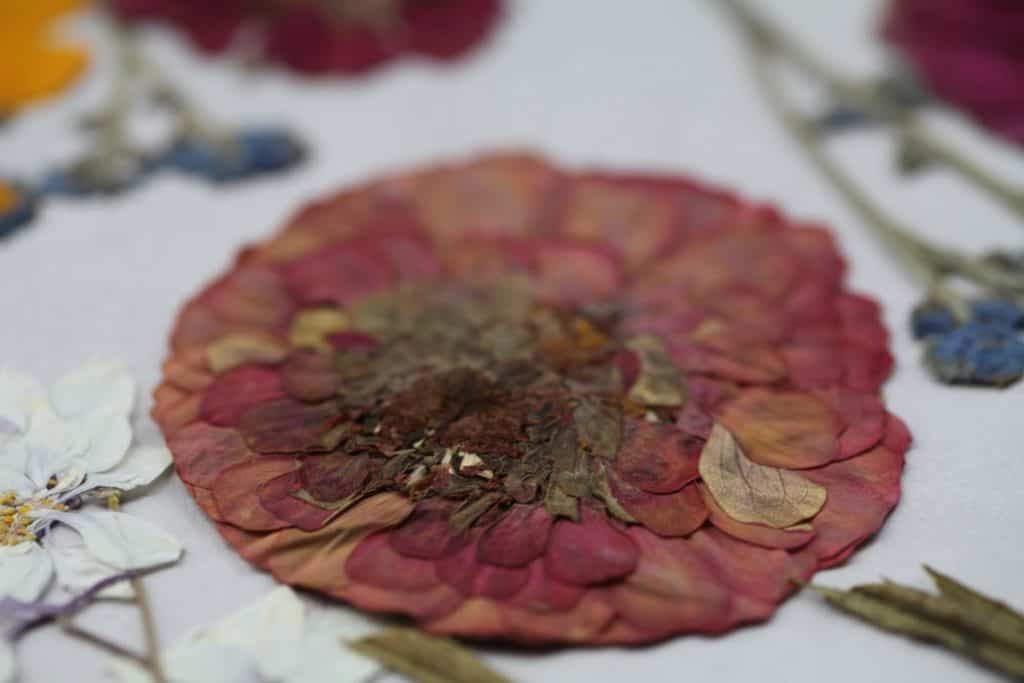
Dried flowers have a beauty that is magnified in their dried state. They offer a different version of their fresh self, and are beautiful in their very own way.
I have always been intrigued by blooms in their pressed state. To me they are ethereal, beautiful, and well, almost magical.
Pressed and dried flowers allow us to enjoy the beauty of the blooms long after the growing season is done. They offer continued beauty when the winter season is once again upon us, and remind us of the promise of seasons yet to come.
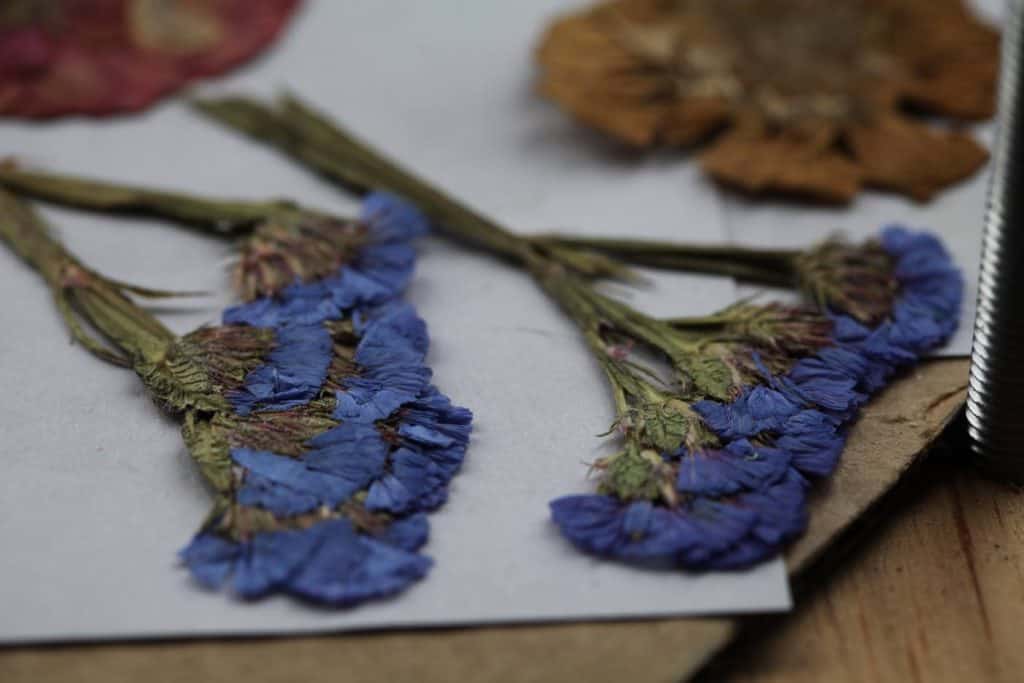
Pressed flowers and other forms of dried flowers are sometimes referred to as everlastings.
Most often, the flowers referred to as everlastings will have been preserved so that they retain some of their beauty from their fresh state, whether through their colour or their form.
What Are The Best Flowers For Pressing?
Not all flowers are equal in their ability to shine and be preserved by the pressing process.
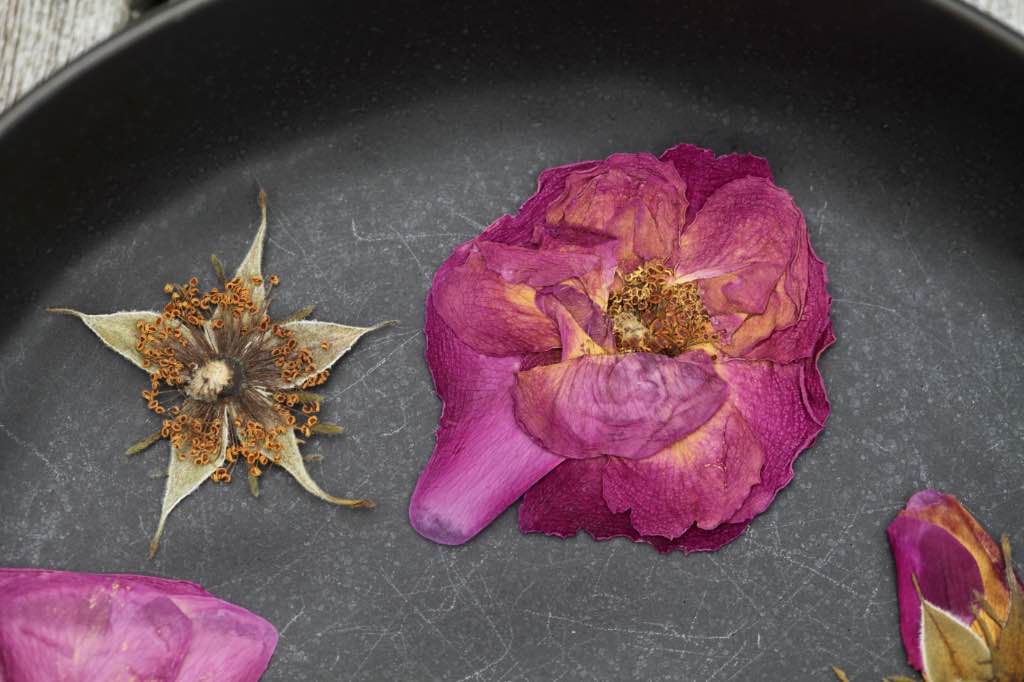
The best flowers for pressing are those that have a lower water content in their petals and foliage.
Higher water content can lead to moulding and discolouration. These flowers can also turn brown in their pressed state.
Most blooms however can be pressed, although sometimes not always in their full form, especially with the larger flowers with high water content.
Examples of higher water content flowers include:
- Dahlias
- Snapdragons
- Chrysanthemums
- Lisianthus
- Lilacs
Flowers with lower water content can be dried more quickly and be preserved more efficiently. Flowers with little moisture content in their fresh form are the best flowers for pressing.
Examples of lower water content flowers and foliage include:
- ferns
- eucalyptus
- Baby's breath
- Daisies
- Nigella
You can always experiment, especially if there are some blooms that you really want to try pressing. Just know the risks, and that you will have some wonderful successes and some other interesting outcomes.
How To Press Flowers
There are a number of different ways or techniques that you can use to press flowers, and we will review five different methods.
Several of the methods will involve heat during the pressing process. Other methods are slower, and involve simply pressing using pressure, and wicking the moisture from the flowers using an absorbent paper.
Remember that the process of pressing flowers preserves them in their freshest state by removing moisture from the blooms, while simultaneously pressing them flat and wicking the moisture away while they dry.
Choose the best blooms and foliage for pressing, as the imperfections will be magnified in the final product.
Press the freshest, healthiest flowers for best results.
Pressing is an art. Think about how you want to display your blooms in their final pressed state, even before you lay them out to press.
For example, do you want:
- parts of the stem attached
- what about some of the foliage
- blooms alone
- or individual petals.
Remove all pieces from the blooms that you do not want pressed, such as stems and leaves. However leave them in place if this is the look that you are going for.
Types Of Paper To Use For Pressing
If using a technique which requires paper for wicking the moisture from the flowers, consider the type of paper you will use. They are not all equal in their effectiveness.
Some of the best paper for pressing flowers includes construction paper, craft paper and unprinted newsprint. You can even use printer paper.
You can also use old phone books or catalogues. Line the pages with other paper next to the flowers if you find that the print is getting onto the pressed flowers.
Types of paper to avoid include anything with a glossy or waxed surface, as these papers will not readily absorb moisture. This can contribute to the development of mould in your pressed flowers.
Examples of these types of paper include parchment paper, waxed paper, and glossy newsprint or magazine pages.
Best Time To Harvest Flowers For Pressing
Press your blooms as soon as possible after harvesting for best results.
The best time to harvest flowers for pressing is when they are dry. This will help prevent moulding.
Consider the time of day to harvest your flowers.
- In early morning or late evening flowers tend to be covered with dew. The best time to harvest is at a time when the dew has evaporated, and the flowers are fresh and dry.
If you do happen to harvest while wet, set the flowers aside in a container of water until they dry out.
The other issue to consider for harvesting your flowers and foliage is the stage of development.
Flowers in bud stage or foliage unfurling (such as ferns in spring ) can be denser, have more moisture, and may require extra time for pressing and drying.
As well, flowers past their prime or spent and developing seeds, will likely not preserve as well in the pressing process. Choose flowers at their peak for best results.
Pressing Flowers Without Heat
There are a number of different ways to press flowers without using any heat application.
These methods are probably the easiest ways to press flowers, and are tried and true techniques that get you great pressed results.
We will discuss three methods of pressing flowers without using heat.
1. An Old Fashioned Technique- Press Flowers With A Book
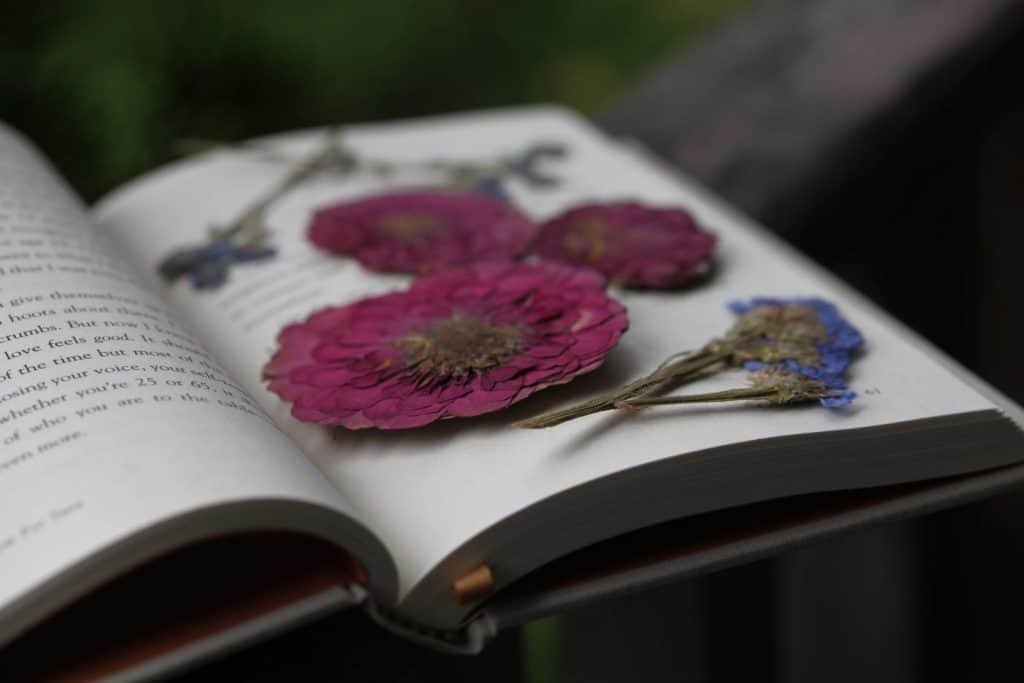
The first and probably most popular way of pressing flowers is that old fashioned technique that I spoke about during the beginning of this post. It may even be one that you have already tried.
Pressing flowers with a book is a romantic technique practiced for generations.
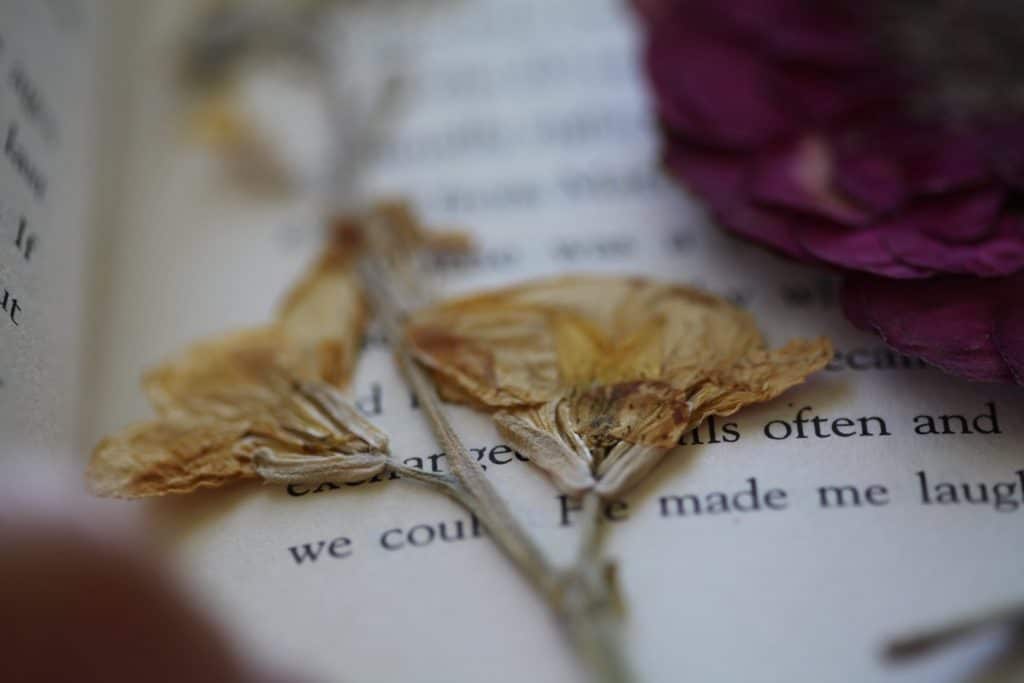
However one important thing to know about pressing flowers in a book is that it can also make a bit of a mess on the book pages.
The moisture and dyes in the flowers can seep out during the drying process, staining the pages. Keep this in mind if you are using a favourite or valuable book to press your flowers in.
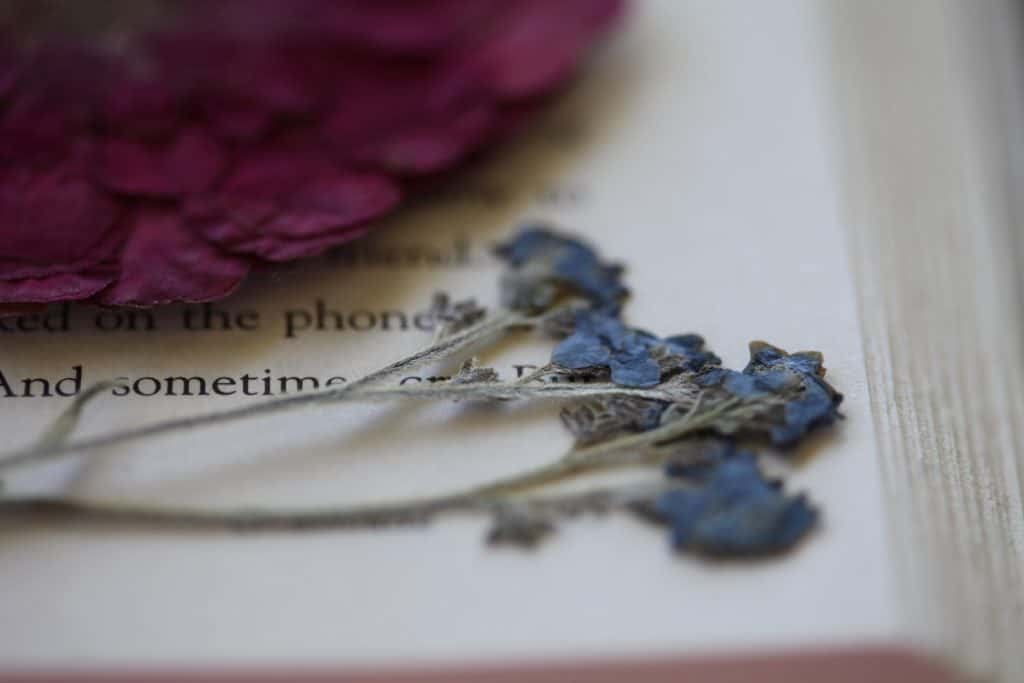
You can place the flowers directly between the pages off a book, or use a folded piece of paper into which to tuck the flowers, which is then placed between the pages of the book.
Using books that are disposable, such as old telephone books or catalogues without glossy pages are great books for pressing. These books are larger and you can press lots of flowers at once within the pages.
Here is the technique for pressing flowers with a book
- Simply position your flowers, petals or foliage on the page of a book, then close.
- You can place absorbent paper on either side of the flowers if you so choose, and this may prevent discolouration of the pages of the book.
- After the book is closed, store it on the bookshelf with the pressure of other books surrounding it.
- Alternatively, you can just put it at the bottom of a heavy stack of books.
- Within two weeks to a month the flowers will be pressed and dried, and ready for storage.
2. Press Flowers With A Flower Press- Purchased Or DIY
Flower presses are much more practical for pressing flowers, as they allow you to directly apply pressure to your flowers with the flower press setup.
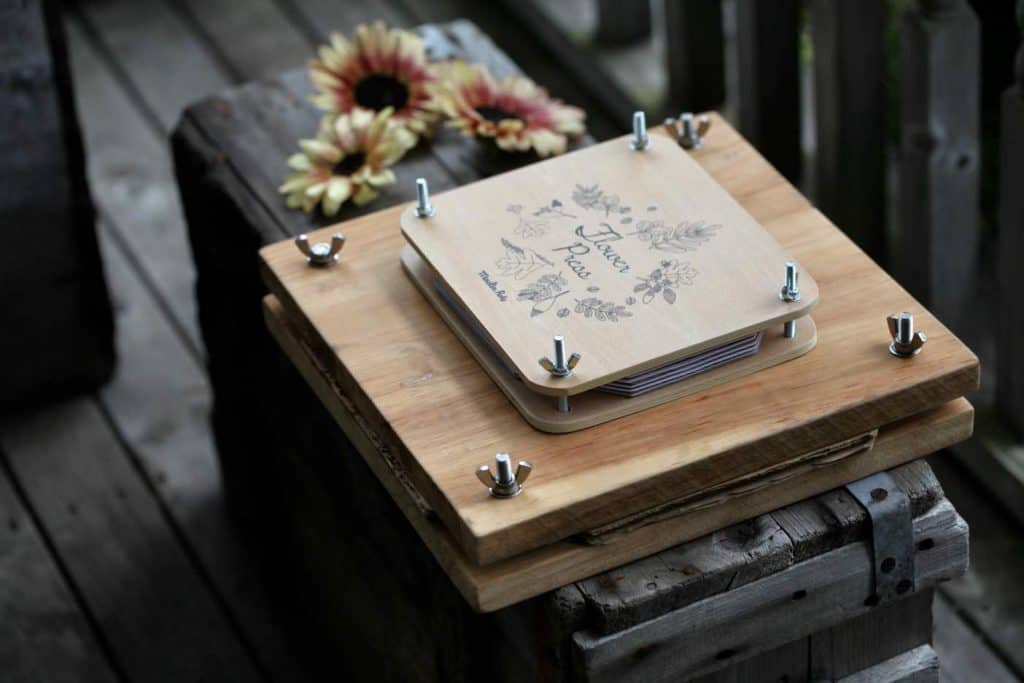
You can purchase your flower press, or easily make a DIY flower press.
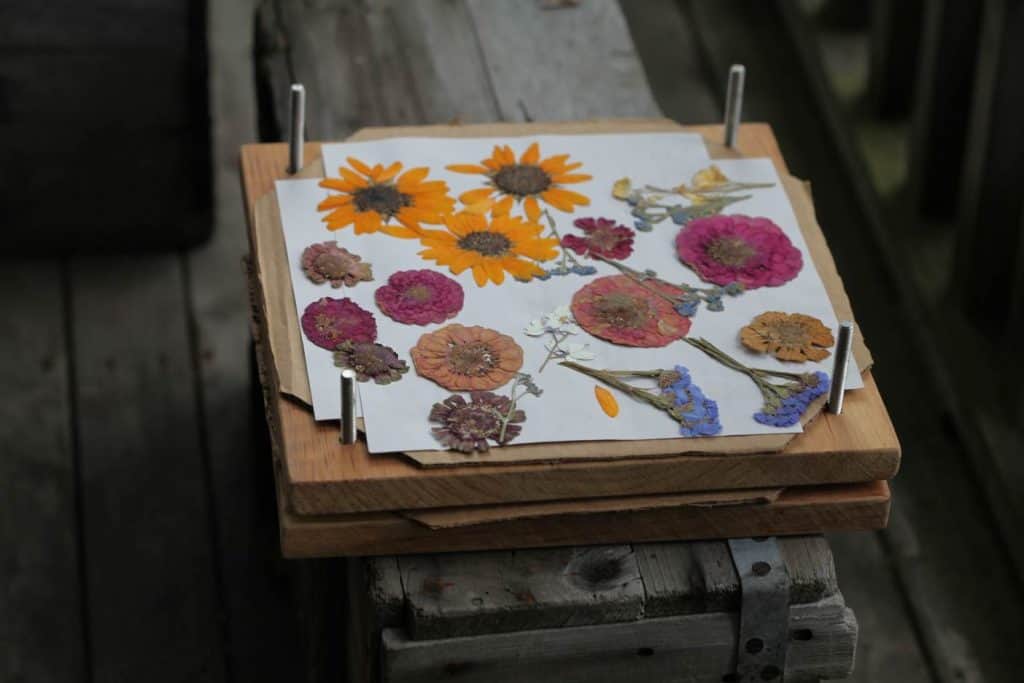
Flower presses come in different sizes and shapes, and are filled with multiple layers of absorbent paper and cardboard. These layers sandwich the flowers while they are being pressed flat.
After placing your flowers inside the press, you can tighten the bolts or belts of the press ( depending on your setup) and gradually flatten the flowers inside the unit.
There's a little more to it however than just tightening the bolts, so let's review.

Here is the technique for pressing flowers with a flower press:
- Place the outer board of the flower press on a flat surface.
- Add a piece of cardboard, and then a piece of absorbent paper.
- Next add the flowers and foliage, making sure they do not touch each other.
- Cover with absorbent paper and then another piece of cardboard.
- Add the outer board to the top, inserting over the bolts, and place the washers and wing nuts onto the bolts.
- Tighten and press.
- The flowers are sandwiched between the paper and cardboard.
- You can add multiple layers if you can fit them into the press.
- Press for two weeks to a month for best results.
Pressing with a flower press is by far my very favourite way to press flowers. The resulting pressed flowers are pristine and safely pressed.
It just takes a little more time than some other methods.
If you are not in a rush, consider this method!
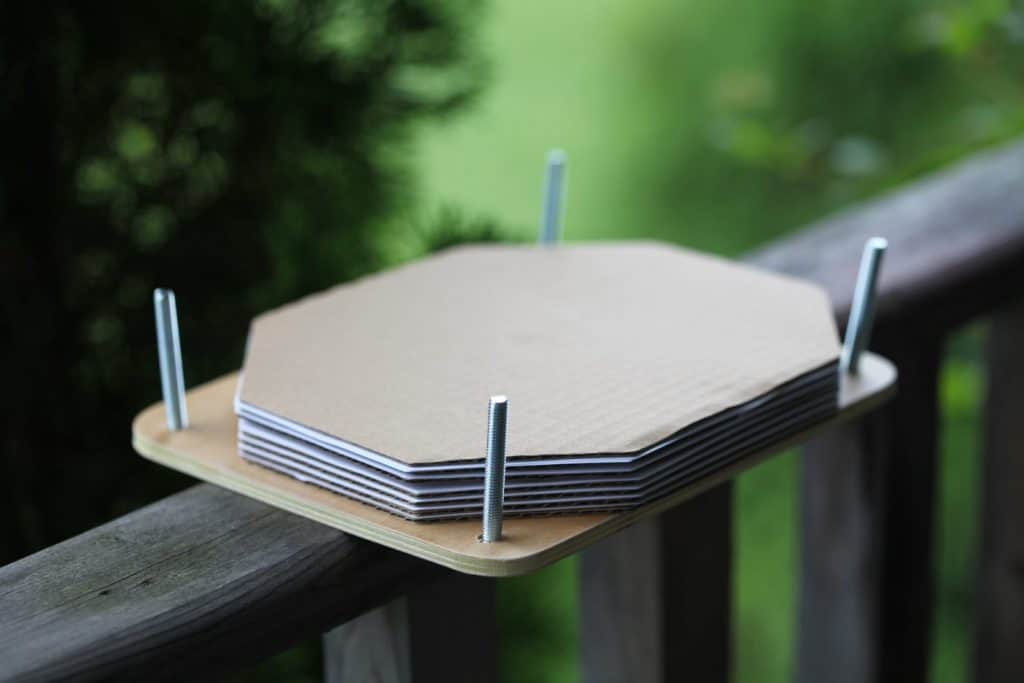
3. Press Flowers With Cardboard And A Weighted Object- Another DIY
If you don't have a book, and you don't have a flower press, you can still press flowers.
All you need are the inside components of the flower press, namely:
- two pieces of absorbent paper
- two pieces of cardboard
- and of course some flowers
You will also need a heavy object to place on top of this setup, such as a stack of heavy books, or a flat heavy object with a wide base.
I considered using my printer as the heavy object. It is pretty heavy, has a flat base, and is not at risk of fall or rolling off the pressed flower unit. I stuck some flower filled cardboard units under that location.
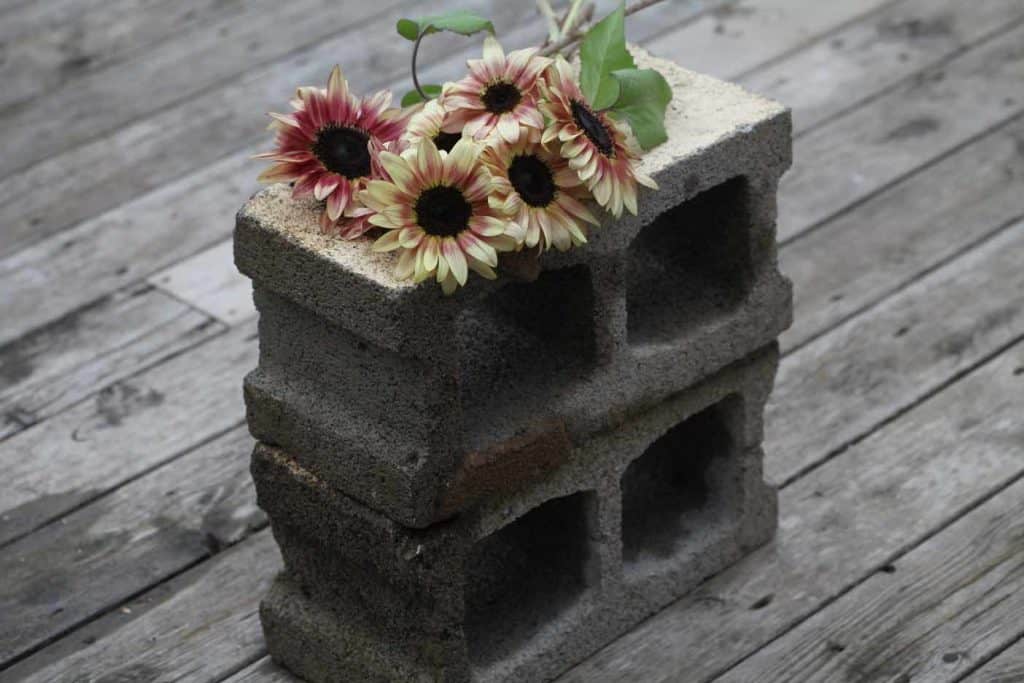
I also used heavy cement bricks to lay on some of the flower filled cardboard units. Essentially, any heavy object will do.
Here is the technique for pressing flowers with cardboard and a weighted object:
- Place a piece of cardboard on a flat surface.
- Next add a piece of absorbent paper on top of this.
- Add your flowers and foliage, placing on top of the paper.
- Cover with another sheet of absorbent paper, then cardboard.
- You can use elastics to hold this unit together if you wish.
- Place under a heavy object in a dry location for several weeks to a month.
It's as simple as that.
Pressing Flowers With Heat
Pressing flowers with heat is certainly one of the quickest ways to preserve flowers.
These techniques will also require some special care and caution, due to the risk of burning the flowers. There are several ways we will look at using heat to press flowers.
These include pressing flowers:
- in the microwave
- and pressing flowers with an iron
So here are the fourth and fifth ways to press flowers.
4. Press Flowers In The Microwave
Pressing flowers with a microwave press is another way to remove moisture from flowers and foliage in a fairly quick fashion.
It does take some practice however.
You have to figure out what works best for your own microwave depending on it's power level. You also need to determine the tolerance of the individual flowers and leaves that you are pressing, so there's a bit of a learning curve.
I strongly recommend a ready made microwave press for this project, as they are designed to be microwave safe.
These units can be quite expensive however, and remember, you can press flowers for no cost at all if you use some of the other methods.
All in all, I am glad that I tried out the microwave press, and will experiment with it until I get it right.
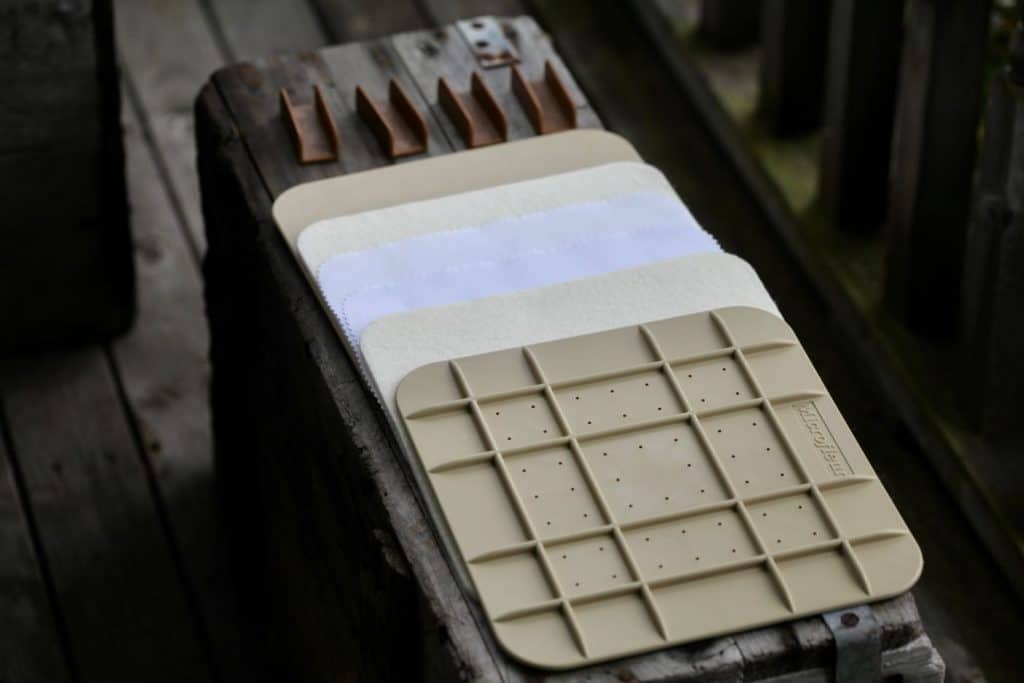
Microwave Press:
- The press itself came with two outer sides which are safe for microwave use.
- The insides consisted of two thick heat absorbent pads and two cotton pads.
- The absorbent pads were to be spritzed with water when first used.
Here is the technique for pressing flowers in the microwave:
- Open up the microwave press.
- Place one of the outer sides on a flat surface, add an absorbent pad, and then add a cotton pad.
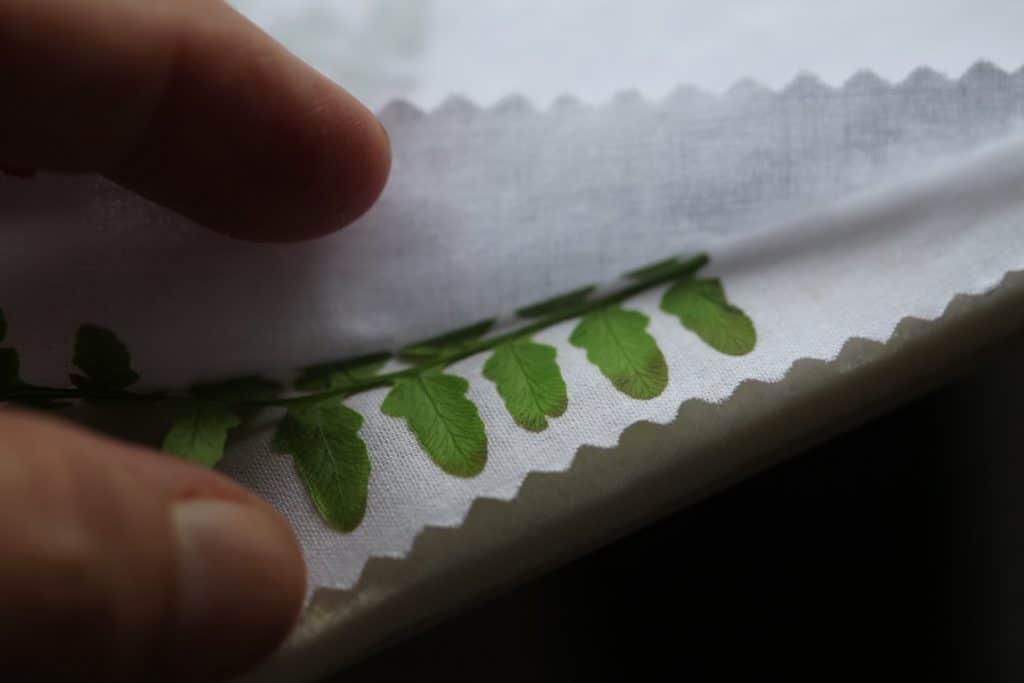
- Place the specimens for pressing on top of the cotton pad.
- Then layer up again with the second cotton pad, absorbent pad, and outer surface.
- With the flowers safely sandwiched in the middle, clip all units together with the clips provided.
- The next part is totally dependent on the strength of your microwave and the type of flowers that you are pressing.
- It involves microwaving in short bursts to remove the moisture from the flowers. The flowers should be checked between bursts, as it's easy to overdo it.
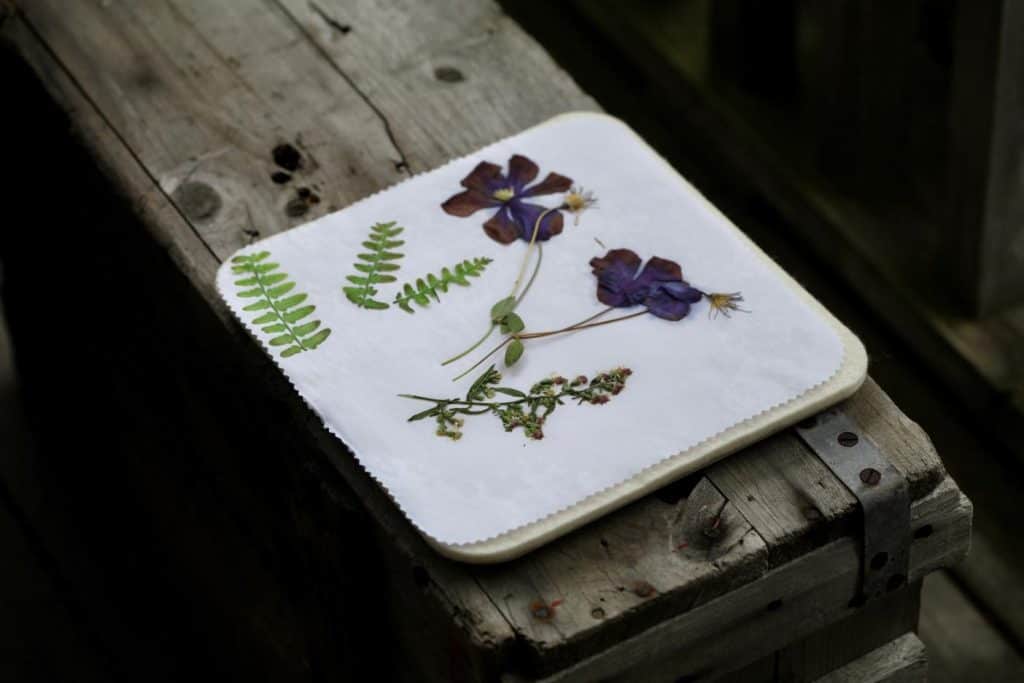
I found this process very interesting. The flowers and leaves definitely flattened out quickly to paper thin consistency.
They were somewhat fragile at the beginning when first removed from the press however. Expose them to the air to dry a little further, and then dry press them for a day or two until they are completely dry and rigid.
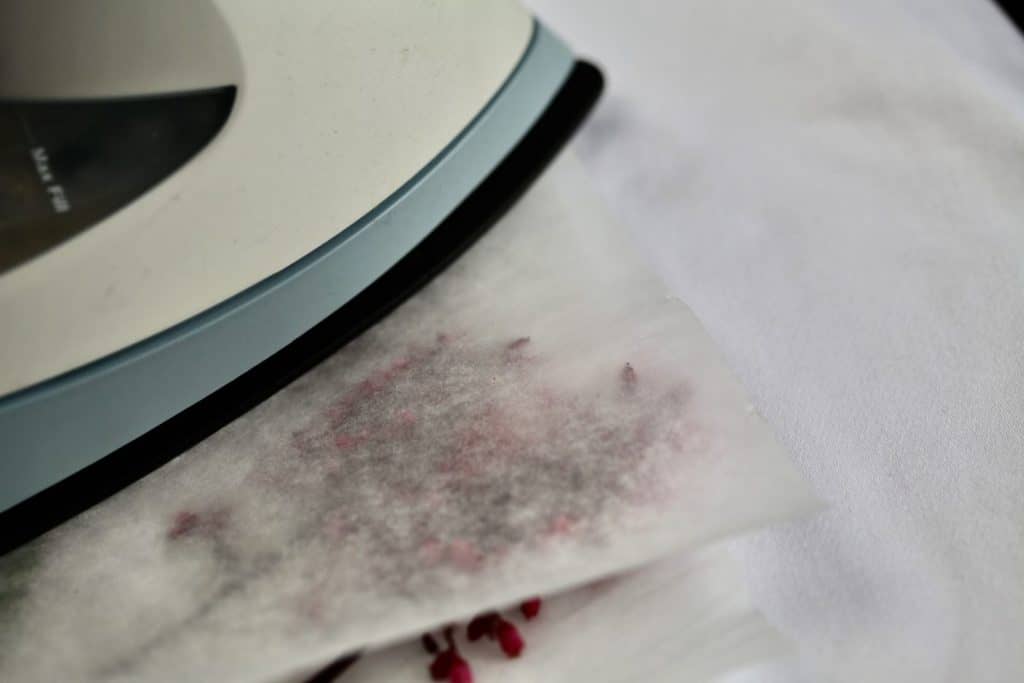
5. How To Press Flowers With An Iron
Pressing flowers with an iron can definitely be done, however it is the least predictable method of pressing.
With some experience, and knowing your iron and flowers, you may be able to master this project.
Pressing with an iron is fast and the moisture in the flowers is easily removed.
The problem lies with getting the right heat without burning your specimens.
I have to admit that this was my least favourite technique, although it was only my first time using this method of pressing.
Here is the technique for pressing flowers with an iron
- Cover your ironing board, as the flower juices can make quite a mess and stain your board.
- Place the flowers between two pieces of absorbent paper, then sandwich these between heat absorbing parchment paper.
- Press this unit with a firm object, such as a book, to start the flattening process.
- Then press with an iron on low heat for approximately ten seconds.
- Allow to cool for the same amount of time, then press again.
- Repeat the process until the flowers are dried.

This process definitely requires some practice. I found it hard to get a balance between getting that pressed look and totally cooking the flowers.
It will take some practice but is definitely doable.
How Long Do Pressed Flowers Last?
Pressed flowers can last for years with a bit of extra care.
Make sure to keep them out of sunlight, and to store in an area free of moisture and humidity.
To keep them fresh and free of dust when on display, store under glass, or blow with cool air gently from a hair dryer.
Storage Of Pressed Flowers
- Once flowers have been pressed and dried, they can be stored until ready to use.
- Place them carefully in containers or large envelopes, storing in layers separated by tissue paper.
- Remember that they are fragile, so store with care and handle them gently.
Can You Press Dried Flowers?
Dried flowers cannot be pressed, because the moisture in the flower tissues of dried flowers has already been removed. Dried flowers would shatter or break apart if you tried to press them.
The best flowers to press are those that are freshly picked and in their prime. There is lots of moisture in the tissue of fresh flowers, allowing them to be pressed without breaking apart. They are more flexible and able to withstand the process of being pressed.
How To Press Thick Flowers

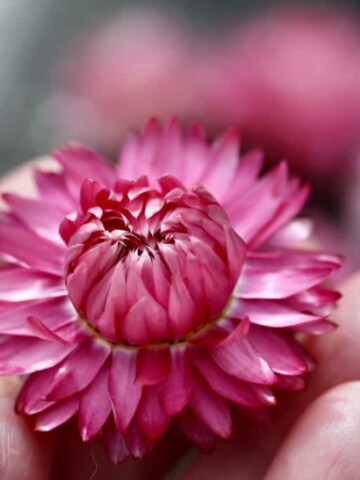
Thick flowers can be pressed, although it is sometimes easier to remove the centre portion of the flower before pressing to remove it's bulkiness. If you do remove the centre parts, try pressing them down separately, as they may still press quite beautifully.
As well, if the flower is very large and thick, consider pressing individual petals or blossoms from the larger flower. Break it down into smaller parts, which can still be used in pressed flower projects.
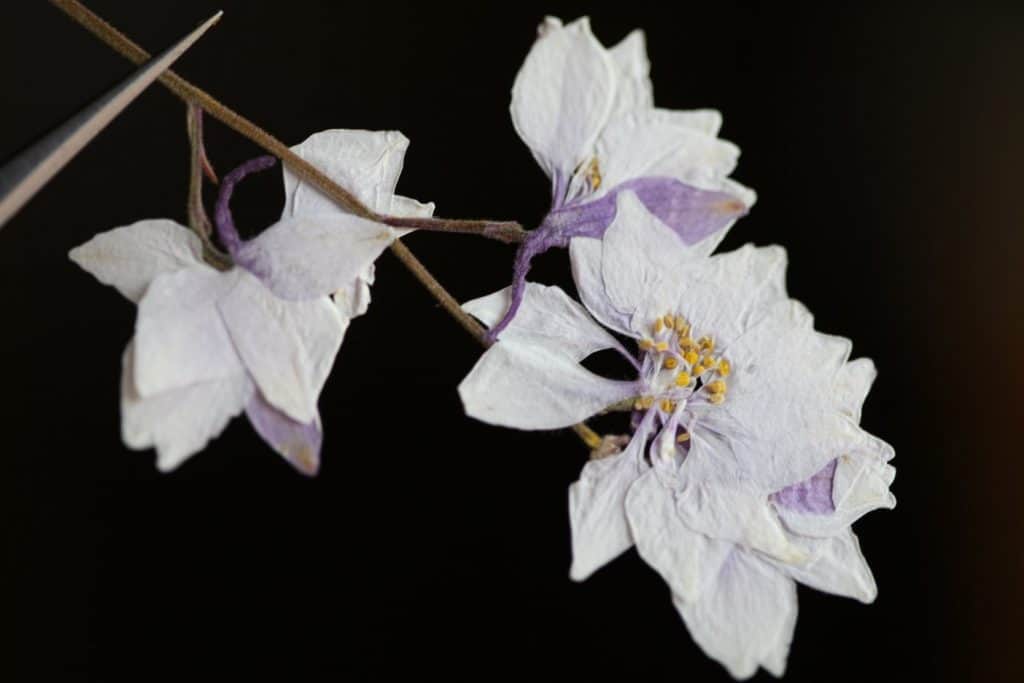
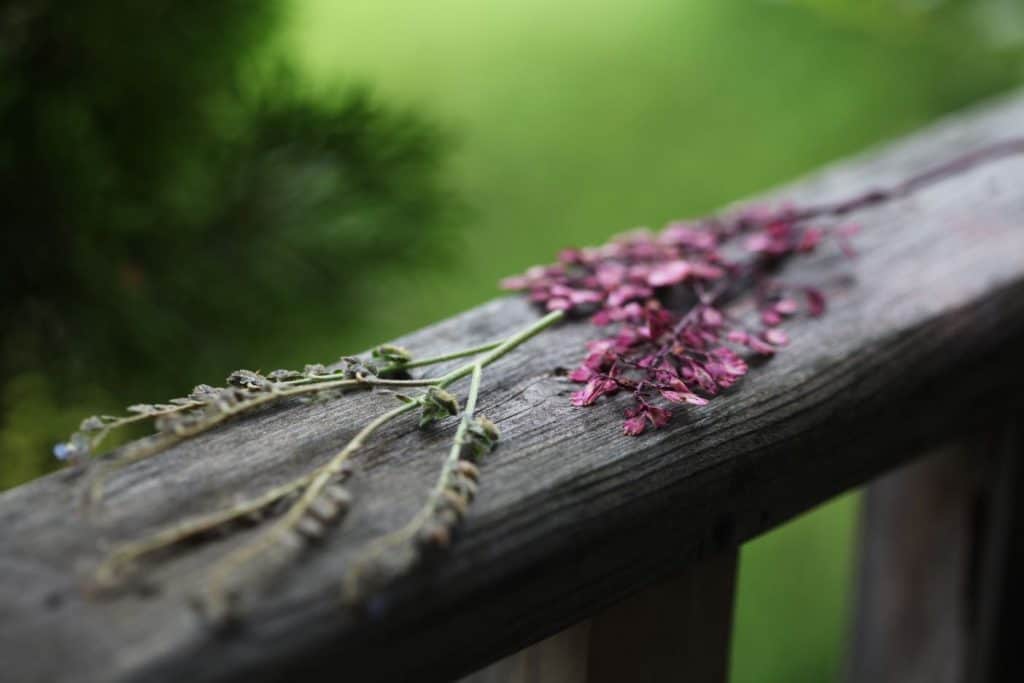
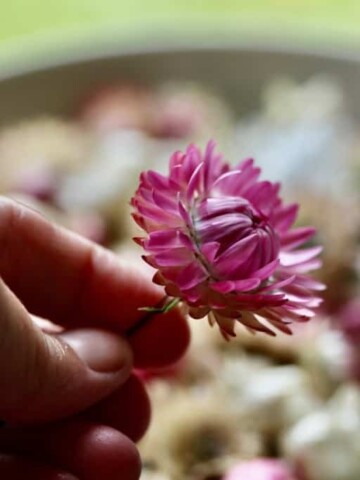
Some examples of the large clusters of flower blossoms include lilacs, hydrangeas, and viburnums. Each individual blossom can be pressed and preserved this way.
Another helpful tip that some may not be aware of is reducing the size of some flowers by cutting them. Cutting a thick stem, halving a bud, and reducing a flower to half it's size is a great way to enable the pressing of thick flowers and foliage.
How Do You Keep Pressed Flowers From Going Mouldy?
One of the factors for mould development is moisture.
There are a number of different considerations to help reduce the moisture on pressed flowers:
- Press the flowers when they are fresh, but dry ( free of dew or rain droplets).
- Take special care with high moisture flowers, knowing that they are more at risk. These flowers will require extra drying time.
- Keep away from high humidity areas.
- Ensure that all the moisture is out of the flowers before they are stored away.
- Keep layers of pressed flowers apart while in storage, by layering with tissue paper between layers of flowers.
Try your best, knowing that there may still be some loss.
It is still worth the effort.
How To Press Flowers Without Turning Brown
Keep in mind that most often, the pressed flowers that turn brown are those with higher moisture content. To preserve flowers without turning brown, select the types of flowers which will be less apt to do so.
However, this may not always be possible, as you may be trying to preserve a special bouquet from a special event or occasion that you wish to preserve as a memento.
In this case, try to chose a technique to press that will preserve the flowers in their freshest state. As well, follow any tips that would help to reduce moisture during the pressing process.
If you have the time, allow the flowers to dry naturally while pressing, without the application of heat.
Heat truly does make pressing more risky for burning the flowers. When flowers are burned, they turn brown.
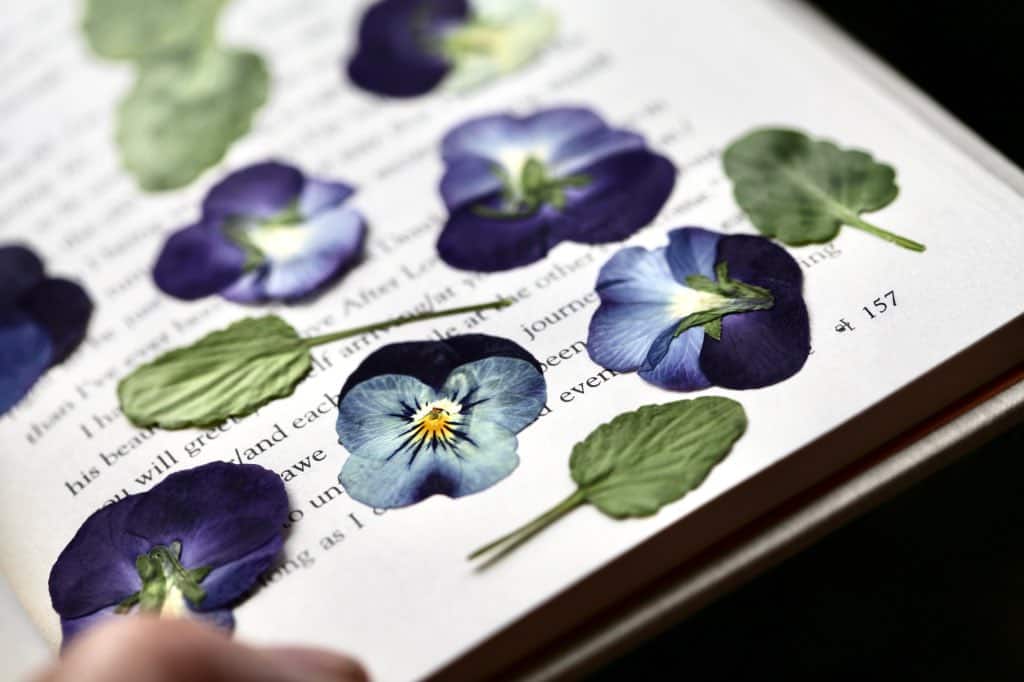
How Do You Display Pressed Flowers?
There are so many creative ways to display pressed flowers.
Pressed flowers can be incorporated into many different types of craft projects and tasteful art displays.
If pressing a sentimental bouquet of flowers, the final product can be displayed in a shadow box or between glass in a picture frame, and hung on the wall.
You can create wonderful homemade cards and bookmarks using your very own pressed flowers.
Consider making homemade paper like fellow blogger over at My Journey To Green. She made homemade paper from recycled paper, then went on to create special projects with her paper and pressed flowers and foliage.
Make cards with homemade paper and pressed flowers for a unique and special touch.
Favourite Pressing Techniques
My very favourite method of pressing flowers is with my own DIY flower press. The reason for this is the thickness of the press itself, and the power behind the pressing system.
The store bought flower press was fun, though not as sturdy or efficient as the DIY press. It tended to bend somewhat with thicker blooms, however still works well.
The book method is my next favourite. It's a classic, and it works.
I love the heavy object method, just because it's so easy and inexpensive, so that's next on the list.
The final two are the heat applications, with the microwave press first, then the iron press.
To be frank, I probably won't be using the iron to press my flowers again, as I love the other methods, so will likely choose them.
Have fun pressing flowers. It's an amazing way to preserve your blooms!
Have you tried pressing flowers? Be sure to leave a comment below to share your experience!
OTHER POSTS YOU MAY LIKE:
Other Dried Flower Posts:
See the Web Story on Learning To Press Flowers!
PIN IT FOR LATER!


Allie
I have never pressed flowers but have always been interested in trying. I thought it was much more complicated than you made it look. Your steps are easy and well thought out. Thanks for sharing.
cheyanne
Thank you Allie! It truly is so easy, and so much fun!
Sylvia
You're right. I've tried pressing flowers using the old book method. But then I forget about them and that's as far as the project goes. I once inherited a few books from my Oma and between the pages of one of them were flowers I only imagine she had pressed a great many years ago. It was charming! Thank you for all the great tips!
cheyanne
Oh how lovely to find such a precious gift between those pages! Thanks so much for the comment!
Julie
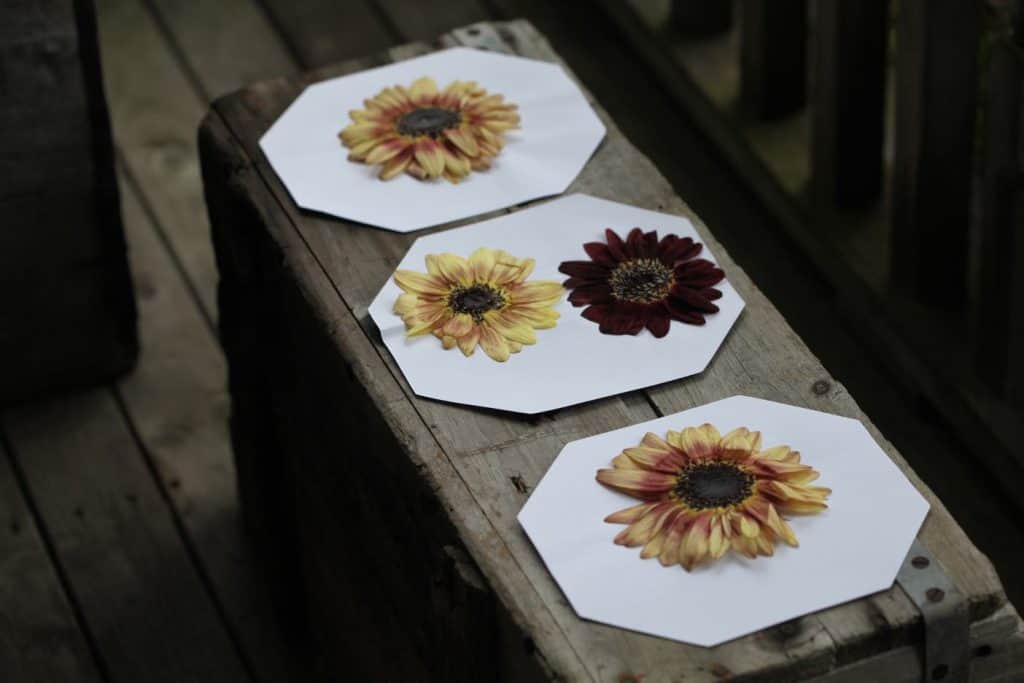
Inspiring and informative post. My mom and I are both avid gardeners, but we have never tried to press flowers before. I love that depending on the flower, they keep their beautiful color. Its hard to believe a zinnia can become that thin once pressed. Making homemade paper or a collage is a wonderful way to enjoy the blooms during the depths of winter! When you mentioned that you can press lilacs I thought of how amazing it would be took look at pressed lilacs when we are all dreaming about the upcoming season. Thank you for sharing, I always look forward to your posts.
cheyanne
Thank you so much Julie for your wonderful comment! Yes it's so interesting to see how flat the flowers can get!