
Drying hydrangeas is a favourite fall project as these flowers are so easy to dry with such beautiful results. Dried hydrangeas are romantic and airy, and add a perfect touch to any room. Display them on their own in a basket, or in a dried flower arrangement with other blooms. Learn how to dry hydrangea flowers to preserve these beautiful blooms, and extend your enjoyment of them throughout the seasons.
Hydrangeas make excellent cut flowers, both in their fresh and dried states.
When considering drying hydrangeas, all types of hydrangea varieties are able to be dried, and the principles that we will be discussing applies to all types.
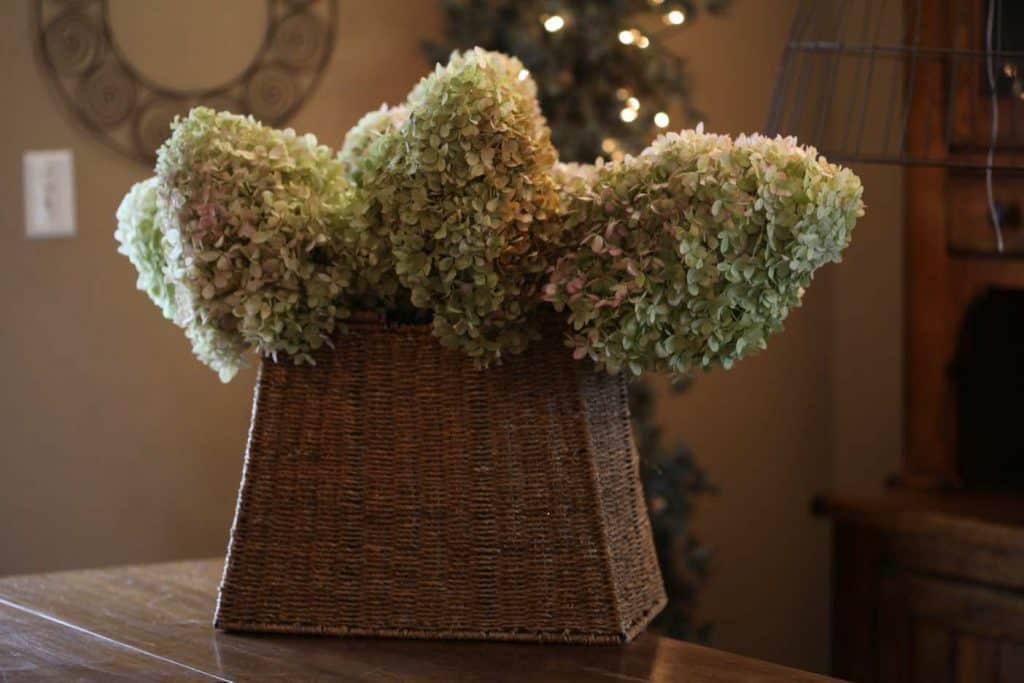
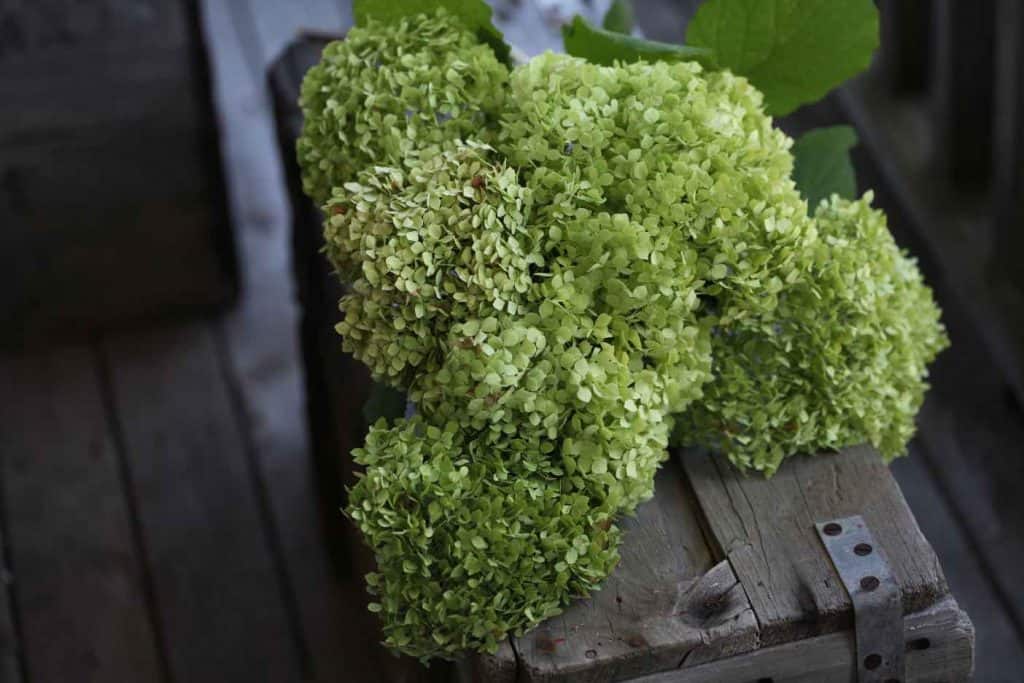
Many years ago I picked a large bouquet of perfectly blushing hydrangea blooms in fall. I tossed those flowers into a large basket and created a beautiful arrangement on top of an old wardrobe in our home.
The flowers dried in place as they were arranged, and took on a beautiful apricot hue.
The display drew your eye to the space, and it created a warm country feeling in the room.
I'll never forget just how easy it was to create such a wonderful display without any effort at all.
Now I must admit I probably lucked out at the time. I had picked those flowers at just the right time, as they were probably mostly dried on the plant.
The flowers didn't require water or any special drying process, because they were already mostly dried.
This is key to harvesting hydrangeas for drying. Pick at the right stage, when slightly dried on the plant for best results.
Best Stage to Harvest Hydrangeas For Drying
- It's important to pick hydrangea flowers at the right stage for cutting.
- If you pick the flowers too early before all of the flowers have opened up on each individual bloom, they are likely to wilt.
- If the blooms are picked from the shrub when they are too dry, they will likely turn brown and not be as beautiful as if they are picked at just the right time.
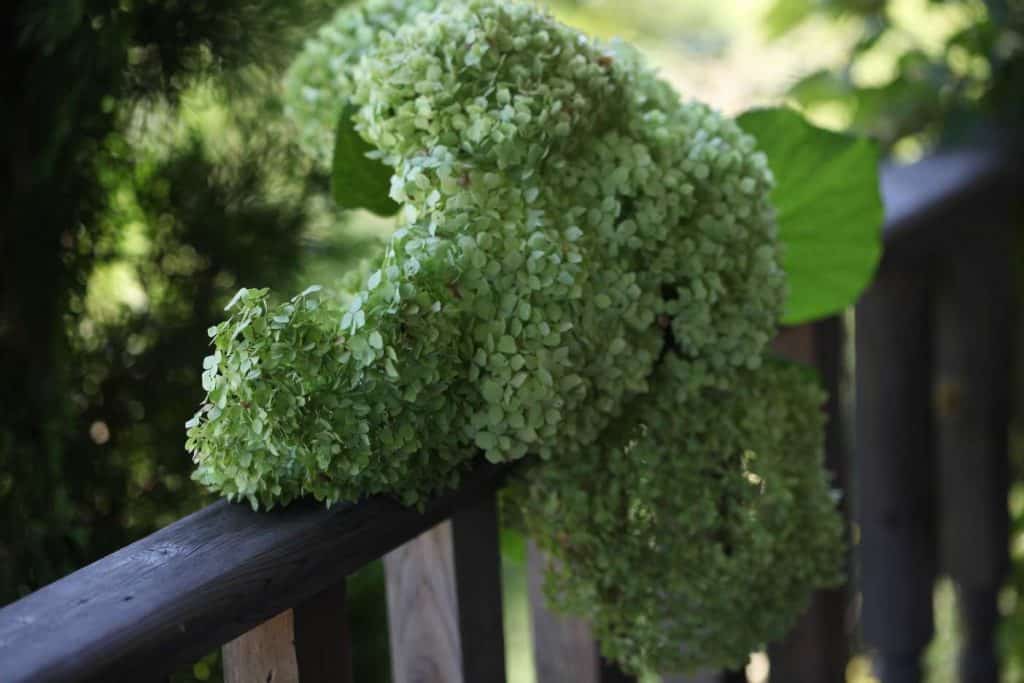
- Leave the flowers on the shrub until they start to fade slightly, instead of at peak bloom.
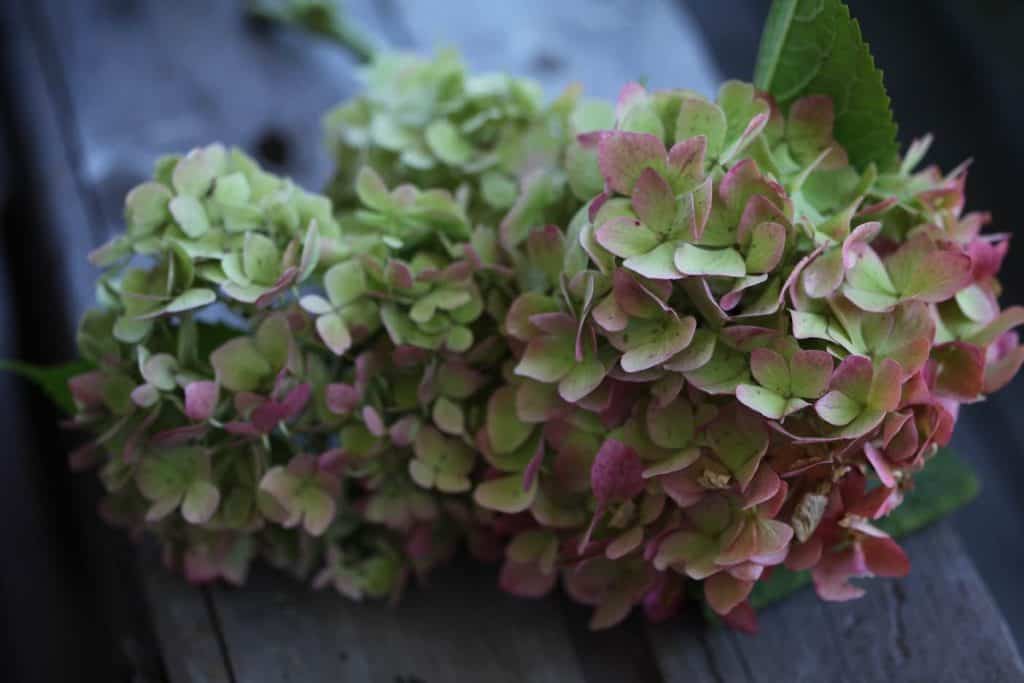
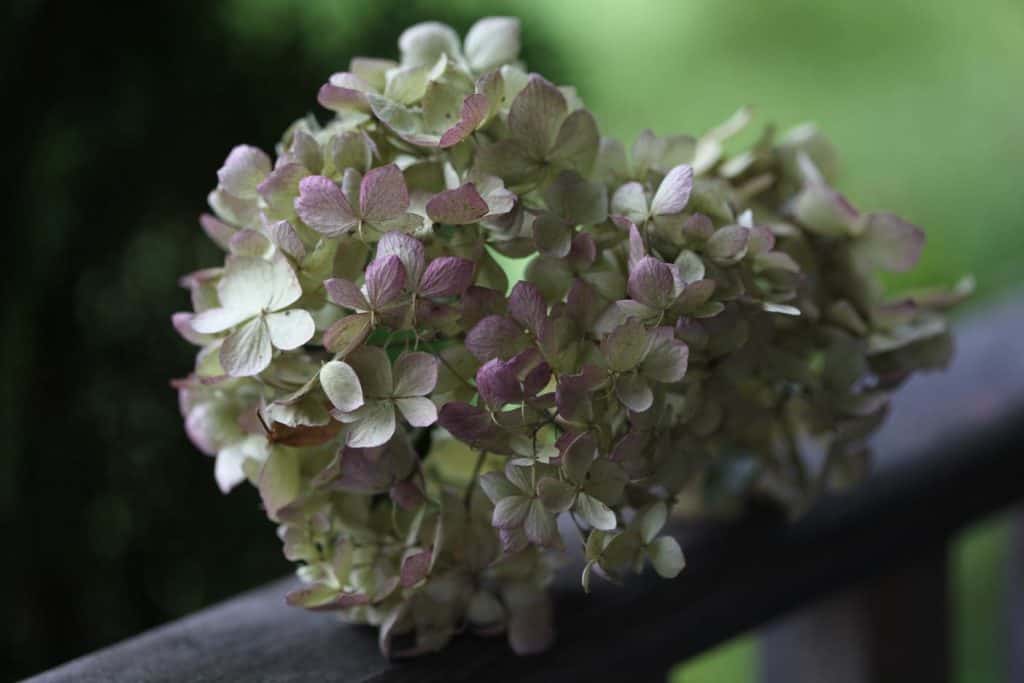
- The ideal time for picking is when the bloom is fully open and starting to take on a blushing colour. This is the perfect time to harvest and cut.
- Make sure the blooms are fully open without any closed buds.
- As well, consider the colour of the bloom at harvest. The colour at which you pick the bloom is the colour that will be maintained by the flower in your dried arrangements.
- There can be slight changes in colour as the flowers dry, however there will be no additional blush formed on the blooms.
When To Harvest Hydrangeas For Drying
- It's a great idea to hydrate your hydrangea shrubs before harvesting blooms for drying. This can be achieved by watering, whether by hose watering or even waiting for a good rainfall.
- Hydrate the shrub the day before harvest, so that the flowers will have a chance to take up the water.
- Give the flowers a good drink, and then harvest them the next day after they have had a chance to hydrate from the watering.
- On the day of harvest, consider what is the best time of day to do your harvesting.
- The best time to harvest any flower for drying is when the blooms themselves are dry and free from morning or late evening dew.
- Harvest on a day that's dry without rain.
- Moisture on the blooms can contribute to moulding, so make sure the flower is completely dry.
- Best time to harvest is late morning or afternoon, after all moisture has dried from the blooms.
How To Cut Hydrangeas For Drying
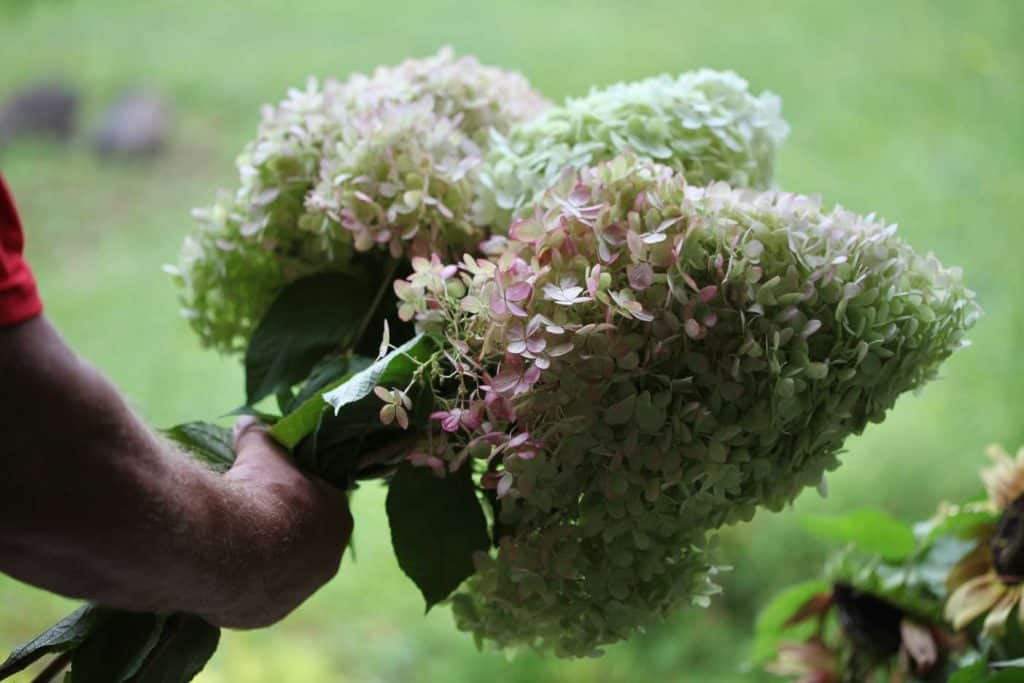
- Once you have determined that your hydrangea blooms are at the right stage for harvest, select the blooms that you plan to cut.
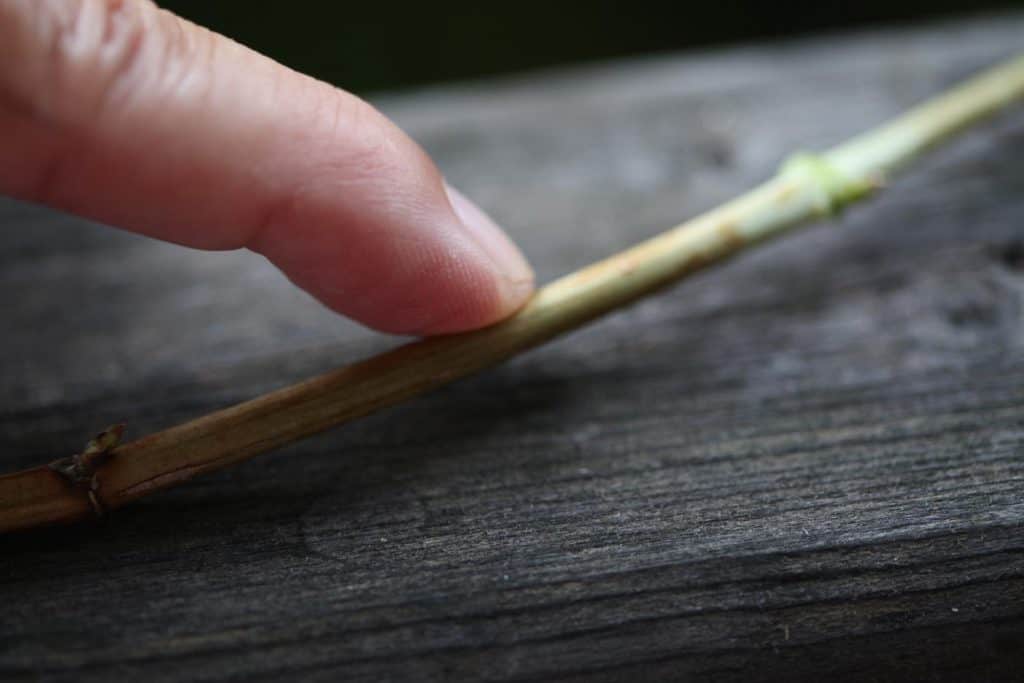
- When cutting from the plant, it is good practice to make the cut on the stem right above a leaf node straight across the stem. This will leave a smaller area to heal on the plant rather than a larger angled cut.
- The angled cut can be made on the freshly cut stems when you are preparing them for the vase.
- The stems on the cut hydrangea flowers will need another cut just before they are inserted into water.
- This second cut should also be above a node and cut at an angle to allow for good uptake of water.
Processing Hydrangea Flowers To Dry
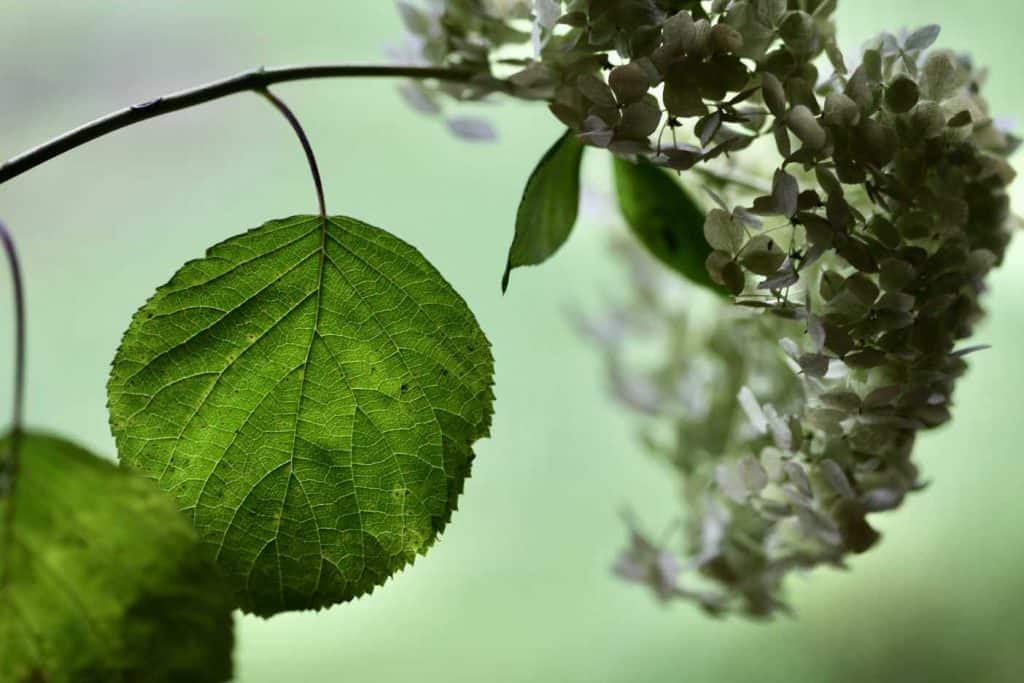
- Remove most of the leaves along the stem.
- You can leave a couple of leaves at the top of each stem for aesthetics if you like, however it is not really necessary.
- I find that the hydrangea leaves do not look attractive when dried, and I usually end up pulling them off anyway.
- Removing the leaves is important, as they will take up the water that we will be providing to the blooms for the purpose of hydrating them before drying.
- So removal of the leaves is the best option.
How To Dry Hydrangea Flowers
We will be discussing the simplest and easiest method to dry hydrangea flowers in this post.
This method involves drying in a vase with a small amount of water to begin with. The water serves to rehydrate the blooms one last time before they begin the drying process.
This method is referred to as the water dry method, and also as the vase dry method. It has also been called the Lazy man's method, because it is just so very simple to do.
I spoke about this method of drying in this post:
HOW TO DRY FLOWERS ( 7 METHODS TO PRESERVE YOUR BLOOMS)
The thing that I absolutely love about this method is that it is so simple.
As well, one gets to enjoy the flowers the whole time they are drying, so this is a wonderful bonus.
How To Water Dry Hydrangeas
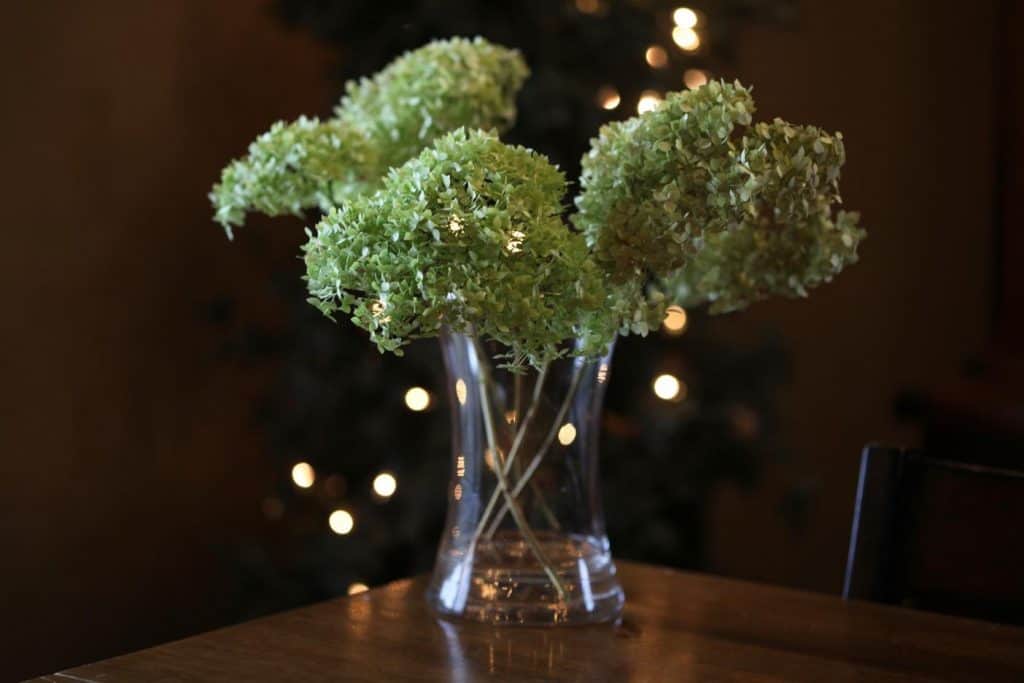
- Select a vase which is the same height as the stems on the cut hydrangeas.
- The reason for this size is that both the stems and the vase will help to keep the flowers in an upright position during the drying process.
- Next, place a small amount of water in the bottom of the vase, about one to two inches deep. This water serves to hydrate the blooms one last time before they start their drying process.
- Make sure that you have made a cut on the bottom of each stem, at an angle but not on a node. Then insert each stem into the vase with water.
- The stems will draw up the water fairly quickly, and you may be tempted to add more, however try to resist.
- It's time for the blooms to dry, so place them in an area out of direct sunlight, but where you can enjoy their beauty during this process.
- The drying process can take two to three weeks or even a little longer.
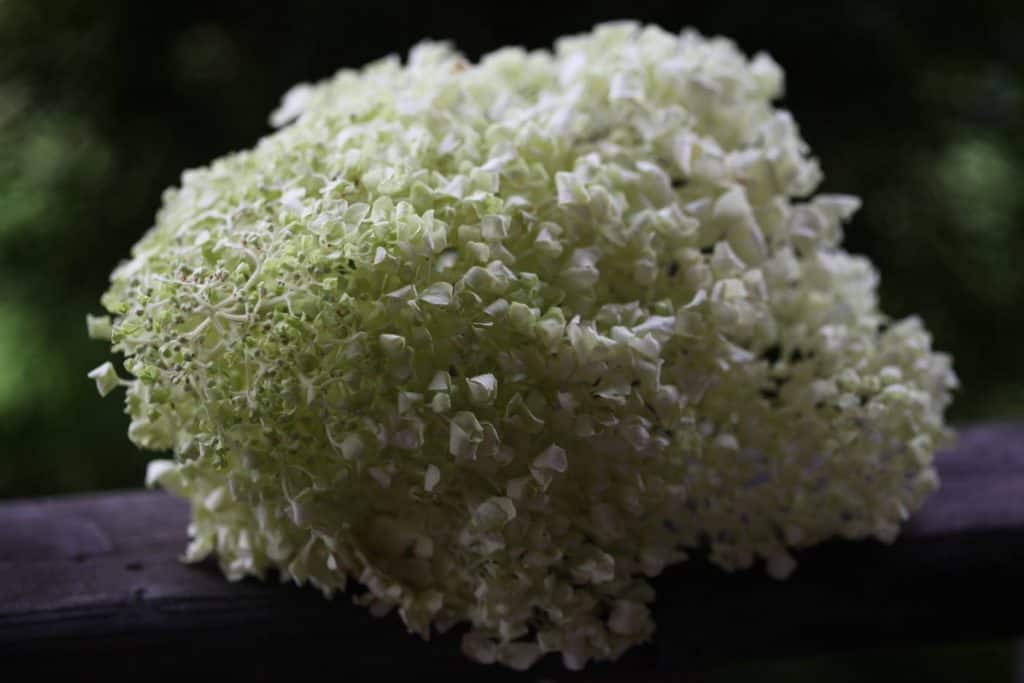
- Once dried you will notice a difference in the flower's texture. They will have a dry sound and rustle when touched, and feel papery like tissue paper.
Other Methods To Dry Hydrangea Flowers
The water dry method is by far the easiest way to dry hydrangea flowers.
There are other methods however which also deserve a brief mention.
Drying Hydrangeas Upside Down

This is also known as the air drying method, and it is also quite an easy way to dry hydrangeas.
The blooms may not do as well as the water dry method, as they will not receive the initial hydration, however it will still work.
- Drying flowers upside down involves setting up a space to dry, and allowing the blooms to hang securely in a dark space away from sunlight for a period of several weeks.
- The darkened drying area helps to maintain the colour of the blooms.
- Hang the flowers so that they are not touching each other, providing some space between the blooms for good air flow.
- After two to three weeks the blooms will be completely dry and ready to use.
How To Dry Hydrangea With Silica Gel
Drying with silica gel is another option for drying hydrangeas, although is much more involved than the first two methods.
Silica gel for drying flowers is a wonderful way to preserve your blooms to look almost perfect.
The silica for drying flowers is the finer silica, and resembles granules of sand. It works by drawing moisture from the blooms, and preserves them in their current state.
- To use this method the hydrangea blooms are placed in a container with the silica, and gently covered with the crystals of silica.
- Place a lid over the container and set aside.
- Leave the bloom in the silica until dry, which usually takes about four days. Then gently remove the hydrangea bloom and dust off any remaining silica crystals with a fine brush.
- This process is more time consuming than the water dry or air dry method where you can dry multiple blooms at the same time.
- With the silica gel method the flowers can not all fit into the container of silica at the same time , they will have to be dried one or two at a time gradually over a period of time.
How Long Do Dried Hydrangea Last?
Dried hydrangeas will last quite a long time if kept in a dry location and away from direct sunlight.
They can actually last for years.
As with any dried flowers, exposure to humidity can result in deterioration of the dried flowers, and even some moulding if they get wet.
Dried hydrangeas as with any dried flowers tend to gather some dust which can sometimes be hard to remove as the petals become more brittle.
I generally keep mine for the year until I can harvest a fresh batch the following fall.
What To Do With Dried Hydrangeas
There are so many creative ways to use dried hydrangeas.
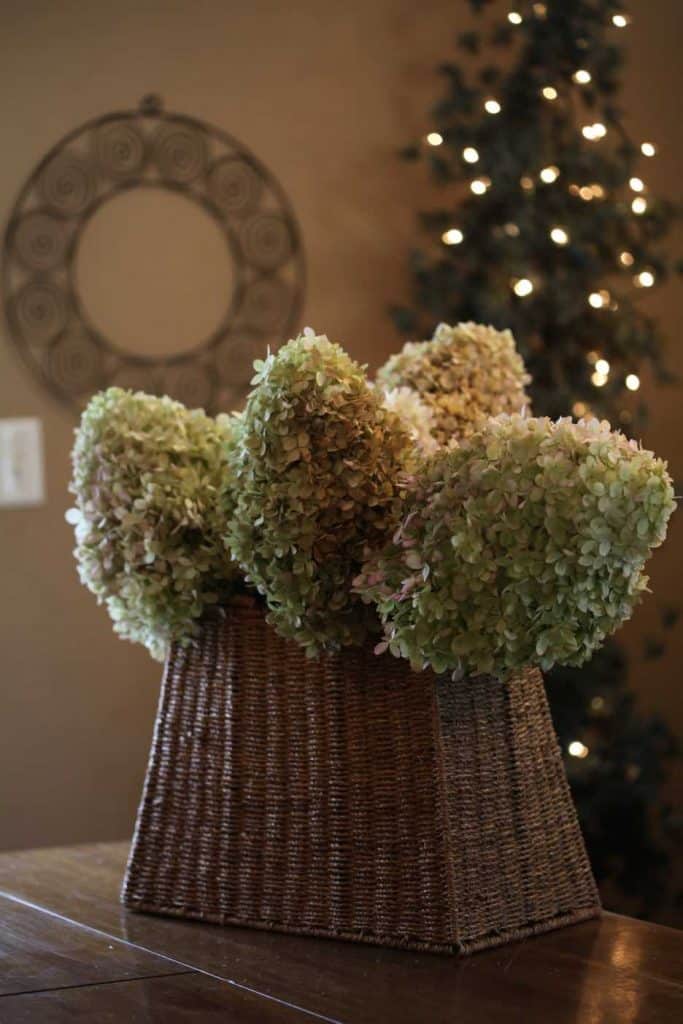
- First of all they make a wonderful display all on their own grouped together in a dried arrangement. These flowers are so impressive when grouped together in a dried flower display.
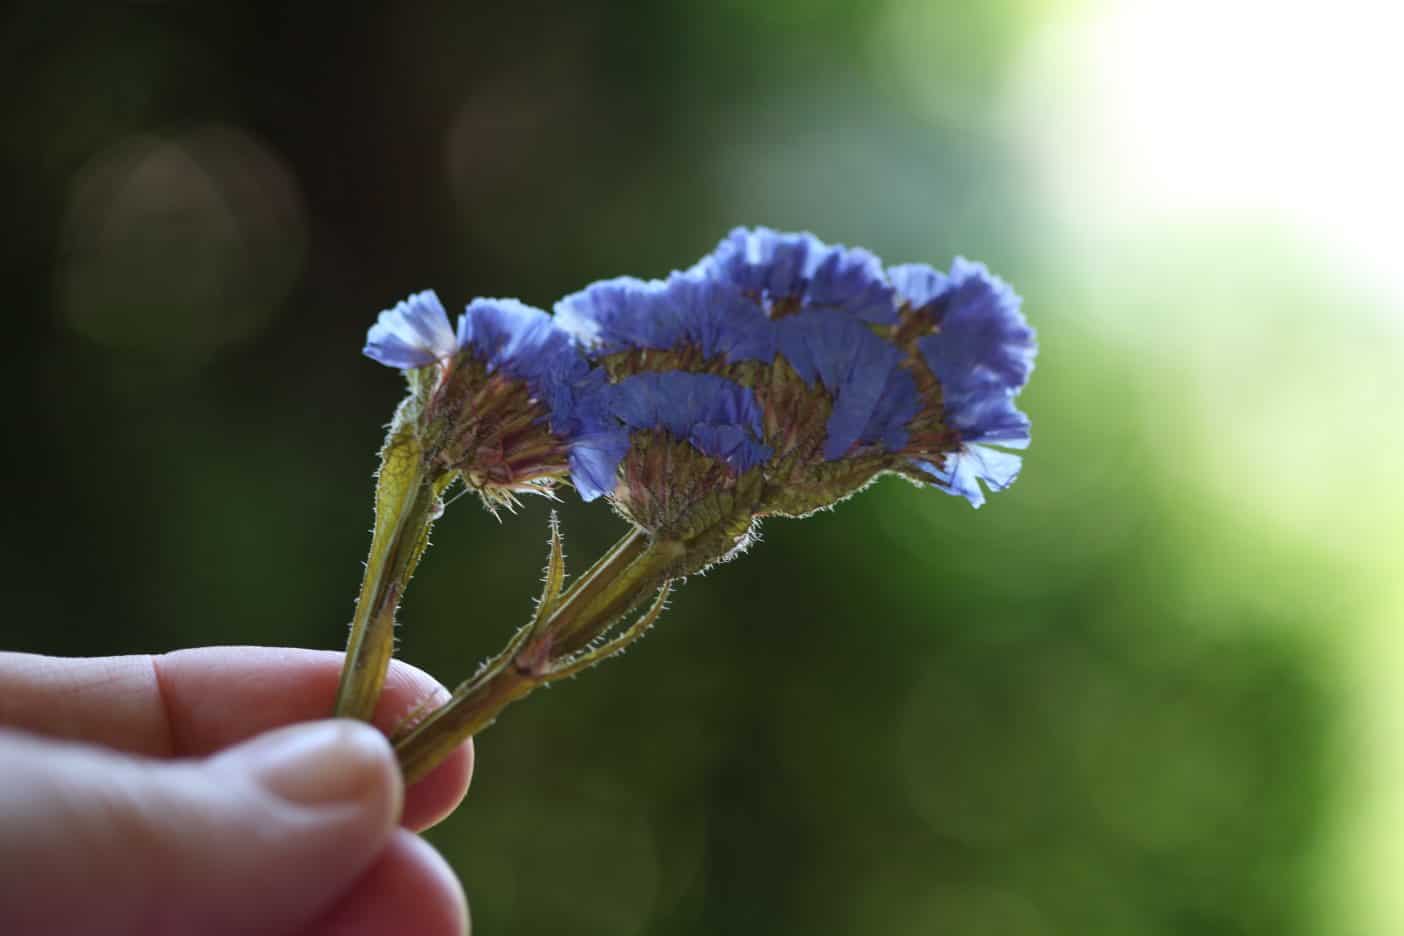
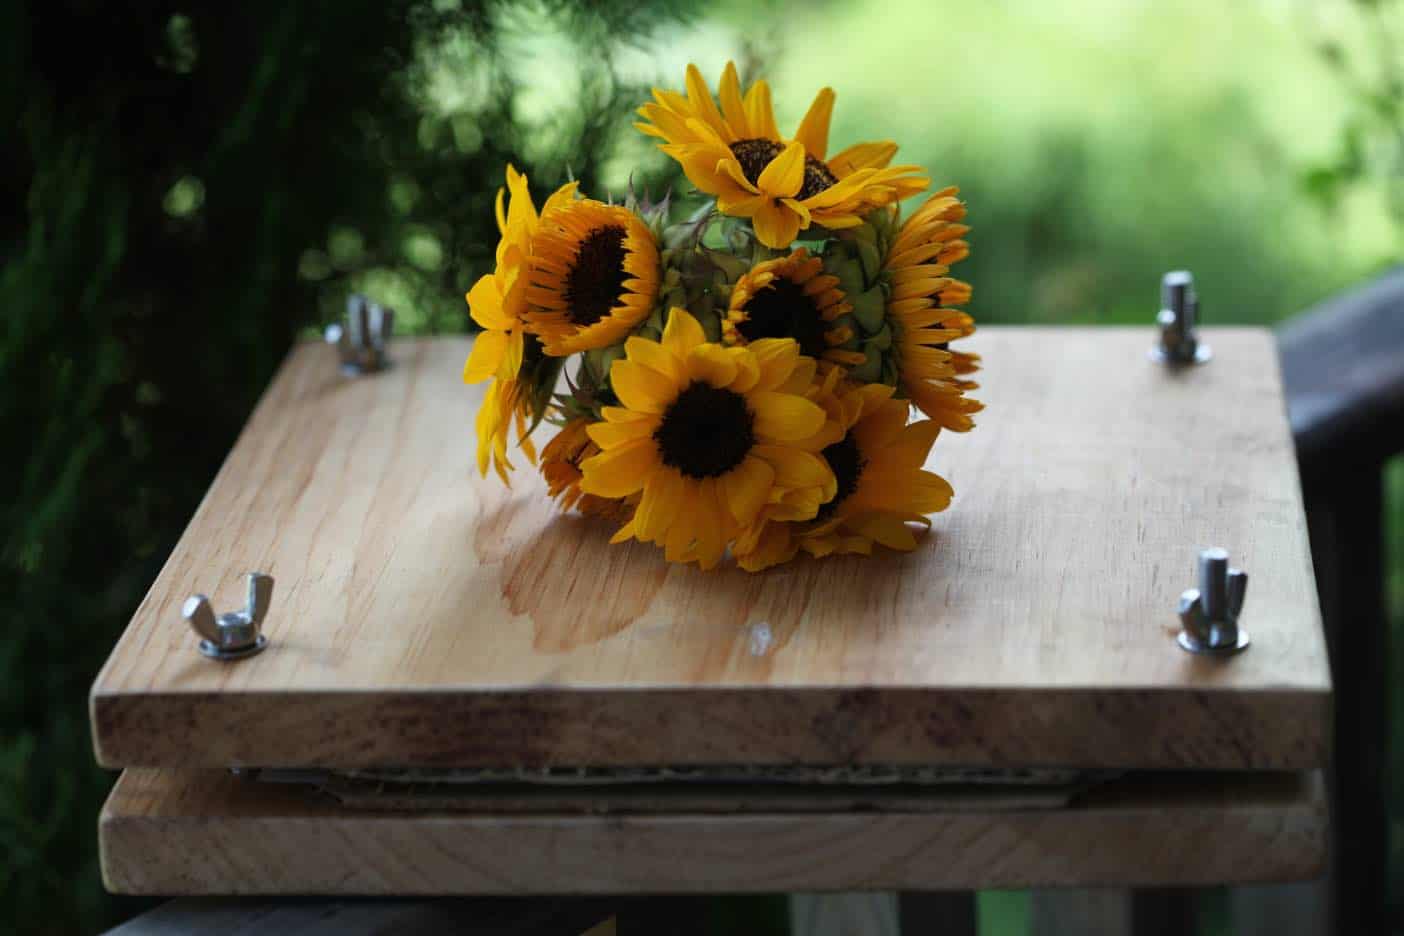
- You can also add other types of dried flowers to the arrangement for a different look. Consider adding dried sunflowers, statice and amaranth for an interesting combination.
- Dried hydrangeas look great on wreaths for a romantic and simple fall look. Make sure that if they are placed on a door that they are protected from the elements.
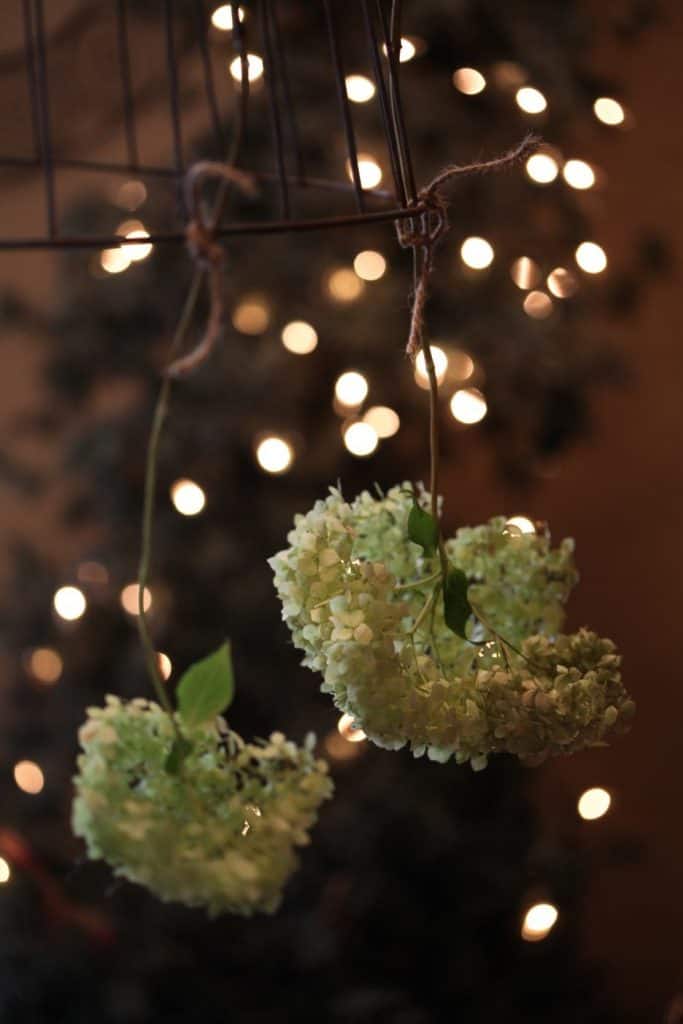
- The flowers can be spray painted with glitter and gold and used to tuck into the Christmas tree for decorations. They offer a rustic yet magical and sparkling touch to your Christmas decor.
- Or you can hold the glitter and gold and just stick with the beautiful natural colour of the flowers stuck in the tree branches for a great country look. I especially love the cream with blush blooms tucked into the boughs for this look.
- Use the flowers on table arrangements mixed with evergreen boughs and greenery.
The options are endless.
Consider drying some hydrangea blooms this season. Experiment with the methods and see what works best for your hydrangea blooms.
Be creative, and enjoy these wonderful dried flowers in every season.
Have you dried hydrangea blooms successfully? Be sure to leave a comment to share your experience!
OTHER POSTS YOU MAY LIKE:
See the Web Story on Drying Hydrangeas For Beautiful Displays!
PIN IT FOR LATER!


Leave a Reply