
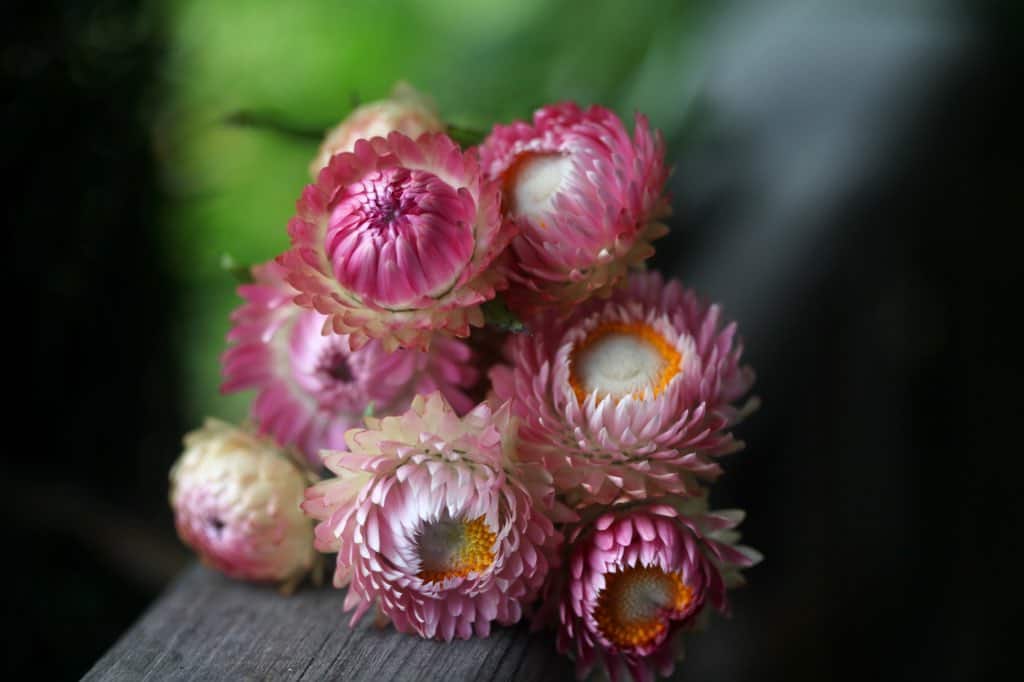
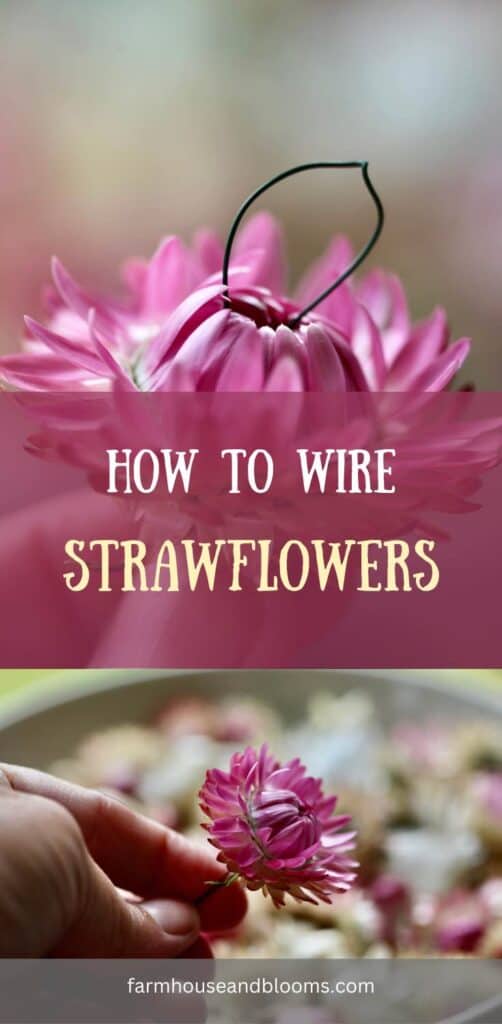
Dried strawflowers can last for a very long time, and are considered to be everlasting flowers. Stems of dried strawflowers on the other hand are not quite as hardy, and may not last as long as the blooms. Learn how to wire strawflowers, to replace those less than sturdy stems for your dried strawflower projects.

Introduction
Strawflowers are beautiful annual flowers that come in a variety of colors. They can be grown in the garden, and used both in their fresh and dried states.
Also known as paper daisies and everlastings, the flowers are unique in their texture.
They have the appearance of being dried, even when they are fresh cut flowers. This is due to the low moisture content within the strawflower blooms, which makes them feel crispy and straw-like.
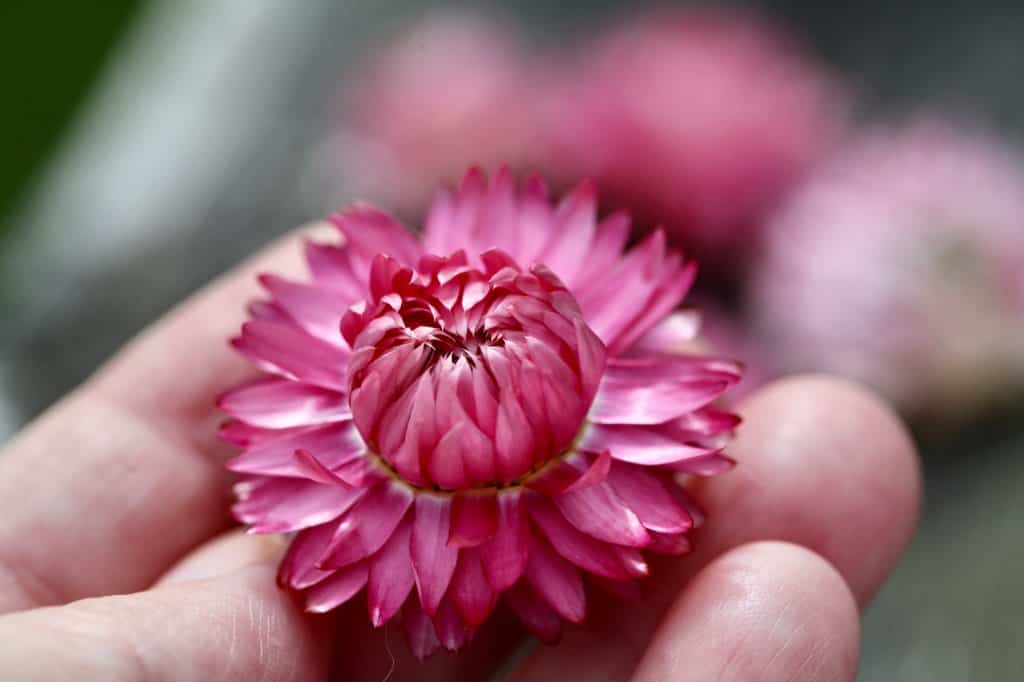
The petals of strawflowers are actually bracts, which are dry and brittle to the touch. This texture contributes to the uniqueness of the flowers, and allows them to be dried to perfection.
If you have an opportunity to grow strawflowers, you will have also have an opportunity to dry them, and wire them.

Harvesting Strawflowers To Be Wired
Before wiring your strawflowers, first you will have to harvest them.
Let's have a look at the best harvesting stage for drying, and then review why strawflowers are often wired, instead of leaving the stems in place.
Best Harvesting Stage For Dried Strawflowers
Harvesting time for strawflowers that are to be dried and wired is at an earlier stage than harvesting for fresh cut blooms.
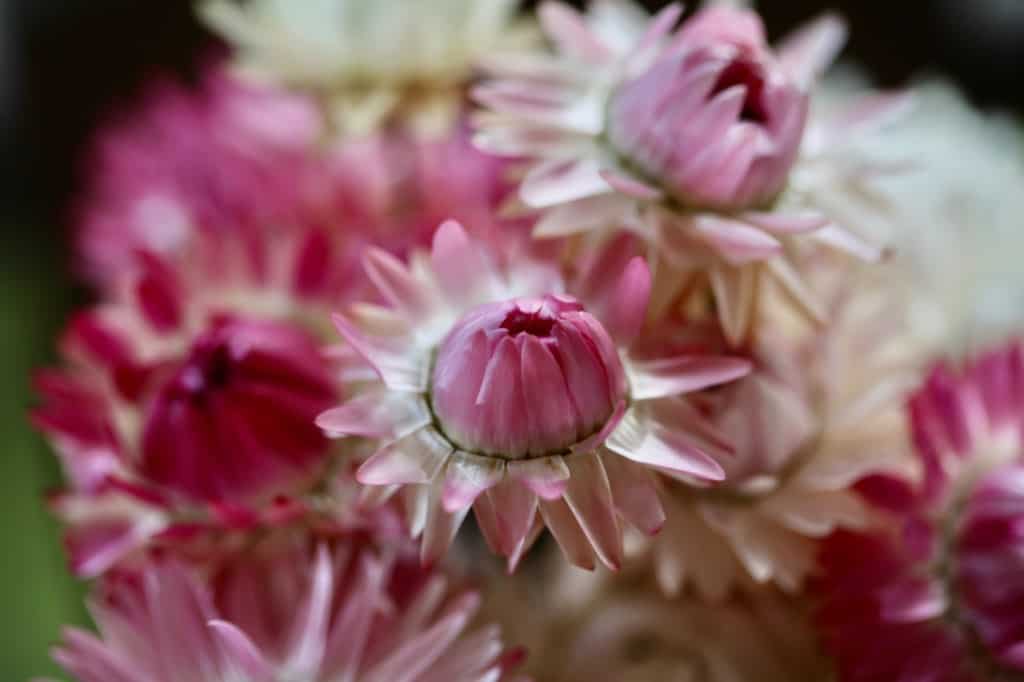
It's important to catch the flowers at this early stage, before they open up, so that they will look their best when dried.
The reason for harvesting at an early stage is that it helps to prevent exposure of the center flower disc in the final dried flower.
The center disc can become brown and unattractive when dried. Dried strawflowers look better when the bracts remain closed over the face of the flower.
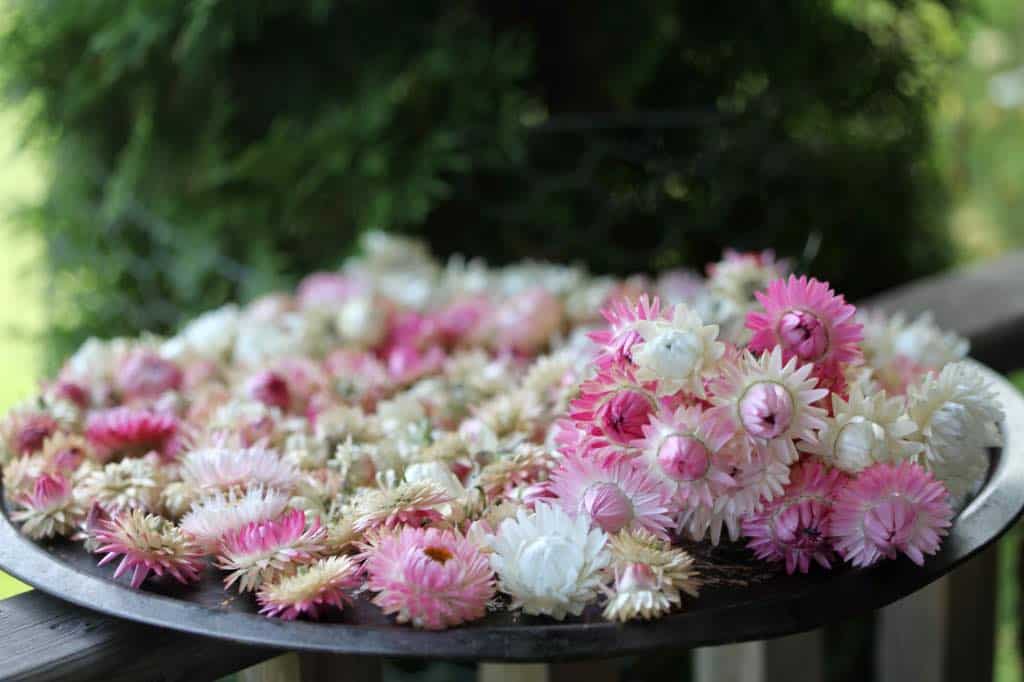
In order to achieve this look, harvest when the flower is still immature, when 2 to 3 bracts have begun to open.
Harvest strawflowers on a dry day, after the morning dew has evaporated from the plants.
The flowers will continue to open after harvest, although if picked early enough, they will not open completely.

Why Wire Strawflowers
As a result of choosing immature flowers, these flowers will have also have immature flower stems, which often can become floppy when harvested. You can keep the stems in place, and dry the flowers upside down, in hopes that they will stiffen in the dried state.
However, even if the stems do stiffen, they are often too brittle to work with in the dried state.
Some gardeners and florists therefore remove the stems from the base of the flower head, and wire the strawflower heads instead. This replaces the natural stems with new stems made from wire.
When choosing to wire strawflowers, the flowers are removed from the stems, before they are dried. The flowers are wired when fresh, which makes the whole process easier.
Once wired, you will have sturdier stems to work with. The wired stems are also more flexible to use when crafting, as well as when arranging the flowers.
How To Wire Strawflowers
Materials Needed
- Fresh strawflowers
- Sharp snips
- Floral wire, 24 gauge
- Wire cutters
- Floral tape (optional)

Choosing The Right Strawflowers
When wiring strawflowers, it's always best to choose fresh and pliable flowers over dried flowers for this project.
When wired in the fresh state, the wires easily puncture the fresh flesh of the blooms. Then once dried, the strawflowers tend to shrink around the wires, holding the wires in place.
If you try to wire the flowers after they are dried, it is not as easy.
Dried strawflowers, although tough in their own right, tend to be more fragile when pierced by wire, compared to their fresh counterparts.
The dried flowers are also often very difficult to pierce with the wire, and are much more vulnerable to damage and bract loss.
Preparing The Strawflowers
- Preparation of the strawflowers for wiring is straightforward.
- Choose flowers with up to three layers of bracts already opened.
- Using a pair of sharp snips, remove the stem from the base of the strawflower. Leave approximately 0.5 cm of stem in place, to prevent cutting too close to the flower base.
- Sometimes a close cut will cause the release of some of the lower bracts from the flowers, causing petal or bract loss. These flowers may not be usable once they begin shedding bracts.

Step By Step Wiring Process
The wiring process can be done in a number of different ways:
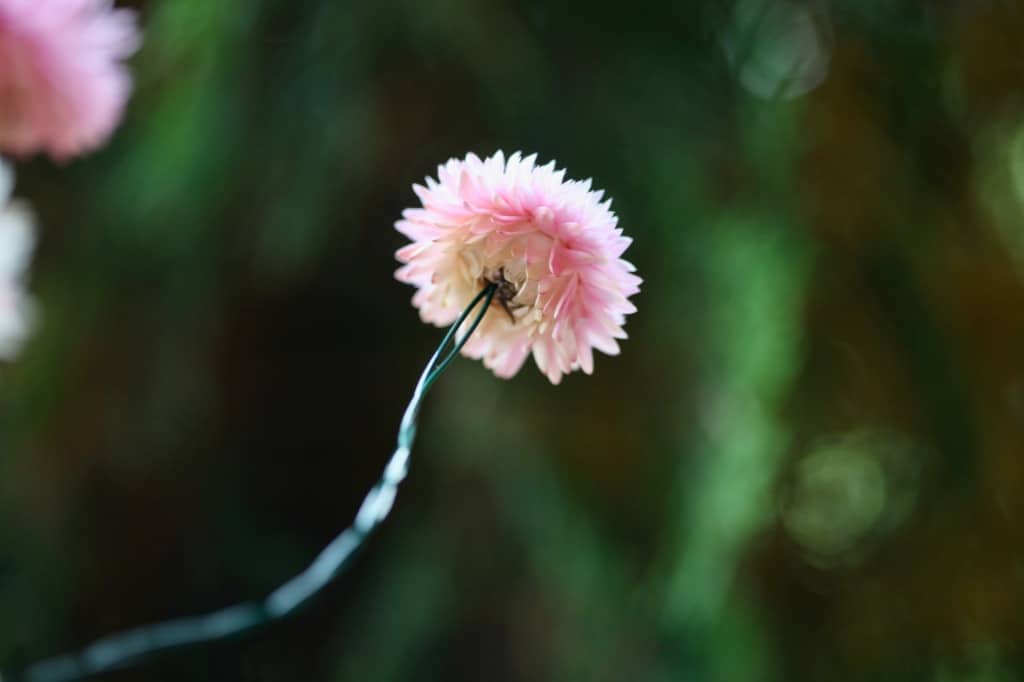
- The wire can be doubled, and poked completely through the top of the strawflower, and left to dry.
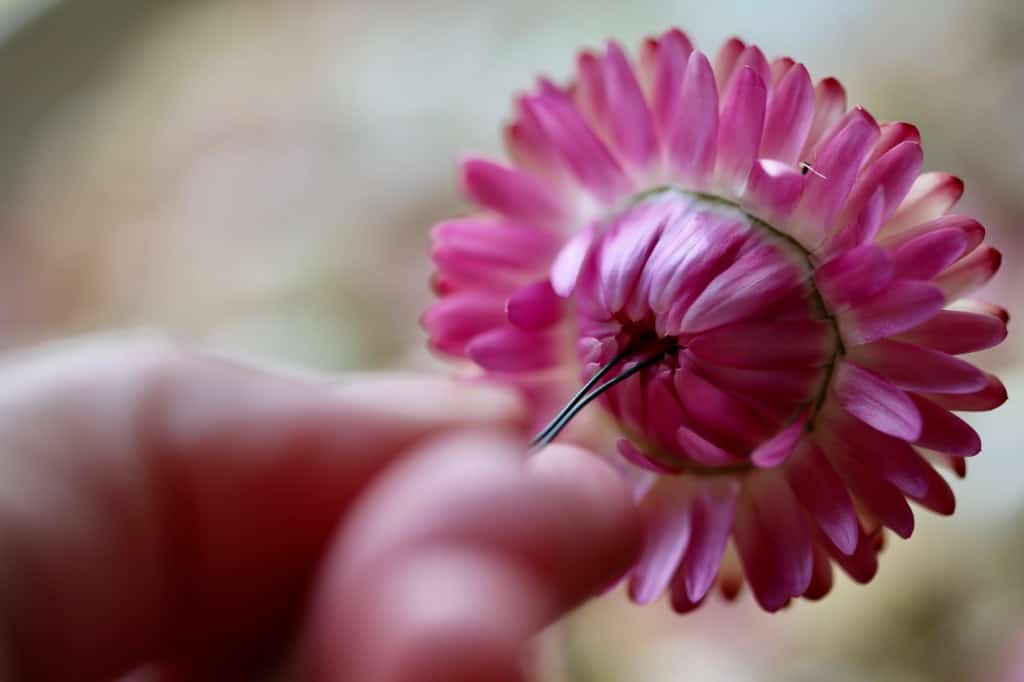
- Alternately, the wire can be a single unit, pushed through the bottom of the strawflower, to dry and be held in place as the flower shrinks around it.
1. Cut The Wire
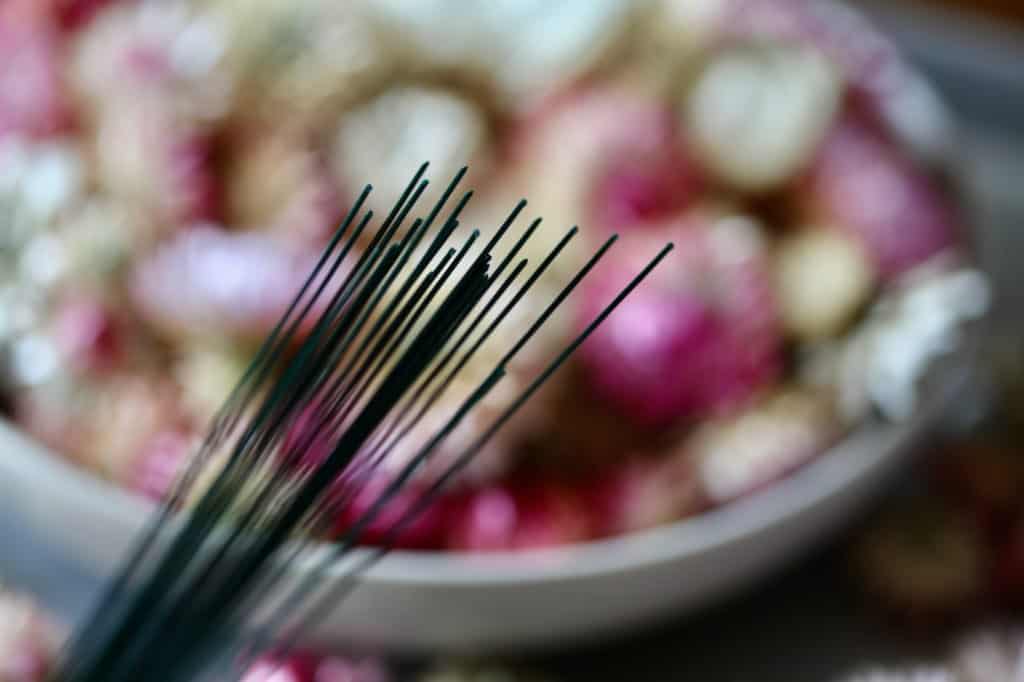
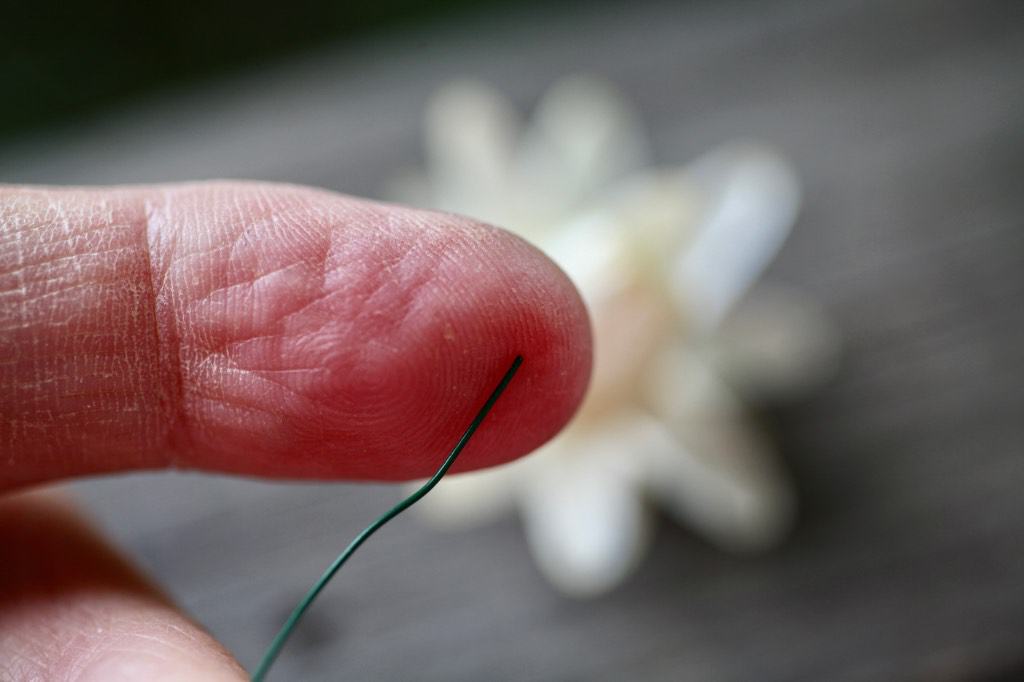
- 24 gauge wire is a good sized wire for this project.
- I found that a smaller gauge, such as a 26 gauge wire, was just too weak to hold the larger fresh strawflowers upright, even when the wire was doubled.
- A larger gauge, such as a 22-gauge wire and 20-gauge wire, also worked well.
- Depending on the intended use for the wired strawflowers, decide on the length for your stems.
- If planning to use the doubled wire method, poked through the top of the strawflower, make sure to double your required length. The reason for doubling is that the wire will be folded upon itself, and then wrapped for strength.
- For example, for a 12" stem, cut a 24" length of wire.
- Cut the wire with a sharp pair of wire clippers. Scissors may work as well.
- Once cut, for the doubled wire, bend the wire in half.
- For the second method of wiring using a single wire, you will only require one length of wire for your desired stem length.

2. Insert The Wire
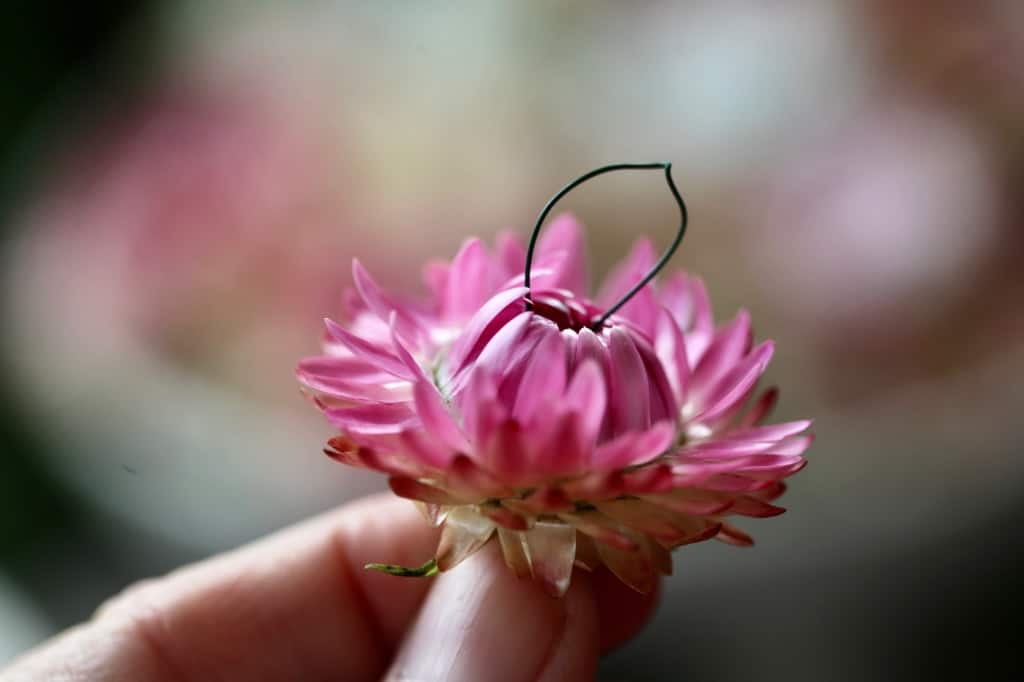
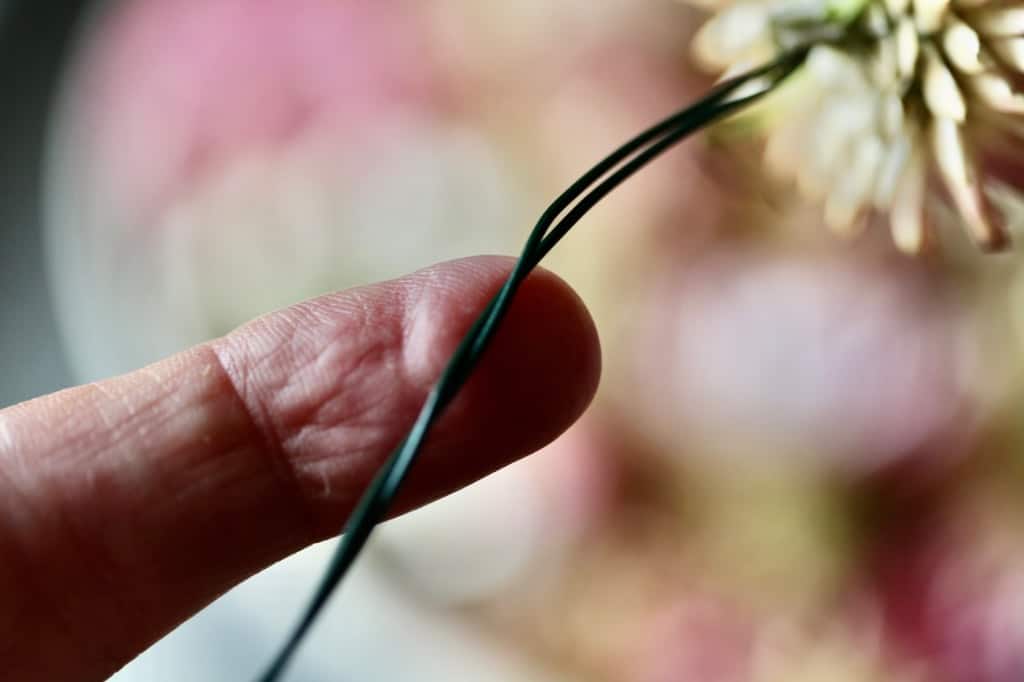
- For the doubled wire, take the two sharp ends of the doubled wire, and pierce through the top of the strawflower.
- There should be a slight distance between the two ends of the wire as they are pushed through the flower. This stops the pieces of wire from entering through the same hole, and sliding completely through the flower.
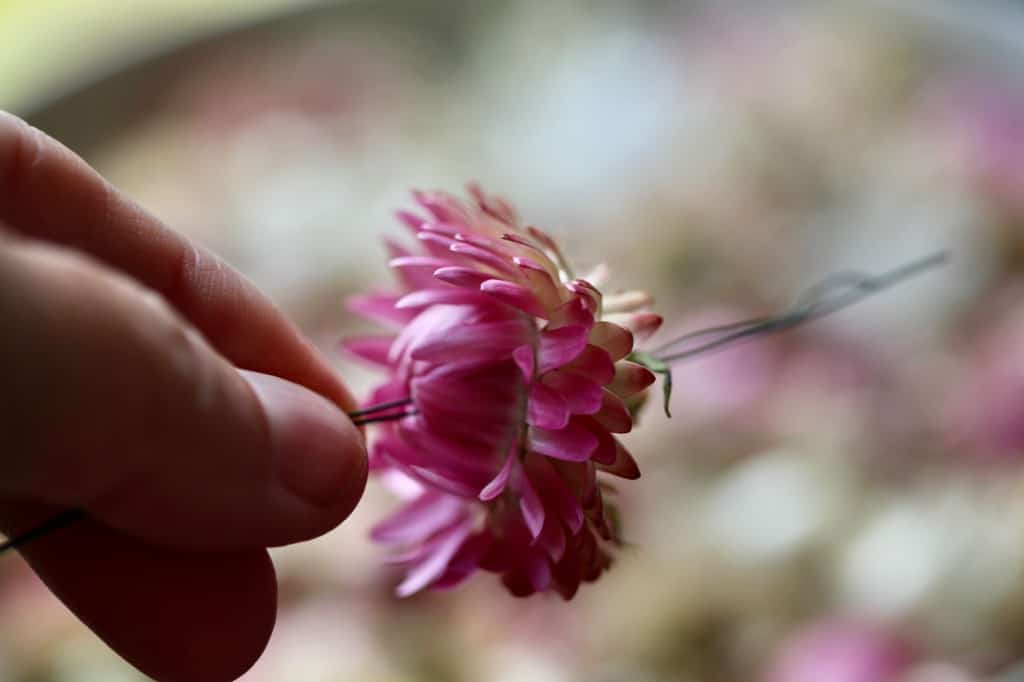
- Pull the wire ends through the other side of the flower, as close to the original stem as possible.
- Continue to pull the wire through until the top loop comes into contact with the top of the flower, inside the bracts.
- Be careful not to pull too hard, as the wire will easily cut through the flower, and you will have to start over again.
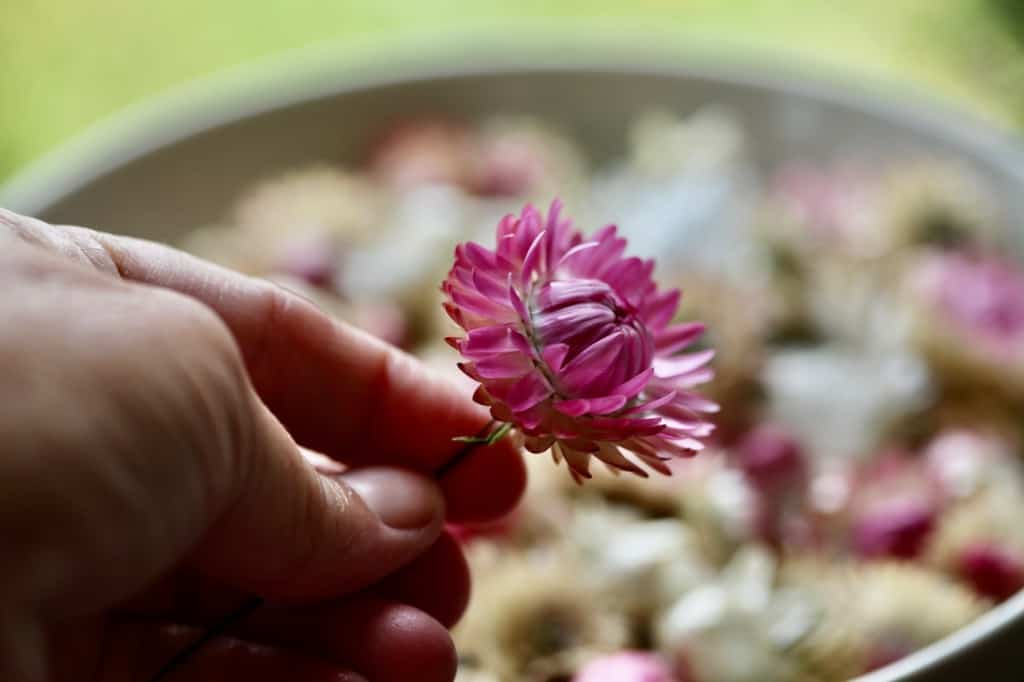
- For the single wired stem, insert the wire into the base of the stem up into the flower itself.

3. Secure The Wire
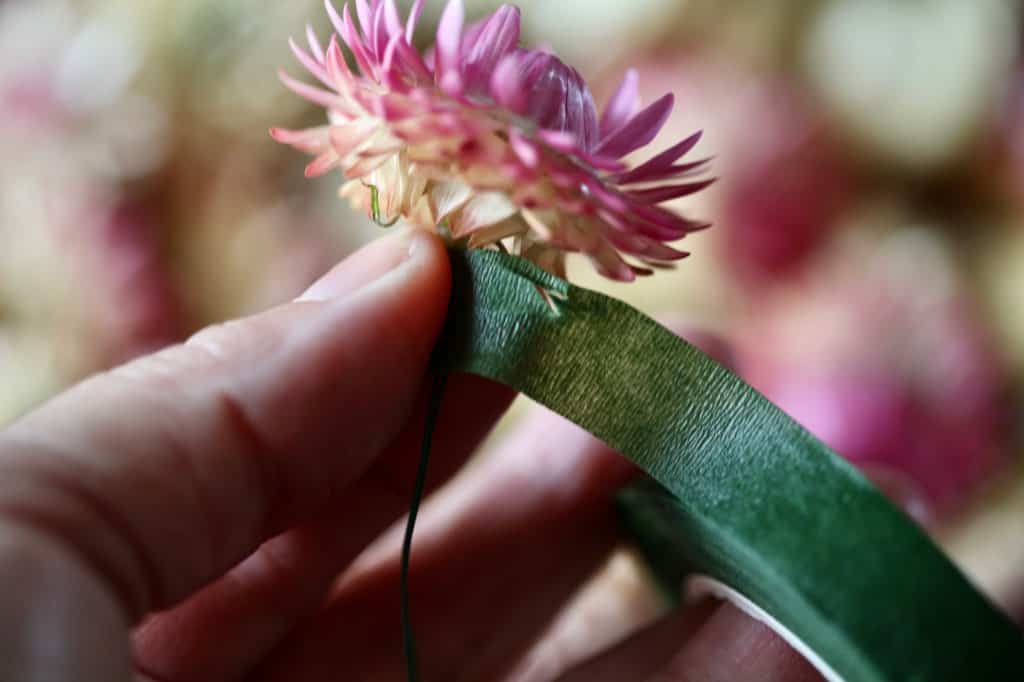
- For the doubled wire, once the two ends of the wire have been pulled through the flower, secure the wires by wrapping them together.
- You can then leave them as they are, or wrap them with floral tape.
- For the single wire stem, floral tape will help to secure the wire to the base of the stem as the flowers dry.
4. Wrap with Floral Tape (optional)
- Wrapping with floral tape is an optional step, and one which will help to give the stems a more finished appearance.
- To wrap the wire with floral tape be sure to stretch the tape in small sections, as you work with it, to activate the sticky wax on the tape, before you start to wrap the wires.
- Wrap each wired stem from top to bottom with the floral tape, creating a finished look on each wrapped stem.
Air Drying The Flowers
Air drying is the simplest way to dry strawflowers.
Once the fresh strawflowers have been wired, and taped, they can then be air dried to complete the drying process.
Air dry in a well ventilated place with good air circulation. Keep out of direct sunlight while drying, and away from locations with high humidity.
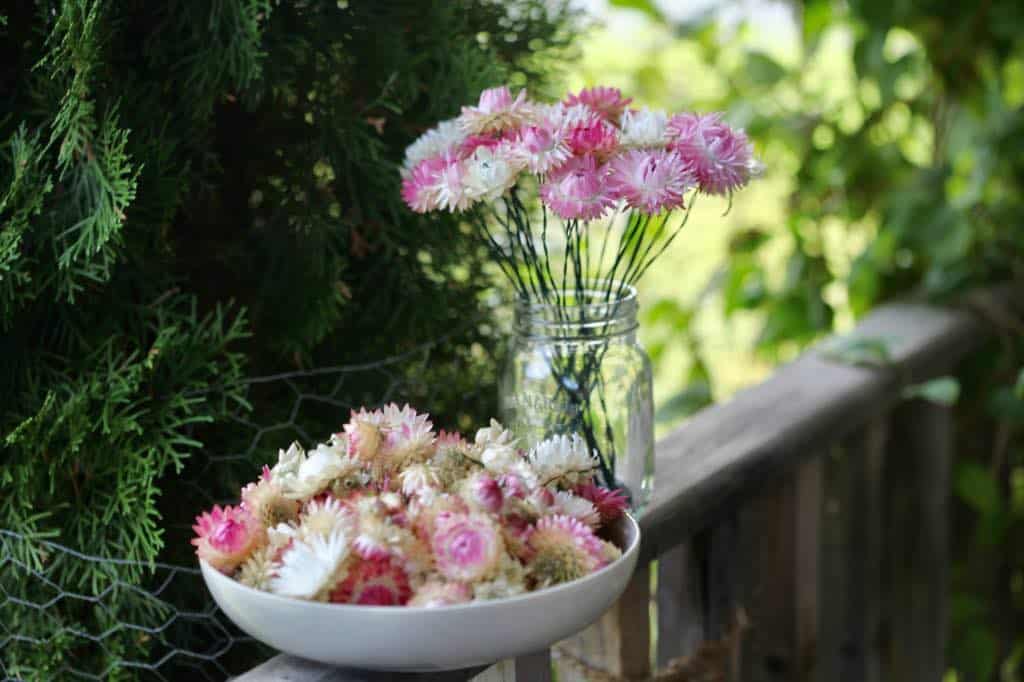
Bunch the double wired strawflower stems together in small bunches with a rubber band, and hang the flowers to dry upside down.
Alternatively you can also gather some of the stems together and place them upright in a vase, to air dry in an upright position.

Both types of air drying methods work well.
For single wire stems inserted into the base of the strawflower, the best way to dry these flowers is upright in a container. In this case the wires are not yet secure enough within the fresh flower to dry upside down.
Drying time is approximately 2 to 3 weeks.
Strawflowers contain minimal moisture, so after they are dried they will lose minimal volume, remaining mostly the same size.

Exposed Wires After Drying
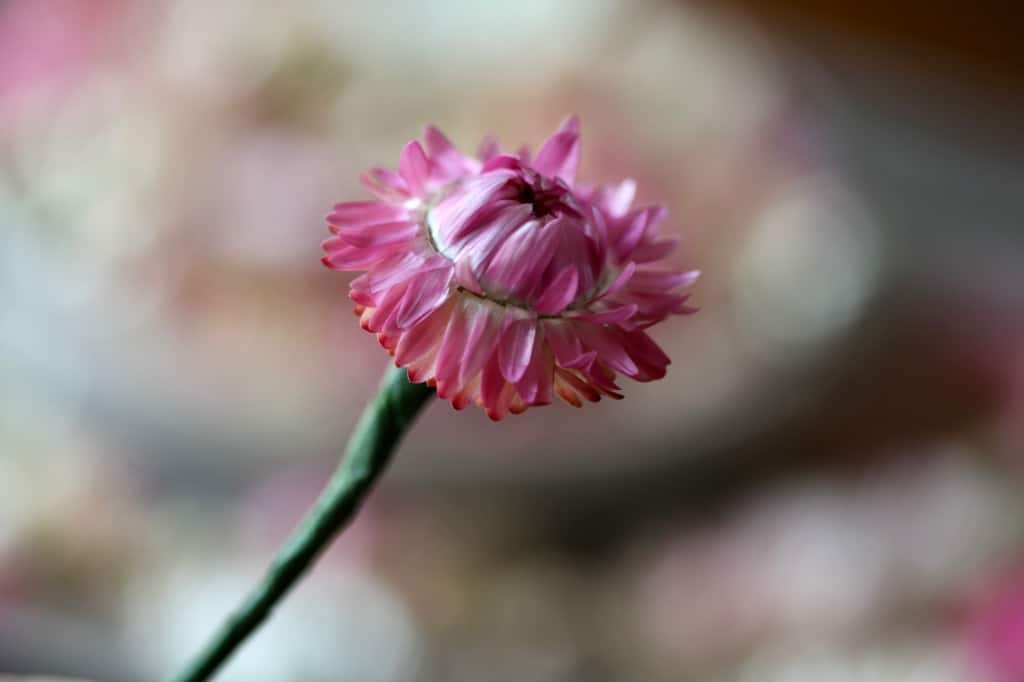
Once the flowers have dried, and opened up more, the wired flowers which were wired from the top may have some exposed wire visible.
If this happens, just gently pull on the wired stem, to pull the wire closer to the top of the bloom.
Smaller wire gauges will be less visible that larger gauges in this instance.


Using Wired Strawflowers
Although wire may not be as pretty in appearance as the natural stems of the strawflowers, the aesthetic is clean and functional.
The wired stems offer flexibility, which makes them simple and easy to use.
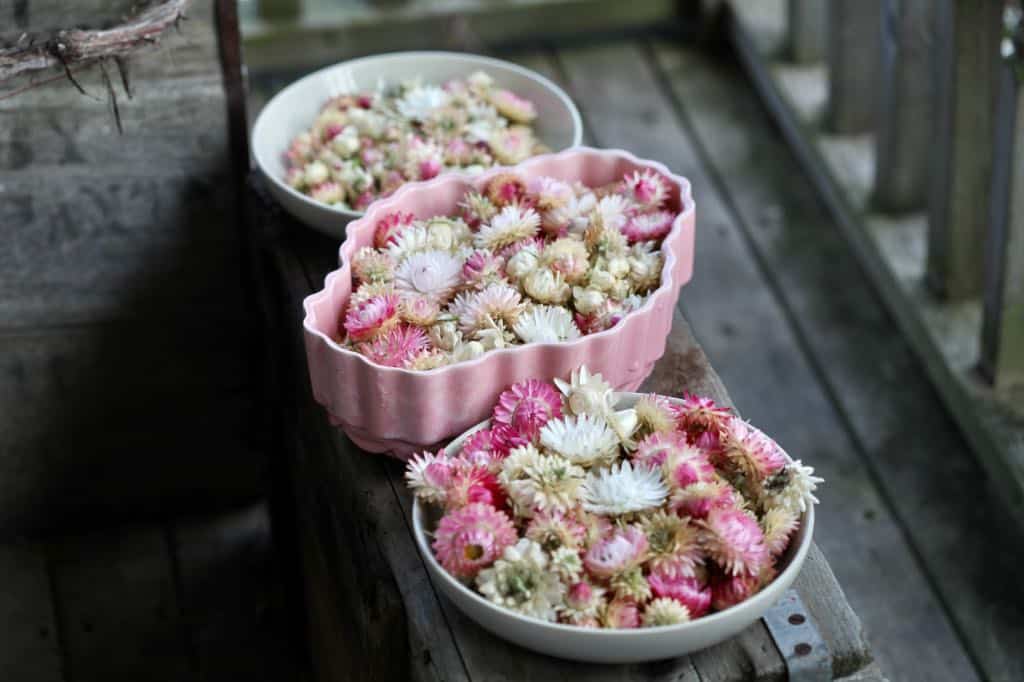
As well, it's important to know that dried strawflowers maintain about 85% of their color after drying.
Some flower colors also take on different hues once they are dry.
For example, pink flowers may have various shades of apricot among the mix. White flowers as well may become more antique and creamy in appearance.
This makes dried strawflowers blooms a great choice to use in all sorts of dried flower creations.
Dried and wired strawflowers can be used in all sorts of applications. These flowers are the perfect size to use in many different floral crafts.
The flowers look beautiful attached to informal dried flower wreaths, either all on their own, or mixed in with other dried flowers.
The wired flowers also look great in flower arrangements, in flower crowns, in dried garlands and swags, and anywhere else where you would use dried flowers with stems. You are only as limited as your own imagination!

Storing Wired Strawflowers
Since wired strawflowers have some length, due to the attached wire, it's best to store in a storage box which accommodates their length.
An airtight container, such as a plastic container with a lid is ideal.
Lay the flowers down lengthwise in the box. Store in bundles, wrapped in tissue paper for protection.
Store in a cool dry place, as well as a dark place for best storage results.

Frequently Asked Questions
How Do You Make Wire Flower Stems?
Wire flower stems are made with florist wire, cut to a specified length. The wire is inserted into a flower to form a stem.
For strawflowers, this is usually done when the flowers are fresh. The flowers then dry around the wire, securing it into place.
Can You Wire Dried Flowers?
You can use dried flowers for wiring, however you may not have as much success as with fresh flowers.
Fresh strawflowers for instance are much more pliable to work with in their fresh state, compared to their dried state.
As well, when using dried flowers, these flowers will not be able to dry around the wire, as fresh flowers do. These flowers therefore may not be secure, and may need to be glued in place.
Completing the wiring process with fresh flowers helps to secure the wire in place, without glue.
What Wire Is Best For Wiring Flowers?
Use a floral wire to make wire flower stems. The higher the number or gauge, the finer the wire.
The best wire gauge to use is dependent on the size and weight of the flower.
For example, a 24 gauge wire is ideal to support a standard dried strawflower bloom, and make a wired flower.
A 26 gauge wire can work for smaller flowers.
Larger wires may be more visible when wiring from the top of the strawflower blooms, so keep that in mind.
I used a 20 gauge wire in most of my projects for this post. I found it a bit thicker than I would like.
My 26 gauge wire was too thin to support a fresh strawflower bloom, however was able to support a dried bloom when wrapped with floral tape.

What Strawflowers Are Best For Wiring?
Fresh immature strawflowers are best for wiring.
The stage of harvest is important, catching the blooms before the yellow center of the flower opens.
You can even harvest the beautiful little offshoots of flowers, with their little flower heads. These small strawflowers can also be wired for an interesting display, especially when mixed in with the regular sized strawflower blooms.
Select strawflowers with a few layers of bracts open for best results.
Conclusion
Wiring strawflowers is more than just a craft, it's an art.
The dried strawflowers can be used in all sorts of craft projects, such as wreath making and dried floral arrangements.
These colorful flowers can enhance any dried flower project with their natural charm and beauty.
The key to successful wiring is choosing the right strawflowers, the right wire, and then dive right in and let your creativity shine.
Consider wiring some strawflower blooms this season, and have fun making spectacular dried flower creations.

Other Posts You May Like:

PIN IT FOR LATER!


Leave a Reply