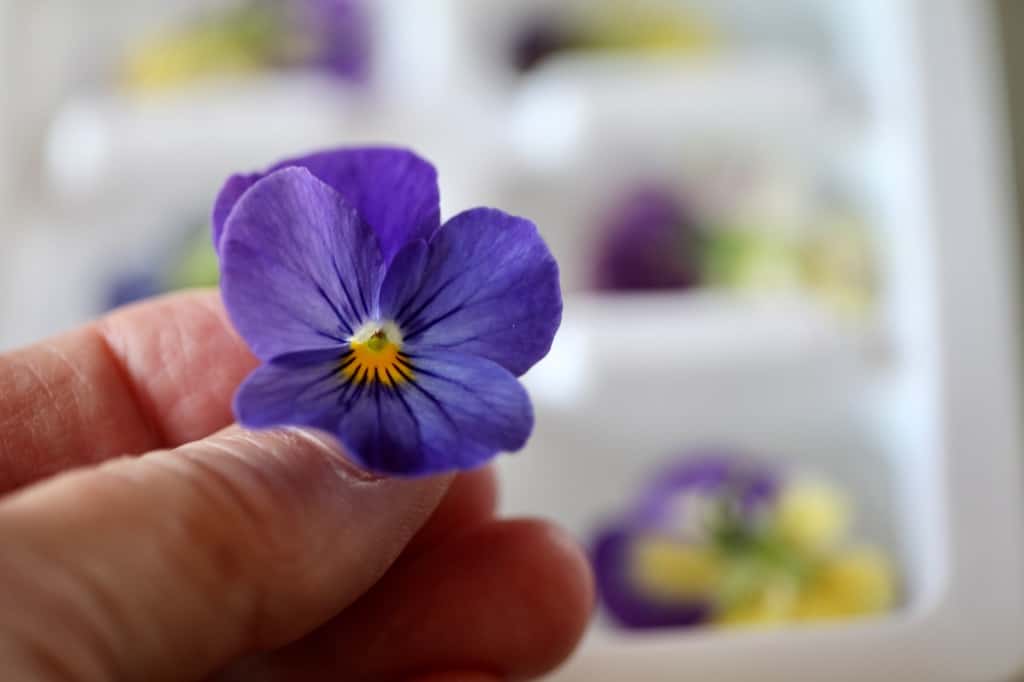
Pressed pansies and violas are the sweetest dried blooms. These adorable dried flower faces can be used in many projects long after the plants have finished blooming. Learn how to press pansies and violas, and preserve the blooms for future use.
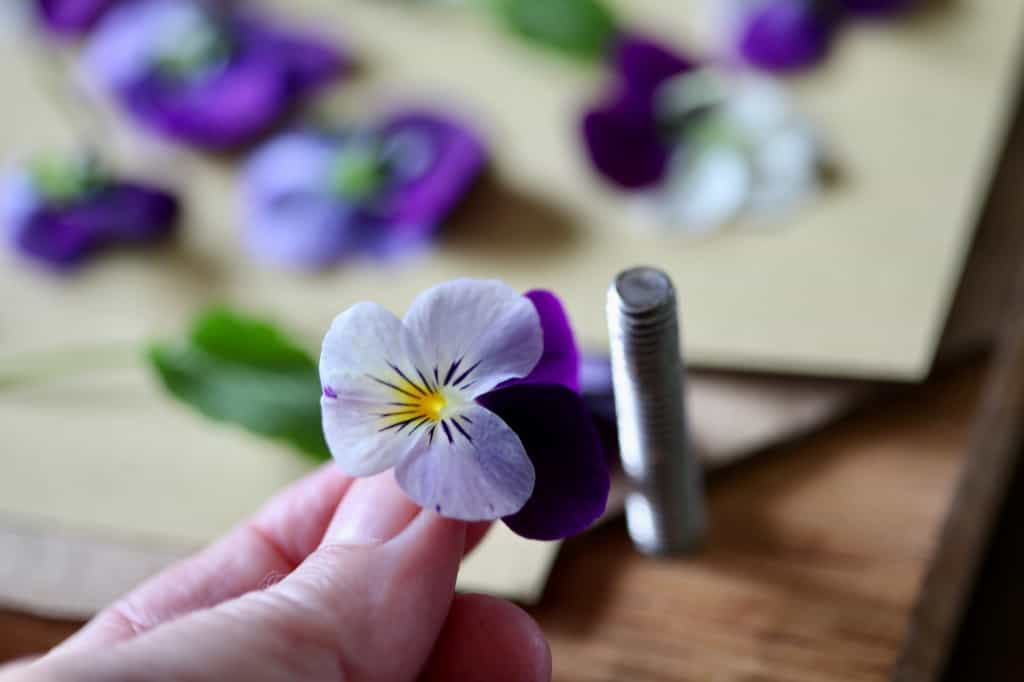
Pressing flowers is a fun activity during the growing season.
Pressing allows you to dry flowers and preserve fresh blooms when they are at their most beautiful. Once preserved, you can then use them later on, in other ways.
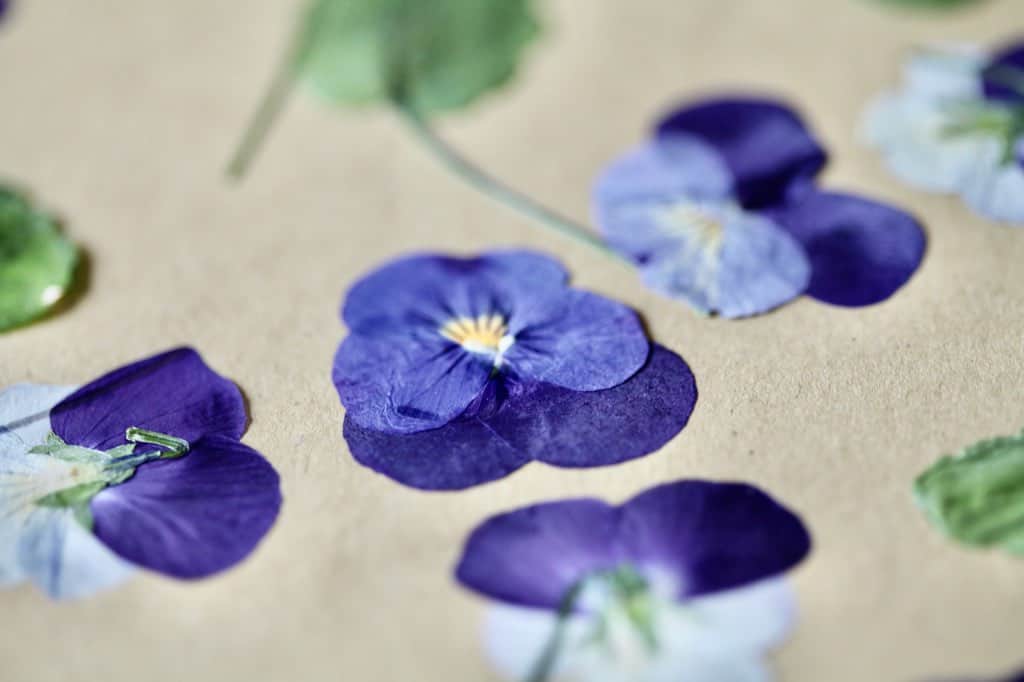
Pansies and violas are perfect for pressing, as the simple blooms have colourful and thin petals, which are a perfect pressing combination compared to many other flowers.
These sweet annuals and perennials bloom prolifically in the cool temperatures of late spring. This is the best time to harvest some of the blooms.
After harvesting, they will continue to bloom even more productively.
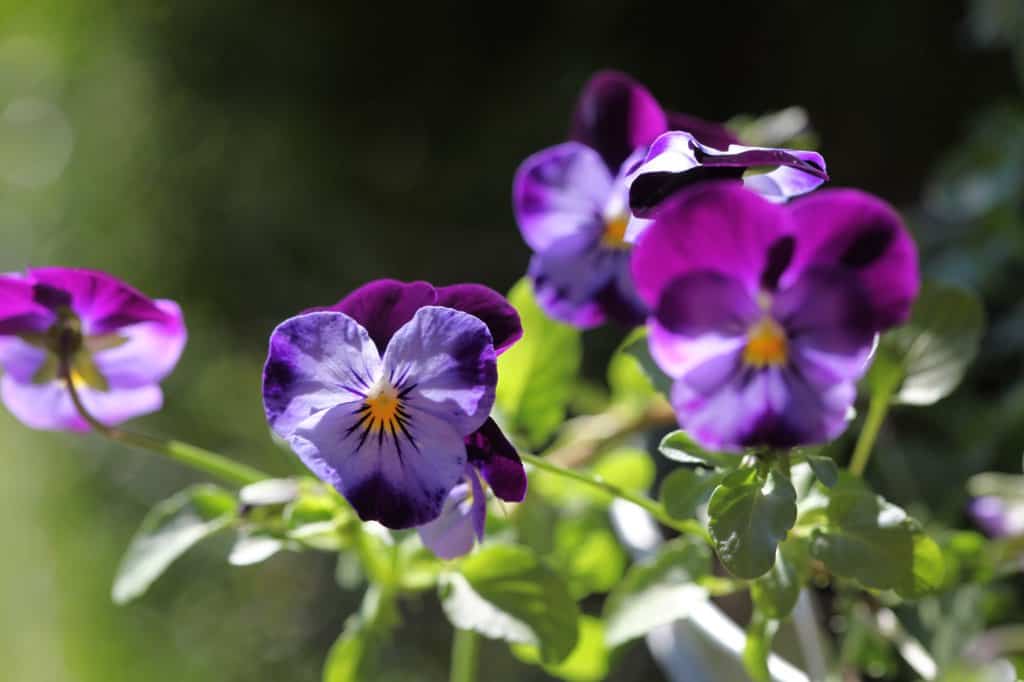
As the warm season progresses, the tiny blooms tend to lag a bit, but you can still keep growing them by moving them to a cooler spot.
The combination of colors on the blooms makes for a very colorful display, no matter how you plan to use them.
Pansies and violas are edible flowers, and can be used in so many ways.
You can certainly use these little flowers fresh, and the flowers hold up very well. They are fantastic to use in a fresh display.
They are also fabulous to use in the pressed state.
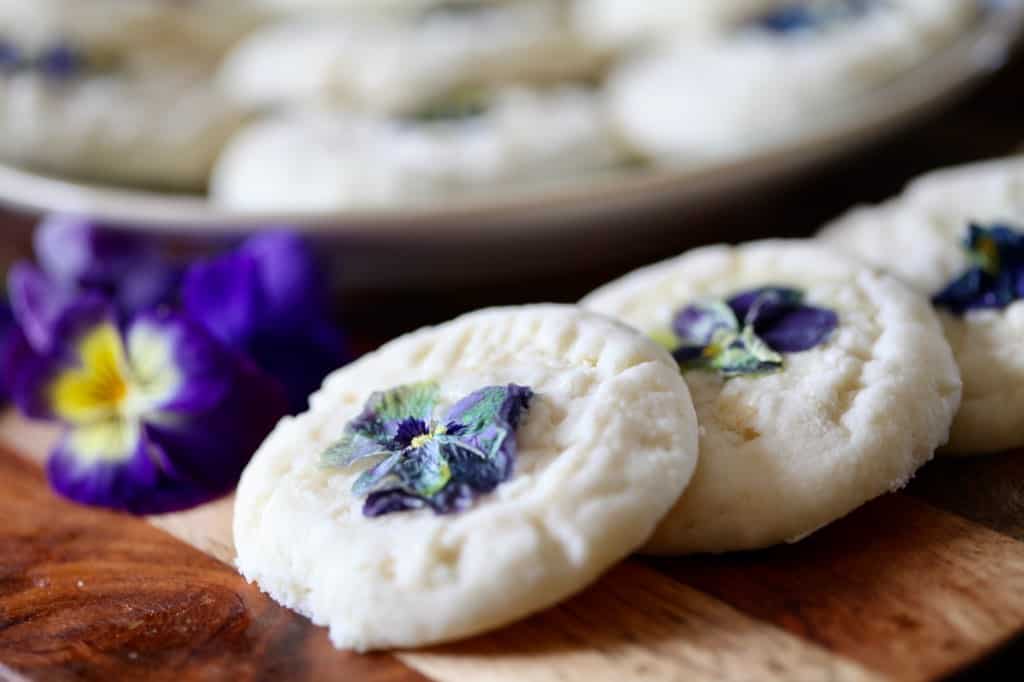
Think pansy ice cubes, edible candied flowers, edible flower cookies, and cakes decorated with the colourful cute blooms.
How To Press Pansy Flowers
Pressing pansies will dry the flowers, preserving them for later. That way you can use all of the blooms when you have excess production, and not let any of them go to waste.
Next let's have a look at some considerations for pressing pansies for best results.
Collecting Your Blooms
It's best practice to use only the freshest flowers for pressing and drying. Fresh flowers will give you the best results.
If you are planning on eating your pressed blooms, harvest only those flowers that are safe to eat. That includes only organic, and none that have been sprayed.
It is always best to harvest flowers in the morning if possible. This is the time when they are fully hydrated, before the heat of the day.
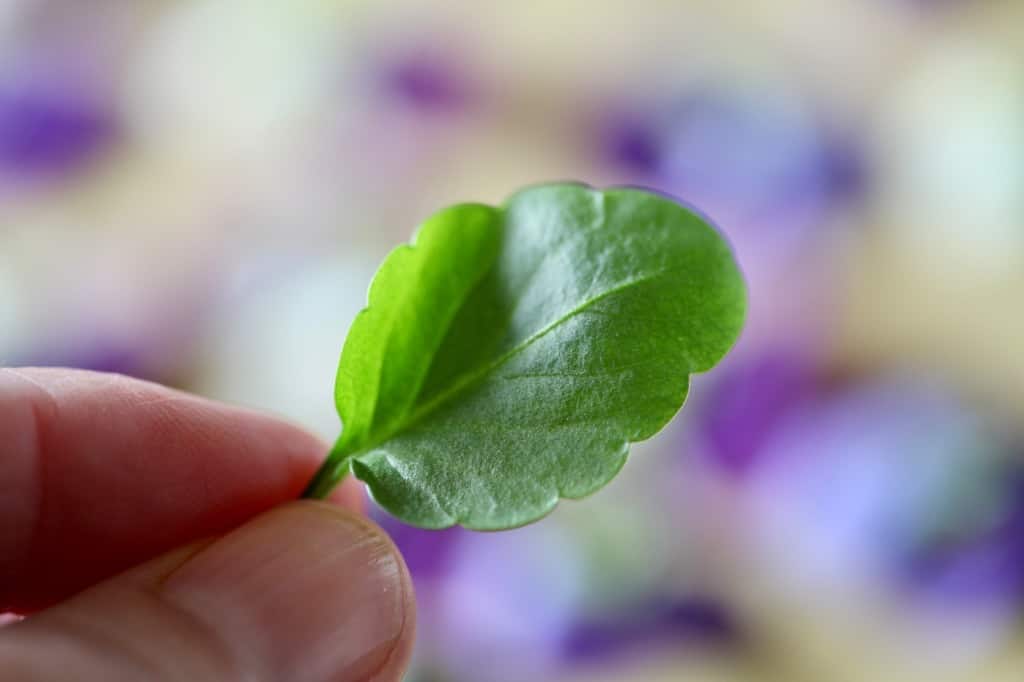
Make sure to collect some leaves as well, as they are great when dried, and add a nice touch with the flowers.
Pick the blooms after they have dried from the morning dew. Any extra moisture may place them at risk to molding, so make sure they are dry before picking.
Make sure as well to pick on a dry day, rather than one that is misty and wet.
That being said, sometimes you just want to harvest when you want to harvest. If this is the case, then just make sure that the flowers are dry before pressing.
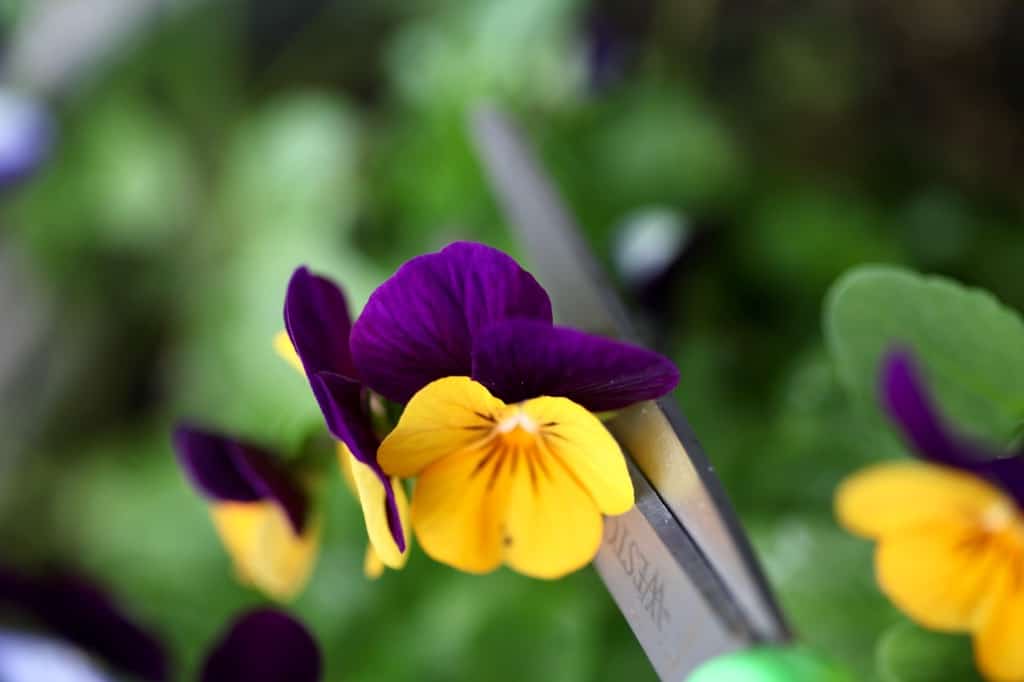
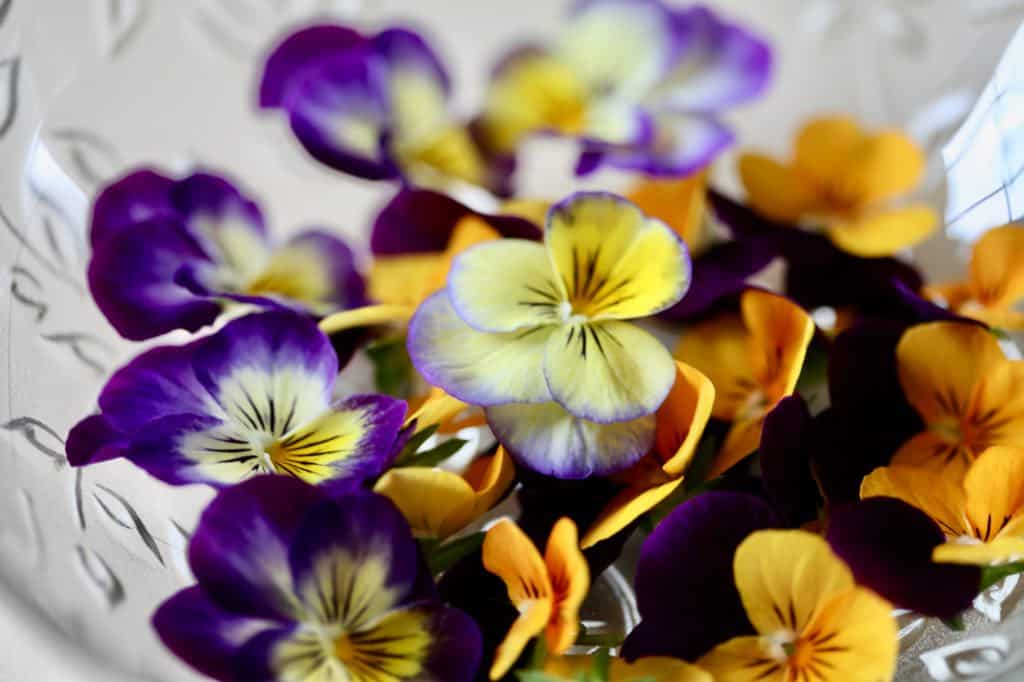
With a pair of scissors, cut your pansy and viola blooms from the plant. Collect them in a clean bowl or container.
Preparing For Pressing
When preparing your pansies and violas for pressing, consider that they will be pressed flat.
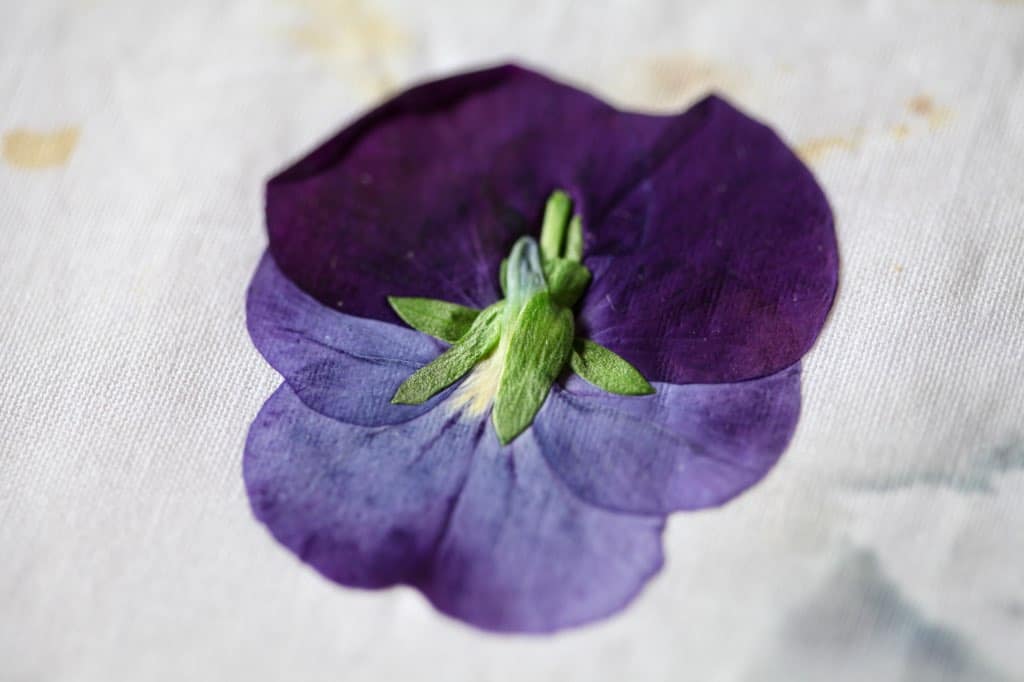
It is sometimes helpful to remove the bit of stem from behind the flower heads. Removing the stem will help the flowers to sit even flatter, although is not entirely necessary.
Do this only if you do not want the stem. If you want the stem on the flower head you can leave it on.
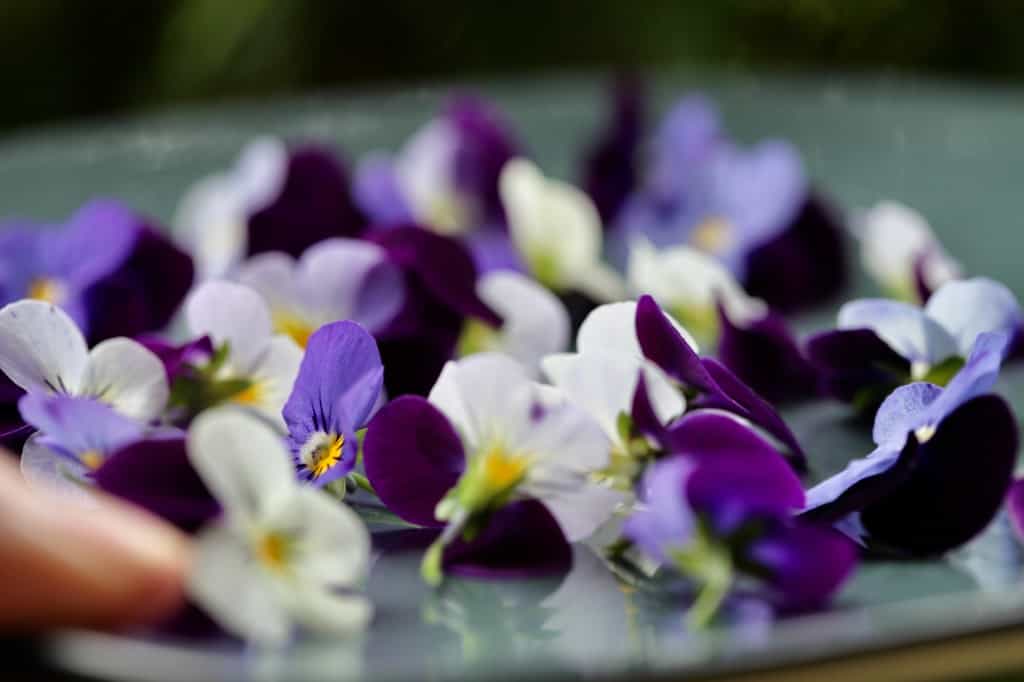
For example, if your end product is going to be only pressed flower heads for decorating, then remove the stem.
If the end product however will benefit from the stem attached, such as in a pressed flower display with flowers, stems and leaves, then definitely leave the stem in place.
I find that the stem really only gets in the way when the flowers are fresh and you are using them for decorating.
Once pressed, the stem tends to flatten as well.
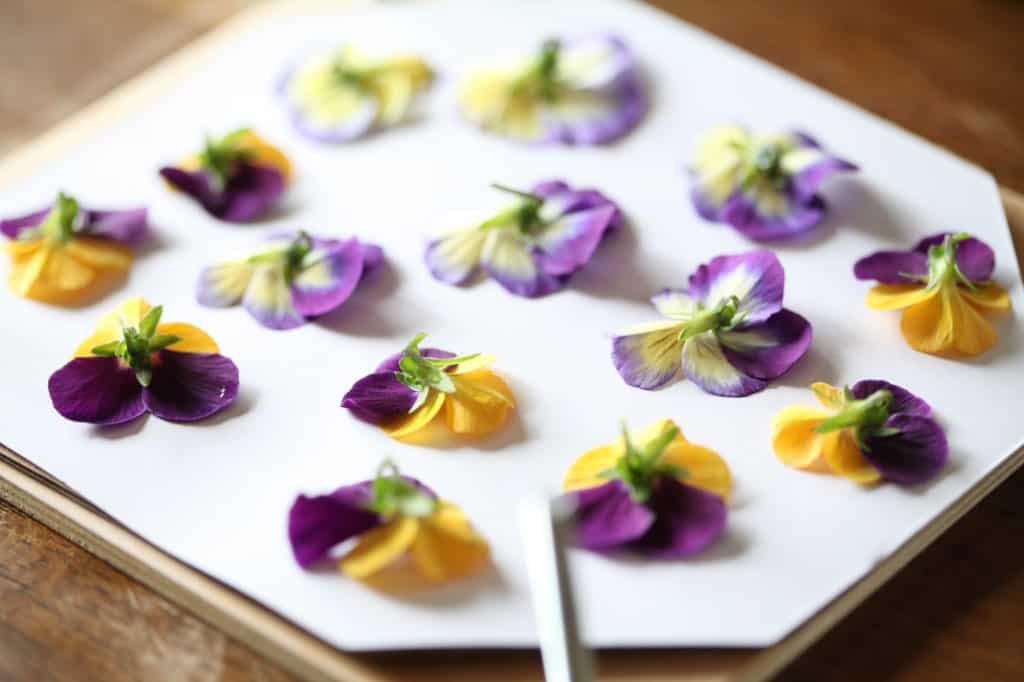
Regardless of your chosen pressing method, it is easier to press pansies when they are face down. That way the flower faces will open up as they are pressed, and you are less likely to have folded over petals.
Methods For Pressing
Press Pansies In A Book
A more traditional and somewhat romantic way to press pansies is to place them in a book.
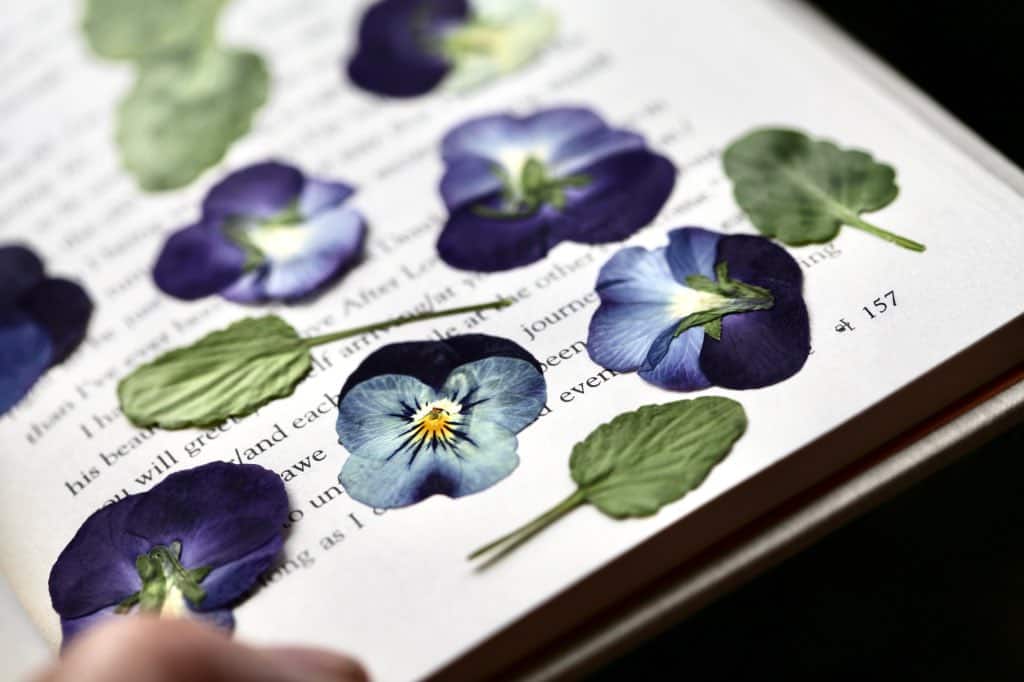
The pressure exerted from the covers and pages of the book will compress the blooms flat. As well, the pieces of absorbent paper will help to wick away moisture.
The inside of a book is the perfect place to press many small flowers like pansies.
The only issue really with this pressing method is that the dyes from your blooms can transfer to the pages of the book. It is important to be aware of this, and to take care.
Placing tissue paper or paper towels between the pansies and the paper, will help prevent the dye from contact with the paper, although not always.
It's best not to use wax paper, as this type of paper is not absorbent and will not enhance drying of the blooms.
Sometimes as well, if there is a lot of moisture on the flowers, moulding can occur. This moulding can then transfer to the pages of the book.
So make sure to use an old book and not one of your favourites, just in case.
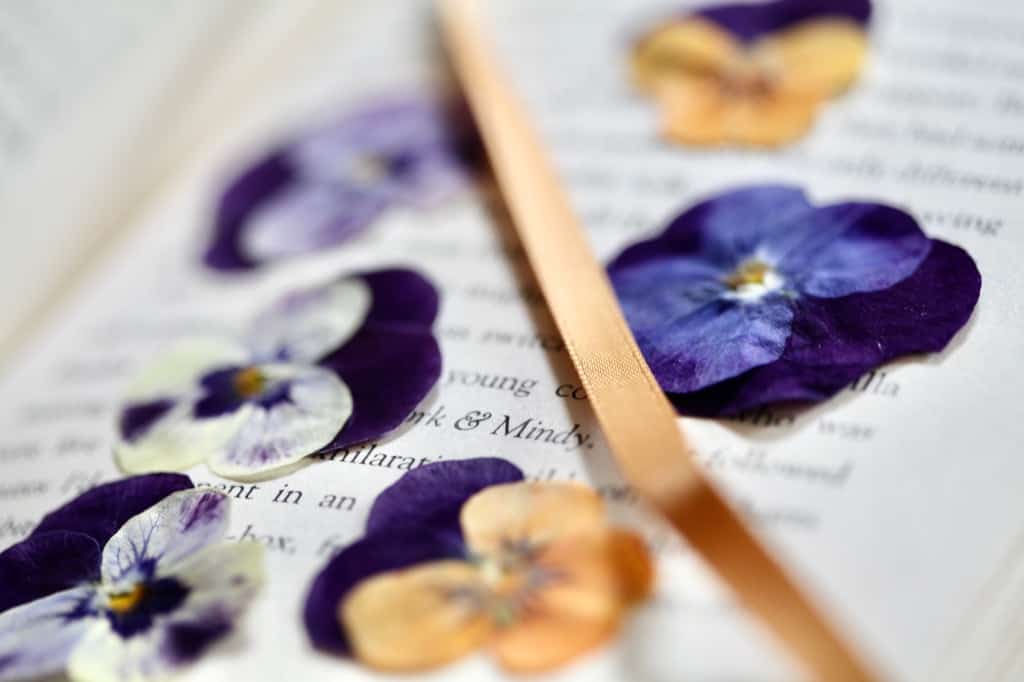
To Press Pansies In A Book:
- Try to use a heavy book, and one that you don't mind getting some flower dye on. An old phone book is a good choice.
- Place the flower heads face down on top of tissue paper placed on a page in the book.
- Make sure to leave a space between each bloom to prevent transfer of mold, just in case it occurs.
- Cover the tissue paper with as many pansy flowers and leaves that will fit on the page.
- Place another piece of paper over the flowers, and then close the book.
- Place the book under a pile of heavier books, or back into a tight bookcase.
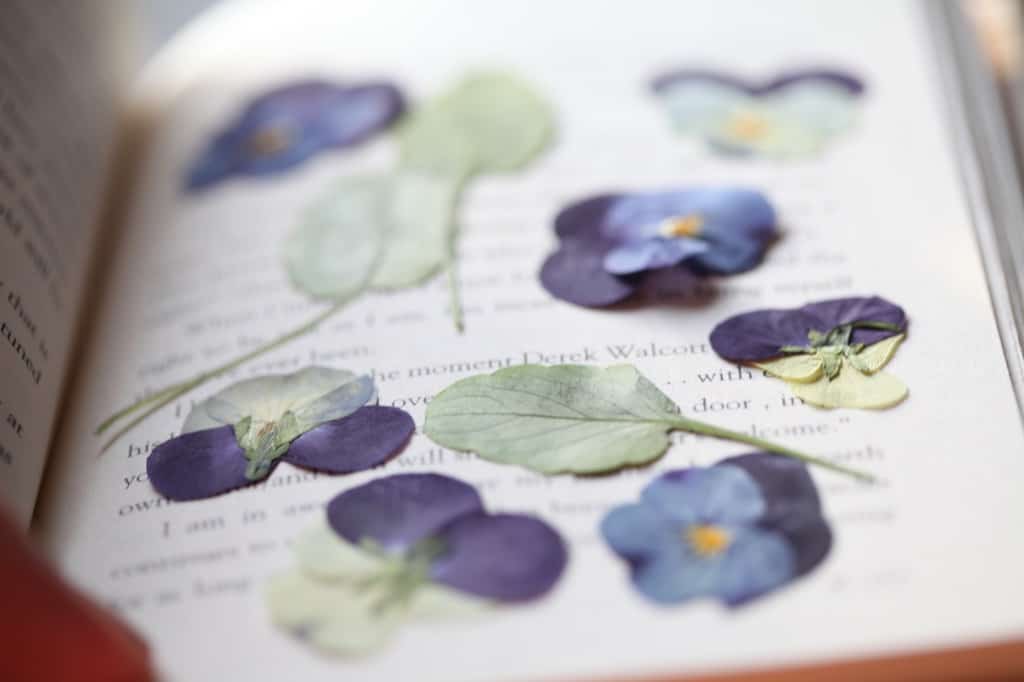
- Within several weeks the pansies will be pressed and dried.
Press Pansies In The Microwave
- Using a microwave press is another option for pressing pansies.
- Microwave presses are usually purchased, and are designed specifically to protect the flowers during the pressing process.
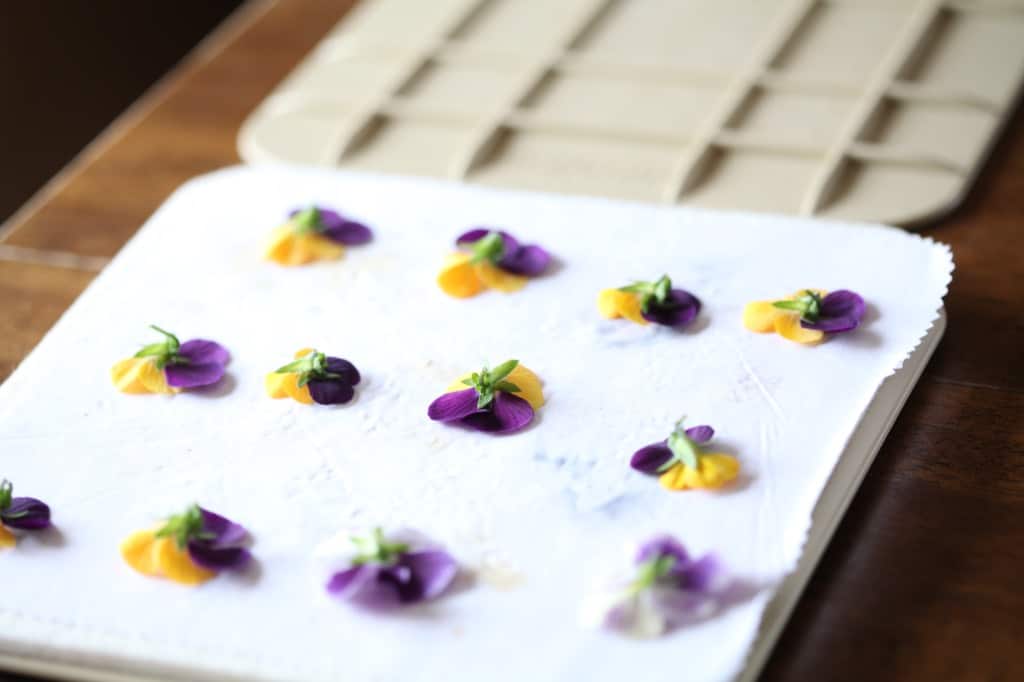
- This pressing process is very quick compared to the others, although there is a certainly a learning curve involved.
- The microwave press comes with all parts that are safe to use in the microwave. This includes heat absorbent pads and fabric, as well as the covers.
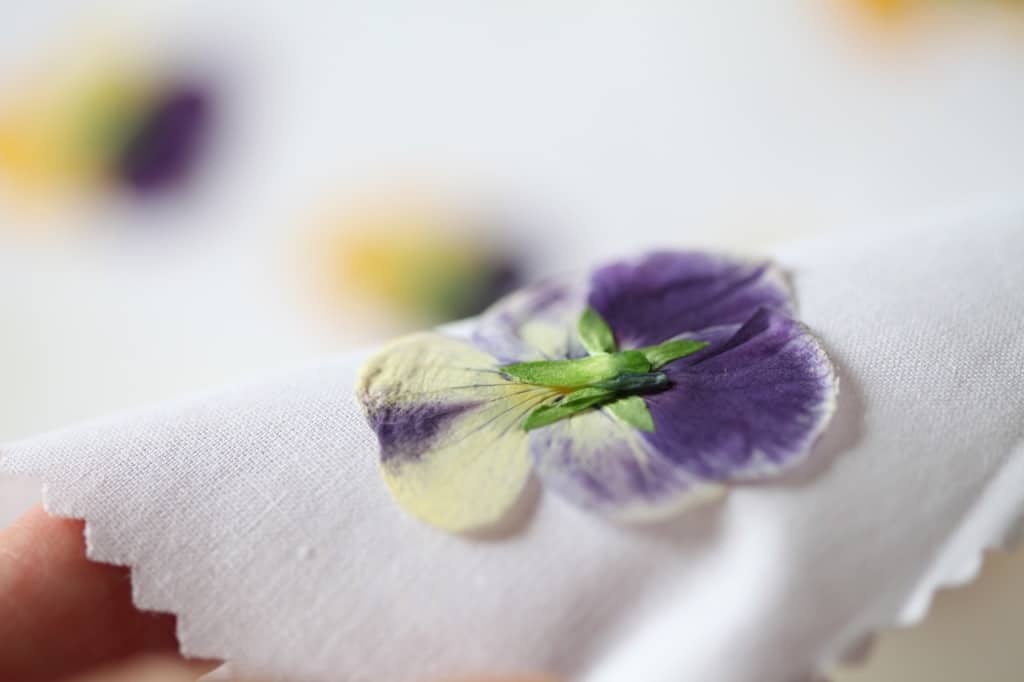
- The fresh flowers are placed between two pieces of fabric, which are then sandwiched between two heat absorbing pads.
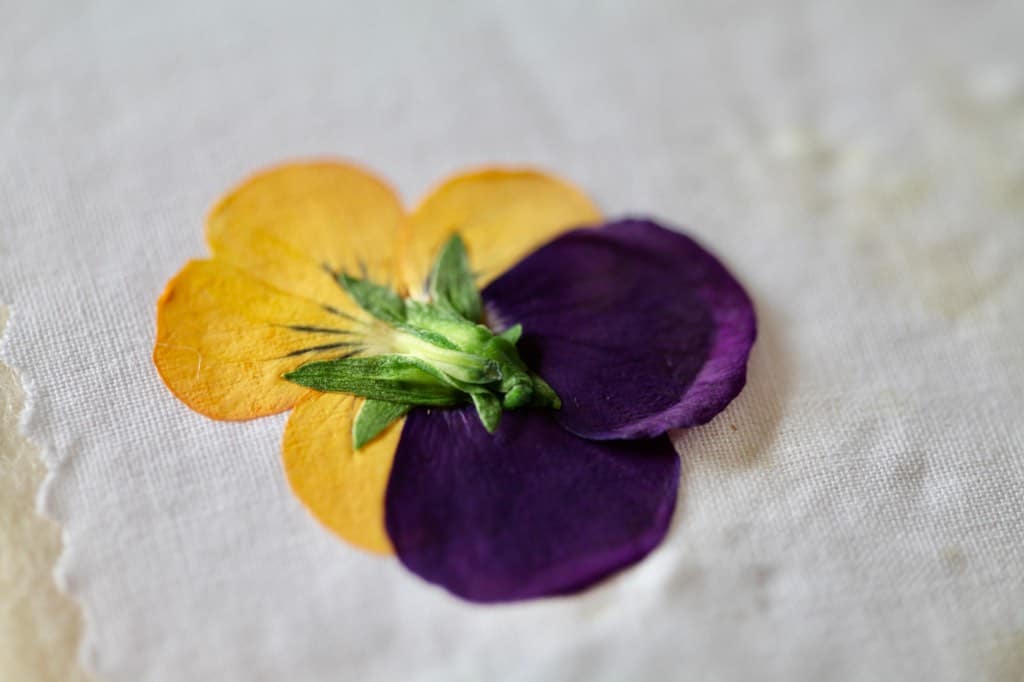
- Set up your microwave press, with the pansy flowers facing down on the fabric. Sandwich the flowers between the fabric, and then the pads.
- This setup is then enclosed by the microwave press outside covers, and clipped together with special clips.
- Close the press with the clips, and then microwave the flowers.
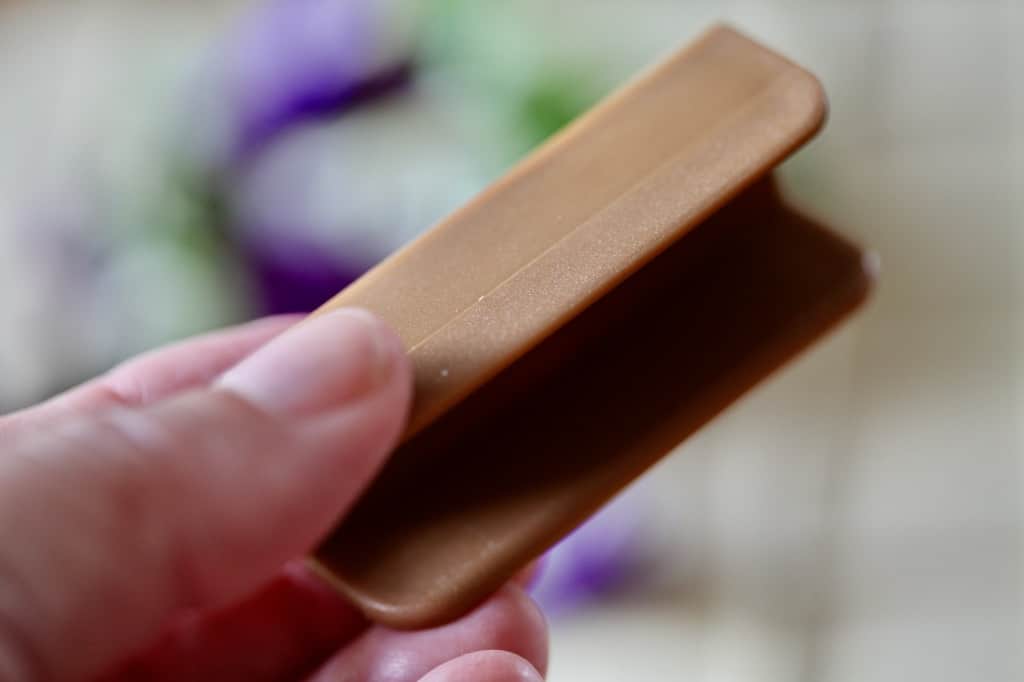
- Microwave in short bursts on low heat, cooling in between, until the flowers are done.
- You will notice that the absorbent pads and fabric become wet with the moisture from the blooms.
- Test the process carefully with your own microwave.
- I found that it was easy to overheat the blooms and burn them using this method.
- I tend to remove the flowers before they were completely done, and press them with more conventional methods for several days longer.
- The pansies were microwaved for 5 seconds, then again for 5 seconds, and then 10 seconds three more times.
Press Pansies In A Flower Press
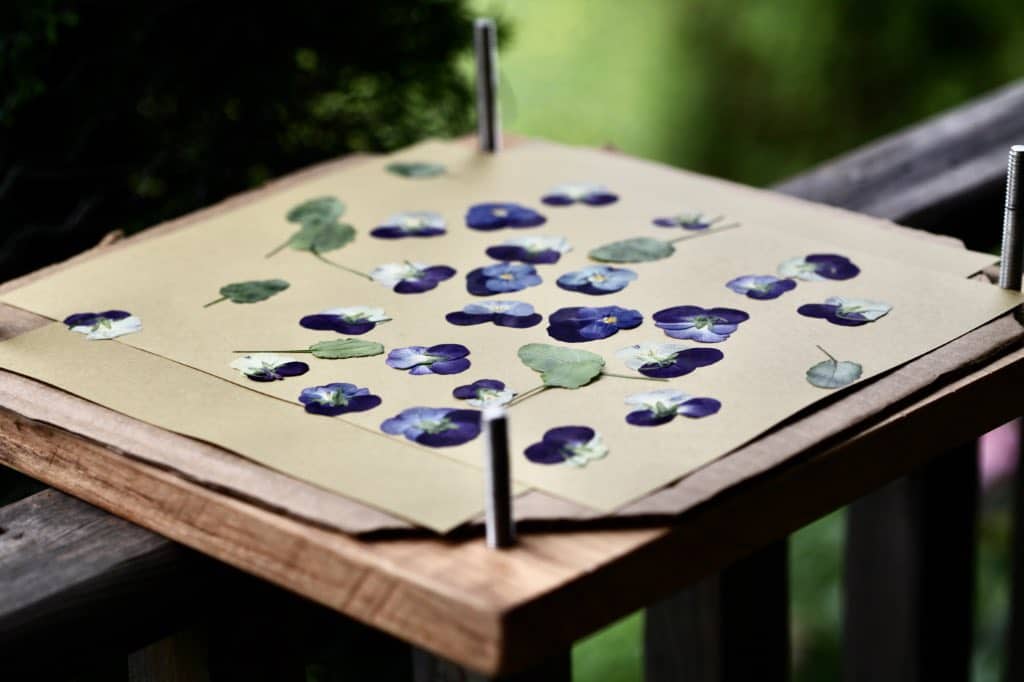
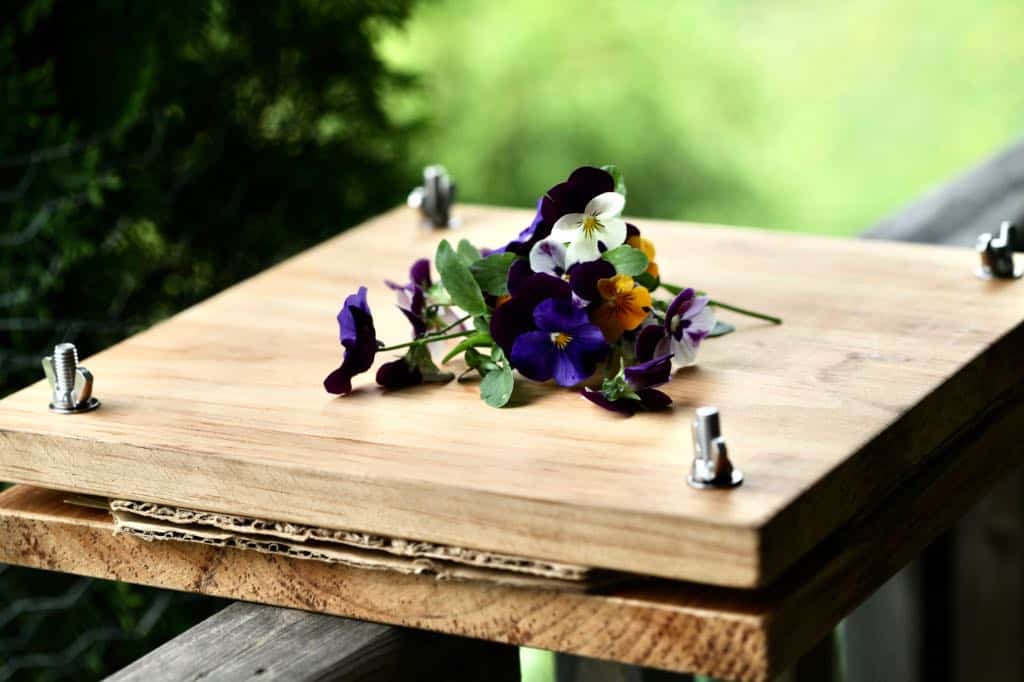
- Pressing pansies in a wooden flower press is probably the easiest way to press them.
- You can make your own DIY flower press with pieces of plywood, which is what I did. Making your own wooden press gives you some control over dimension and depth of the press.
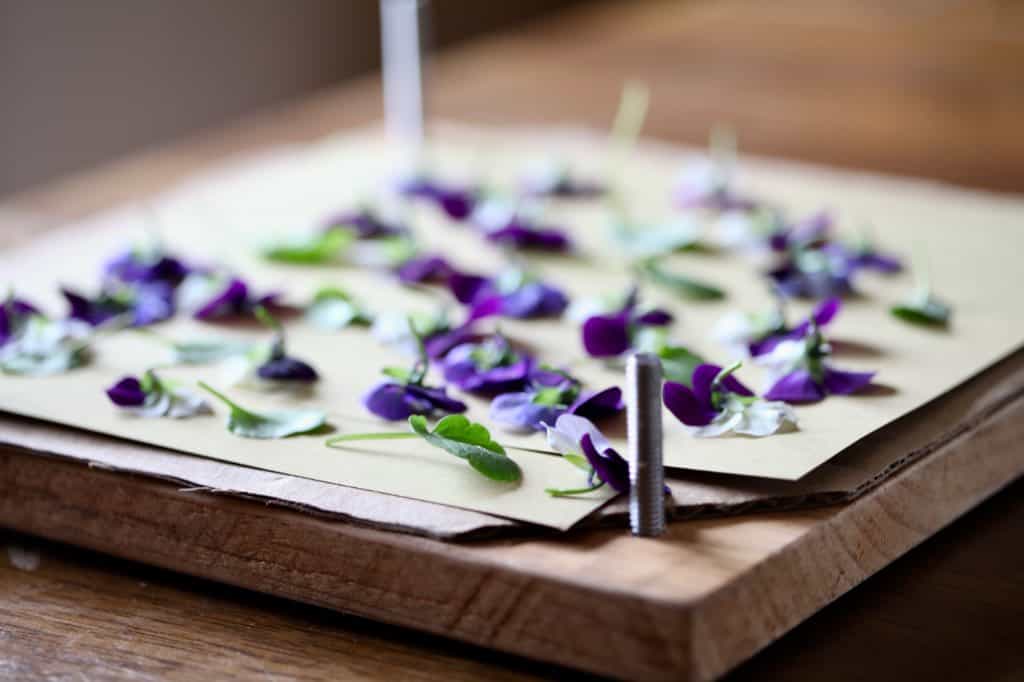
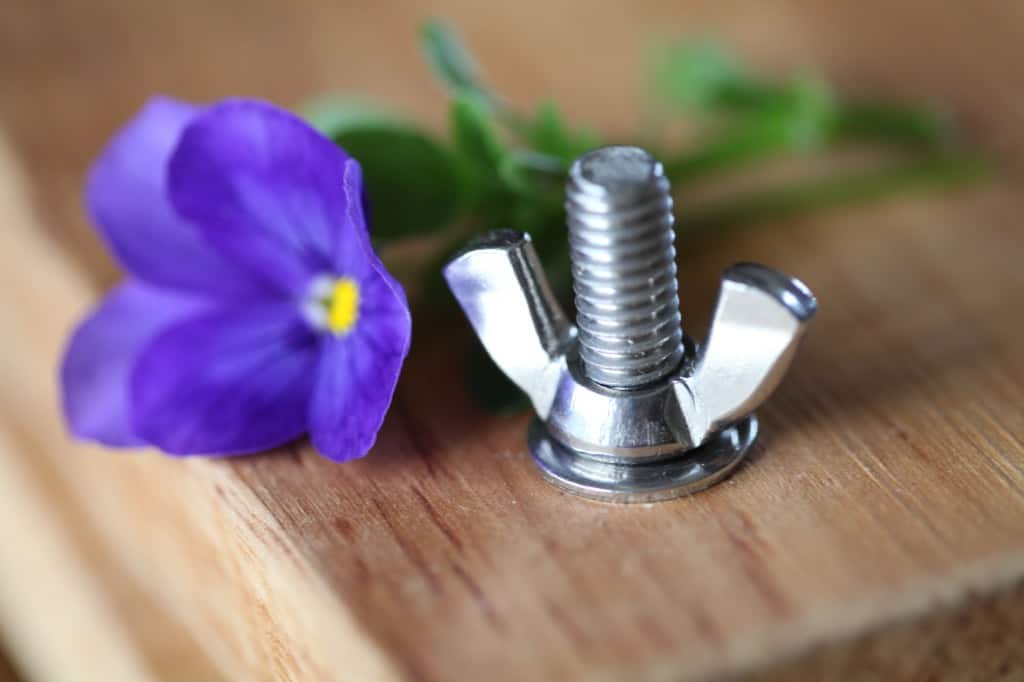
- You can also purchase store bought presses, if you have not made one of your own. I also have a purchased press, which is handy when my own is full of drying flowers.
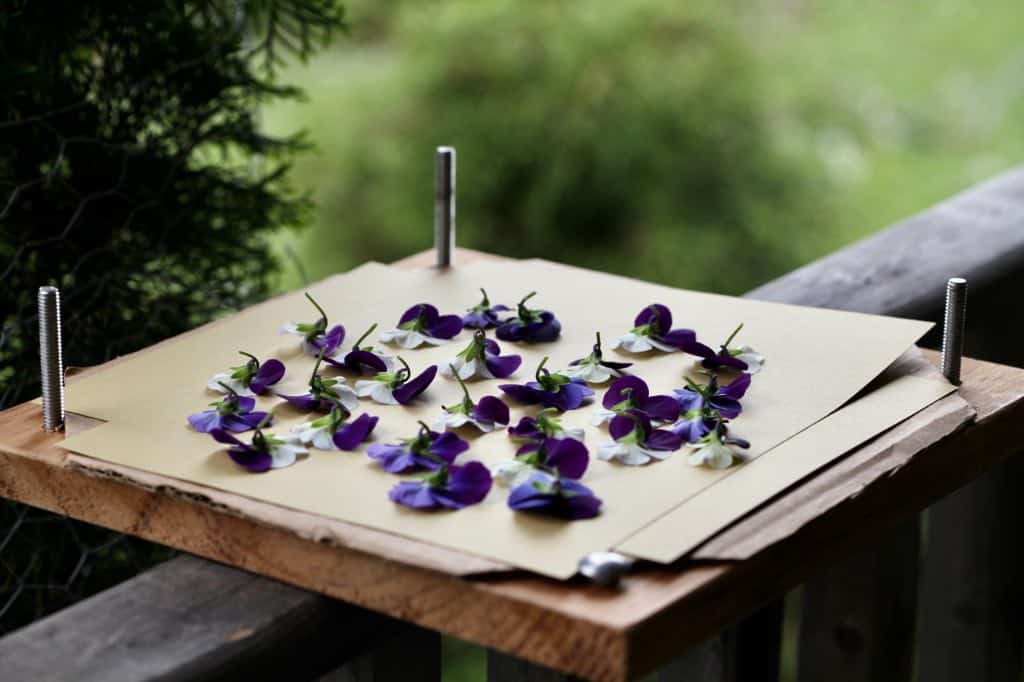
- Pressing flowers in a press is similar to the method of pressing in a book. The flowers are sandwiched between two pieces of paper, and then two pieces of cardboard.
- You can stack multiple sandwiched layers inside your press, and as many as you can fit together all at once.
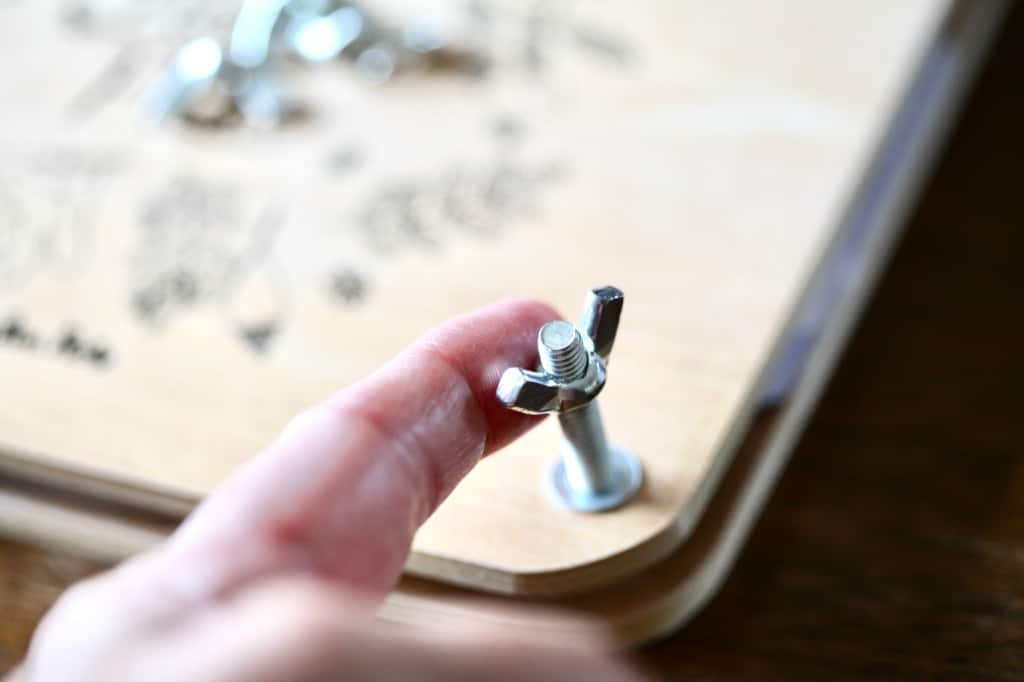
- If you have lots of layers you will need long bolts.
- Once the press is full, just screw the wing nuts to tighten the press.
- This flattens the pansies, and they begin to dry in the flattened state.
- Press flowers for several weeks to a month.
- Check on them after a week to see how the drying process is going.
How Long Does It Take To Press Pansies?
Pansy blooms are very easy to press, and they are also quick to dry.
Within several weeks to a month the flowers will be dry from pressing in a book or press.
The microwave technique will speed up the process, and allow you to have pressed pansies in a shorter time frame.
They are usually complete within three days, which includes some final drying time out of the microwave press.
Storing Pressed Pansies
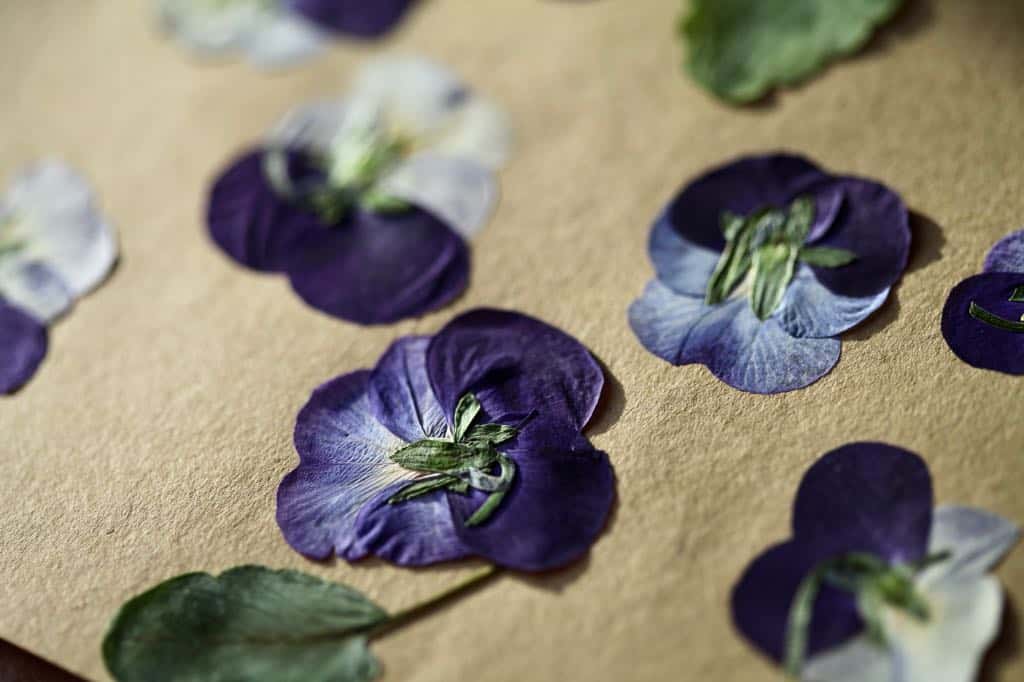
Store pressed pansies and violas in an airtight container in a warm dry place.
I like to wrap them in some tissue paper to keep them stored safely.
The tissue paper will help the keep moisture off the flowers, which is important to prevent molding in the long term.
It's a good idea to keep the dried flowers out of direct sunlight for best storage.
The pansies can then be taken out and used whenever you need them, and they will last a long time.
Conclusion
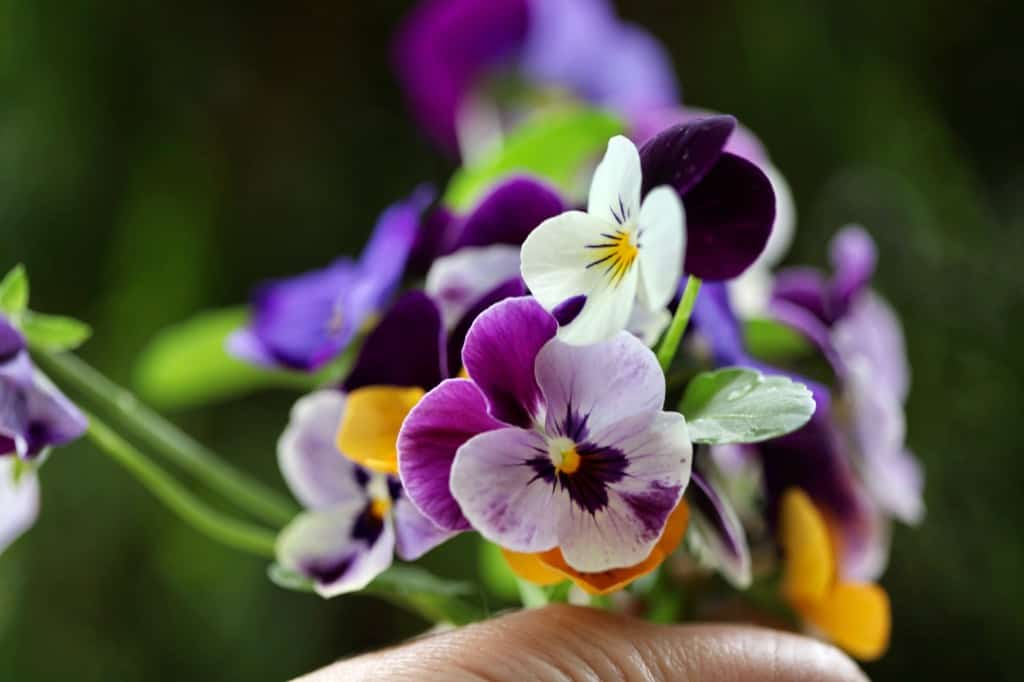
Pansies and violas are edible blooms that are so easy to dry and save for later. These sweet happy blooms make beautiful pressed flowers.
There are a number of different methods for flower pressing, which makes it easy for anyone to do.
My favourite is using my own flower press, although I still love to use the book method as well.
Use these delicate flowers to decorate your baking, placing them on iced cakes and edible flower cookies.
Add them to edible flower ice cubes to decorate your drinks.
Use them in paper projects or any craft project with pressed flowers. You can also frame them to make dried flower art.
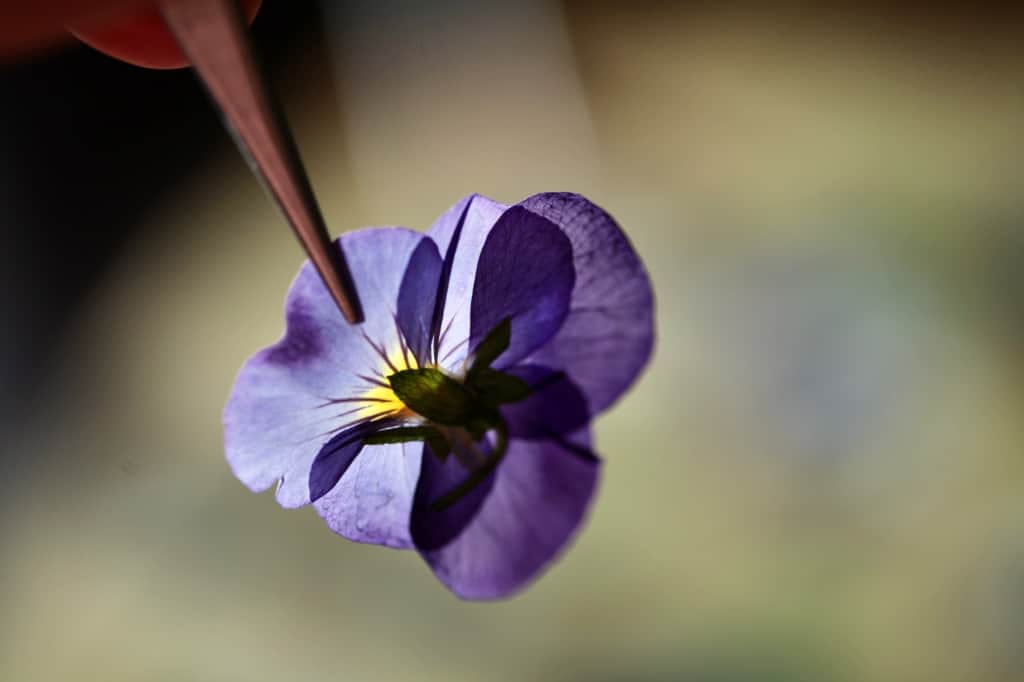
Pressing flowers brings out the beauty in the blooms. The flattened flowers are unique and interesting, and the drying process brings out colors and shapes that may not have been visible in the fresh flower form.
Pansies and violas are so sweet and striking when they are fresh. Yet, they are also amazing when they are pressed.
Pressing preserves them to allow you to use them much longer, and long after they have finished blooming.
Consider growing extra pansies and violas this season, to have extras for pressing and eating.
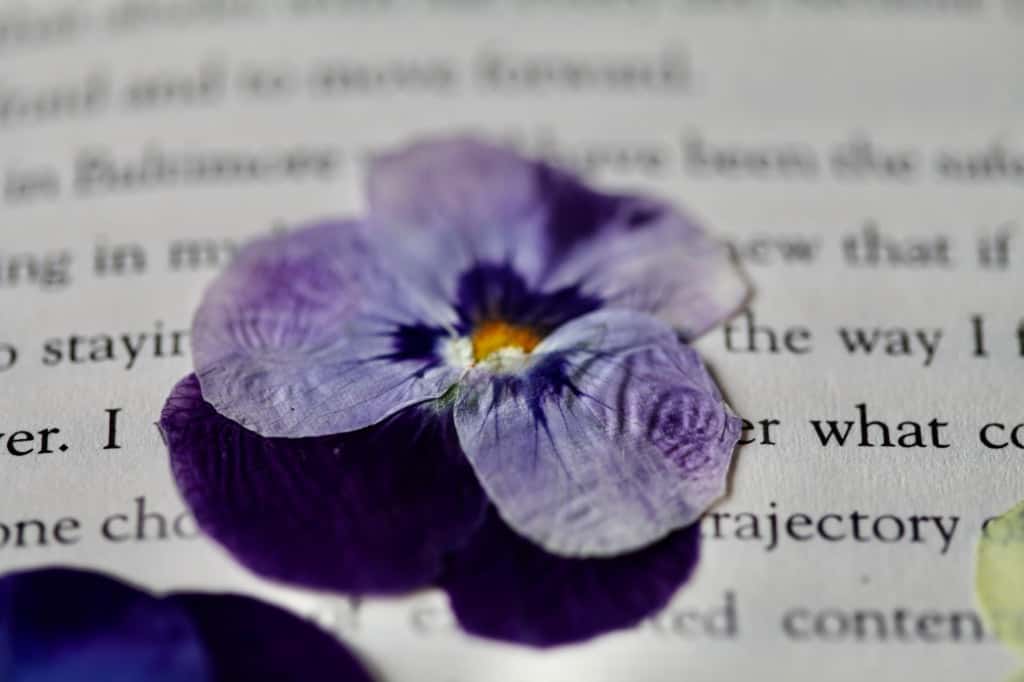
Have you ever tried to press pansies and violas to preserve your blooms? Be sure to leave a comment below to share your experience!
Other Posts You May Like:
PIN IT FOR LATER!



Leave a Reply