
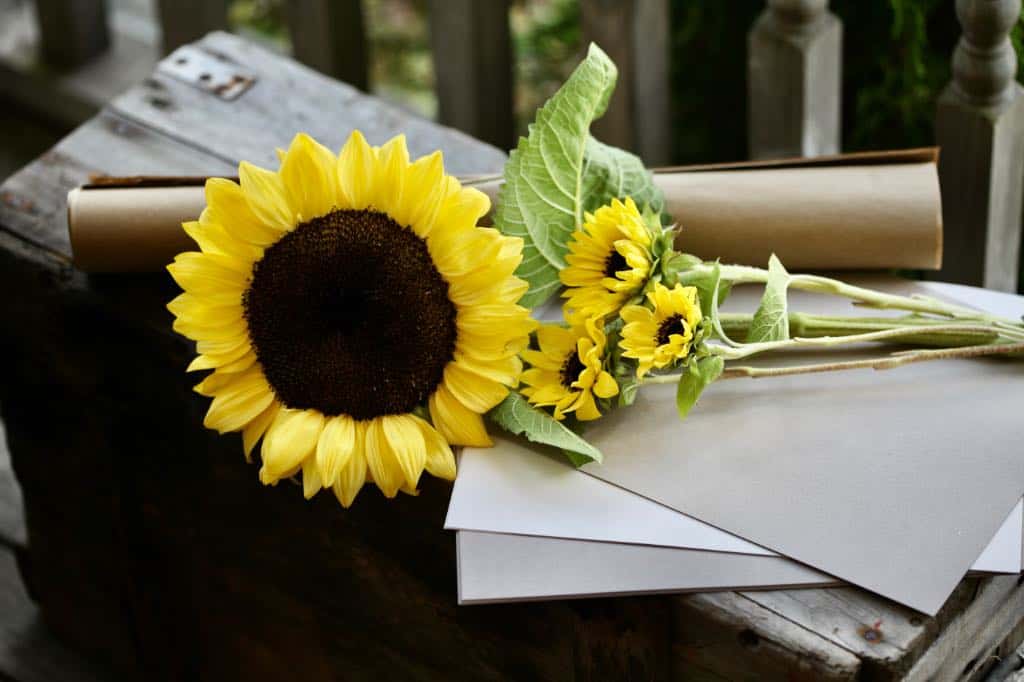
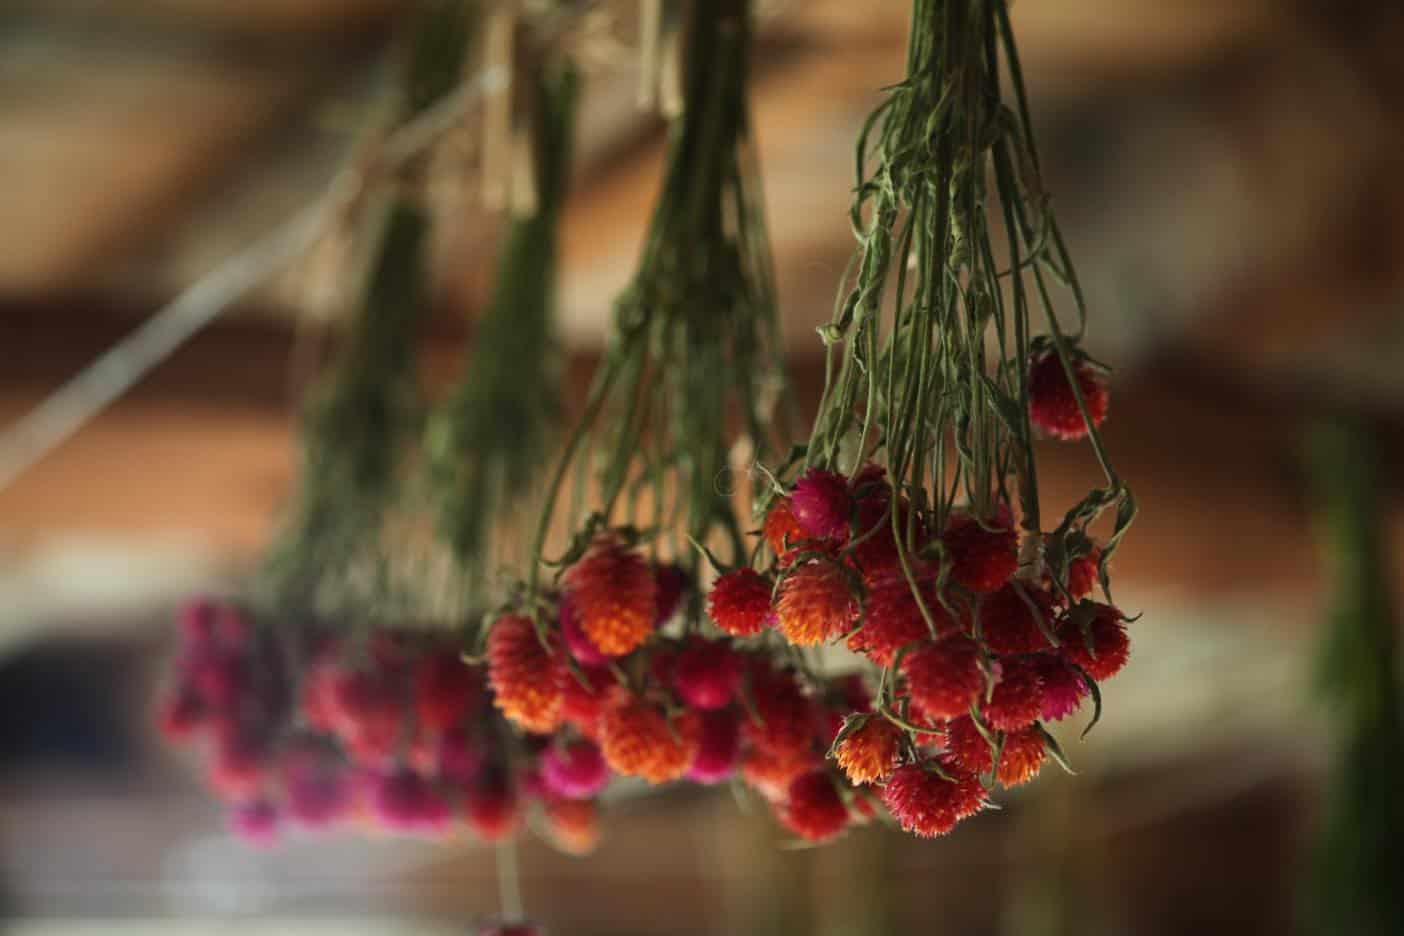
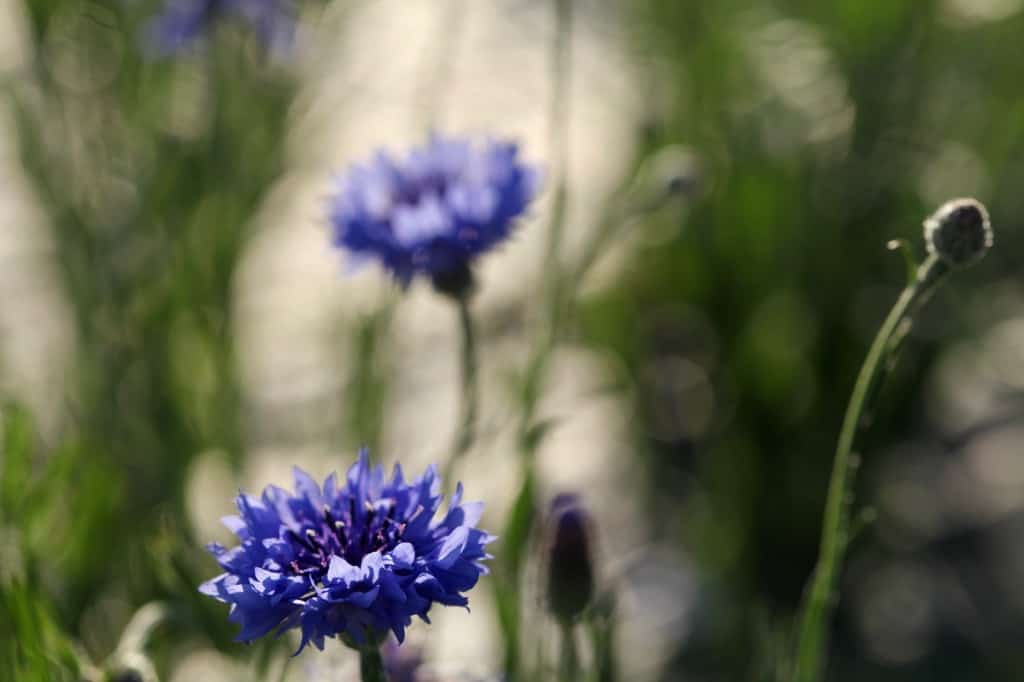
Making a flower press is an easy way to get started pressing your beautiful spring and summer blooms. Flowers are amazing when in bloom, however they usually don't last long. Learn how to make a DIY flower press, to preserve your precious blooms and use them as everlastings.
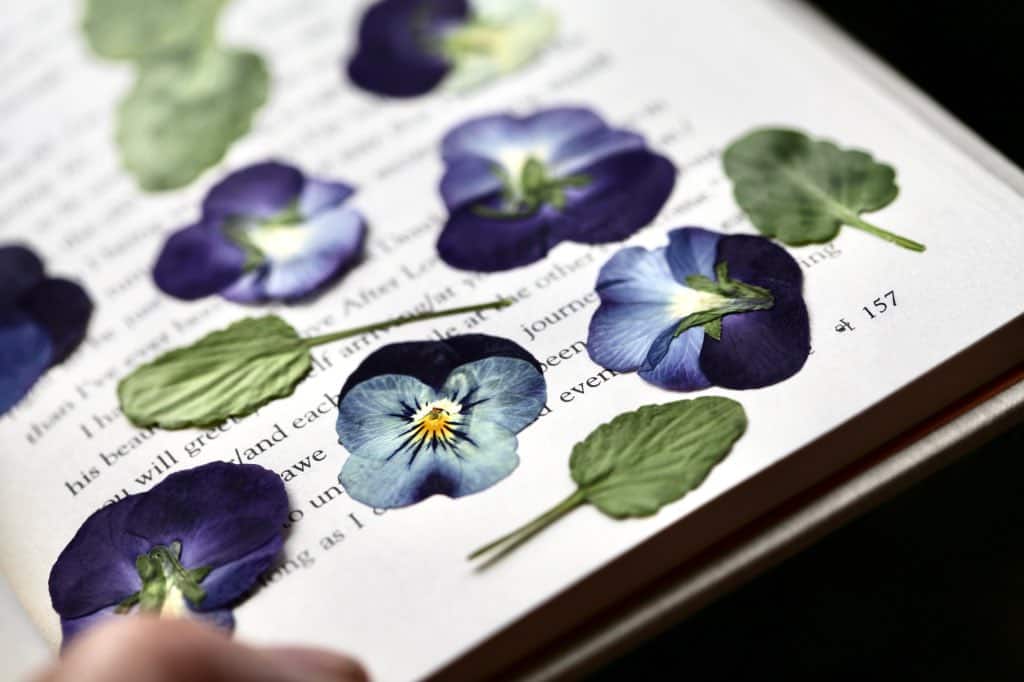
Pressing flowers is a wonderful way to get creative with your blooms. Pressing will dry the flowers and preserve them, and then you can use them in projects later on, when gardening season is all done.
Preserving flower petals and leaves by pressing allows you to enjoy these beauties for so much longer. It's a great way to stay connected to your garden, and cherish the memories created there.
Kits for pressing are widely available.
Making your own flower press is another less expensive option. It also allows for custom sizes, different wood types, and can be made to your own specifications and style.
Whether you want to create a little mini press for the kids, or a larger one for yourself, it's all possible by making your own.
Can I Make My Own Flower Press?
If you are even slightly handy with a drill, or know someone who is, you will be able to make a functional and fabulous DIY flower press. The skill set is basic for making this press.
The great thing about making your own design is that you can customize the size based on your own needs.
You can make the press large or small, depending on your pressing requirements.
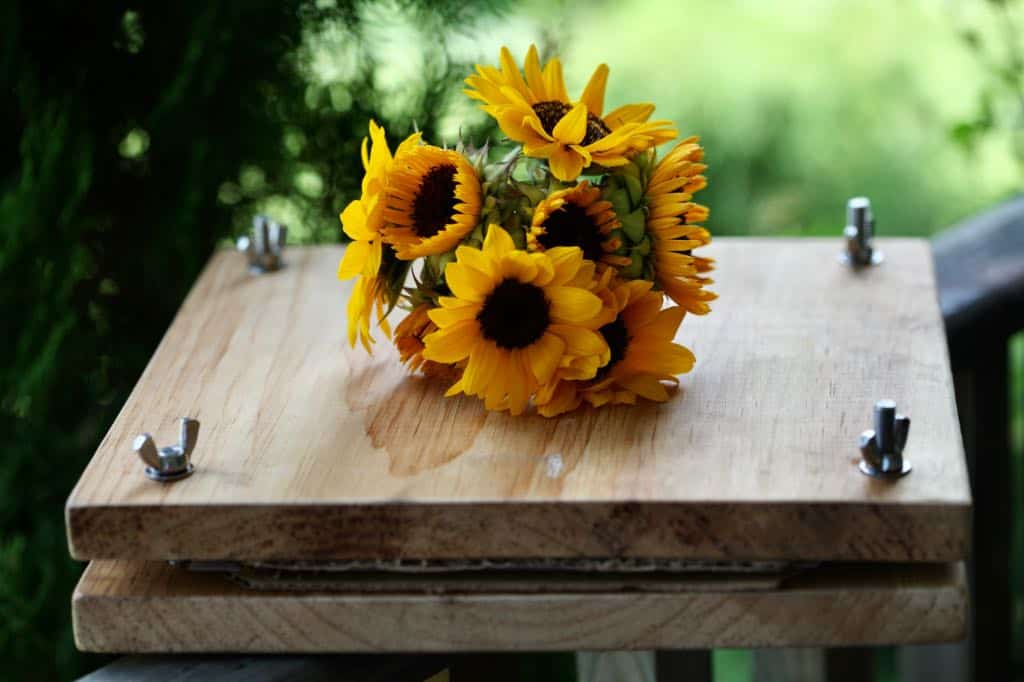
I wanted to make a small to medium sized press, and chose a 12" by 12" size to begin with. It is lightweight and easy to carry.
What Do You Need For Flower Pressing?
When considering making your own DIY flower press, it is important to consider the components of flower pressing, and what to gather up to put inside the press once it has been created.
Essentially, for flower pressing you will need:
- a press
- some good quality absorbent paper
- some scrap cardboard
- and as well you will need some freshly cut leaves or fresh flowers of your choice
The cardboard and paper will be part of the inner workings of the press, however can be switched out and freshened up as needed.
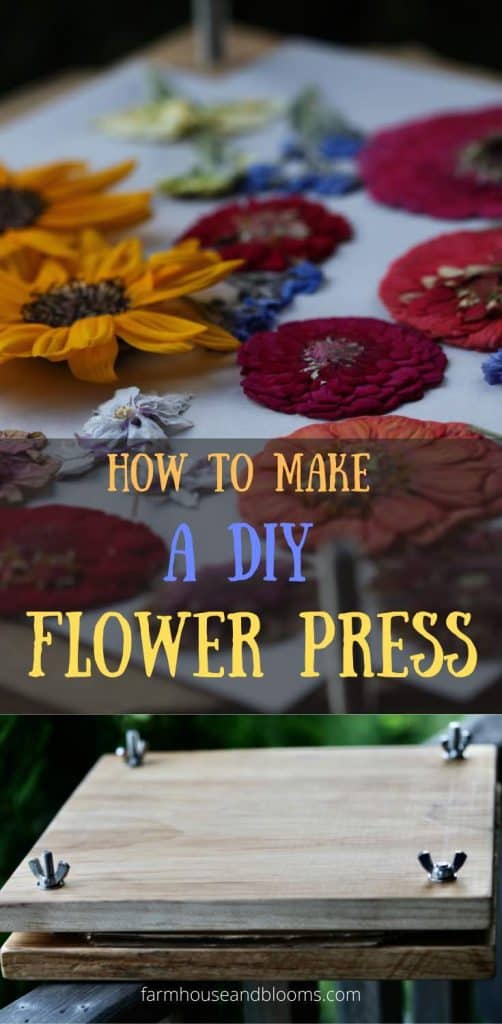
How To Make A DIY Flower Press
Supplies
These are the supplies you will need to make a DIY flower press:
- 2 pieces of wood, approximately 12" by 12"( or whichever size you would want your press to be)
- You can use plywood, or really any type of wood. We used pine.
- Sand paper
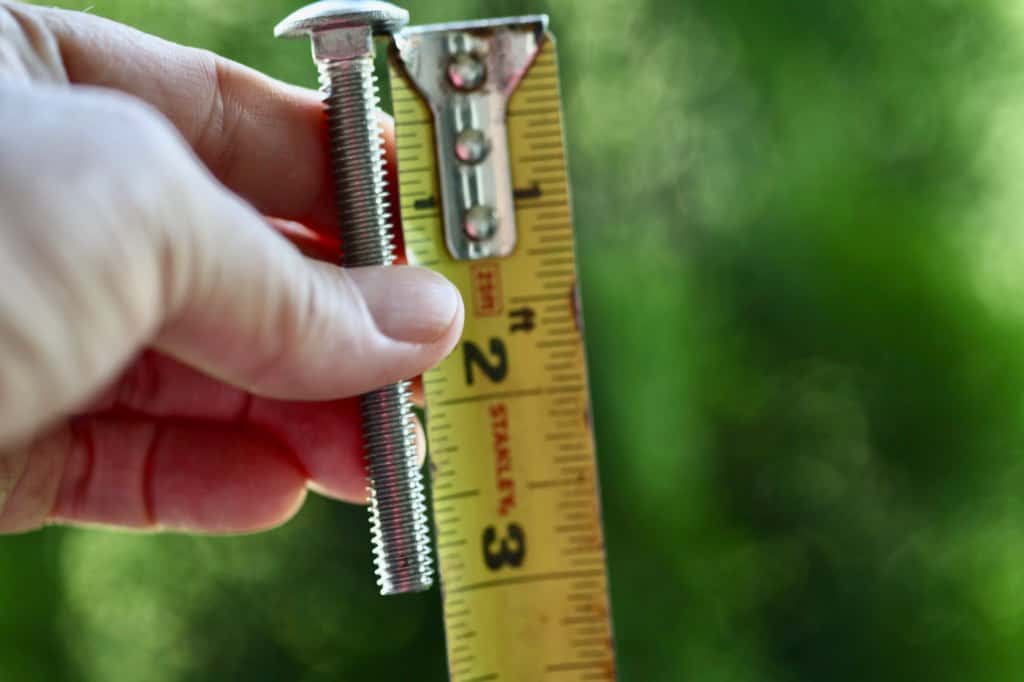
- 4 three inch bolts
- A drill to make holes in the wood
- 4 washers
- 4 wing nuts
- 2 pieces of cardboard, cut smaller than the dimensions of the wood
- 2 pieces of paper to fit inside the press

Directions For Making The Press
Here are the directions for making the DIY flower press:
1. Cut And Sand The Wood
- Cut the wood to size. Ours was made to the 12" x 12" specification.
- Sand any rough edges as needed. This makes for a nicer edge to work with and hold.
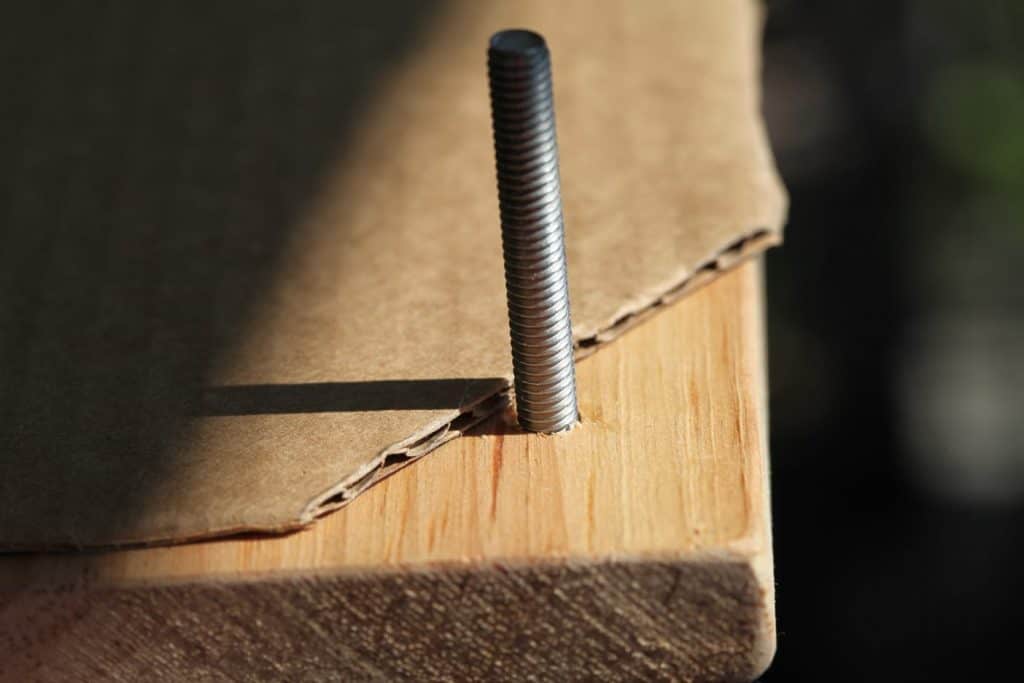
2. Make Holes For The Bolts
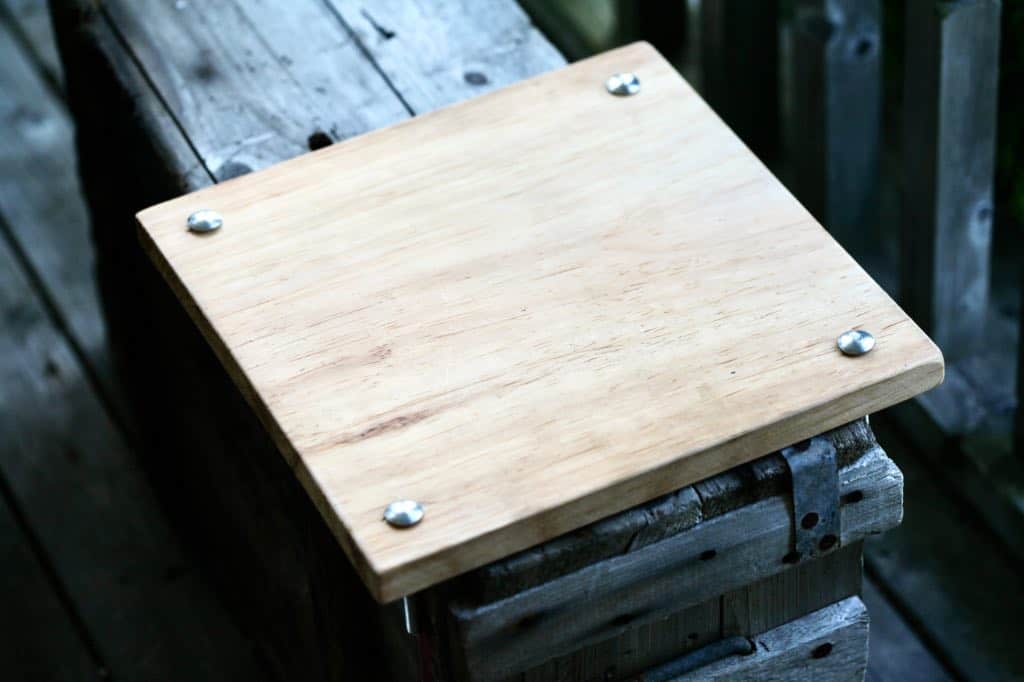
- Mark off the placement for the four corner holes on one piece of wood. These holes will be where the bolts will be threaded to hold the two pieces of wood together for the press.
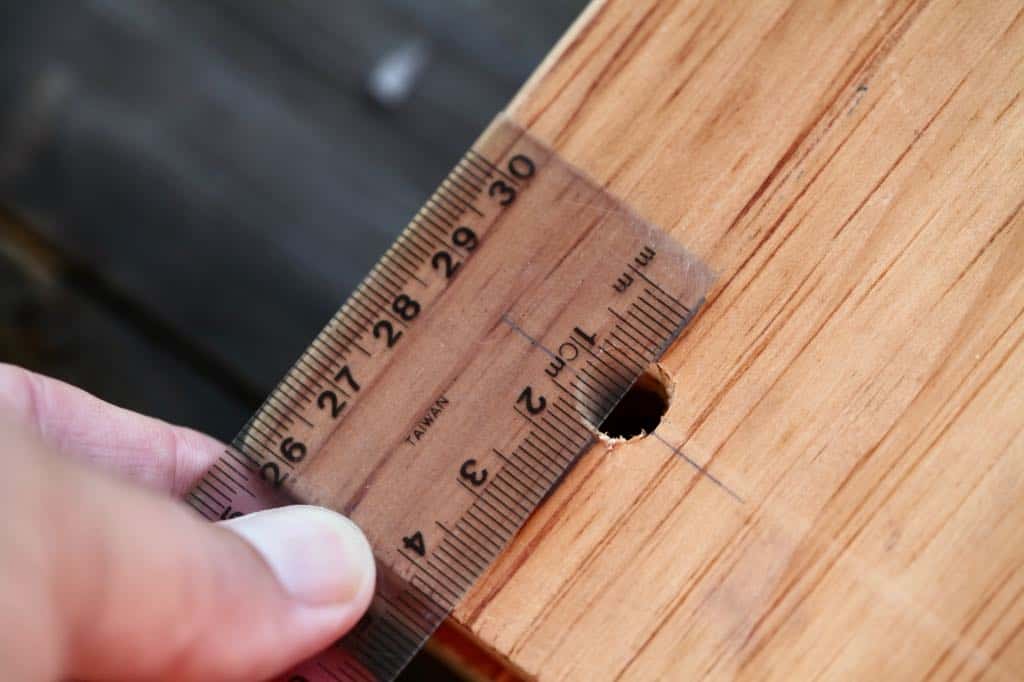
- We took a ruler and made intersecting lines approximately one inch from the corner edges.
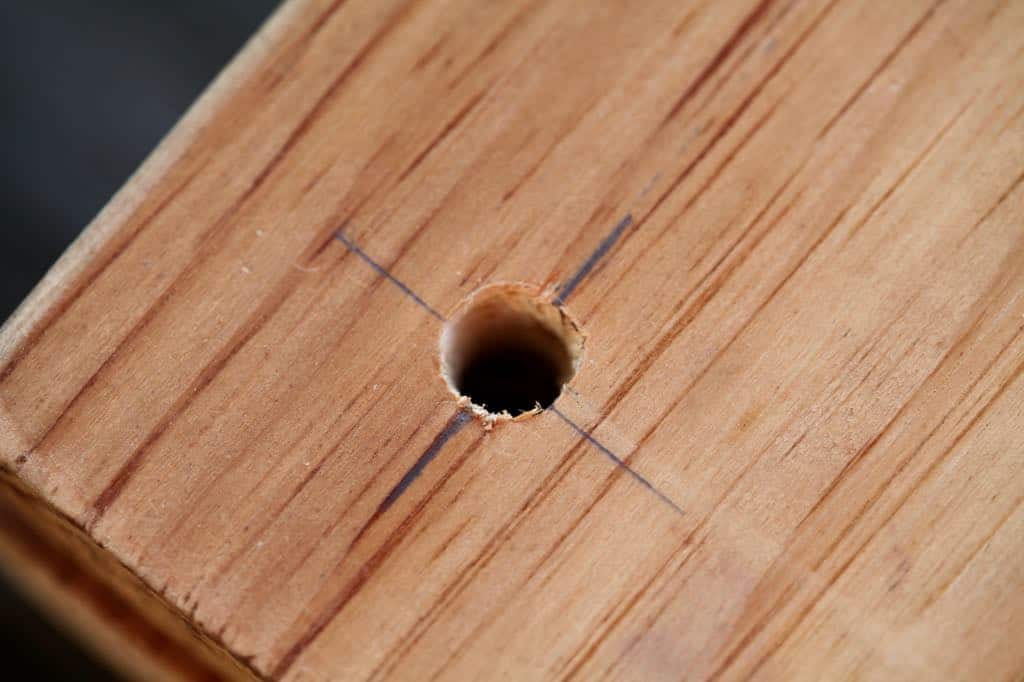
- Drill the four corner holes through the wood at the intersecting lines.
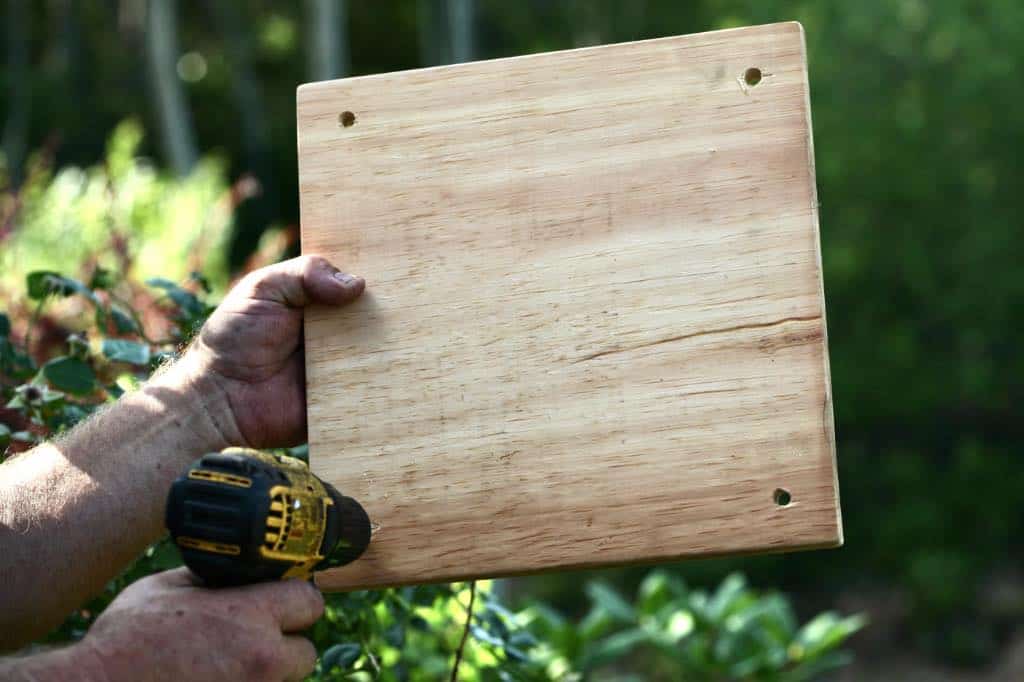
- Next drill holes through the second piece of wood, making sure that the holes are lined up correctly.
- There are a number of ways to do this. We used a drill press, which allowed to drill through the two pieces of wood at the same time, ensuring placement.
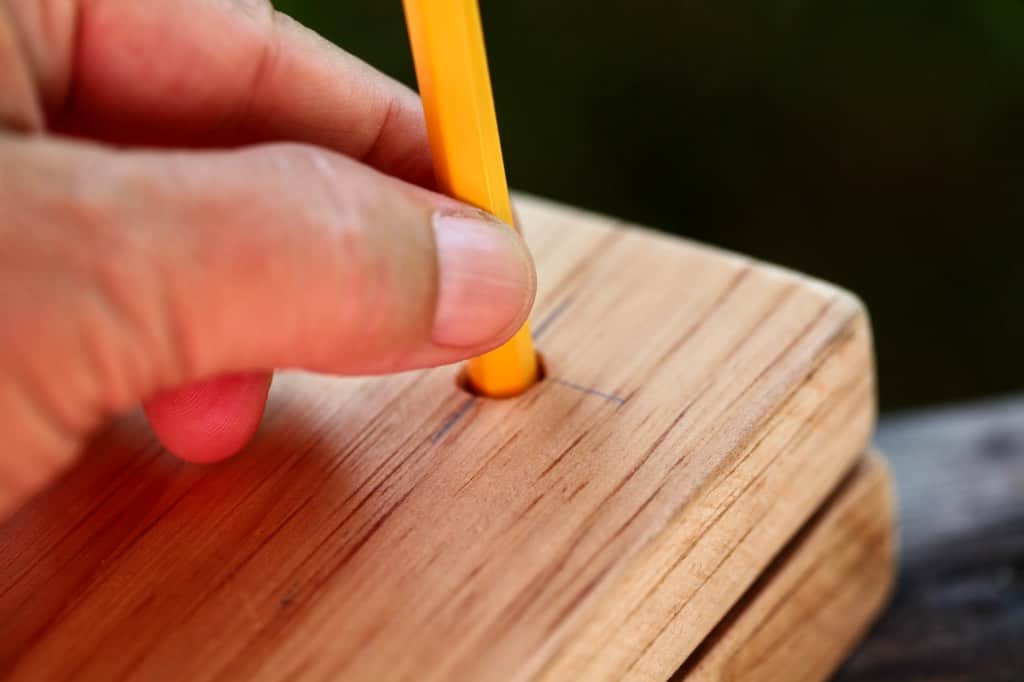
- You could also stick a pencil through the hole of the first piece of wood, marking the spot on the second piece of wood. It's important to get the holes matched up, so that when you insert the bolts, they go smoothly through both pieces of wood.
- If by some chance your holes have not matched up well, or the placement is very tight, don't despair. Re-drilling the holes to make them slightly larger can help alleviate this problem.
- My DIY press was quite stiff initially, so we enlarged the holes ever so slightly. Now it slips on and off the bolts like butter.
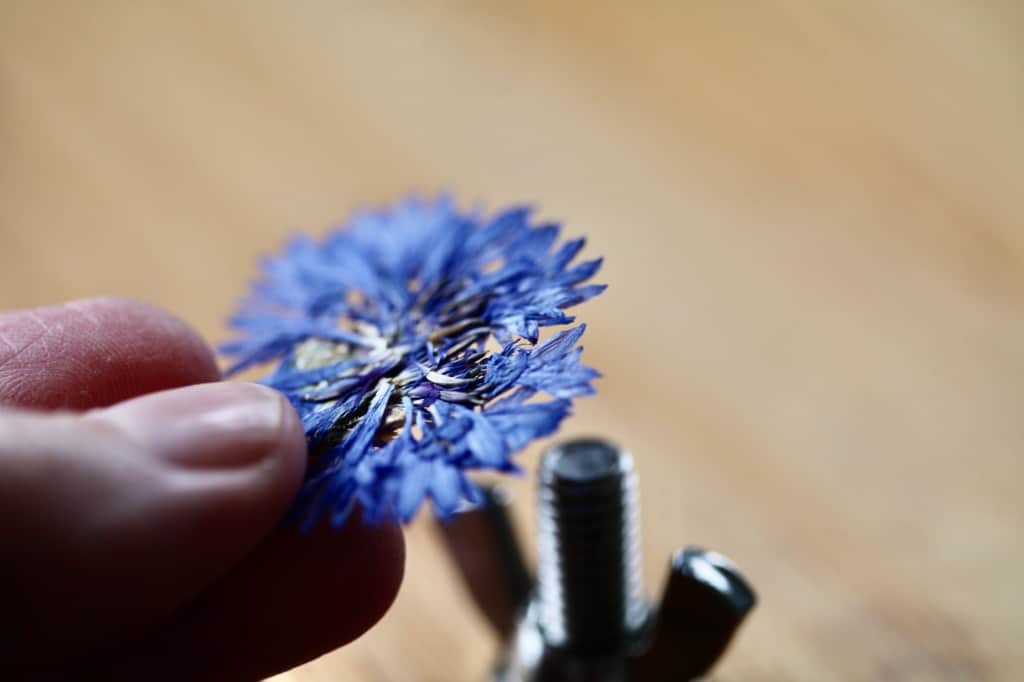
3. Insert The Bolts, Washers, And Wing Nuts
- After drilling the holes, it's time to place the bolts.
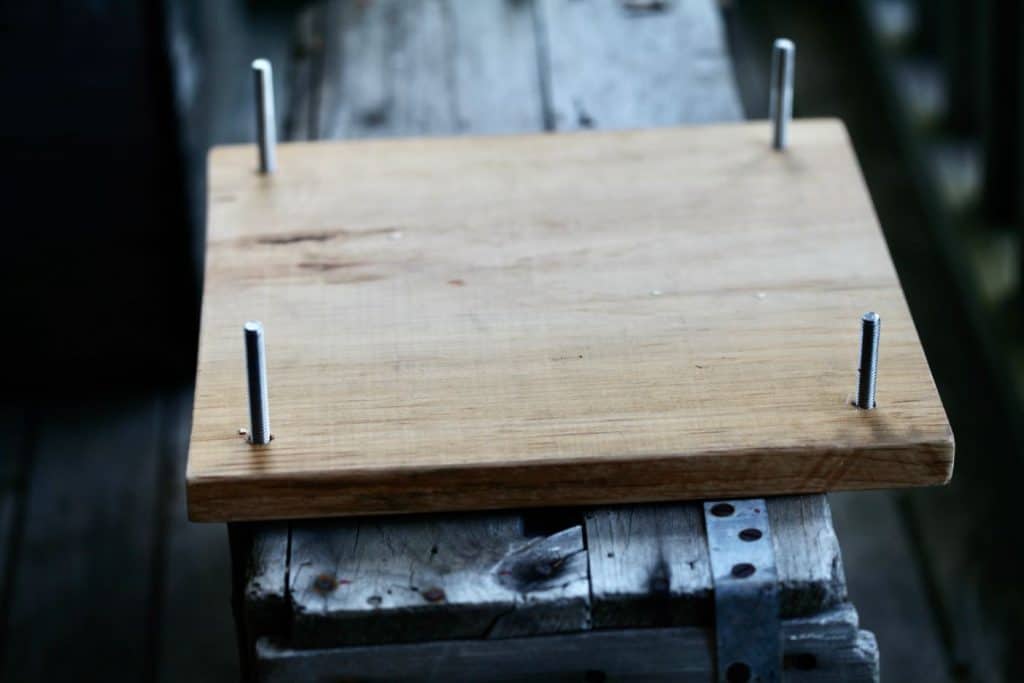
- Place the wood pieces together, lining up the drilled holes in the top and bottom boards. Insert the bolts into the holes until they protrude through the other side.
- Or you can start by placing the bolts in one piece.
- Then place the second piece of wood on top of the bolts. Do whichever way is easiest and works for you.
- Next it's time to slip on a washer, and a wing nut onto each bolt to check the fit.
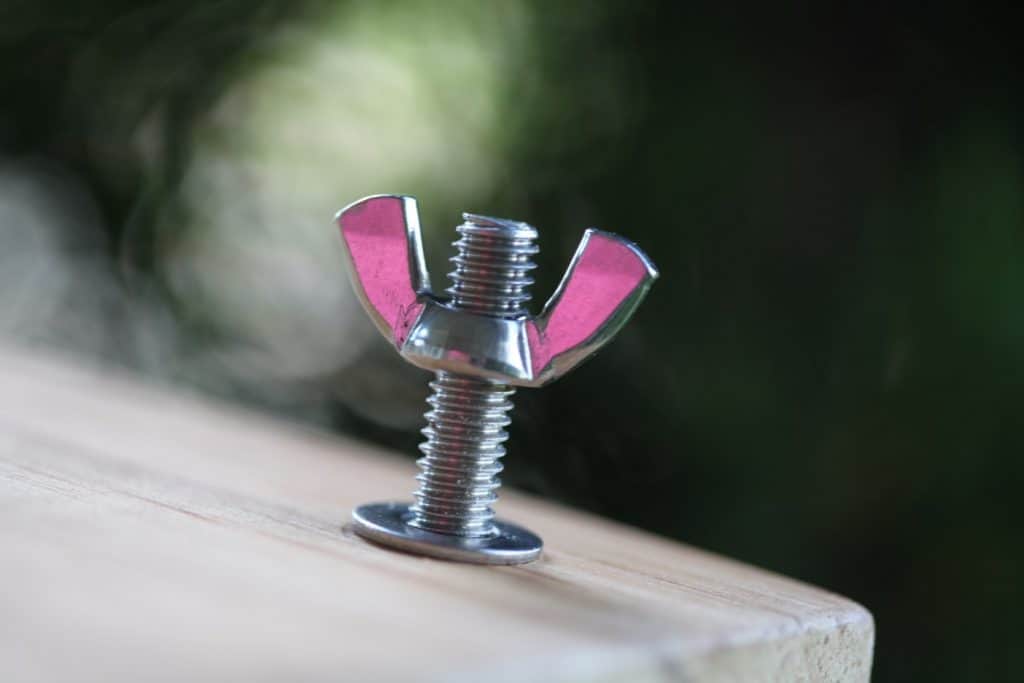
- The washer will help to prevent gouging and wearing away of the wood over time. It will also help to enable the function of the press to compress the flowers tighter.
- The wing nut is the tightening nut. Tightening the wing nuts on all four corners will create the compression in your flower press.
- The outside of the press is now complete.
- Now it is time to place the inner workings of the press inside the press itself.
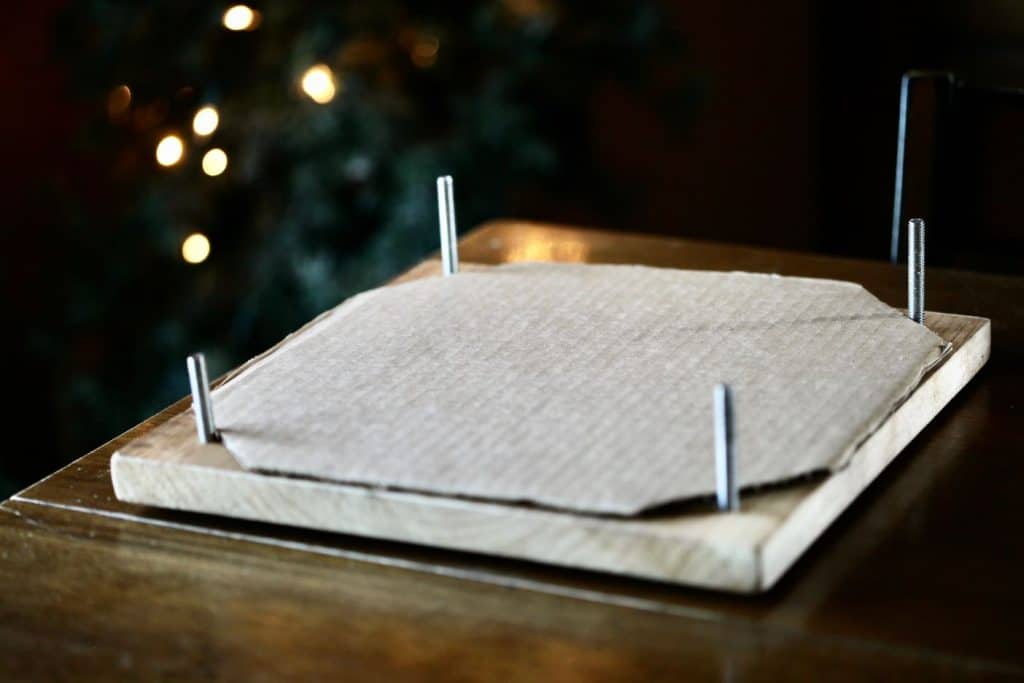
4. Insert The Cardboard And Paper
- Essentially what you will need next are two pieces of cardboard placed together.
- In between these two pieces of cardboard will be two sheets of paper.
- It's like a sandwich, where the cardboard is the bread, and the paper is the filling.
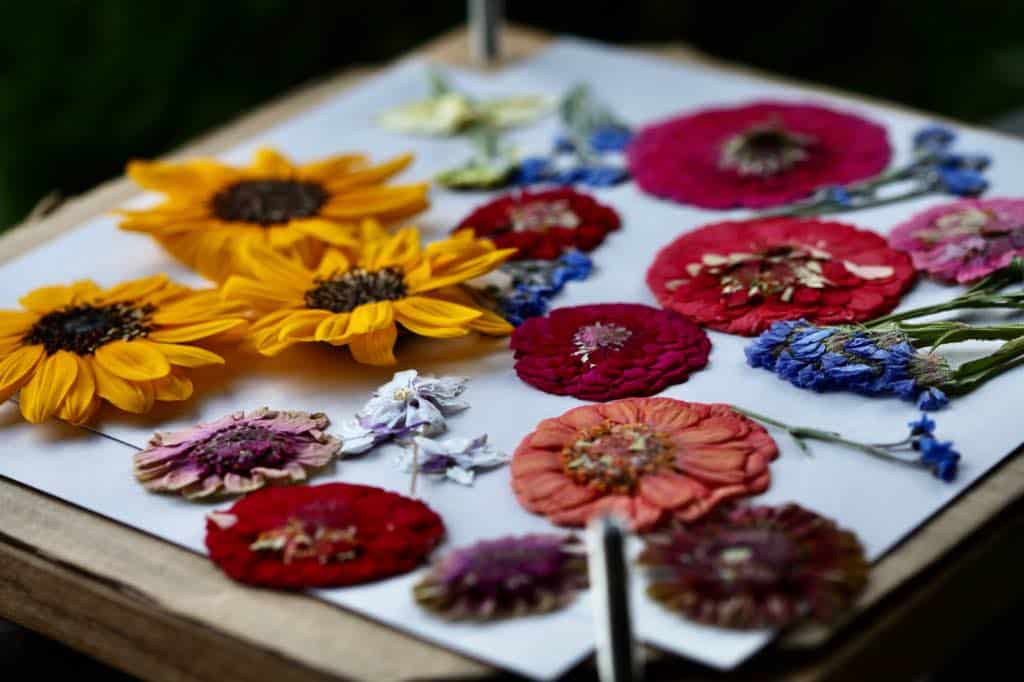
- In between the two pieces of paper is where you will place your flowers and plant material for pressing.
Cutting The Cardboard
- You can notch the cardboard pieces on each corner, so that the pieces slip easily in and out of the press.
- Alternatively, you can also cut holes in the cardboard to fit over the bolts. This method however is not the easiest way.
- I chose to notch my cardboard, as I plan to add several layers to my press, like a double decker sandwich. That way I can dry more flowers at the same time.
- What I mean by this is that I will start off with two pieces of cardboard, and two pieces of paper. I will then add another two pieces of cardboard and another two pieces of paper, to make a double layer.
- I have quite a few flowers at the end of the season, and I'm hoping to put these sweet blossoms to good use.
Cut The Paper To Fit
- Cut the two pieces of paper to fit inside the pieces of cardboard.
- Now it's time to position your flowers.
Tips For Sandwiching The Flowers :
If you want to have multiple layers of flowers between your wood, the amount that you can accommodate will be affected by several factors.
First of all, the thickness or depth of the wood press itself will make a difference. My press is made from one inch thick pieces of pine.
That is two inches of bolt space already spoken for by the thickness of the wood.
To allow for more sandwiching, you will need either thinner pieces of wood, such as plywood, or longer bolts.
5. Place Flowers In The Press
- Place your dry flowers on your paper. Space them out so that they are not touching each other.
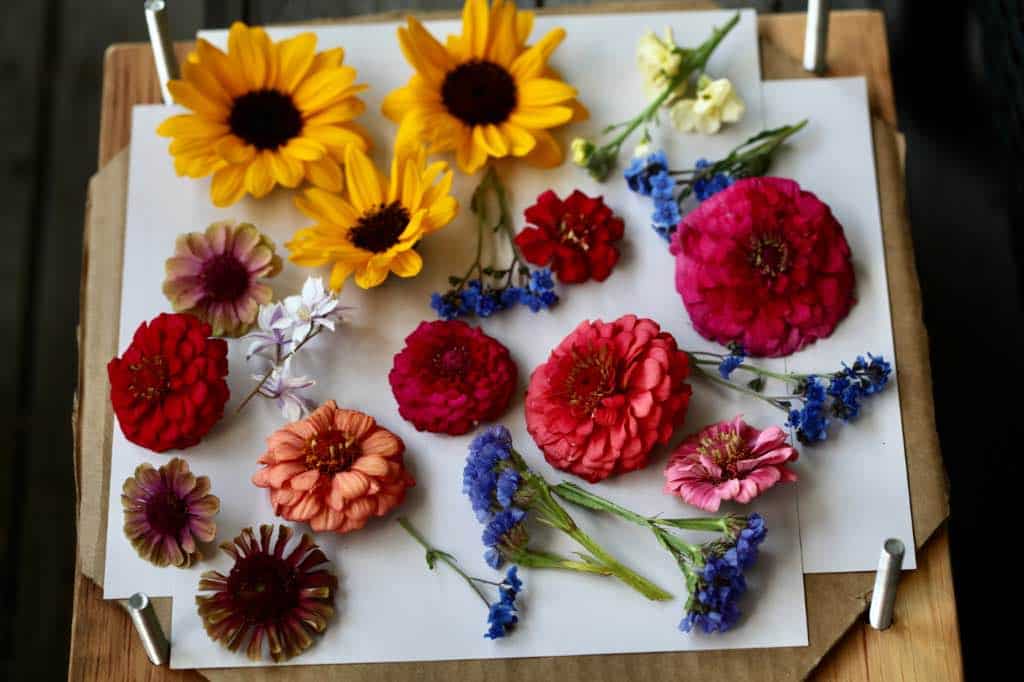
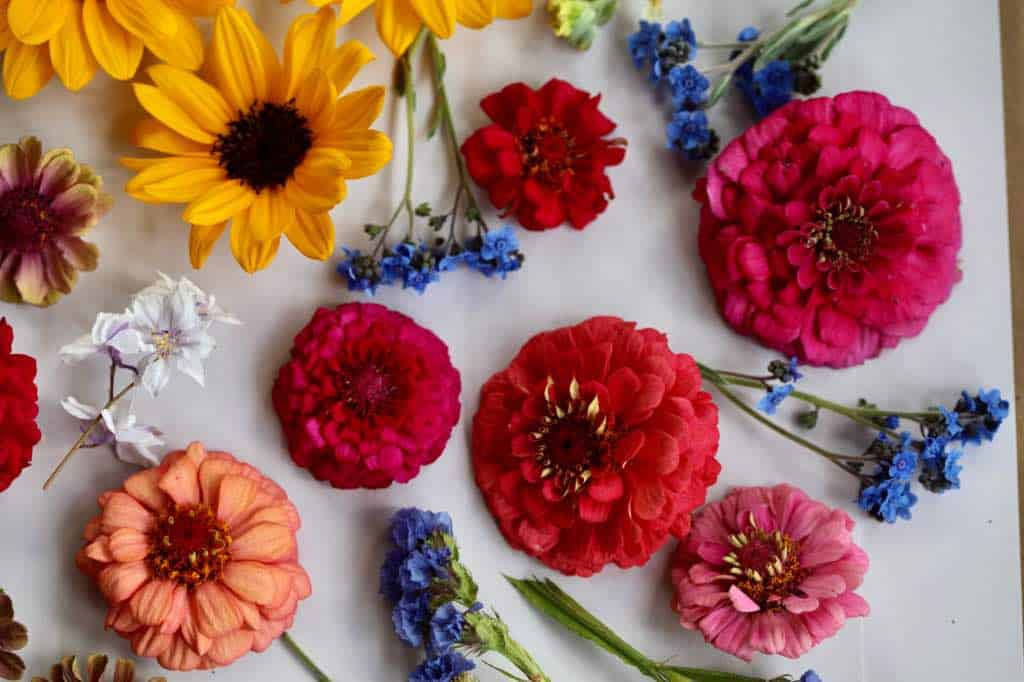
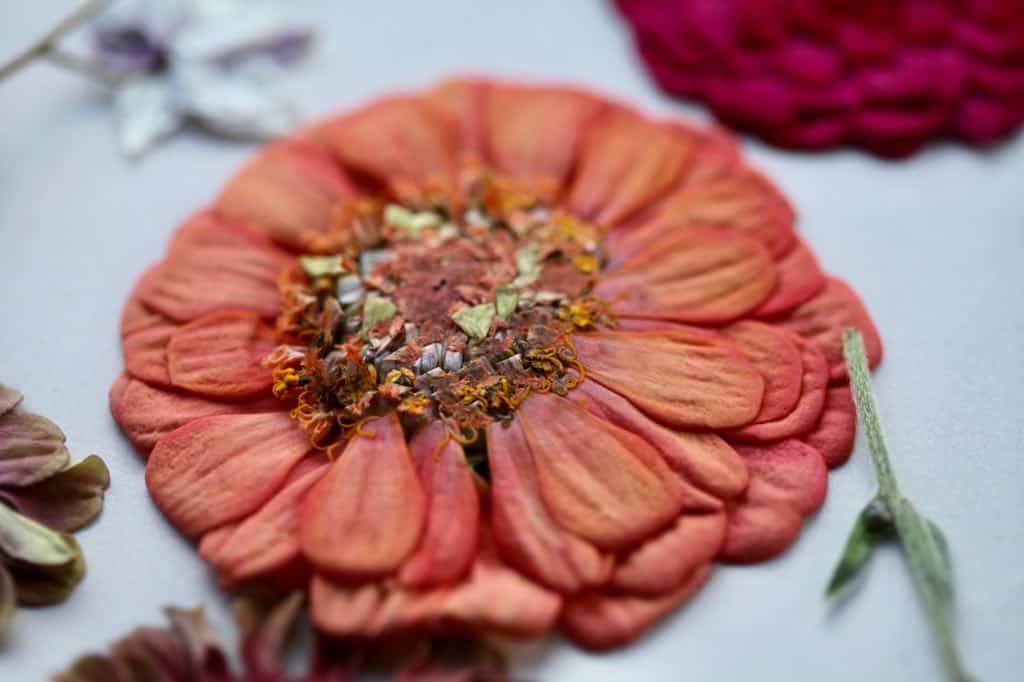
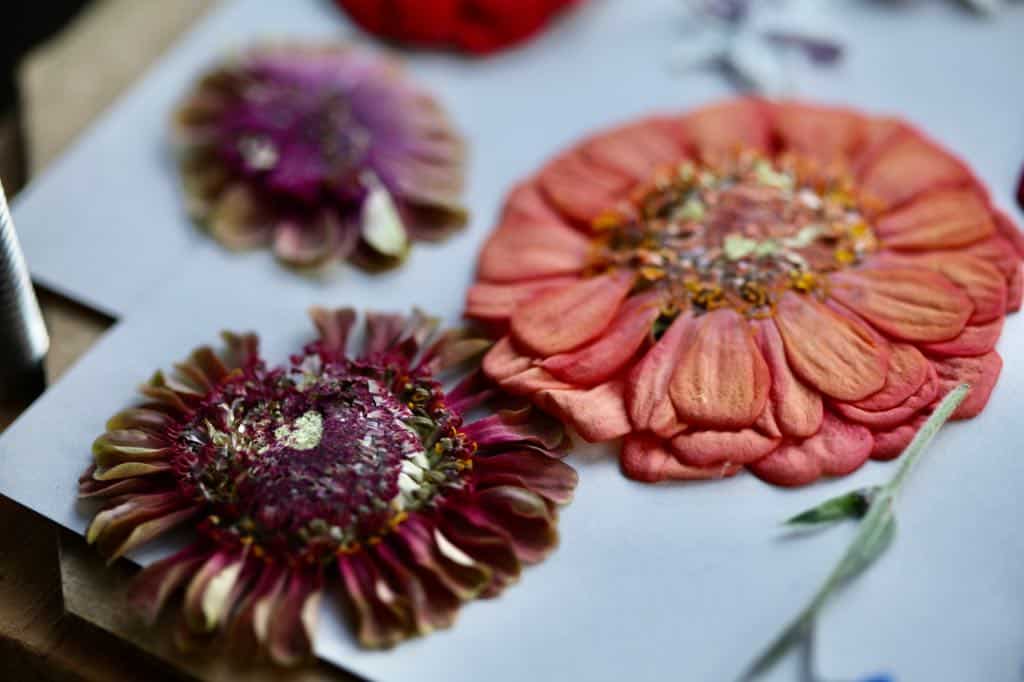
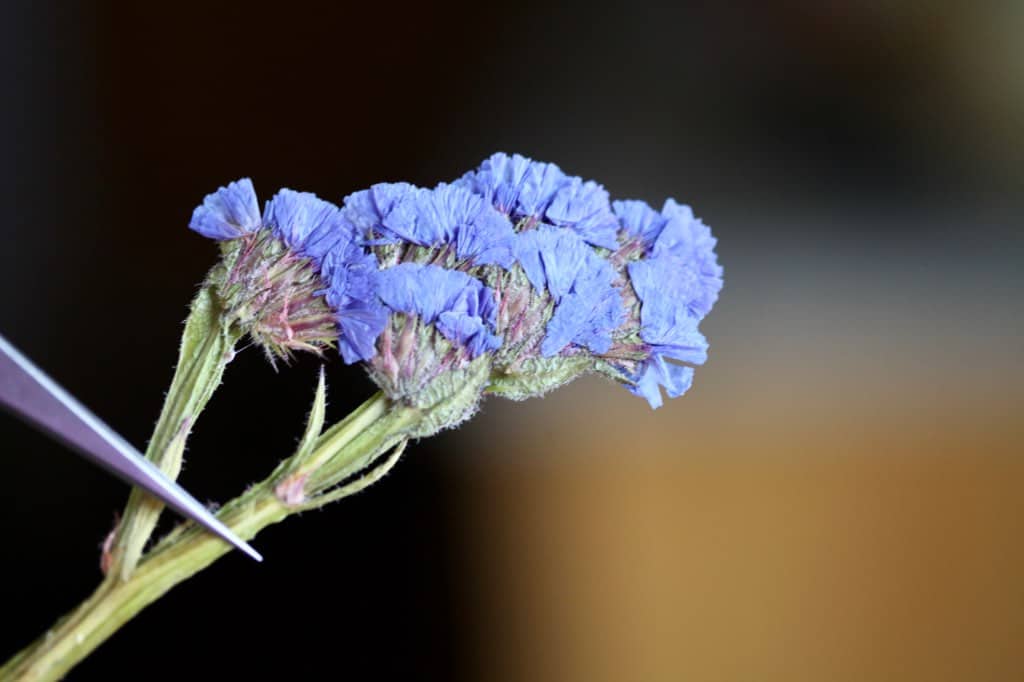
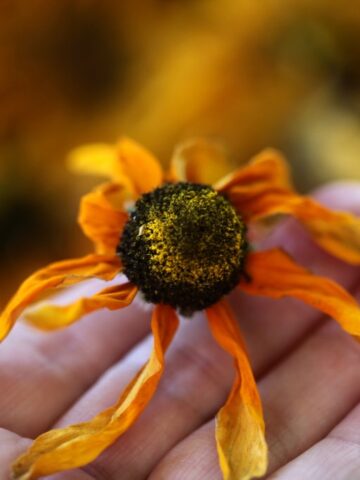
- Large flowers with large centres sometimes press better if you remove the centre of the flower so that they can flatten more easily.
- Experiment a bit with the flowers that you use. You will figure out which ones work best for pressing.
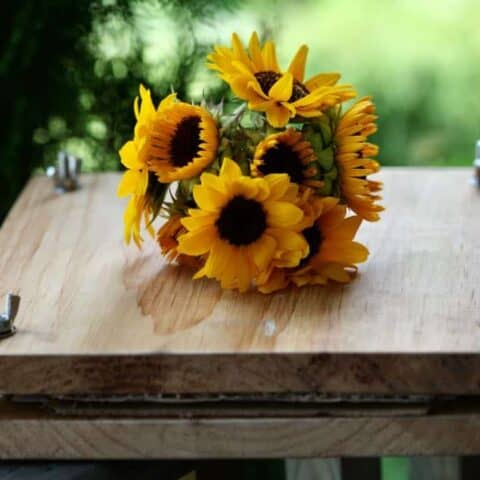
- The most important thing is that the flowers are fresh and dry (meaning that they are not covered with moisture from rain or early morning dew).
- Damp flowers are more at risk for moulding. If they are damp, just put them in a vase of water and allow the petals to dry off before pressing.
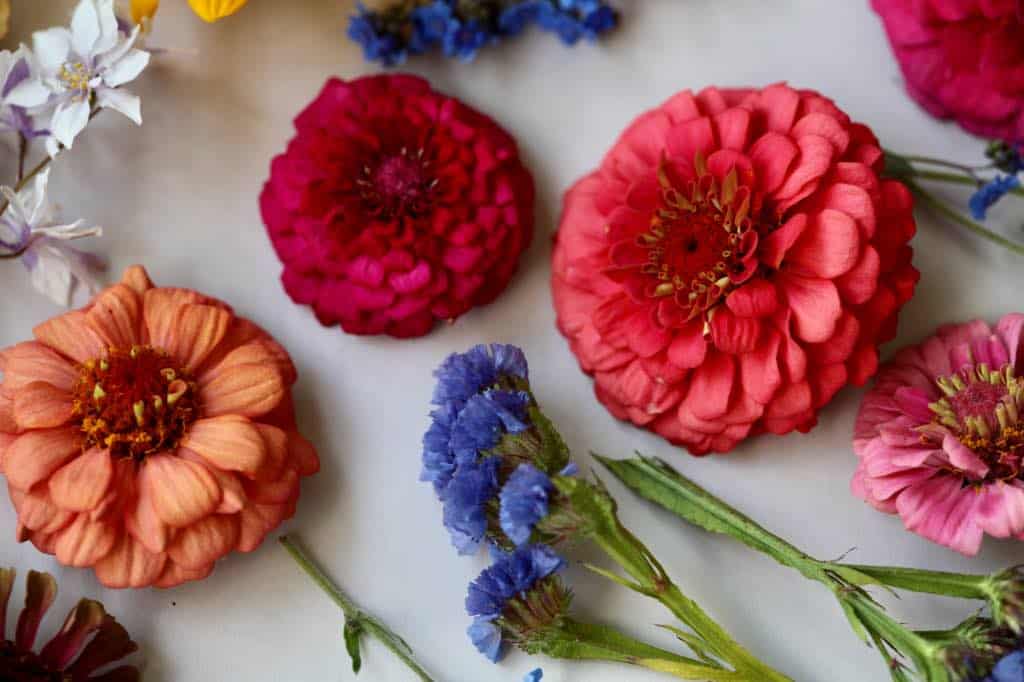
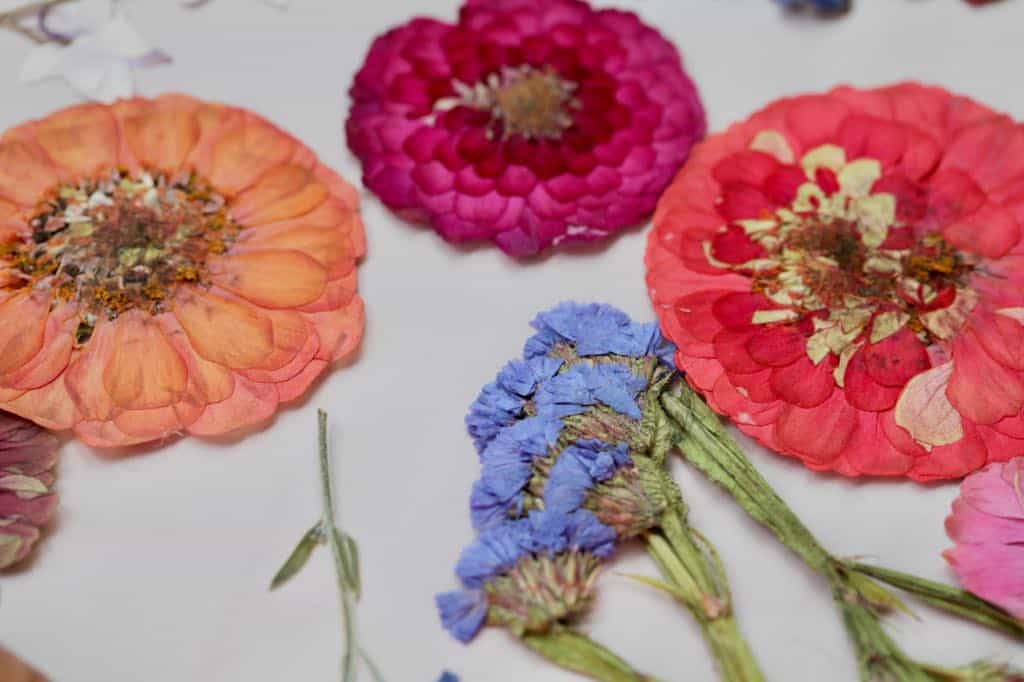
- Some flowers are better for pressing than others, and some more easily retain their beautiful coloring.
- After placing the layer of flowers on the press, cover the flowers with the second piece of paper, then the second piece of cardboard.
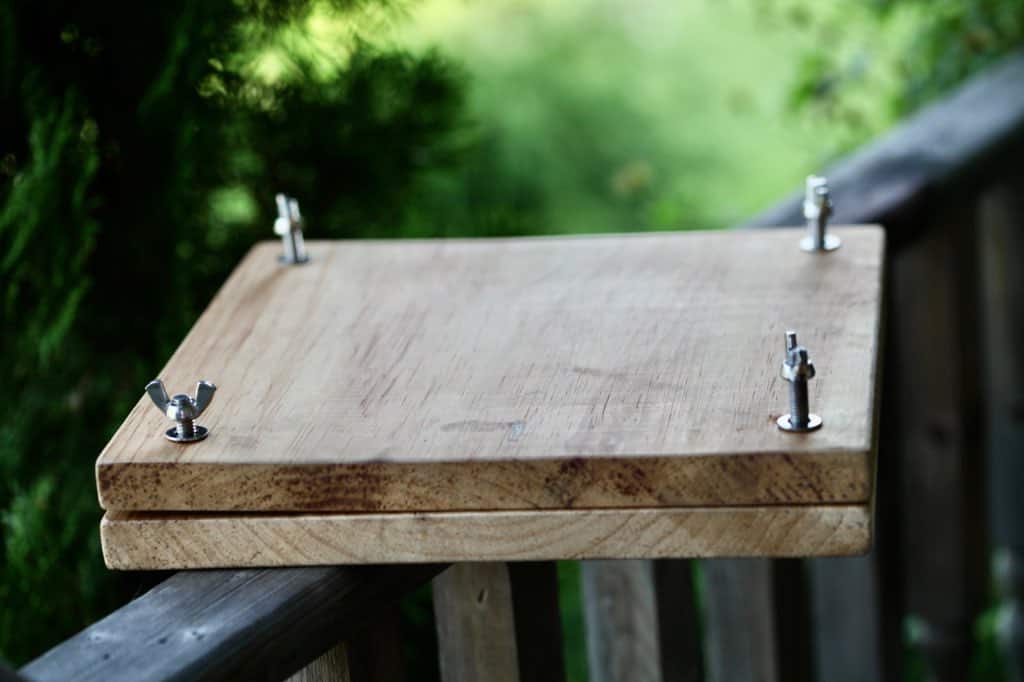
6. Press The Flowers
- The next step is to place the top piece of wood over the cardboard.
- Carefully thread the bolts through the holes.
- Add the washers, then the wing nuts. Tighten the wing nuts, and press the flowers.

- This whole drying process and pressing of the flowers will take about thirty days.
- For best results wait until the flowers are completely dry.
- Put your press in a warm dry location for the drying period.
- You can certainly open the press up to check on your flowers from time to time. You may need to freshen up the paper or cardboard by adding new pieces, if there is any mold or mildew.
- Once your flowers are pressed, they can be stored until ready to use.

Gift A DIY Flower Press
This homemade flower press makes the most wonderful gift. A diy flower press is a special gift for just about everyone!
A smaller plant press is a perfect birthday gift for a little girl or little boy, especially if they love to pick beautiful flowers.
Anyone can press flowers, even if they don't have a garden. Foraging for wildflowers will provide flowers to press and preserve.
You can customize this flower press by painting it if you so choose.
I will definitely be making some of these easy to make presses to give as gifts this year.
Frequently Asked Questions
What Kind Of Paper Do You Need In A Flower Press?
Paper used in a flower press should be absorbent, and non patterned. All papers for pressing are not equal.
Paper Not Recommended For Use:
- Paper towels are not the best choice, as they will most likely leave patterned textures ingrained on your pressed flowers.
- Waxed paper or parchment paper are also not the best choices, as they are not absorbent, and your flowers and leaves may not dry out quickly and get mouldy.
- Newsprint with ink may cause the pressed flowers to be spoiled by the ink.
Paper Recommended For Use:
- Newsprint without ink is a great choice
- Construction paper without dye
- Any type of art paper or absorbent paper without a pattern
- Printer paper works great
- Kraft paper
Can You Press Flowers Without A Press?
If you don't yet have a flower press, and have some flowers to press today, there are a number of different methods in which you can press the flowers.
Learn about other methods of pressing flowers here.
The key to pressing flowers is to make sure that the flowers are fresh and dry, and then to press between two flat surfaces which will put some pressure on the blooms, pressing them flat.
One of my favorite methods to press flowers, other than a flower press, is to press between the pages of an old book. By placing heavy books on either side of the book, or on top of the book, this will press the flowers beautifully.
This method is simple and classic, and just a bit romantic. I have used this pressing method since I was a child.
It was my favorite way to preserve my four leafed clovers.
The flowers may stain any cherished book pages, so be aware of this fact. Using an old phone book is also an option, as it won't matter if this book is stained by flower dye.
What Is A Good Size For A Flower Press?
If you are making a flower press at home, you can decide on any size for your project. Just consider the final weight and portability of the final specimen.
A medium sized press, which is what I made, would be about a 12" by 12" sized press. This size is very manageable and easy to carry around.
A press of a larger size, if made with thick wood, can start to get a bit heavy and may not be as portable.
If making a press for a child, a smaller size will be easier for them, such as an 8" by 8", or even a 6" by 6" press.
Remember that you can stack multiple layers of pressed flowers inside each press, and are not limited to just a single layer of pressing surface.
What Is The Best Wood For A Flower Press?
Any type of wood can be used to make a flower press.
Choose a wood which is sturdy however, for more effective pressing ability.
I sometimes find the commercial flower press kits are not quite as sturdy as those of the diy presses.
That is why my homemade diy flower press is my absolute favorite of them all.
Conclusion
Making your own wooden flower press is an easy project. Press your favorite flowers to preserve them for later use, in culinary projects and in flower art creations.
Pressing flowers is a fun craft, and so simple to do.
This flower press is flexible as far as individualizing the size, to meet your flower pressing needs.
Great for gift giving as well as having on hand for your own pressing endeavours, this flower press will likely get it's fair share of use once it's made and ready to roll.
Try making your own homemade flower press this season, and preserve some blooms from your garden.
HOW TO CARD: Make A DIY Flower Press
Making a flower press is an easy way to get started pressing your beautiful spring and summer blooms. Flowers are amazing when in bloom, however they usually don't last long. Learn how to make a DIY flower press, to preserve your precious blooms and use them as everlastings.
Materials
- 2 pieces of wood, approximately 12" by 12". You can use any type of wood, including plywood.
- Sand paper.
- 4 three inch bolts.
- 4 washers.
- 4 wing nuts.
- 2 pieces of cardboard, cut smaller than the dimensions of the wood.
- 2 pieces of paper to fit inside the press.
Tools
- A drill to make holes in the wood.
- A saw to cut the wood (optional).
- Drill press (optional).
Instructions
- Cut the wood to size. Ours was made to a 12" x 12" specification.
- Sand any rough edges as needed.
- Mark off the placement for four corner holes on one piece of wood. With a ruler, make intersecting lines, approximately one inch from the corner edges.
- Drill the four corner holes through the wood at the intersecting lines.
- Next, drill 4 corner holes through the second piece of wood, making sure the holes are lined up correctly.
- You can use a drill press to make holes in the two pieces of wood at once. Alternatively you can stick a pencil through the holes of the first piece of wood, marking the spots for drilling on the second piece of wood.
- It's important to get the holes lined up so that the bolts will go smoothly through both pieces of wood.
- After making the holes, place the two pieces of wood together, lining up the holes. Insert the bolts into the holes until they protrude through the other side.
- Slip on a washer, and a wing nut, onto each bolt to check the fit.
- Now it is time to place the inner workings inside the homemade press.
- Notch the cardboard and paper on each corner, so that the pieces slip easily in and out of the press.
- Sandwich 2 pieces of paper inside 2 pieces of cardboard, and place inside the press.
- When pressing flowers, open up the press and place the flowers inside the paper pieces, like making a sandwich.
- Put the press back together, tighten the wing nuts, and press the flowers.
Notes
Any flowers pressed inside the press should be dry and fresh.
The flowers will need to be pressed for 30 days for best results.
Have you ever made a DIY flower press? Be sure to leave a comment below and share your experience!
OTHER POSTS YOU MAY LIKE:
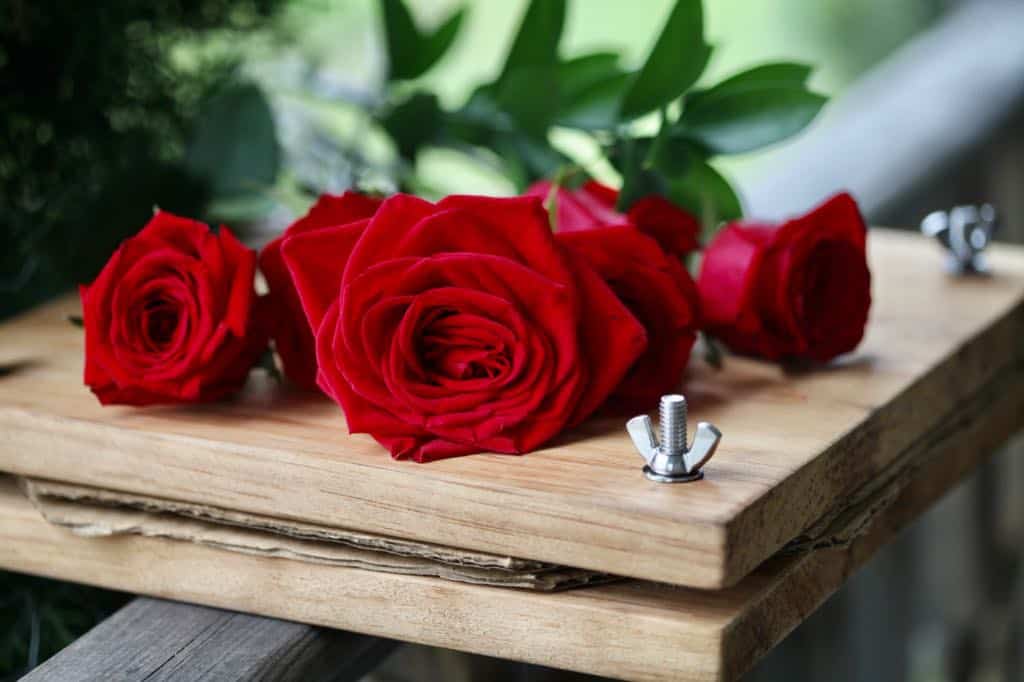
HOW TO PRESS ROSES- PRESERVE YOUR BLOOMS
See the Web Story On Learning To Make A DIY Flower Press!
PIN IT FOR LATER!

Julie
What a wonderful post. I love how the flowers turned out after using the press. I have always wanted to press flowers and had no idea how to make my own press. Your directions were easy to follow and I appreciate the photos showing the different steps.
cheyanne
Yes I usually use old books, however this press is so much better and very easy to make! Thank you for your lovely comment!
Teresa
This was so thorough and informative! Great job!
Ada
I love this post! The flower press looks very easy to make. This is what I need for my crafts! Thank you so much for sharing!
Heather
I LOVE this ❤ my daughter and I are going to head out and collect as many fall blooms as we can to press!
cheyanne
Such a wonderful activity to do with little ones! I hope you found a lot of blooms!