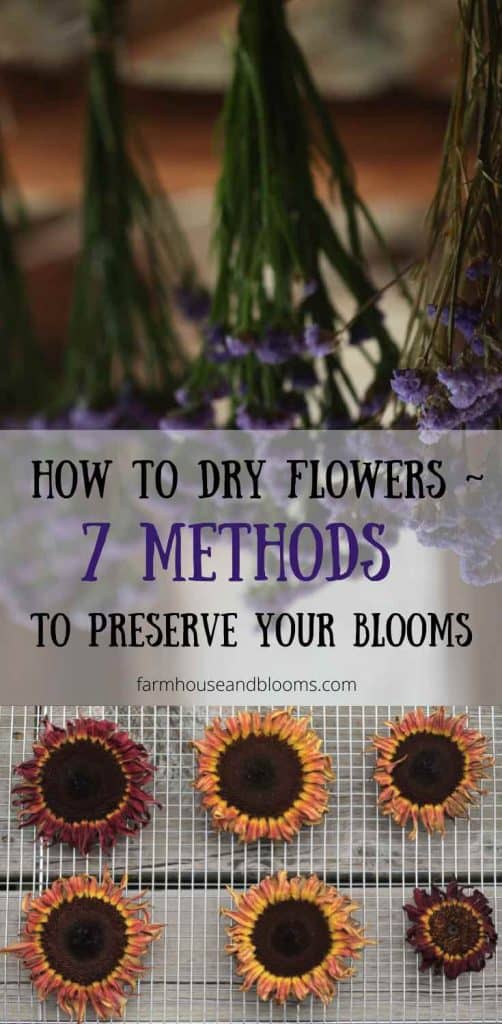
Drying flowers helps to preserve those beautiful blooms, long after their freshness has faded. Sometimes the beauty in the dried bloom far exceeds that of the fresh state. Although I have come to learn that beauty is in the eye of the beholder, I am one of those people that believes dried flowers are absolutely magnificent. Learn how to dry flowers using seven different methods to preserve your precious blooms.
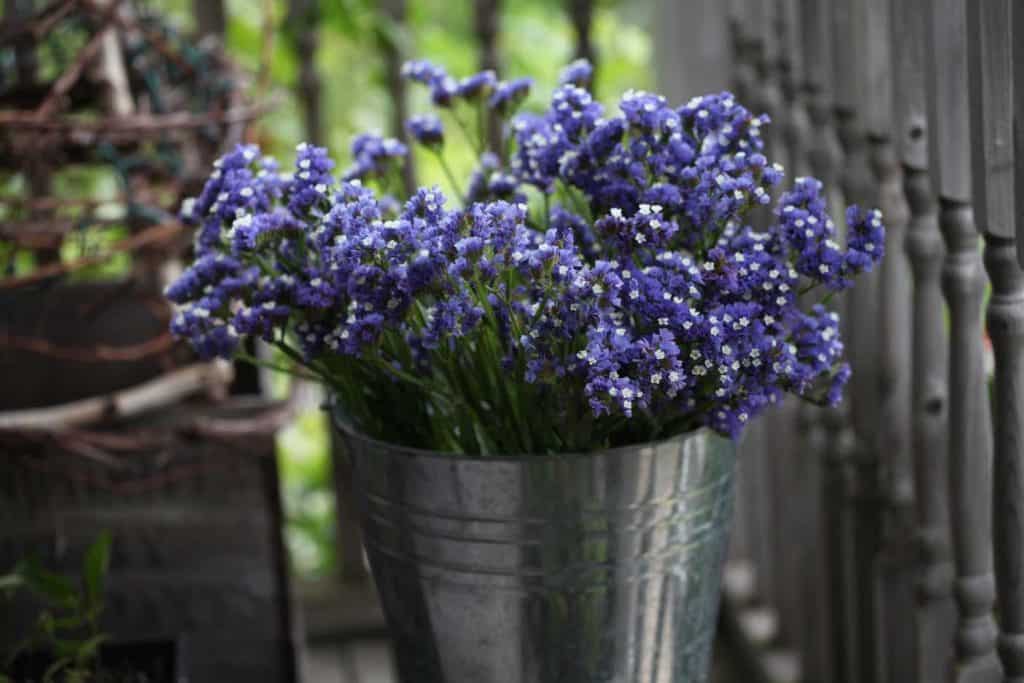
There are a number of different methods to dry flowers. Consider the right method for you, and the project that you will be drying the flowers for.
Do you want the flowers pressed flat, or rather would you like them to maintain their shape?
You will also want to consider the time frame for drying, as some methods take longer than others.
Dried flowers can be used in many different projects and crafts, and the method for preserving may be different, depending on the design.
The Methods We Will Be Reviewing Are:
1. The Air Dry Method
2. Pressing Flowers
3. Silica Gel Method For Drying Flowers
4. Drying In The Microwave
5. Drying In A Vase
6. The Oven Drying Method
7. Drying Flowers In A Dehydrator
1. Air Dry Method - Hanging To Dry
I love the look of the air drying method for drying flowers, with suspended colourful blooms hanging in rows. There is something very satisfying with this wonderful process.
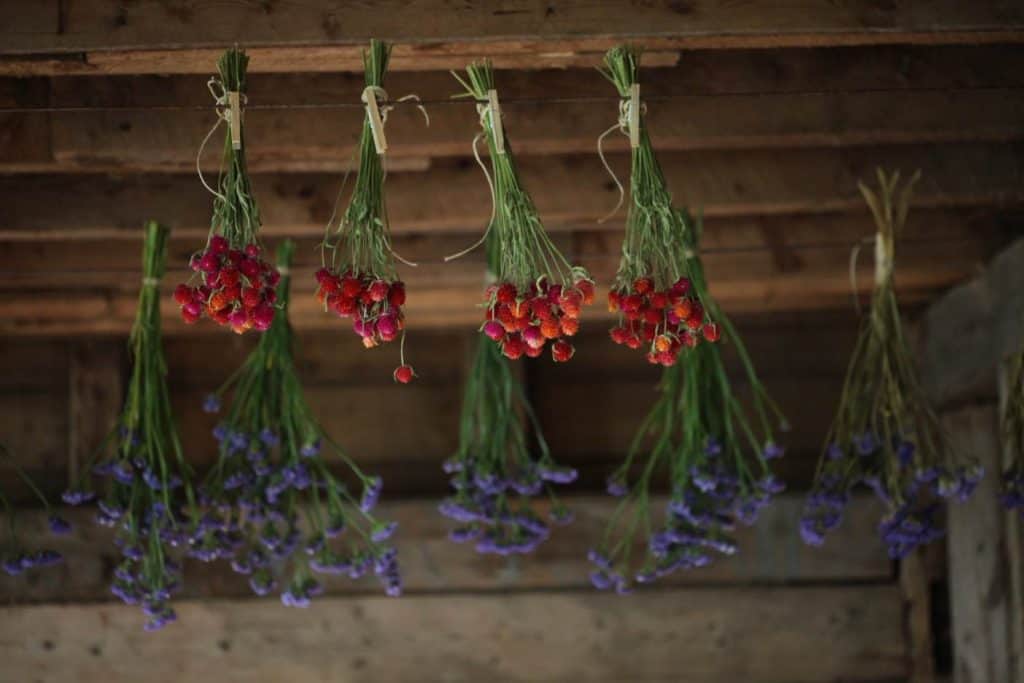
There are so many different types of set-ups to use when employing this method of drying.
You can hang from any type of line or rack, set up specifically for drying, and suspend your flowers in bouquets upside down.
We have used lines and also wire racks successfully for this process.
Best Types Of Flowers To Hang To Dry
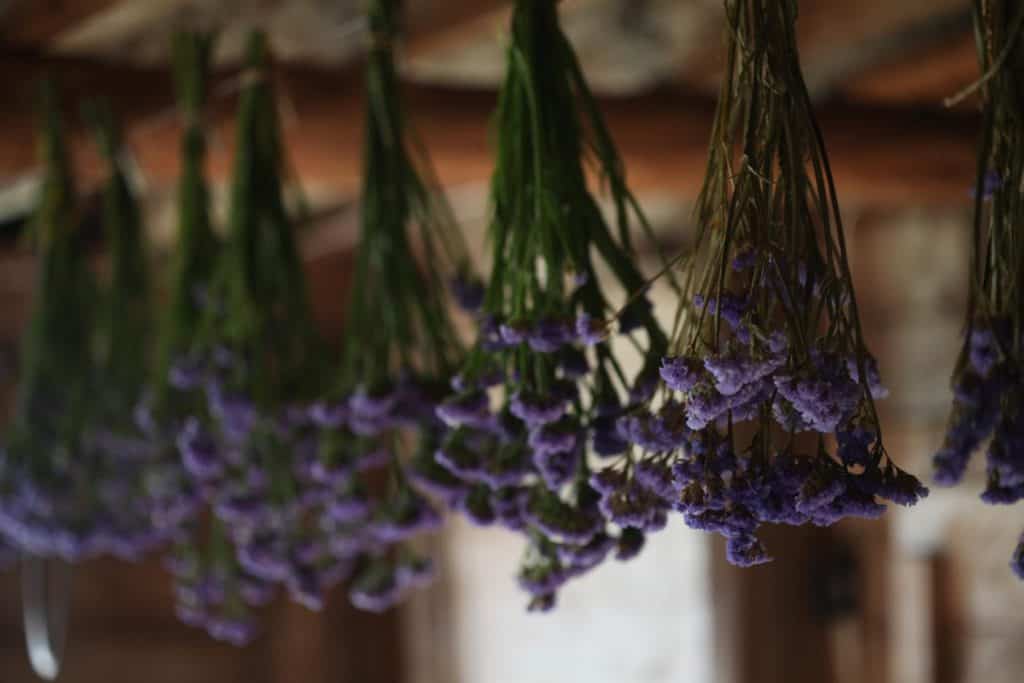
The best types of flowers to hang upside down to dry are those that are more compact, with smaller blooms and petals.
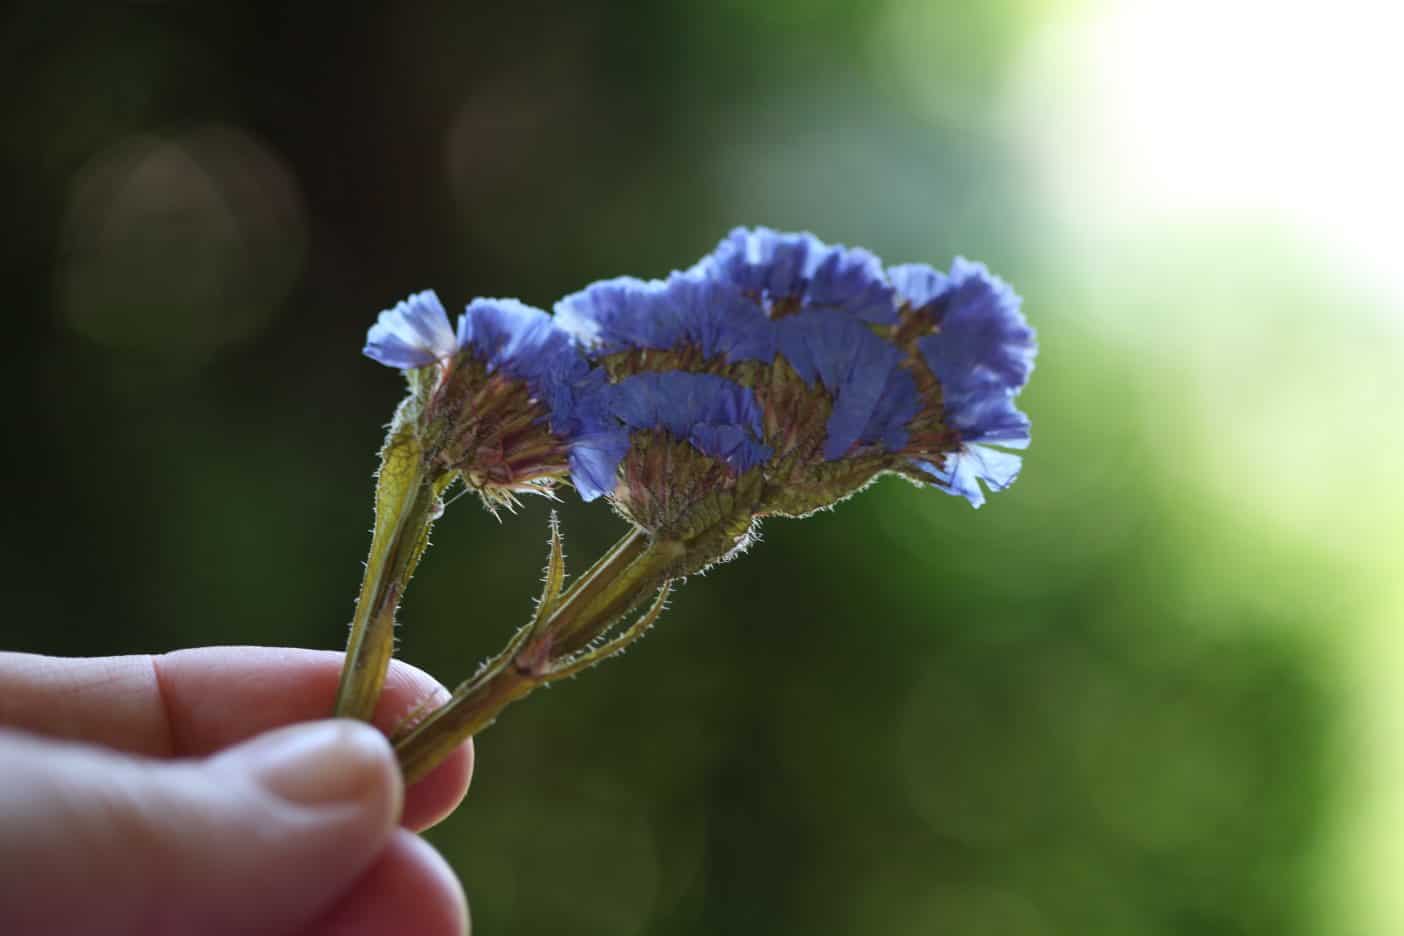
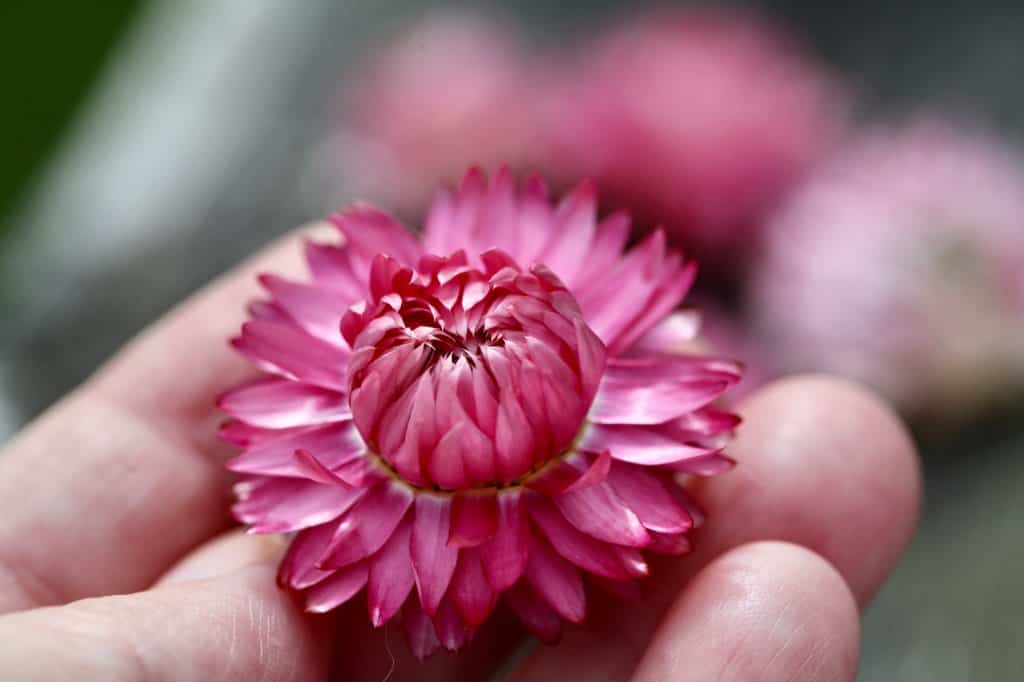
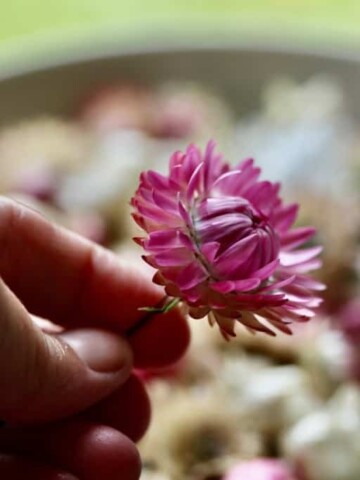
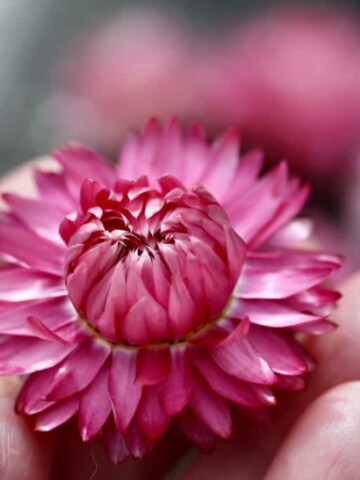
Examples of these flowers include Lavender, Statice, Globe Amaranth, Strawflowers and Larkspur.
Consider the effect of gravity if hanging upside down, and recognize that it can cause some distortions if the flowers are dried in an awkward position for that particular bloom.
An example of this is Love Lies Bleeding, Amaranth. These blooms are long and trailing. If dried upside down they would dry with an unnatural shape.
This type of bloom is best if dried right side up.
When To Harvest Flowers For Hanging To Dry
Consider the stage of bloom when considering when to harvest your flowers.
Most often the best stage to harvest is when the flowers are at peak bloom, before the seeds start to set.
Avoid harvesting flowers when they are wet, as this can contribute to mould.
In our garden we get a heavy dew every morning and evening, so we avoid these times of day to harvest if possible.
Mid morning is often the best time to harvest flowers for drying. This is generally the time when the dew has dried, but also before the heat of the day is upon the garden.
Key Points To Consider When Using The Air Dry Method:
- Good air circulation between bouquets is important, so remember to allow some space between each bouquet when hanging them in place. A fan for air circulation is also helpful.
- Make sure to secure your stems well in each bouquet. The best way to do this is with elastics. As the stems dry they will shrink, and if you have tied the stems with cord or string, flowers may fall out. Elastics will maintain a grip and should keep everything together.
- Choose a darker space that is warm but not too hot, to help preserve the colour of the blooms.
- Avoid a humid space, as this contributes to mould.
Here is a post on hanging flowers upside down which discusses in detail how we dry our flowers using this method:
Learn more about air drying flowers by hanging them upside down here.
Directions:
- One of the easiest ways to suspend flowers upside down is on a strong line that has been tightened and secured in place.
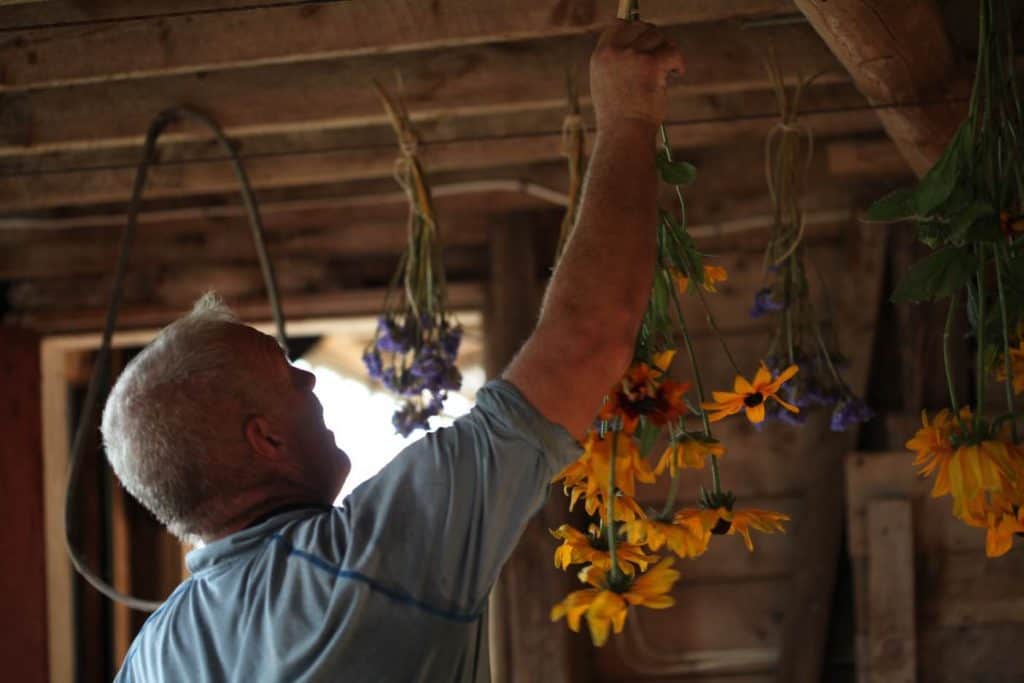
- This setup is very helpful if you are hanging multiple bunches of flowers.
- If you are just suspending a bouquet or two, just hang upside down on a hook or a knob, keeping the above considerations in mind.
- If you are drying many flowers however, it's always nice to have a special setup.
- After bundling your bunches of blooms together with an elastic, hook a wooden clothespin through the elastic, with the clothespin facing upwards.
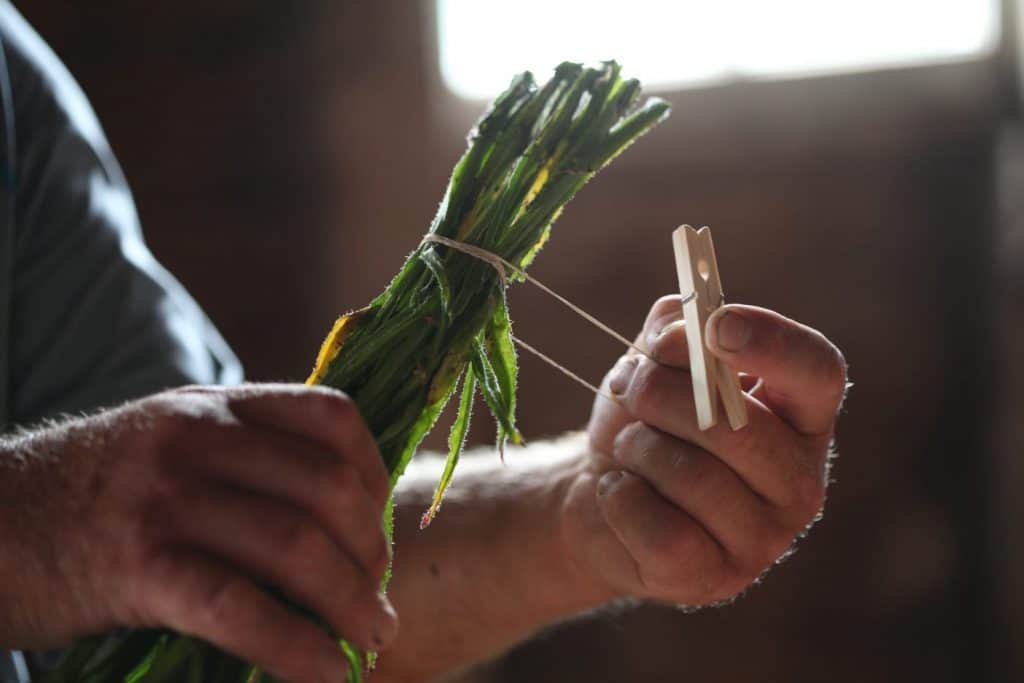
- Now take the clothespin and pin the bunch of flowers to your line.
- It's as simple as that! After two weeks of hanging your flowers should be completely dry and ready to use.
Benefits Of Using The Hanging To Dry Method
- Hanging flowers to dry allows for good air circulation around the flowers.
- It's also pretty easy to set-up and manage.
- Hanging to dry allows you to dry as many or as little flowers that you want at the same time.
- The flowers also look beautiful while they are drying, and are a source of inspiration and creativity for future projects.
2. Pressing Flowers
When I was young my mom taught me how to preserve flowers and special leaves by pressing them between the pages of an old book.
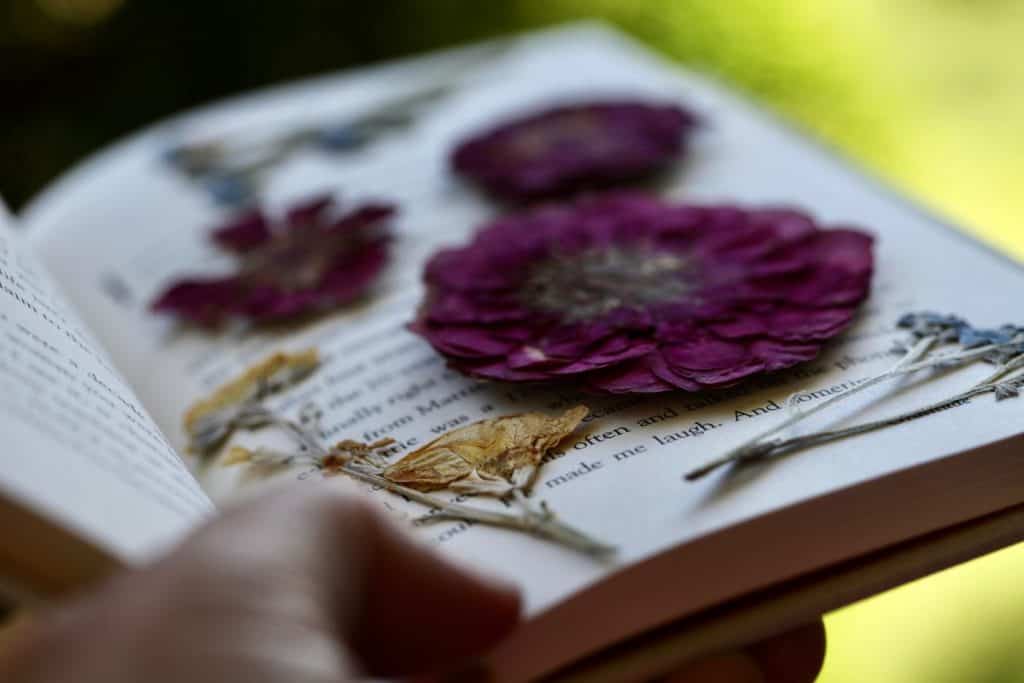
Many a four leaf clover and prom corsage were pressed between those golden pages.
And certainly, this is still a tried and true method of pressing a few special flowers.
However pressing flowers has become an art, and there are a number of ways to efficiently and successfully press precious blooms, petals and leaves.
When it comes to different varieties of flowers, certainly all are not equal in terms of their ability to press successfully and maintain colour without browning.
There are a number of different ways to press flowers, and a more detailed post on pressing flowers can be found here.
Best Types Of Flowers To Press
The best types of flowers to press are those with lower moisture content.
Some of the best flowers for pressing include Violets, Pansies, Statice, Bachelor buttons, Larkspur, Forget me nots, and Delphinium.
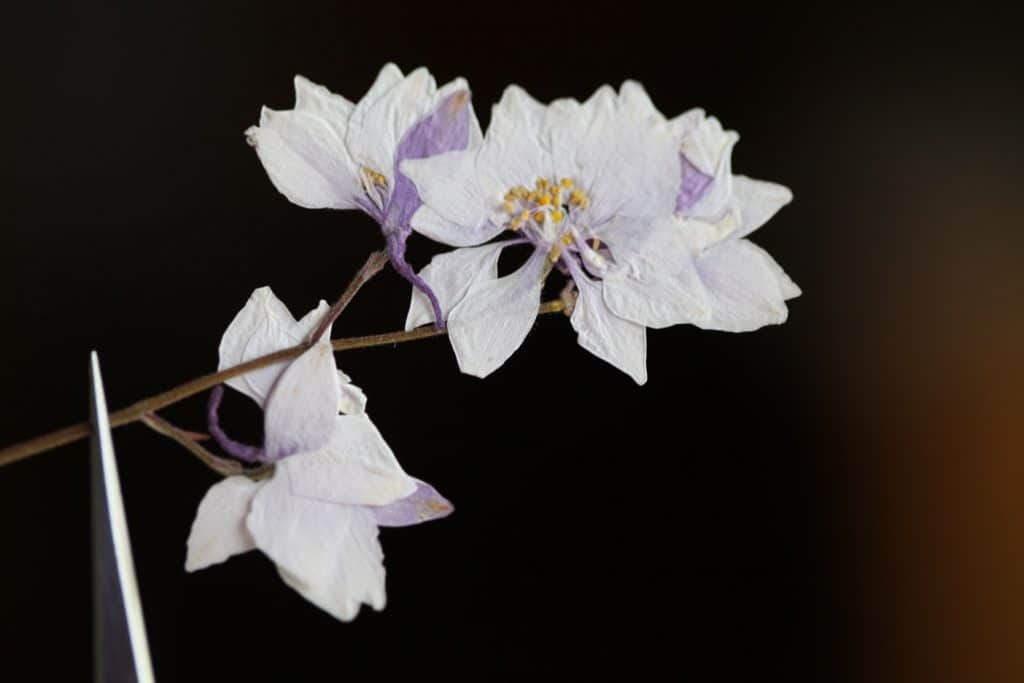
Those with higher moisture content take longer to dry, are at risk for moulding, and may lose their colour.
Examples of higher moisture content flowers include dahlias and roses.
Smaller flowers are easier to press than larger thicker flowers, although there are definitely ways to press thicker flowers as well.
When To Harvest Flowers For Pressing
Harvest for pressing when in peak bloom, when the flowers are fully open yet not gone to seed.
Mid morning harvest is best, after the morning dew has evaporated off the blooms.
Try not to harvest on a humid or wet day, as this can contribute to moulding.
If you have no other choice, place the wet flowers in water and set aside until dry.
Choose Your Method Of Pressing
1. Press With A Press
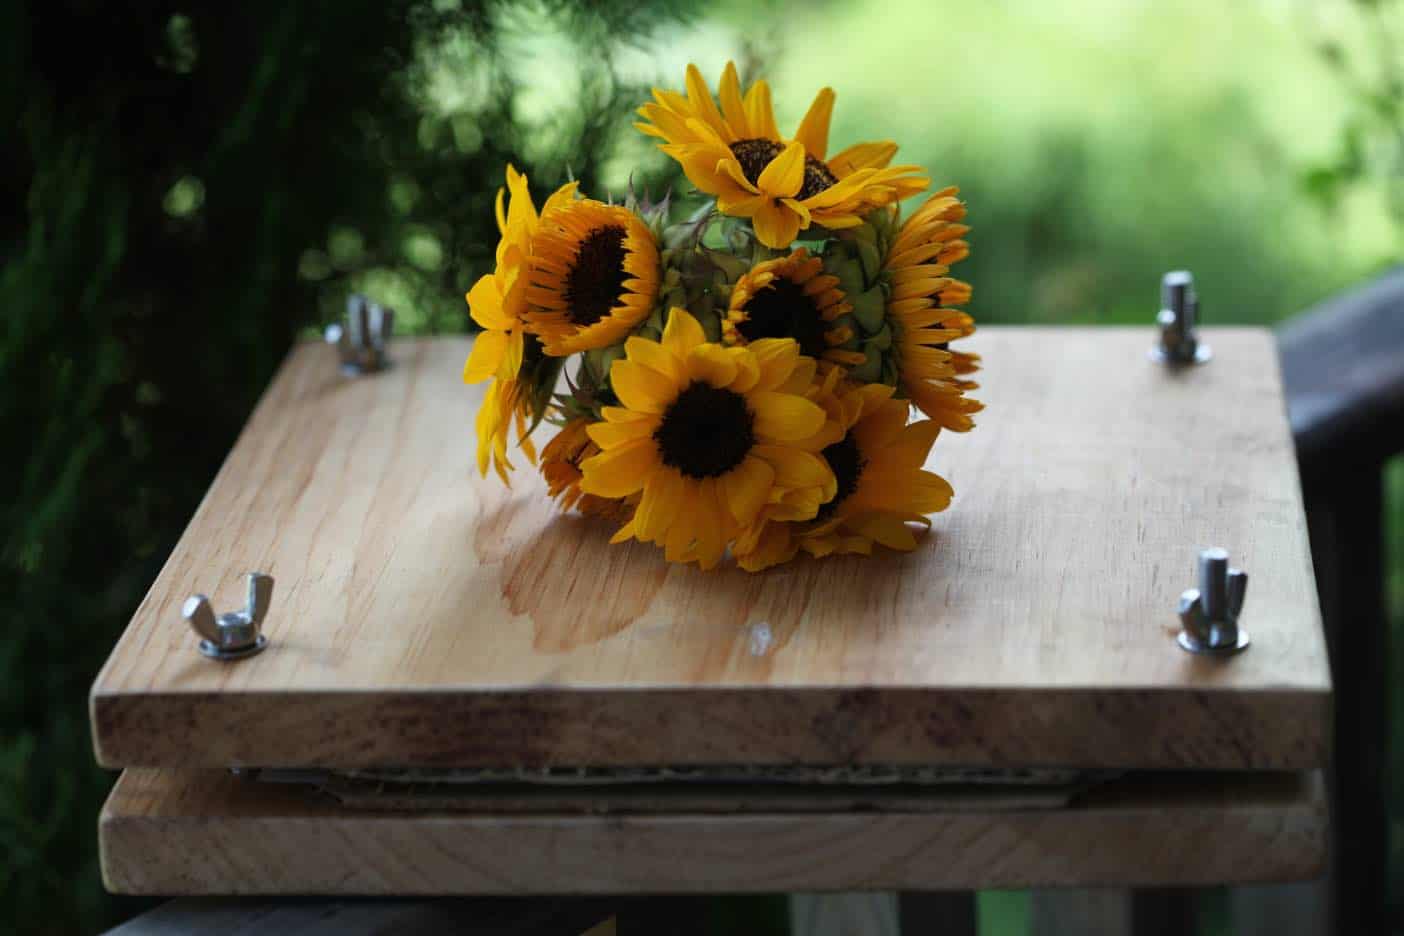
My absolute most favourite way to press flowers is with a flower press, without using heat.
I have used a DIY flower press, a ready made purchased press, and also a microwave press. My favourite press of these three hands down is the DIY press.
It is sturdy and does not budge while I am pressing my blooms and foliage. The wood is thick and non flexible, which is very helpful to get a nice firm press.
The ready made press is slightly thinner and has a tendency to bulge in the middle when pressing thick flowers. It still works well however, and I would definitely recommend a press of this type.
The microwave press is not that easy to do right out of the gate, and there is definitely a learning curve.
The microwave press can speed up the pressing process however, which may be a consideration for some. Unfortunately I found that it was fairly easy to burn the flowers, even while being super careful.
2. Press With A Book
I also love the simple classic method of pressing flowers in a book.
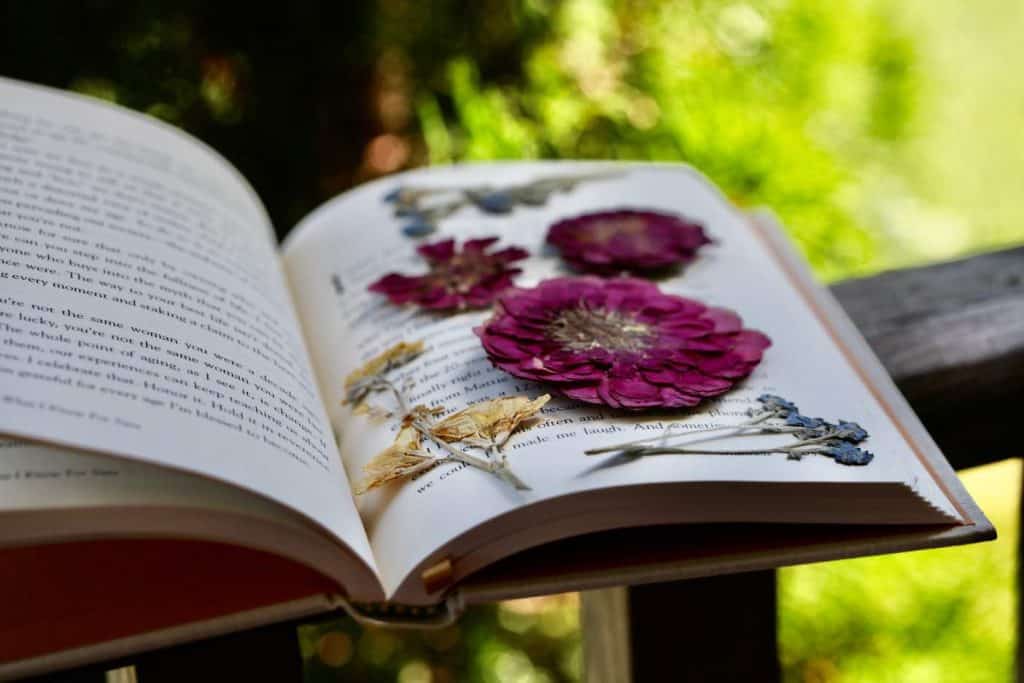
It doesn't have to be a special hard cover book, and any book will do. The key is to place the flowers between the pages of the book, and then place some sort of force on the outside of the book when it is shut, to press the blooms flat.
You can also fold the flowers into a separate piece of paper, and place this into the book. This may reduce the possibility of staining the pages of your book.
Put the book back into the book shelf with books on either side, or at the bottom of a heavy pile of books which will definitely do the trick.
Directions For Pressing Flowers
So let's look at how to press blooms in general, without the application of heat.
Generally what you will need is some absorbent paper, and some cardboard ( unless you are pressing in a book).
The key is to sandwich the flowers that you are going to press between two pieces of paper, which are then sandwiched between two pieces of cardboard.
You can then take this unit containing your specimens for pressing, and place under a heavy object, or place inside a flower press.
Flower presses usually come with this cardboard and paper sandwich setup already in place.
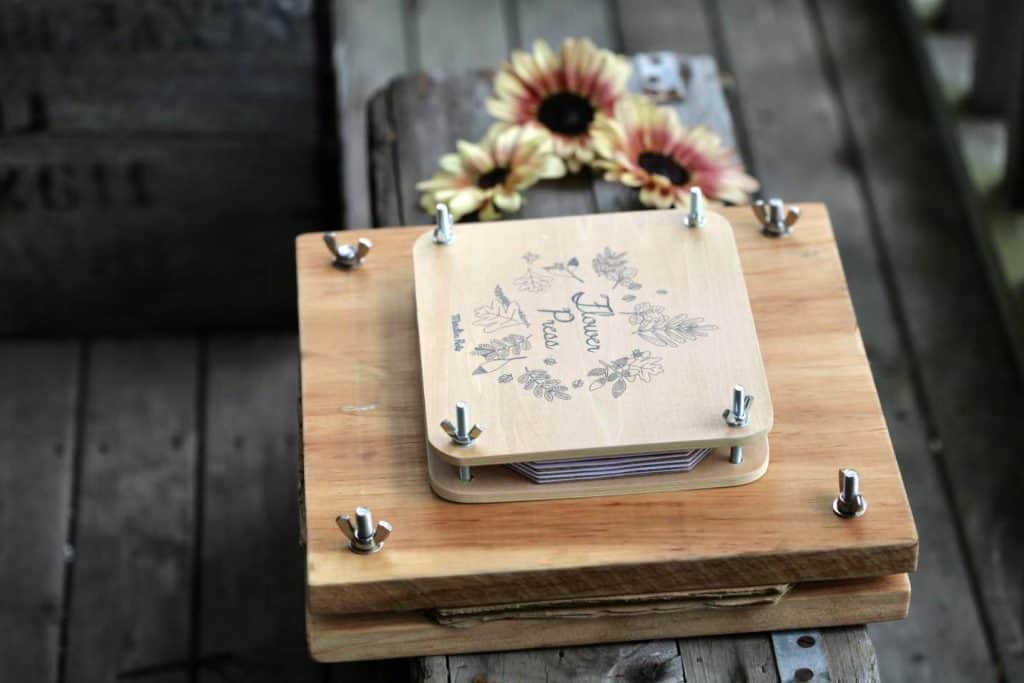
Let's have a look at how this works.
How To Use A Flower Press:
- Place the blooms, petals or leaves onto the paper on top of the cardboard in the press.
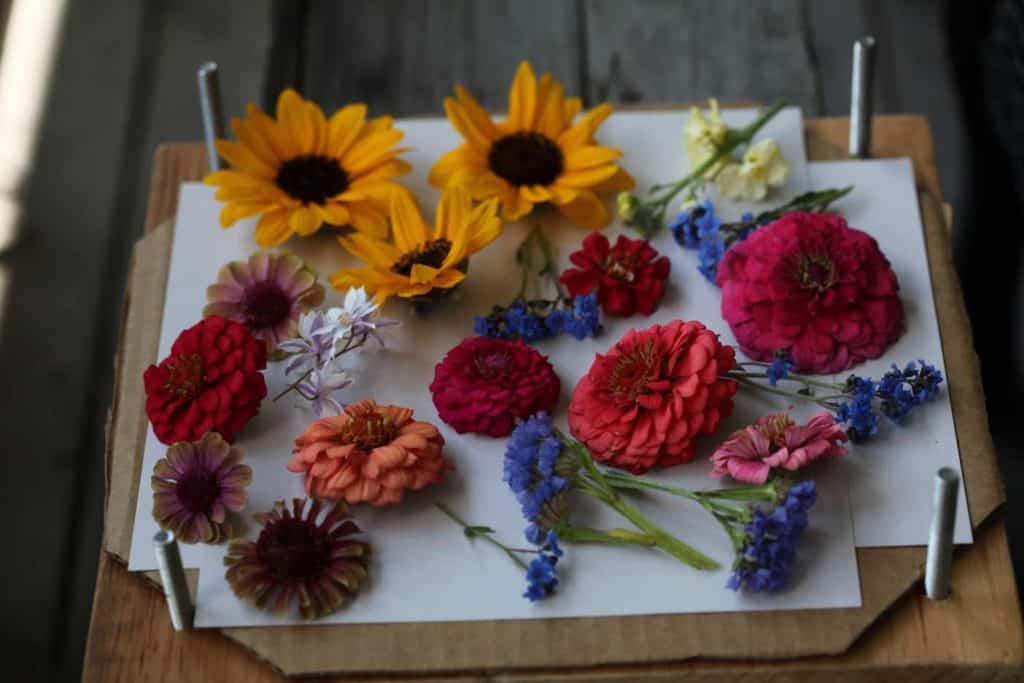
- Place the blooms face down if you can, it really seems to make a difference with less bent petals. This position helps to evenly space out the petals before the pressing is initiated.
- Make sure that the flowers and leaves are not touching each other, and that individual blooms are all separated.
- Once the flowers are positioned, lay another piece of paper on top of the blooms, and then lay another piece of cardboard.
- The flowers and foliage essentially become sandwiched between two pieces of paper, which are sandwiched between two pieces of cardboard.
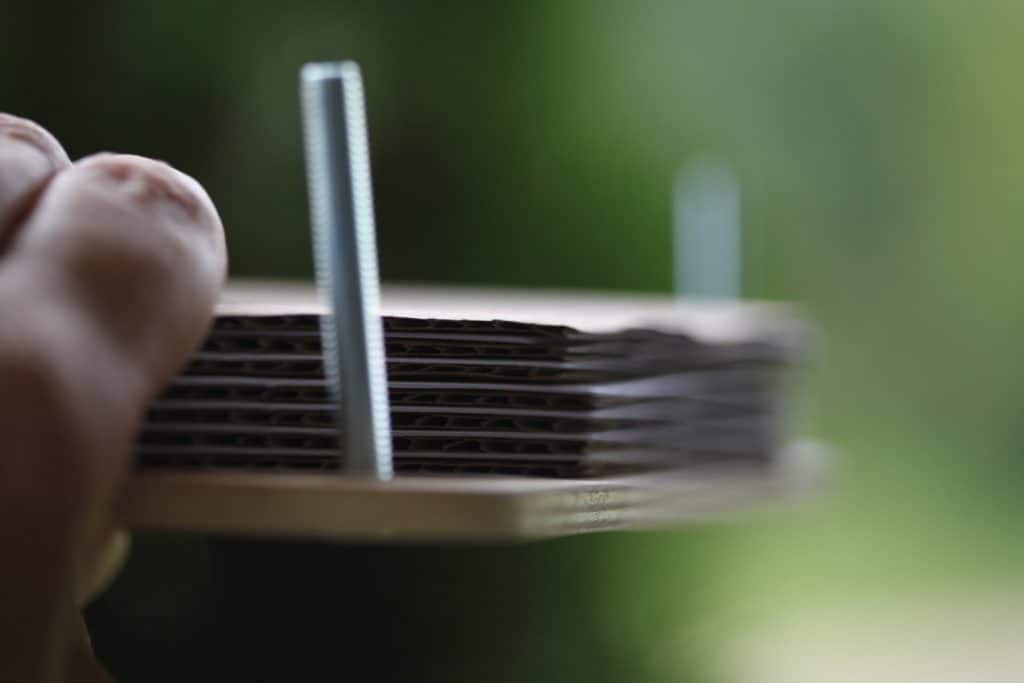
- Next place the cover of the press in place, and screw the bolts to add pressure to the blooms, pressing them flat.
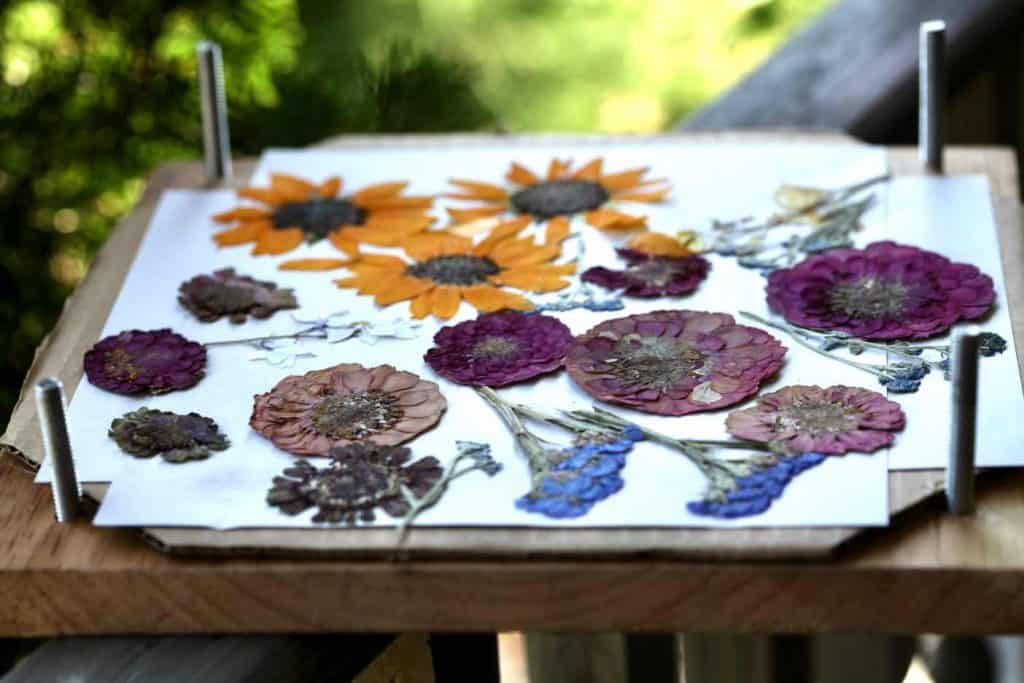
- Leave the blooms and foliage in the press for several weeks to a month. After this period of time the pressed flowers can be removed.
- When opening up the flower press take care, as the pressed flowers and foliage may be stuck to the paper.
- Using a pair of reverse action tweezers may help with this process.
- Carefully remove the pressed blooms and foliage from the paper.
- Once completely dry the pressed flowers and foliage can be used in many different types of art projects.
- Store away carefully until ready to use.
Benefits Of Pressing Flowers
- Pressing flowers flat enables them to be used in projects where they can be laid on a flat surface easily and beautifully.
- Examples of this is framed pressed flower art between glass, or pressed flowers on homemade cards.
- There is something quite magical that happens to pressed flowers that is not quite as evident with other forms of dried flowers.
- The pressing and drying enhances the characteristics of the flowers and foliage, making them really stand out, magnifying their beauty.
3. Drying In Silica Gel Dessicant
Drying flowers in silica gel is a third method to dry and preserve.
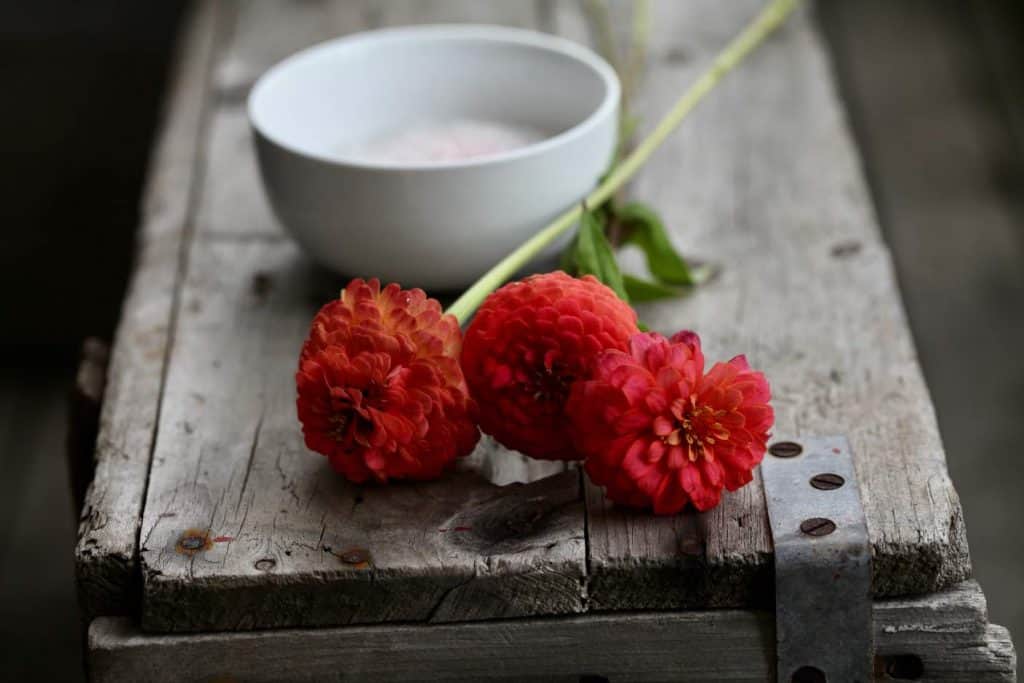
Silica crystals absorb molecules of water.
The neat thing about silica is that it wicks away the moisture from the blooms, preserving them well and sometimes almost perfectly.
Silica allows the flowers to hold their shape and colour. The details within the blooms are often preserved to perfection.
The silica will continue to work until it becomes saturated with water molecules. At that point it will need to be dried out, and thereafter can be used again.
Best Types Of Flowers To Dry In Silica Gel
You can dry most flowers in silica gel. Make sure to use the crystal form, and not the beads.
The wonderful thing about using this method is that you can successfully dry many of the higher moisture flowers this way. These flowers can be hard to dry using other methods.
Examples of these higher moisture blooms include all Dahlias,(even the large Cafe Au Laits), Roses, and Chrysanthemums.
Even the pom pom dahlias with multiple tubular petals can be perfectly dried and preserved with silica crystals.
Other blooms which dry well with silica are cosmos, poppies, roses, clematis and tulips.
When To Harvest Flowers For Drying In Silica Gel
As with all flowers for drying, harvest when in full bloom and before the flowers begin to age.
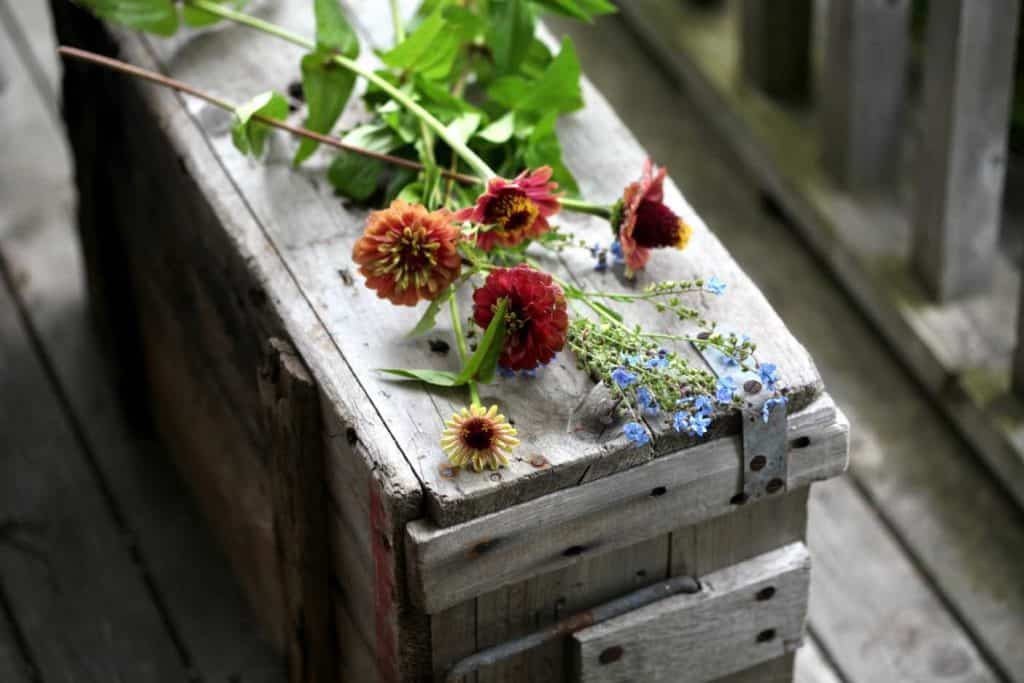
When in full bloom the flowers will be at their peak and in the best stage for drying.
Always harvest when dry if possible.
Best time of day for harvesting to dry in silica is the same as others, in mid morning. This is not a hard fast rule however, just something to consider if you are planning a harvesting time.
I sometimes just get there when I get there, depending on the day.
Safety Considerations
There are some safety considerations to be aware of when working with silica gel.
This technique is not without risk, and whenever there is a potential risk it should always be highlighted.
Make Sure To Wear An Air Filter Mask And Gloves When Working With Silica Gel
The risk with using silica gel involves inhalation of silica dust which can cause tissue injury if inhaled into the lungs over time.
The smaller the silica particles, the more easily they are inhaled, or even absorbed.
Drying flowers with silica generally involves using the finer crystals, which can get down inside the petals for better contact.
So make sure to use a mask and gloves when working with this product.
This will help to protect you from inhaling the silica dust.
Never grind down silica beads to make them smaller, as this will increase your risk as well.
Now let's get to the directions on how to use silica crystals for drying flowers.
Directions:
- Put on your mask and gloves.
- Select your flowers for drying with the silica gel. Try to use similar flowers together in the same containers.
- You can select flowers off the stems, or keep the stems attached. Sometimes it's easier to dry the flower and stem separately, and reattach them later.
- Consider the size of the blooms, and select a container which is large enough to hold the both the blooms and the silica gel crystals, which should cover the flowers completely.
- A rectangular or square pan with sides is a good choice of you are drying more than one flower. You can also use a bowl, or a plastic container with a lid.
- If using a plastic microwavable container, do not reuse this container again for heating food.
- Place a layer of silica crystals in the container, about an inch deep. Then place the blooms on top of this layer, face up.
- If the stems are still attached, lay sideways in the container.
- Gradually pour the silica onto the rest of the flowers, using a cup to gently place the silica.
- It's a good idea to cover the pan, bowl or container to prevent the silica from absorbing moisture from the air.
- Leave the blooms in the silica for two to seven days until dried.
- Drying times will vary depending on the type of flowers being dried, so try to dry similar flowers together.
- When fully dried, remove the blooms carefully from the silica, and dust off any silica crystals from the dried flowers with a small brush.
- Store the dried blooms in an airtight container away from moisture. If these dried flowers come into contact with moisture they can become easily damaged.
Benefits Of Using The Silica Gel Drying Method
- The silica gel drying method preserves some flowers to perfection.
- It is a very efficient way to dry blooms and preserve their colour and form.
- As mentioned, it is also very effective at drying high moisture flowers, which are difficult to dry using many other methods.
- The dry blooms can be delicate however, and require care with storage away from moisture.
4. Dry Flowers In The Microwave
Drying flowers in the microwave allows you to speed up the drying process. It is not without risk however, and will place the flowers more at risk for burning.
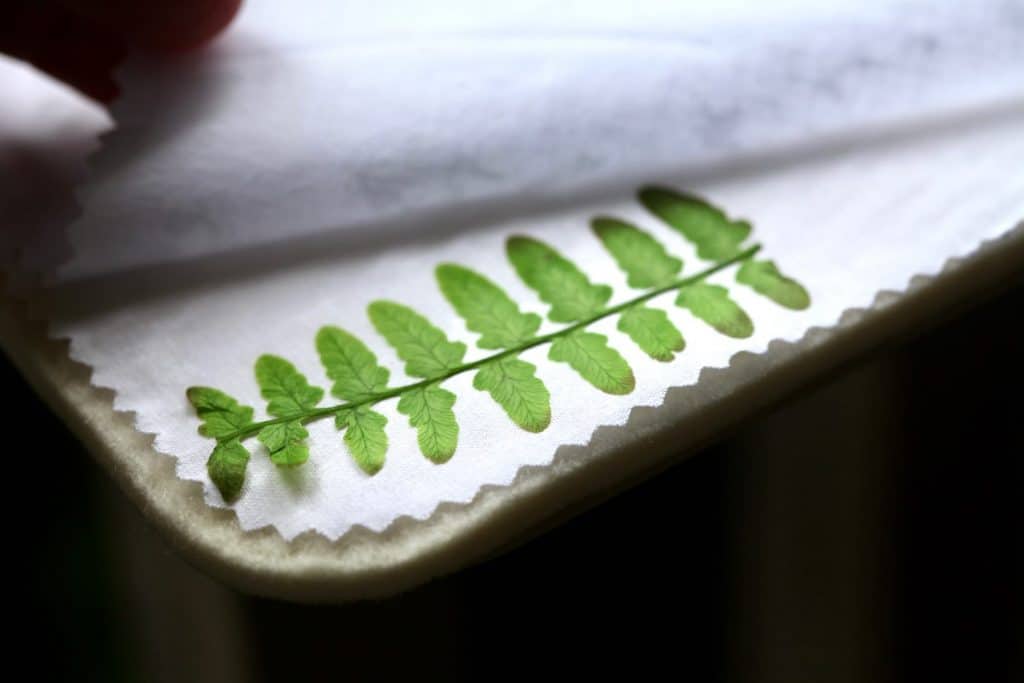
With some practice however you may find that this technique is very helpful to get the drying process done and completed much more quickly than with other techniques, with great results.
Best Types Of Flowers To Dry In The Microwave
The best types of flowers for drying in the microwave are those with smaller blooms and petals with less moisture.
As well, the best types of flowers for the microwave will be dependent on the method you are using. There are several methods described below.
The silica gel method is able to dry higher moisture flowers successfully, and the microwave will speed up that drying process.
When To Harvest Flowers For Drying In The Microwave
Harvest your blooms for this method of drying when they are at peak bloom and before they form seeds.
Harvest when the flowers are dry.
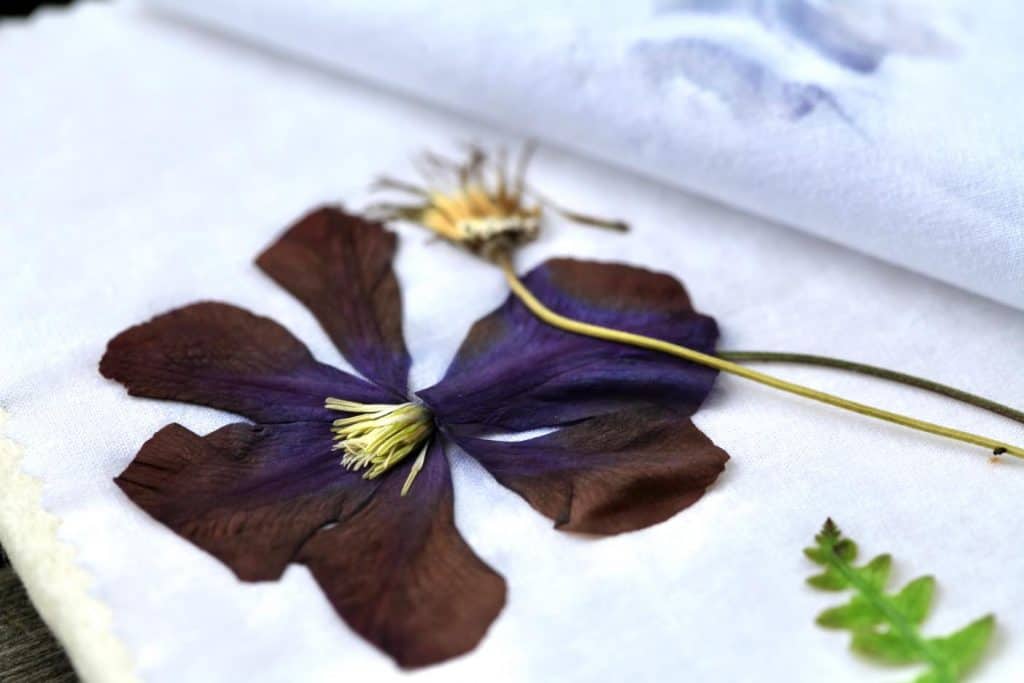
There are a number of different ways to dry flowers in the microwave:
1. The first way is to use a specially designed microwave flower press.
2. The second way is to use silica gel, and I will be describing this technique below.
3. A third way is to dry flowers in the microwave under glass, as demonstrated by crafting a green world.
To dry flowers in the microwave using silica crystals, follow the directions below.
Directions:
- If you are drying flowers using silica crystals in the microwave, make sure to use a microwave safe container without a lid.
- Place the flowers in the container, just as you would with the regular silica gel method.
- Ensure a one inch layer of crystals underneath the flowers, and cover the flowers completely with crystals as well.
- Make sure that there is space between the flowers, and that they are not touching each other.
- Place a cup of water in the microwave with the container of flowers.
- Heat at one minute intervals on medium heat.
- Allow to cool for 20 to 30 minutes between intervals.
- Check on the flowers throughout the process.
- If the flowers are almost dry but need a bit more time, consider allowing them to complete the drying process in the silica gel at room temperature, to avoid burning the petals.
Benefits Of Drying Flowers In The Microwave
- If you have limited time, the microwave can speed up the drying process.
- There is certainly a learning curve to using the microwave for any of these methods.
- The key is to dry the flowers without burning them. Knowing the power of your microwave and the effects on the flowers that you are drying is key to having success with this method.
- With a bit of practice it should get easier.
5. Drying Flowers In A Vase
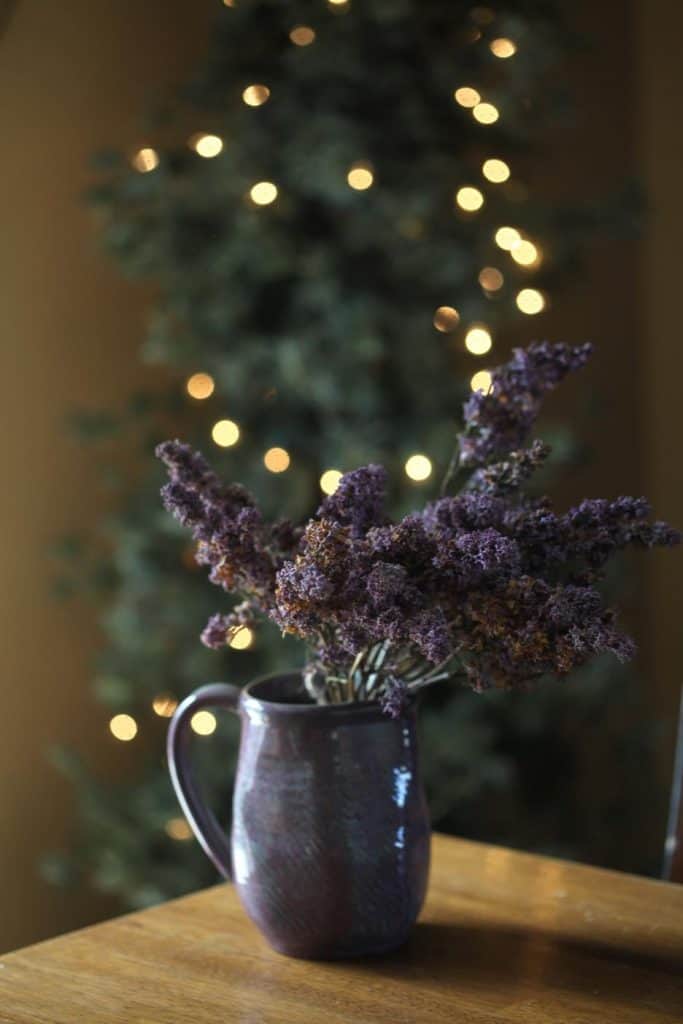
My mom Helen is an expert at drying flowers in her vases.
It is not always intentional, however this method can work quite well, even for flowers that are just forgotten.
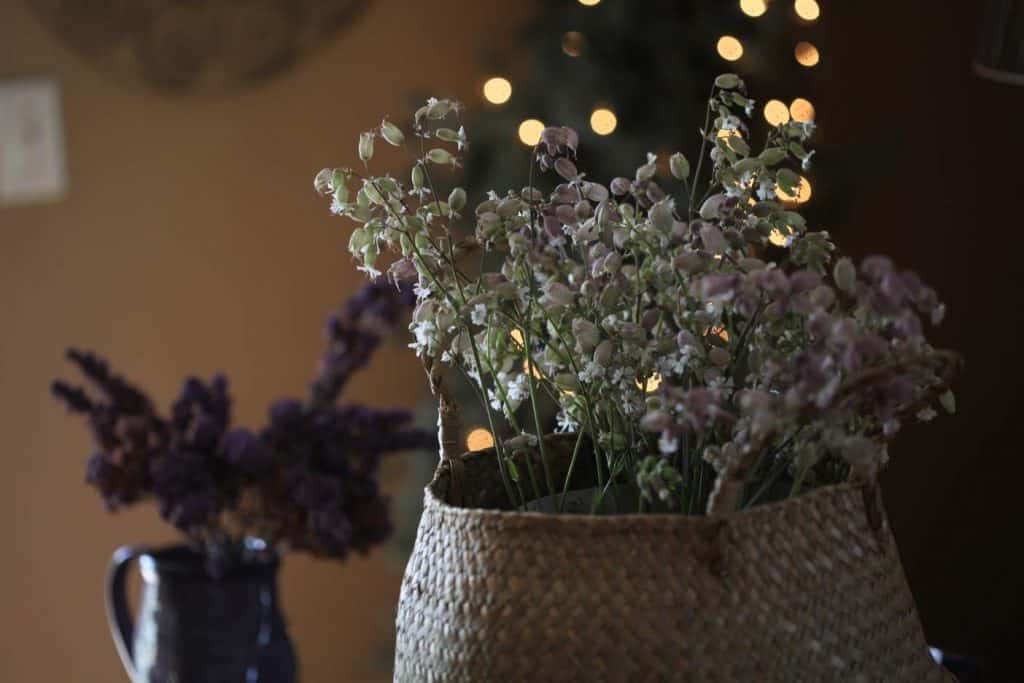
Having a daughter who grows flowers every summer has provided Helen with many bouquets of beautiful blooms throughout the growing season.
So many in fact that sometimes they don't always get watered. Accidental drying, we call it.
It is however, a tried and true method for drying flowers.
Drying flowers upright in a vase is not difficult.
All that one has to do is eventually stop watering the blooms in the vase. This is known as the lazy man's way of drying flowers.
It literally is so easy.
It's funny, every time I would go visit my mom, I would take pictures of the accidentally dried flowers in her vases.
Some commented that the flowers were dead, and needed to be discarded.
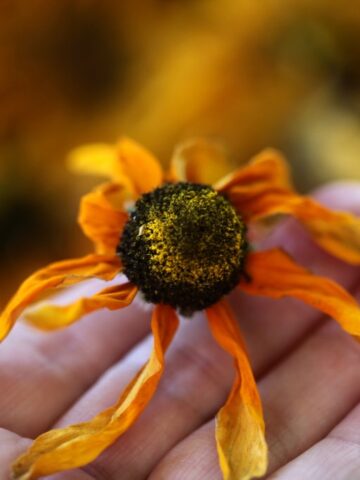
I only saw beauty. Romantic dried dahlias, and amaranth, and celosia. Beautifully preserved in their dried state, just waiting to be captured on camera.
Best Types Of Flowers To Dry In A Vase
You can dry many types of flowers in a vase. I've dried roses and dahlias and sunflowers this way.
This is also a great way to dry Hydrangea and Baby's Breath.
Love lies bleeding also dries quite well in a vase, with it's trailing blooms naturally falling into place as they dry.
When To Harvest Flowers For Drying In A Vase
Harvest fresh blooms at their peak, and start the drying process right away.
These blooms should be dry when they are harvested, however even if they are wet, they will dry off in the vase.
Directions:
- To dry flowers in a vase, start by filling a clean vase with a small amount of water, approximately several inches or so.
- Place fresh blooms into the vase with the water.
- Allow the flowers to soak up the water, and do not add more to the vase once all the water has been absorbed.
- Allow the flowers to dry in place sitting in the vase.
- Within several weeks they should be nicely dried and preserved.
The Benefits Of Drying Flowers In A Vase
- This is one of the easiest ways to dry flowers.
- The flowers will dry naturally as they are positioned in the vase.
- You can enjoy the entire process, right from the beginning when you place the flowers in the vase.
- There is little to no cleanup using this method.
6. Oven Drying Method
The oven drying method is another option to speed up the drying process. It involves baking the flowers in the oven at a very low heat over the course of many hours.
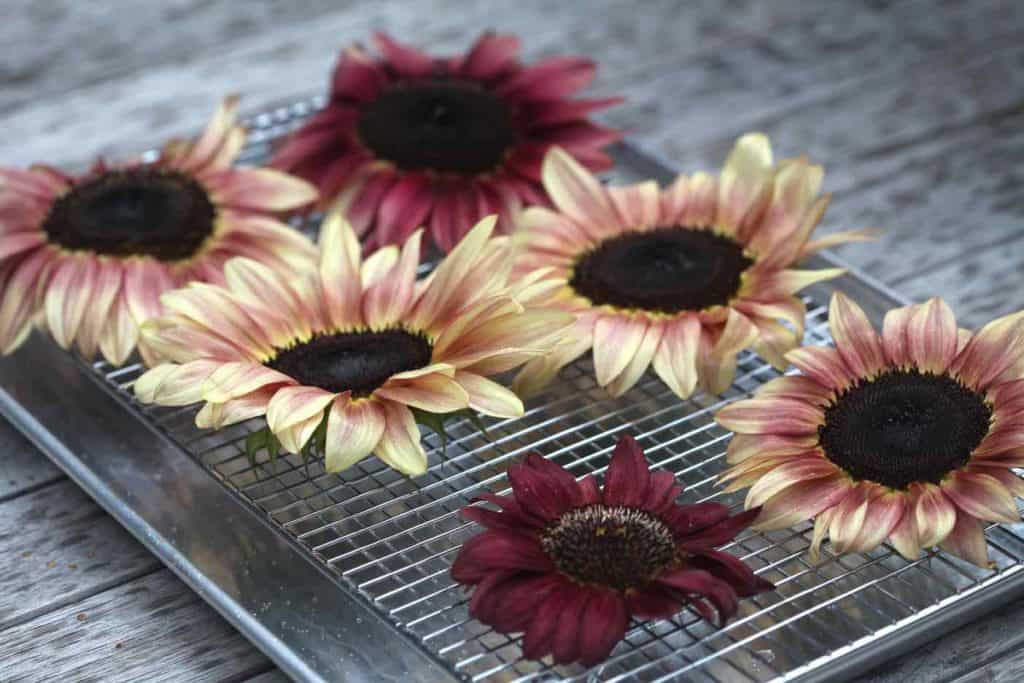
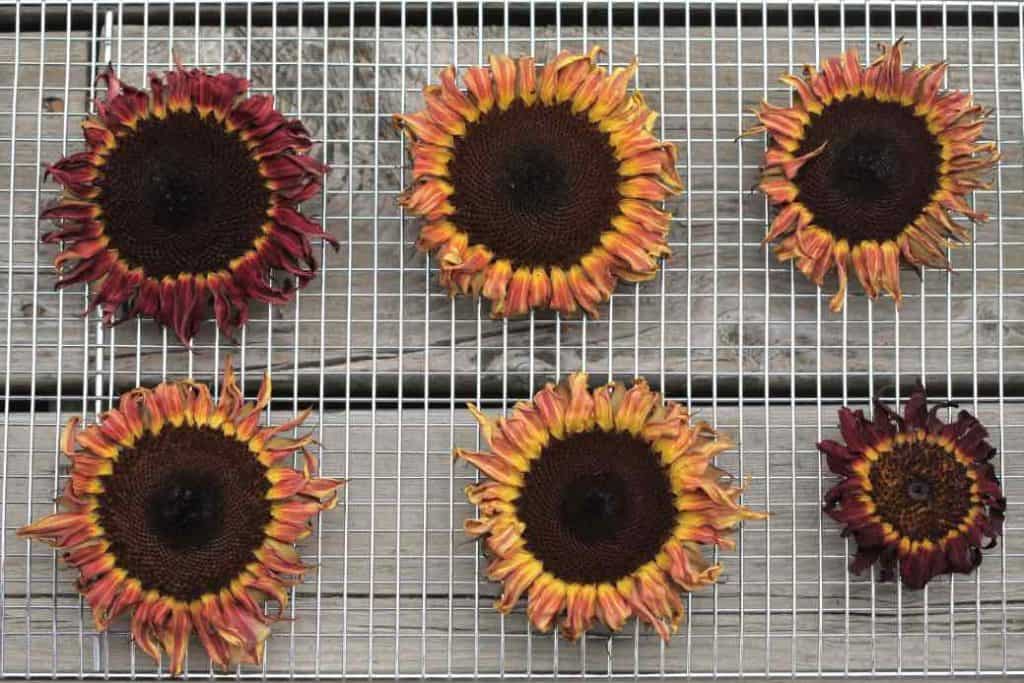
This process does not preserve the flowers as well as many other methods, in that they may not maintain their shape and colouring as well.
The flowers will dry well however, and this method certainly has it's place.
Best Types Of Flowers To Dry In An Oven
Flowers with low moisture content are best for drying with this method.
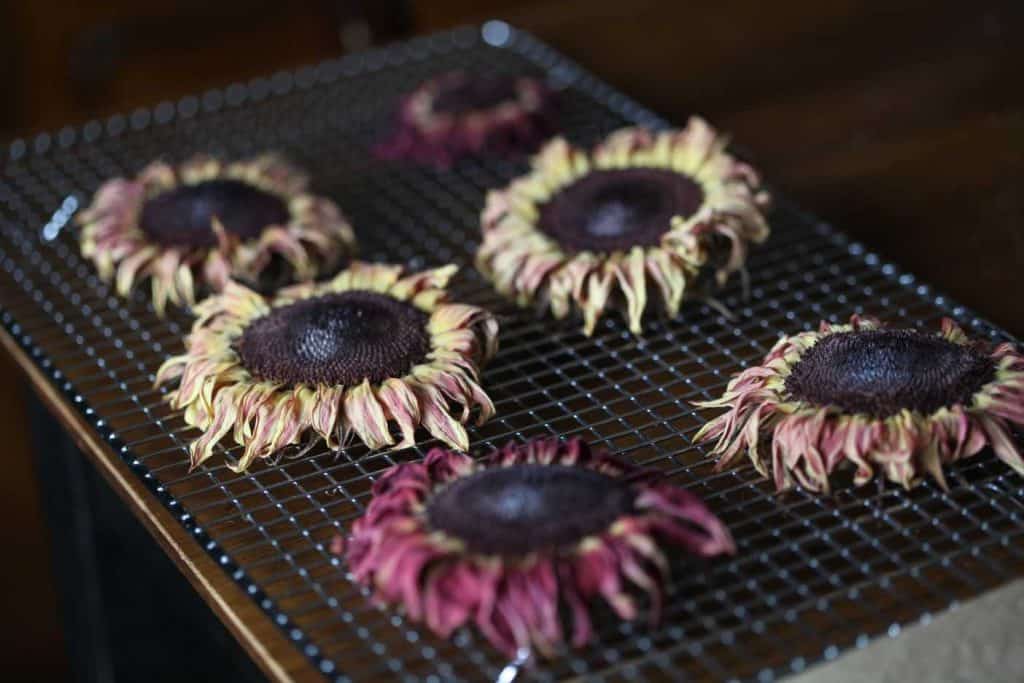
Sunflowers dried well with this method, although the petal size became significantly reduced with the fast drying time.
I really like how they turned out, and that they kept their petals, which was a bonus.
When To Harvest Flowers For Drying In An Oven
Harvest the flowers for drying in the oven at peak bloom for best results.
The flowers should be freshly picked and dry.
Directions:
- Set the oven at it's lowest temperature setting.
- Select your blooms and cut the stems off the flowers.
- Place the flowers on top of a baking rack, and set this rack on a pan inside the oven.
- Bake for two to twelve hours until dry, checking on the flowers throughout the process.
- If it gets moist inside the oven, crack open the oven door slightly to allow the humidity to escape.
- Remove the flowers when dry, and allow to cool down completely before storing away.
Benefits Of Drying Flowers In The Oven
- Drying in the oven will help to speed up the drying process, as long as your oven is able to be set at a low heat.
- This method can work well for drying petals enmasse.
7. Drying Flowers In A Dehydrator
Drying flowers in a dehydrator is the seventh method in which to dry flowers that we will be reviewing.
Best Types Of Flowers To Dry In A Dehydrator
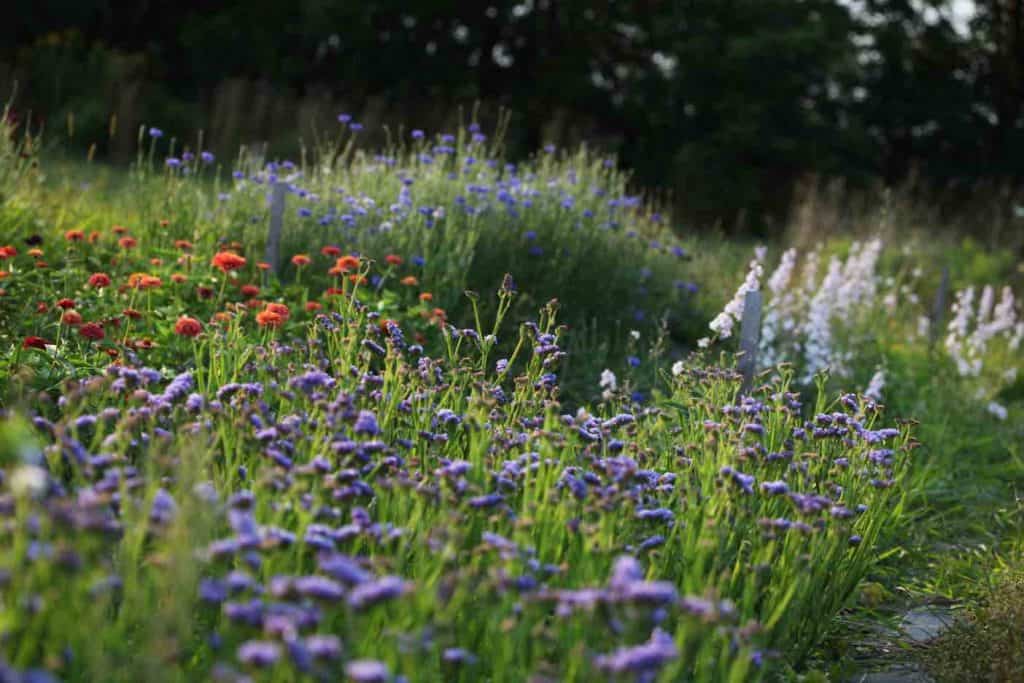
You can dry many different types of flowers in a dehydrator, and it is particularly useful for drying smaller flowers and petals in large amounts.
When To Harvest Flowers For Drying In A Dehydrator
Harvest the flowers when they are in their prime, and nice and dry.
The best time to harvest is in the morning, after the dew has dried from the flowers.
Directions:
- To dry flowers in a dehydrator, the best way to do this is on the lowest heat and over a long period of time.
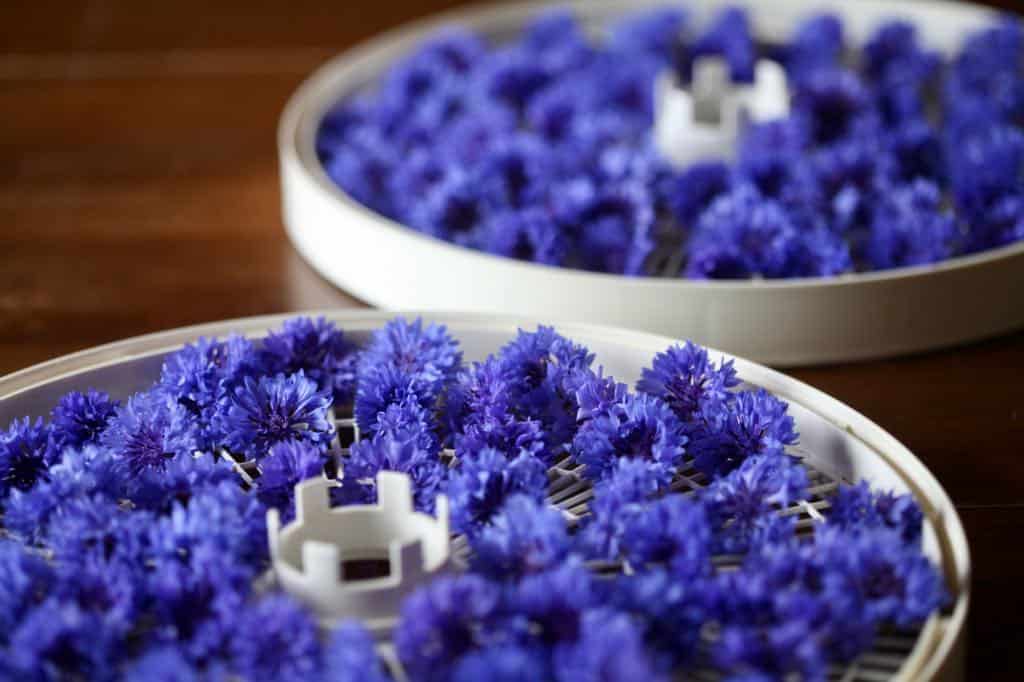
- Place the flowers on the drying racks, making sure that they are not touching each other, as they can dry stuck together if touching.
- Turn on the dehydrator and allow to dry over the course of the next twelve to twenty-four hours.
- Check the flowers occasionally, and remove from the dehydrator when they are fully dried.
Benefits Of Drying Flowers In A Dehydrator
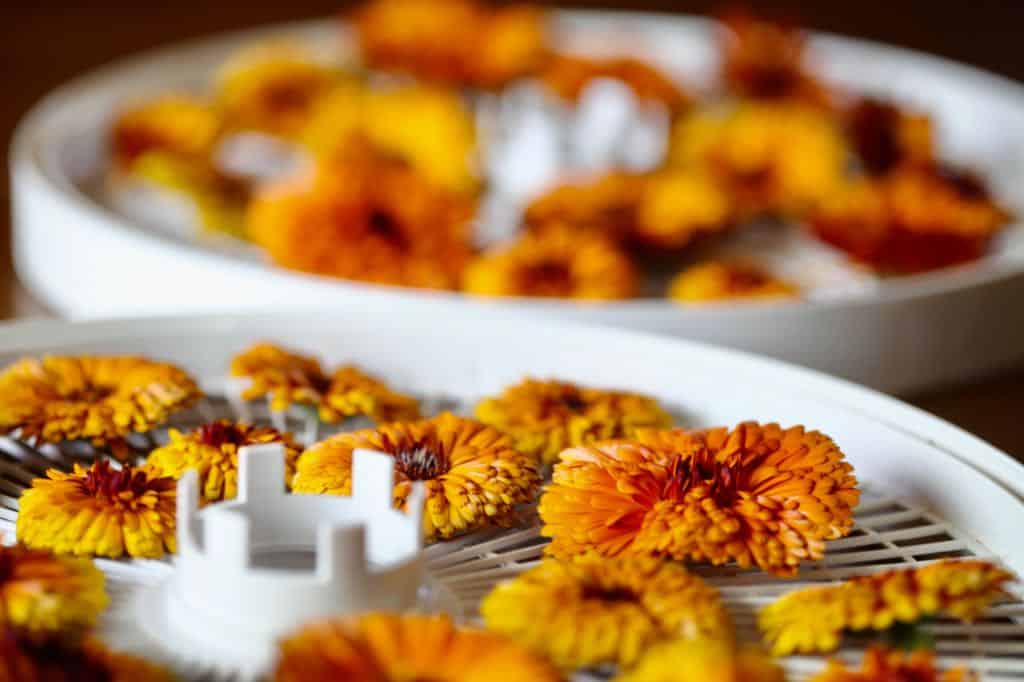
- With a dehydrator you can dry lots of small flowers and petals all at the same time.
- This method of drying decreases the risk of burning, and can be efficiently done within a short period of time in comparison to some of the other methods.
There are so many wonderful ways to dry flowers.
Consider your needs, and choose a method that works best for you.
I love pressed flowers, and I'm drawn to those methods of drying flowers, in particular using the flower press and pressing in books.
There are other projects however that require fuller formed dry flowers, so I will be using a multitude of drying methods for all of my blooms and foliage.
After drying your flowers, you will want to be able to store them safely away.
Once stored, you will be able to use them at any time to create wonderful dried flower arrangements and dried flower art projects.
Have you tried to dry flowers using any of these methods? Be sure to leave a comment below to share your experiences!
OTHER POSTS YOU MAY LIKE:
See the Web Story on Learning How To Dry Flowers!
PIN IT FOR LATER!



Leave a Reply