
Many plants that we grow in our zone 5b garden are hardy annuals and perennials. These plants have developed a way to survive our harsh freezing winters, and have adapted their seeds to do the same. These seeds will require a special process called stratification in order to germinate through their tough seed coat. Learn how to stratify and scarify your seeds, with helpful techniques for successful germination.
It's All About The Seed Coat
Seeds are amazing!
They are able to survive freezing and drought and fire. They can be stored for years and survive.
It's the seed coats that keep these seeds protected.
Seed coats are the skin of the seed. They vary in color, thickness and density depending on the species of plant.
Seeds with harder coats are the ones that remain dormant through harsh conditions.
The thickness and hardness of the seed coat determines how quickly water will be absorbed by the seed to initiate germination.
A hard seed coat will be difficult to penetrate. A seed with a hard coat will remain dormant until it goes through a process that breaks down the hard shell. It then becomes more penetrable to water.
Annual seeds have thin seed coats. They usually germinate very easily without any special treatment. Just plant them and keep them moist until they grow.

Hardy annuals and perennials tend to have much harder seed coats. They have developed these coats to protect the seeds from germinating in the middle of winter, which would surely be the demise for any tender new seedling.
These seeds with hard coats have adapted to germinate at just the right time.
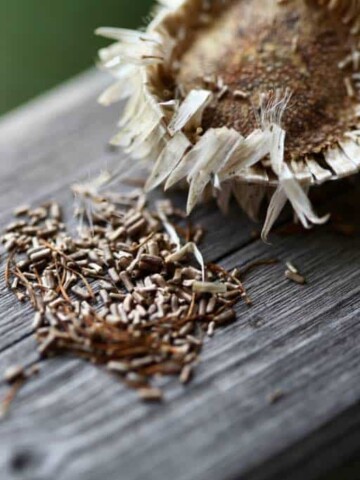
Out in the garden, these seeds are produced at the end of the season. They lay in the soil over the course of the winter, exposed to freezing temperatures and thaws, moisture from rain and snow, and scuffing by rocks and hard objects in the landscape.
By the time spring arrives, the seeds have been exposed to the right duration of cold. The seed coats have softened enough to now absorb water and start to germinate.
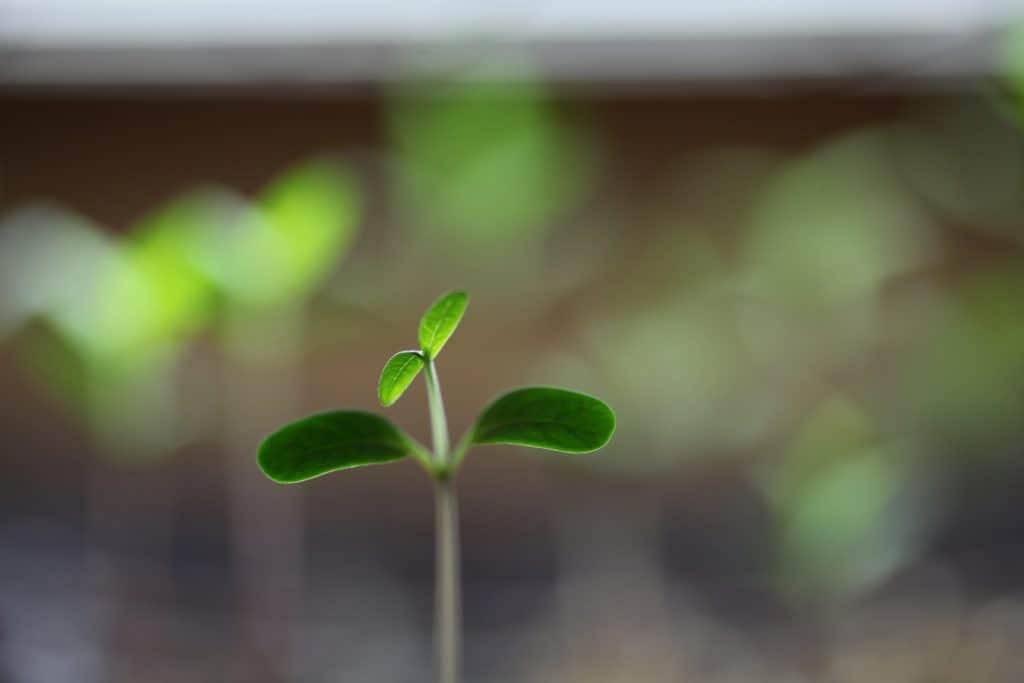
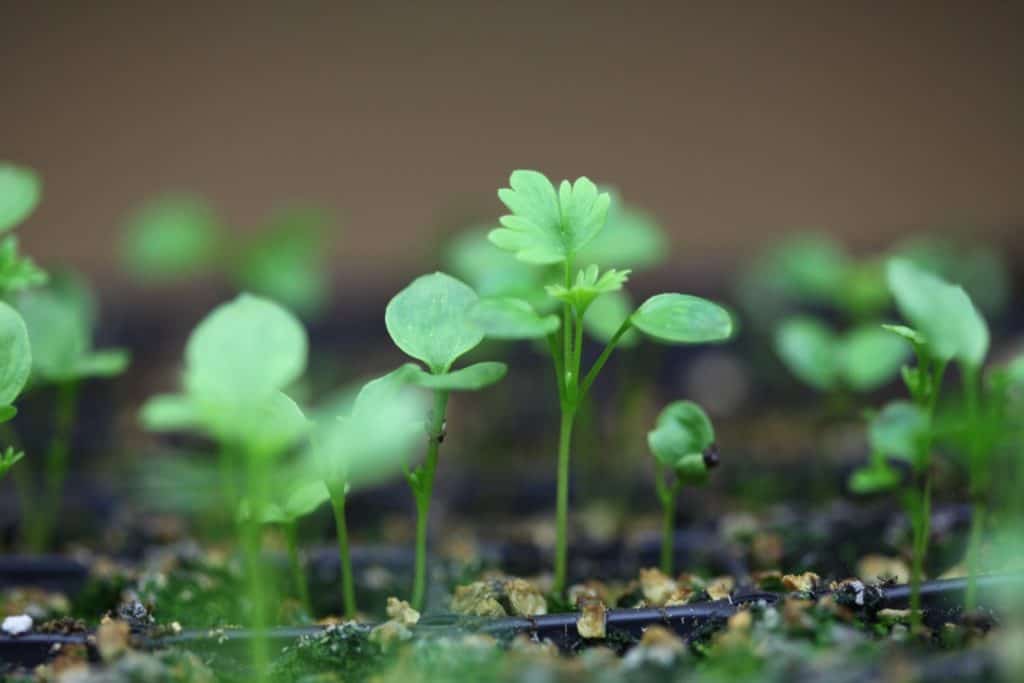
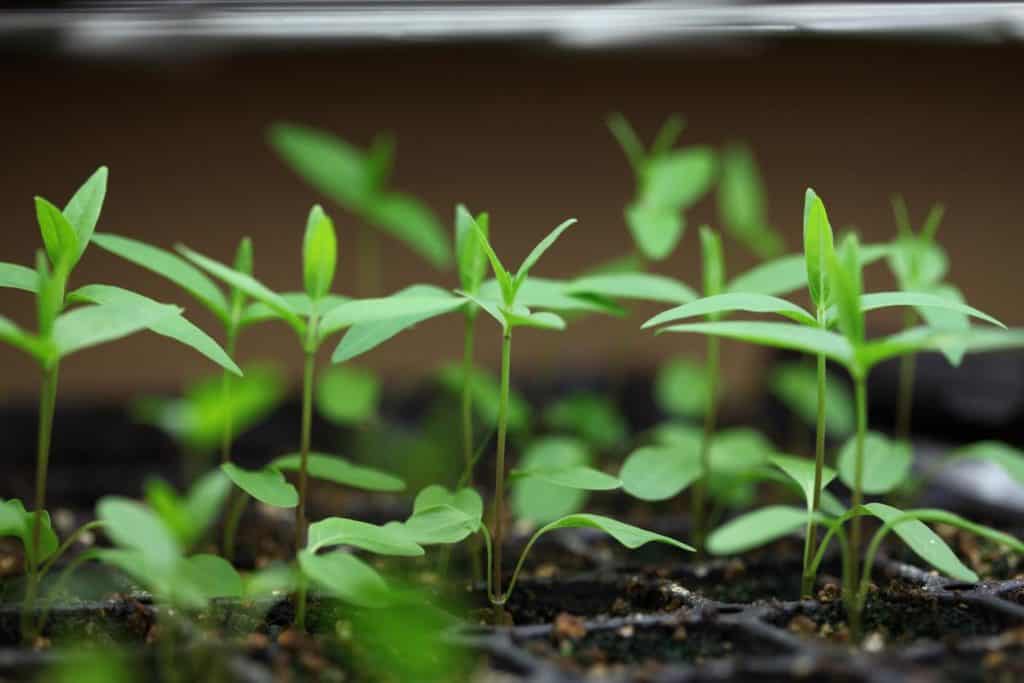
They germinate at just the right time to allow the young tender seedling to develop throughout the spring and summer.
What Is The Difference Between Seed Stratification And Scarification?
Seed stratification is the process of exposing the seed to moisture and cold so that the hard seed covering will soften and allow the seed to successfully germinate.
Seed scarification is the process of mechanically altering the outer seed coat to allow for water uptake and improve seed germination.
This physical change in the seed coat can happen in many different ways.
- It can happen naturally in nature as previously discussed.
- It can also be done by a gardener preparing the seed for planting, using a sharp tool or some type of abrasion method to thin or break the seed coat.
- As well, the application of moisture over time can mechanically alter and soften the seed coat.
We have used the stratification process with most of our hardy seeds and perennials, and we have had great success using this method.
How To Stratify Seeds
Seed Stratification Methods
There are a number of different mediums that can be used to provide moisture to the seed while it is receiving a cold chill in the fridge.
- One option is to place the seeds in a moistened piece of paper towel in a baggie, and place this in the fridge.
- Another option is to place the seeds in moist peat moss in a baggie, and then place this in the fridge.
- We like to use moist vermiculite in a baggie, and have had great success using this method
Different species will require different cold chill periods. It will often be indicated on your seed package if stratification is required ( if you have purchased your seed) , along with the appropriate time frame for chilling.
A good rule of thumb is to stratify for at least thirty days for most seeds. Some will require less, and some will require more.
How To Scarify Seeds
Natural Scarification
In nature the hard seed coats of perennial or hardy annual seeds will be mechanically softened in a number of ways.
- fungi and bacteria in the soil gradually break down the seed coat, softening and causing tiny holes to form which allows water to enter the seed.
- seeds naturally moving against hard elements in the soil, such as rocks ,sand or branches can gradually develop abrasions in the seed coat, which again will aide in germination.
- fruits and berries eaten by birds will have seeds that will be naturally scarified in the digestive tracts of those birds.
Artificial scarification
Seeds of hardy annuals or perennials harvested in the fall will not have experienced the natural seed scarification.
In order to successfully germinate these seeds, they may need artificial scarification, which involves mechanical altering of the hard seed coat.
Seed Scarification Methods
1. Provide Moisture Over Time
- The simplest method of mechanically altering the seed coat and causing it to soften is to provide moisture.
- The "cold moist chill"provides the opportunity for both stratification and scarification.
2. Soak
- Soaking for twelve to twenty-four hours will help soften hard seed coats.
- Some gardeners use this method prior to planting
3. Mechanically Alter The Surface Of The Seed With An Object
- One method of thinning the seed surface is to rub with sand paper.
- Another method is to cut or chip the seed surface with a sharp object, such as a knife or clippers
- It's very important that you don't damage the seed embryo inside the hard coat
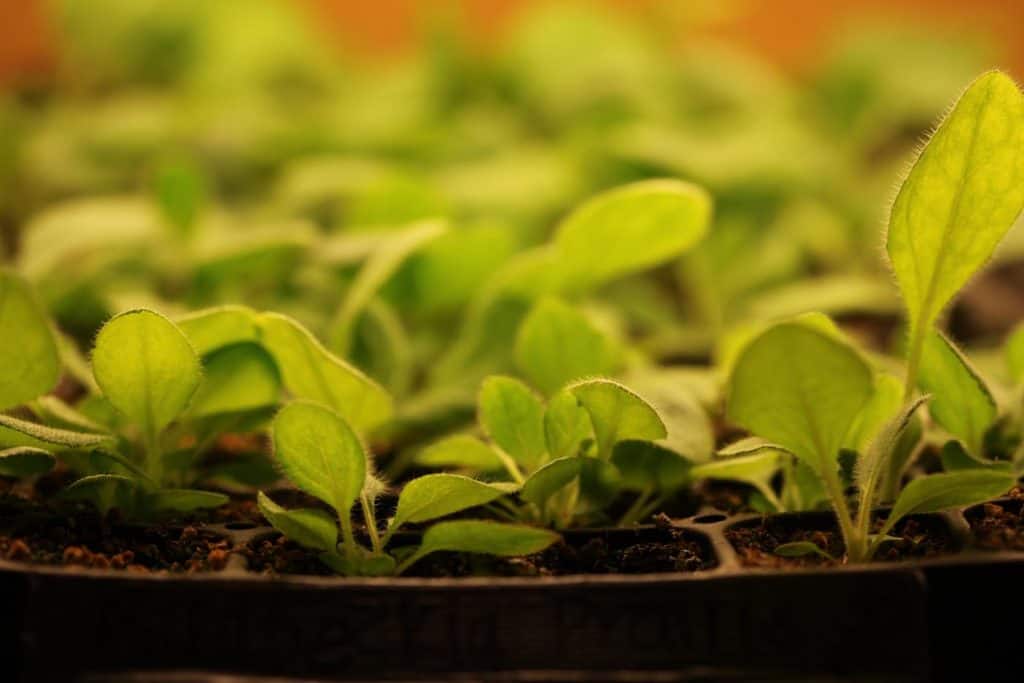
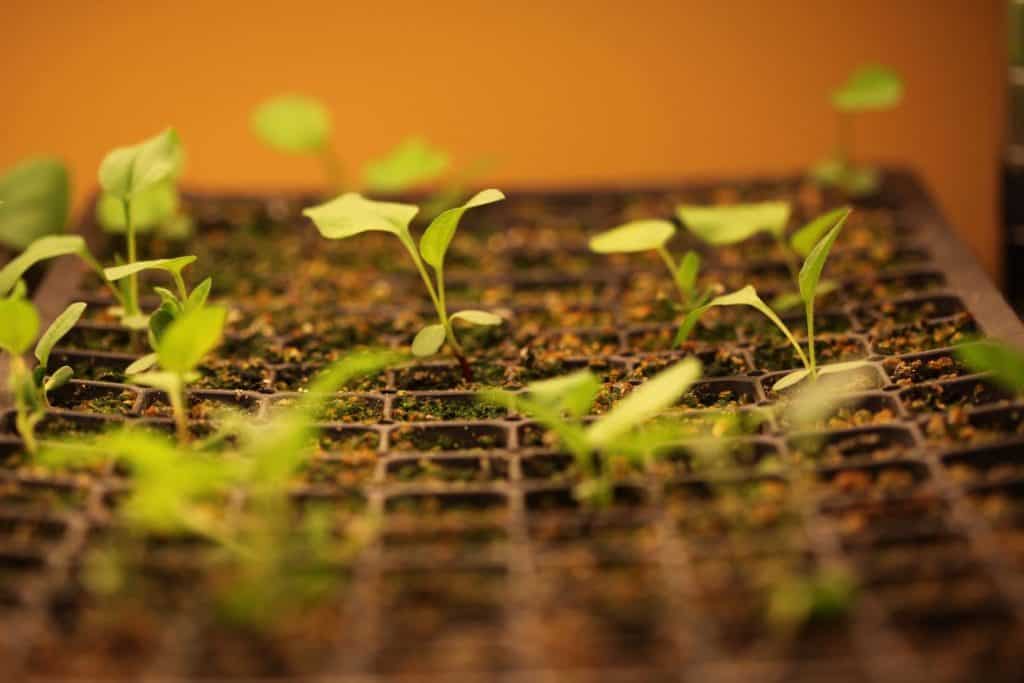
List Of Seeds Grown In Our Garden That Need Stratification
Here is a list of some of the hardy annual and perennial flowers that we grow, that benefit from stratification:
- Milkweed (Asclepias)
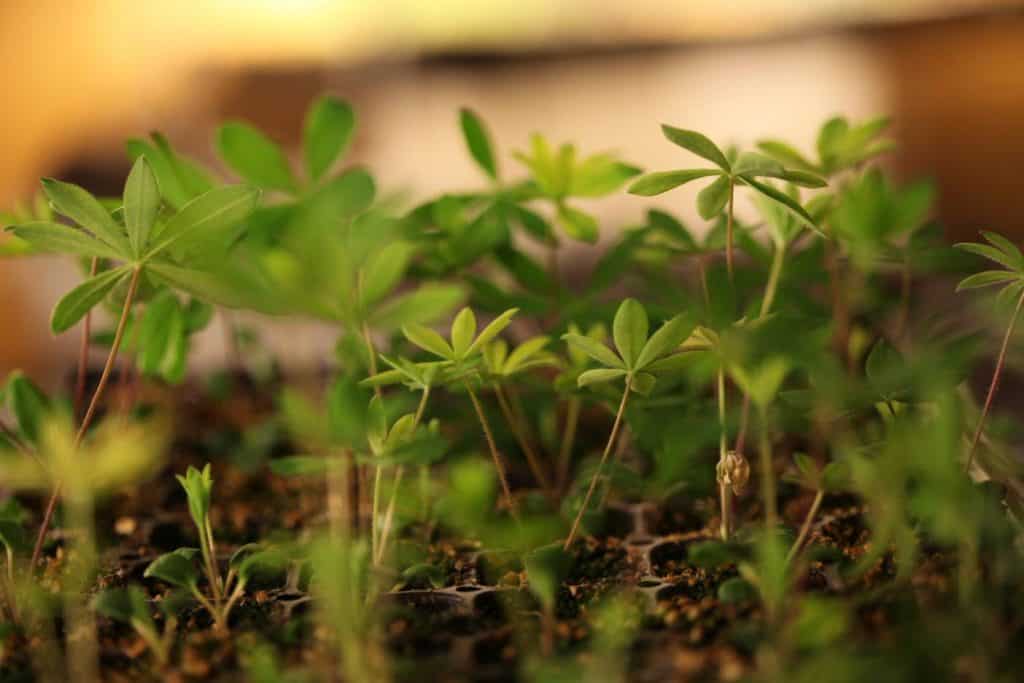
- Lupine (Lupinus)
- Rudbeckia ( Black Eyed Susans)
- Purple Coneflower (Echinacea)
- Larkspur (Consolida ajacis)
- Delphinium
- Bells Of Ireland
- St John's Wort (Hypericum perforated)
- Bupleurum
- Globe Thistle (Echinops)
- Sea Holly (Eryngium)
- Yarrow (Achillea)
- Daylilies (Hemerocallis)
- Chinese forget me nots (Cynoglossum Amabile)
We have stratified and grown all of these this year, with the exception of Bells Of Ireland.
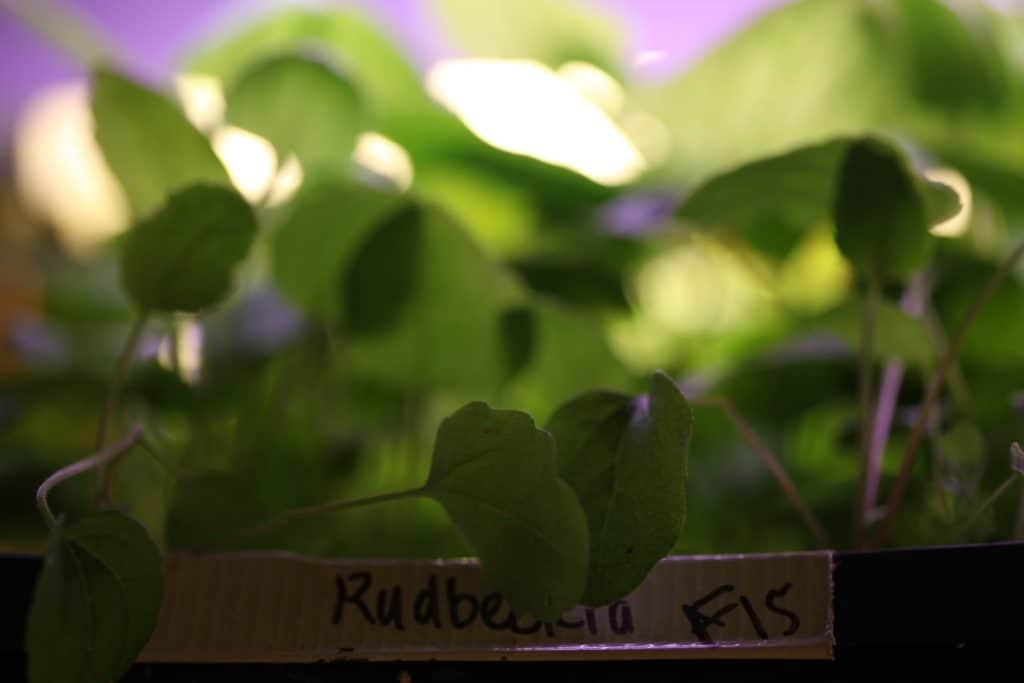
The rudbeckia, coneflower, and yarrow seeds were placed in envelopes and kept in the fridge for several months. They did not receive a moist chill, they received a dry chill. They all had great germination.
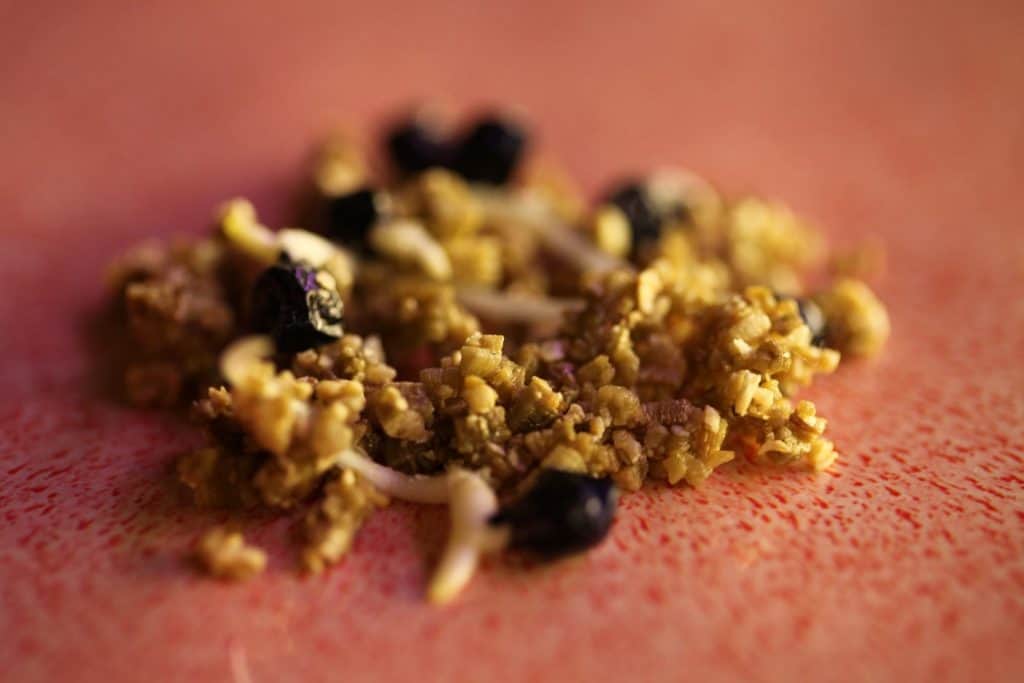
The milkweed was in the fridge for two weeks, with a moist chill in vermiculite. It had great germination following.
Lupine had a thirty day moist chill with successful germination.
Our daylilies almost always start to germinate in the fridge after a thirty day moist chill period .
How To Warm Stratify Seeds
Warm stratification is a process required by some hard bodied seeds of woody species, such as trees.
It involves exposure to moisture and warmth. The seeds are kept in a bag with a moist medium at temperatures of twenty to twenty-five degrees celsius for up to four months.
Then this is followed by a period of cold stratification.
Can I Stratify Seeds In The Freezer?
Some seeds can be stratified in the freezer, and some cannot. Seeds like Bells Of Ireland have improved germination after a short period of time in the freezer.
Daylily seeds on the other hand, will be destroyed if frozen. So use caution before placing your seeds in the freezer. Research your seeds and check if the particular variety you are working with will survive freezing.
Do All Seeds Need Stratification?
Most hardy annuals and perennial seeds will have significantly improved germination rates after stratification. If starting these seeds indoors, make sure to stratify the seeds before planting.
Annual seeds do not require stratification.
A Few More Posts About Seeds Requiring Stratification:
How To Grow Lupines- Planting Tips
Planting Milkweed Seeds In Winter
Winter Sowing In Milk Jugs- Cold Stratification
I hope you have found this article on how to stratify seeds helpful. If you have any questions or comments, please leave in the comments section below!
PIN IT FOR LATER!


Leave a Reply