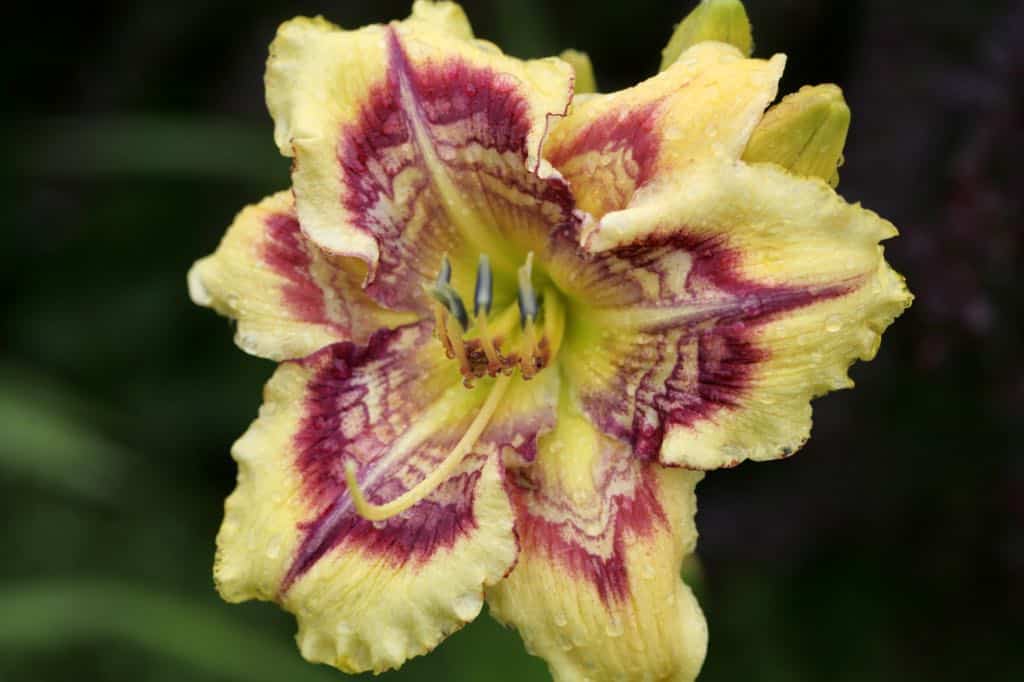
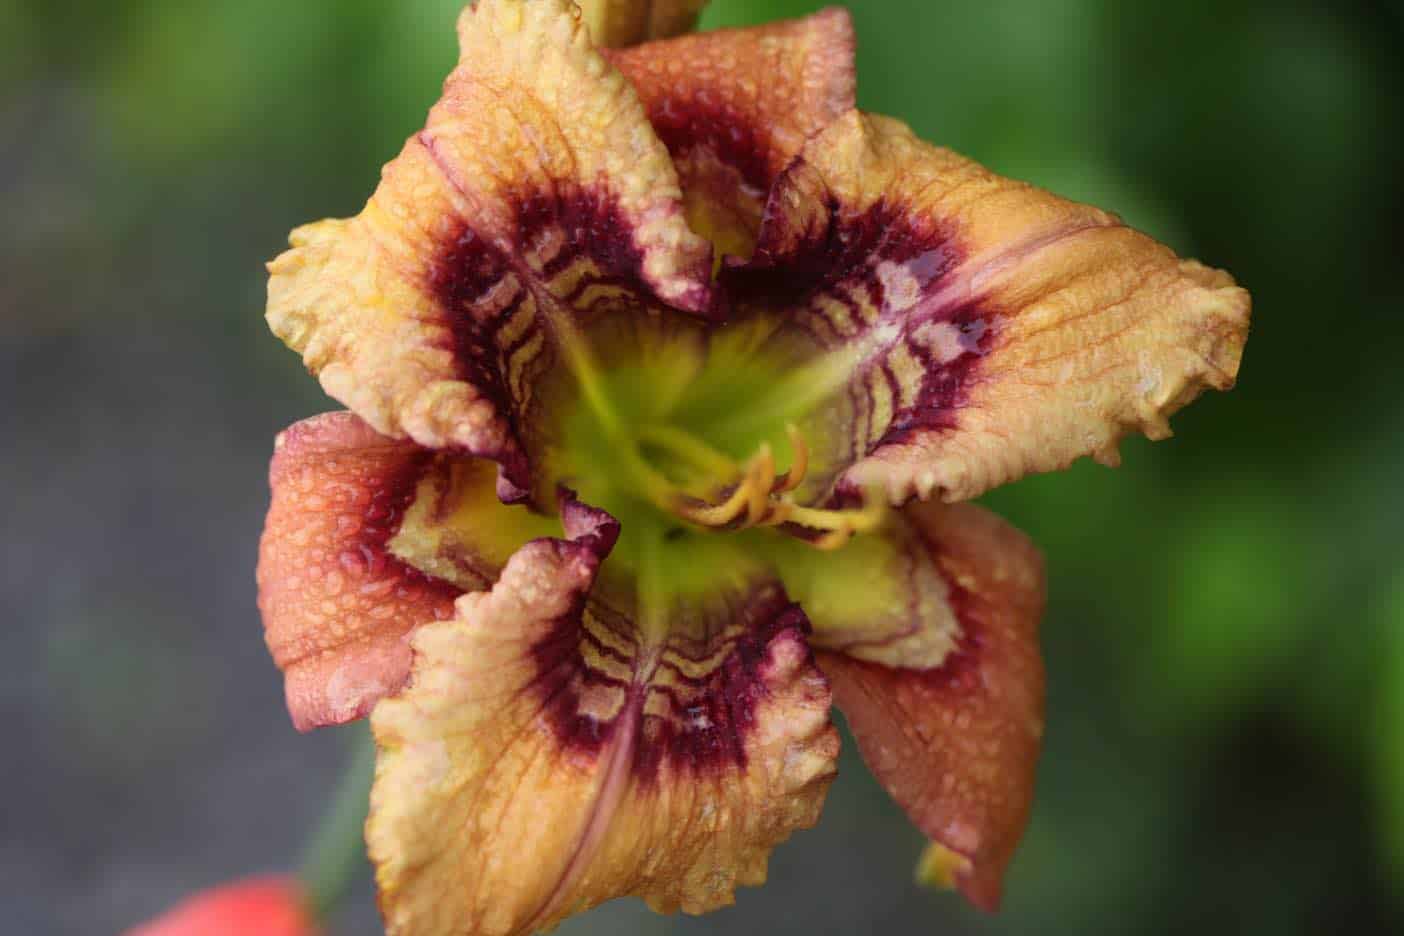
Daylilies are amazing flowers to grow in any garden. Growing daylilies from seed can be a fascinating experience, as each new plant is a essentially a new hybrid, so you never know exactly what you will get. Learn how to grow daylilies, from seed to bloom, to experience a whole new aspect of gardening with this very special flower.
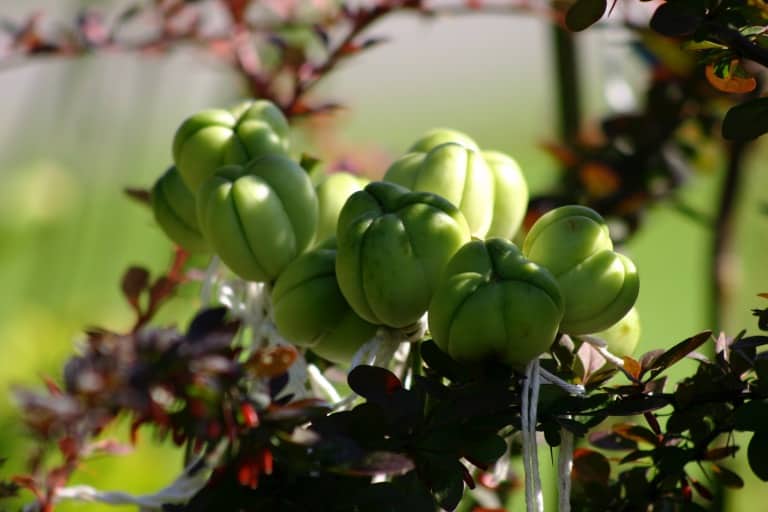
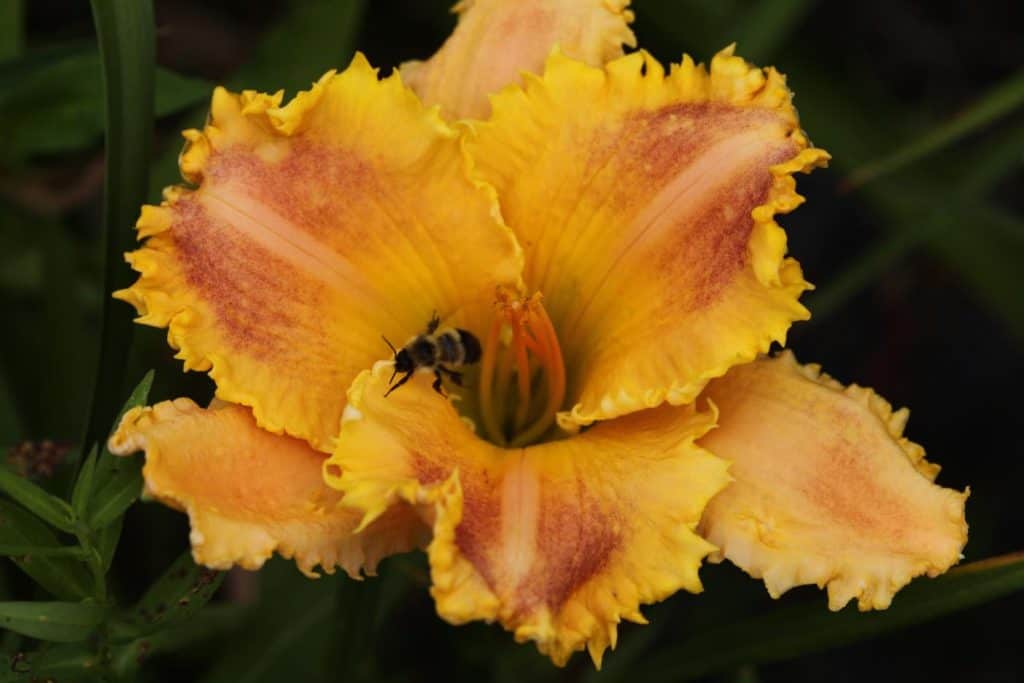
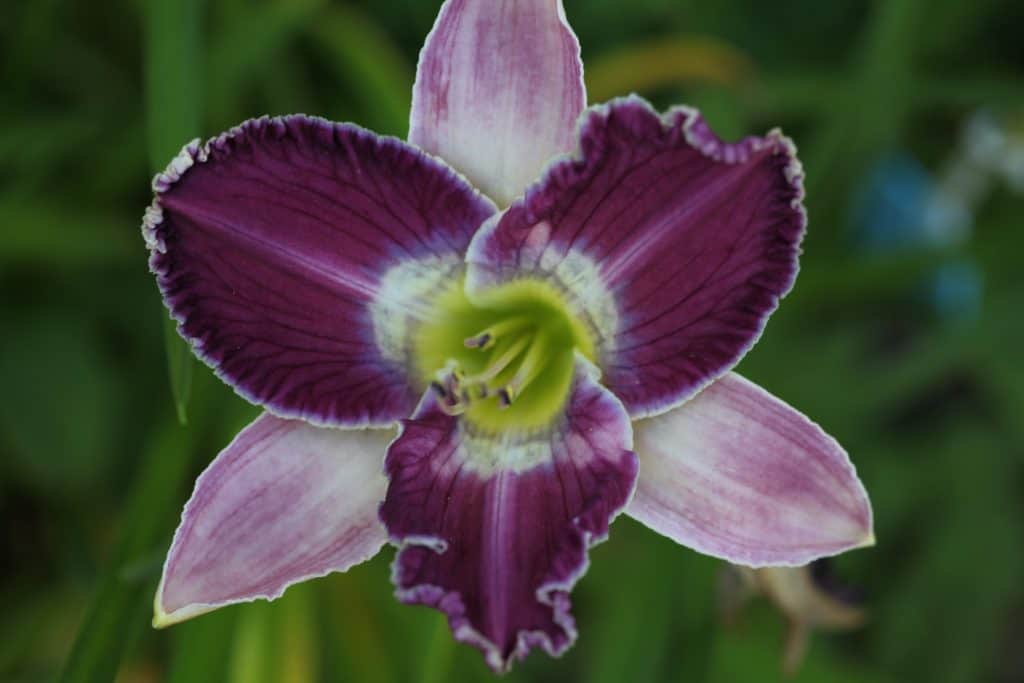
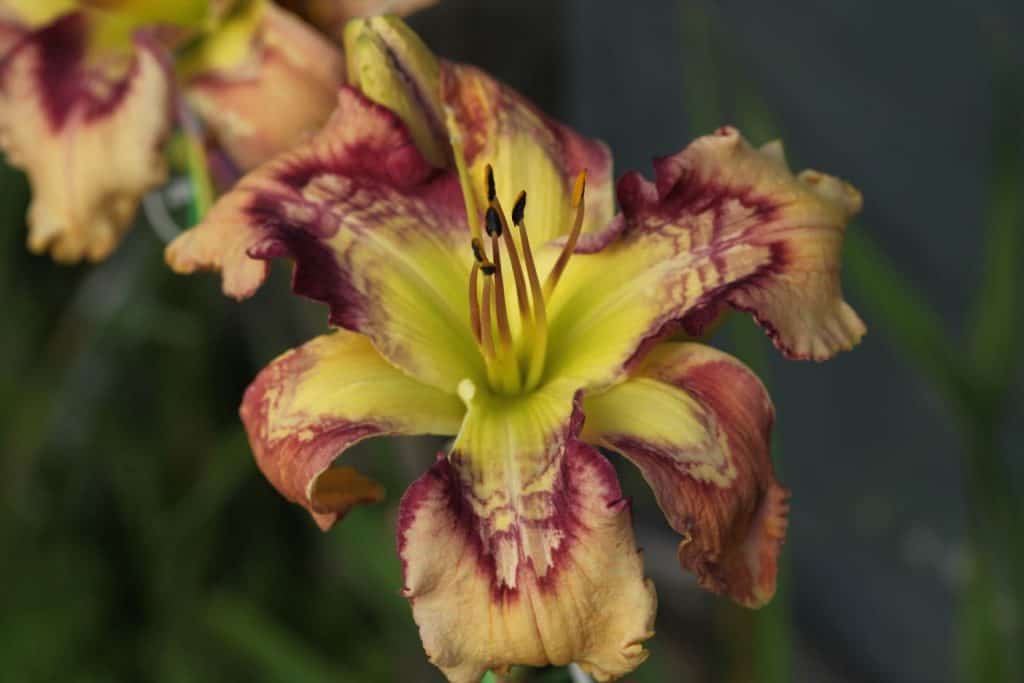
Daylilies are such wonderful garden plants. The arching foliage of this plant makes such a wonderful contrast in the garden. The blooms themselves can be quite varied, from fancy eyes to toothy edges, and the flowers are available in many colours.
Daylilies are herbaceous perennials and can last many years in the garden landscape.
Growing daylilies from seed to bloom is very easy to do. All it takes is a little time and patience. The seeds are easy to grow if you use the right techniques, and the anticipation of the new blooms is very exciting. Each daylily seed offers the potential for a new cultivar or hybrid, and each seed is unique in it's own way.
You never know exactly what you are going to get until your new seedling blooms! This whole experience usually takes a few years, however it is well worth the wait!
As a hybridizer of daylilies, I have learned lots of lessons over the last sixteen years of dabbing pollen and harvesting seed pods. I will share with you what I know about growing daylilies from seed to bloom, and the techniques that have worked best for me in my zone 5 garden.
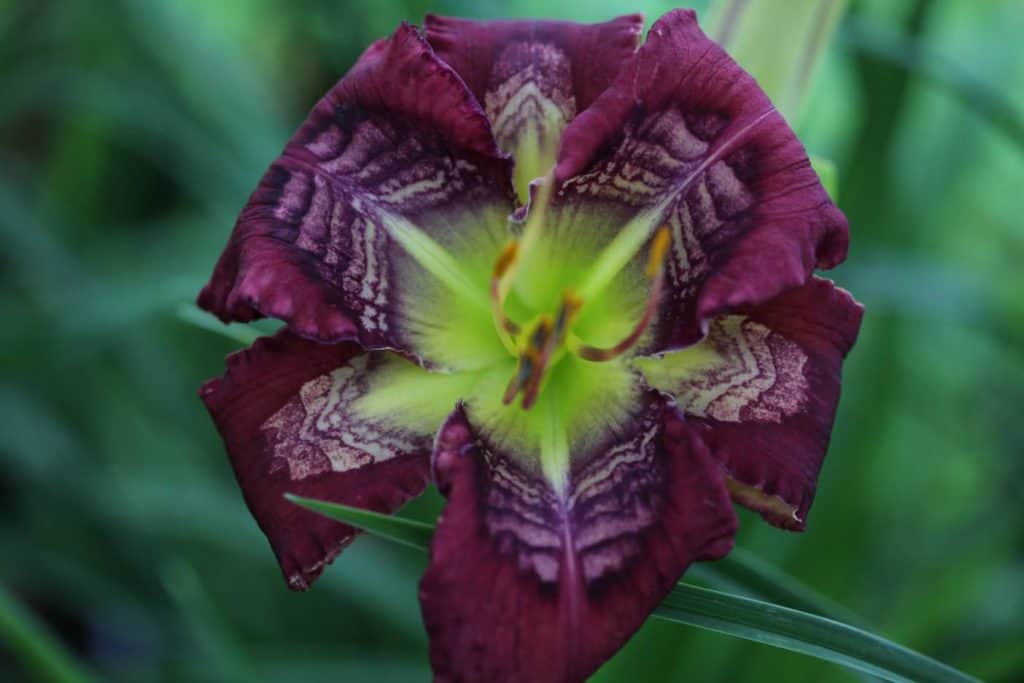
How To Grow Daylilies From Seed
You don't have to hybridize to grow daylilies from seed. There are a number of ways to get daylily seeds for planting, and we will discuss a few of those sources.
However, if you do decide to hybridize you may be very surprised at what a wonderful hobby it will become! We will discuss the details of hybridizing in another post.
Before discussing how to grow daylilies from seed, first let's review how to find and harvest daylily seeds.
How To Get Daylily Seeds?
If you are looking for daylily seeds to plant, there are a number of ways to get them. You will not likely be able to purchase them at a local store, but certainly can find them online.
Other options include:
- Hybridizing- you can take two daylilies in your garden and dab the pollen of one to the pistol of the other, crossbreeding to create new seeds, which will grow inside a developing seed pod until mature.
- Foraging- check your daylilies in the fall for seed pods created by pollinators, which often contain viable daylily seeds.
- Daylily auction- a fabulous site for purchasing daylily seeds is the daylily auction, an international source for some of the newest hybrid crosses, and the auction can be lots of fun. The most expensive time to buy on the auction is in the fall. Seed prices will come down, generally after Christmas.
If you try to do hybridizing, make sure that the daylilies have the same chromosomal count when making your cross, and dab same to same:( ie. diploid to diploid, and tetraploid to tetraploid).
Daylily Seed Pods
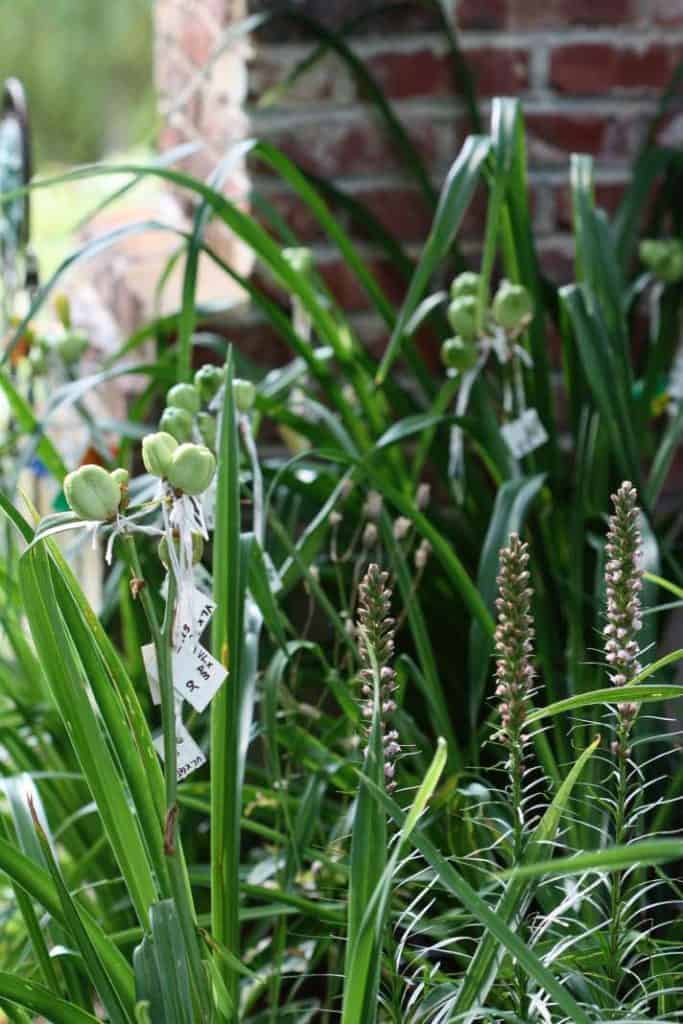
Daylily seed pods are the structures which form after the daylilies are fertilized. The pods start to form within a few days of fertilization, and you can see if there is a pod when the wilting daylily bloom falls from the stem, revealing the tiny developing pod on the stem.The pods contain the daylily seeds which will grow to maturity within two months.
These pods do not always grow to maturity. Sometimes they grow for awhile, only to wither away after 4 to 6 weeks. If there are viable seeds inside and the pod is not infected by insects or other damaging agents like mold or mildew, the pod will continue to grow and mature.
Mature seed pods will often turn beige or brown in colour, although some cultivars remain green. Once mature the pods will start to crack open on the ends to reveal the seeds inside. Sometimes you can pop them open by gently squeezing them. If you do this and they open, then the seeds are ready to be harvested.
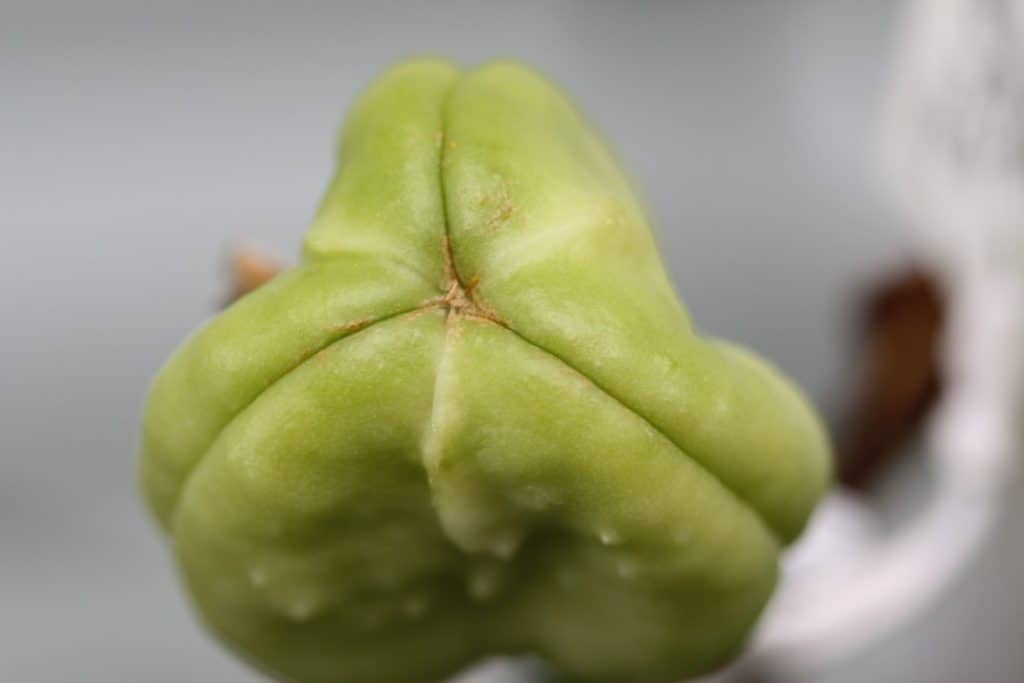
I try to grow all my daylily seed pods to 56 days from the date of dabbing. I label all my crosses with a tag which is placed at the base of the daylily bloom.
Some pods are harvested 10 days before the desired time, if they have matured early and opened up. Some as well may take longer to mature, so let the daylily pod mature in it's own time, and make sure it is not harvested too early.
Where Are The Seeds On A Daylily?
The seeds of a daylily are contained within the seed pod. The seed pod forms if the daylily is successfully fertilized, and will be located at the top of the stem where the daylily bloom once was. The pod will grow for two months as the seeds inside mature. The pod will be green or brown, and will vary in size depending on the cultivar.
To have viable seeds for planting, allow the to pod to mature on the stem, and do not harvest until the ends can be easily popped open with a gentle squeeze, or have opened on their own. The seeds will be mature and ready to harvest once the seed pod has matured and cracked open at the end.
What Do Daylily Seeds Look Like?
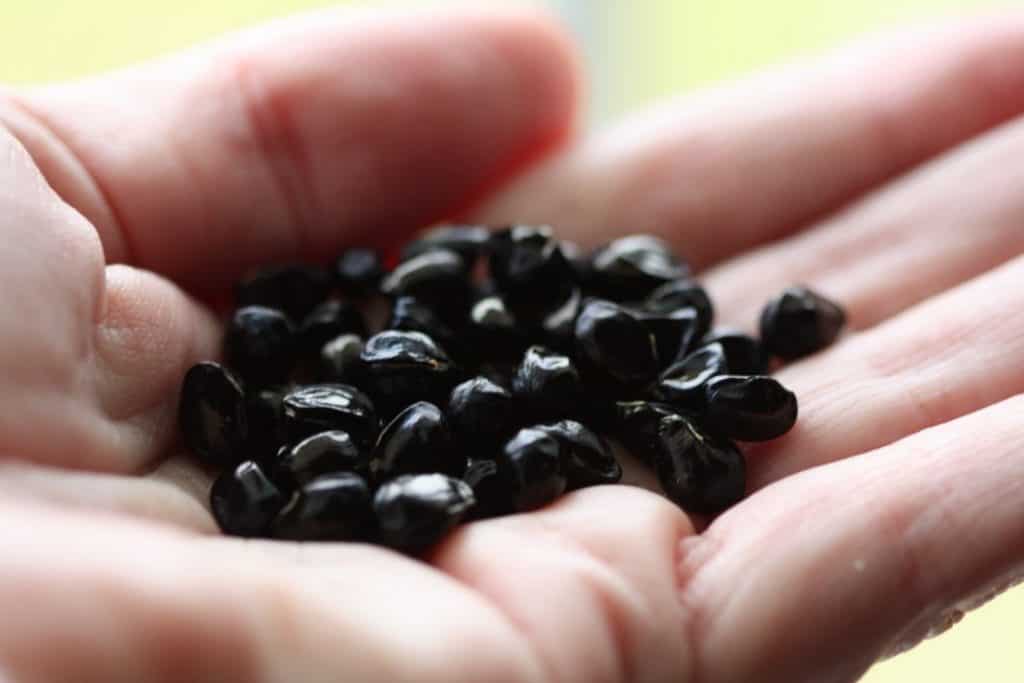
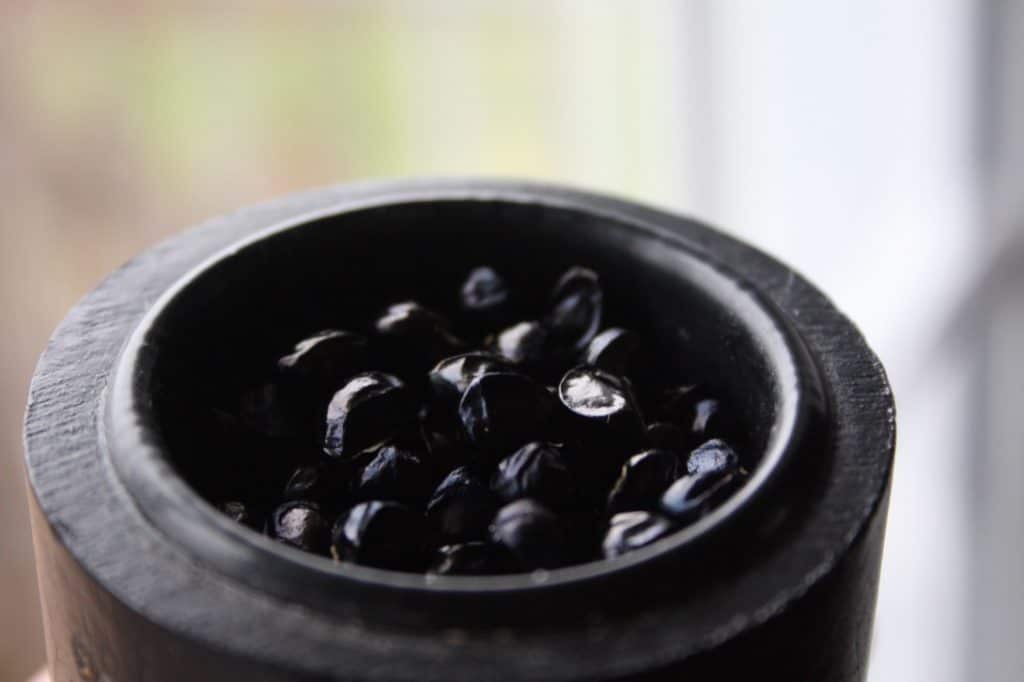
Daylily seeds vary in size depending on the daylily. Diploid seeds are smaller that tetraploid seeds. The seeds vary in length from 0.4cm to 0.75cm. The surface of the seeds are black and shiny when mature and tend to be oval or round in shape. White or brown seeds are immature seeds.
Harvesting Daylily Seeds
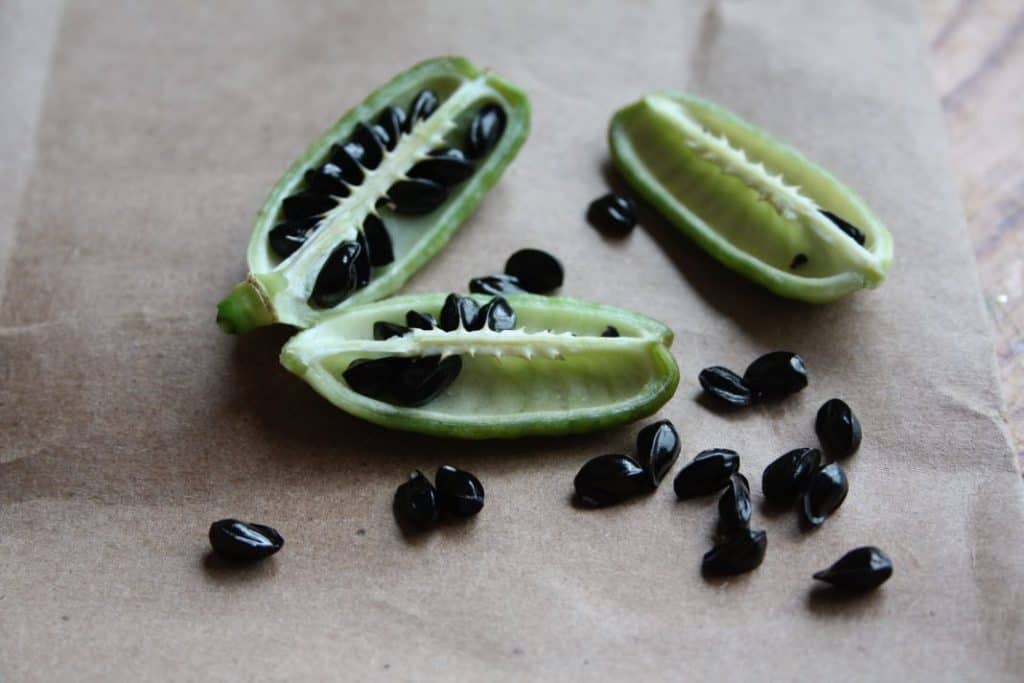
- When the seed pod is mature, remove it from the daylily stem. Bring the pod inside and open the contents.
- Place the seeds inside a clean plastic baggie with a ziplock top, and fold back the edges of the bag to form a small bowl.
- Allow the seeds to air dry in the baggie for 48 hours.
- After this period, I close the baggie and place it in the fridge.
- This is a convenient way to keep your seeds in the same bag for drying and storing, and very helpful especially if you have quite a few seeds to process.
How To Store Daylily Seeds
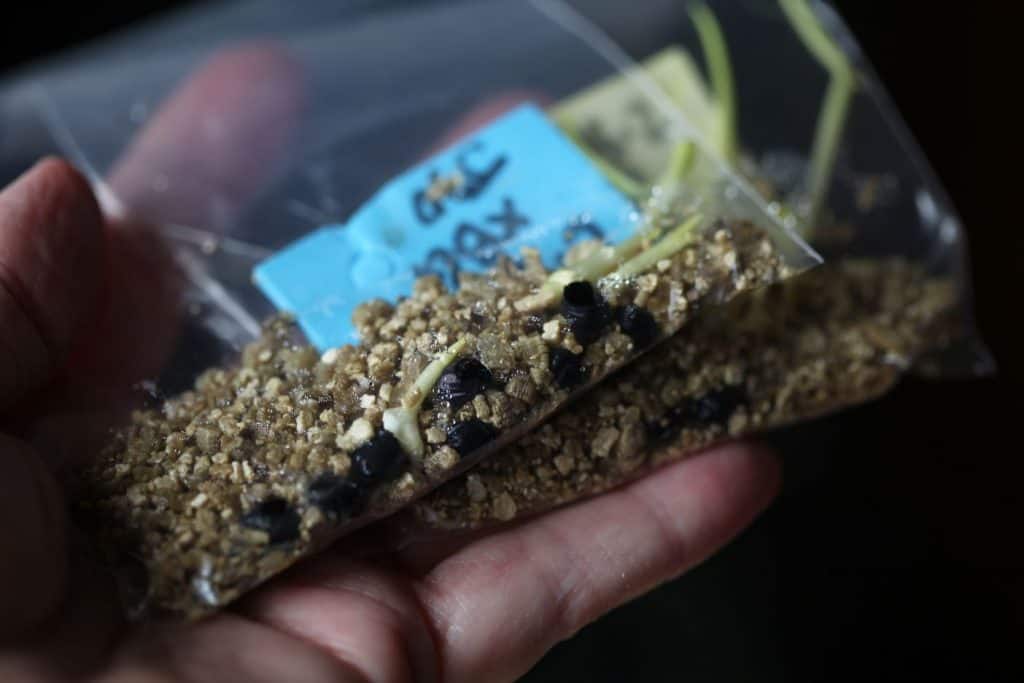
- If this is a cross that you have made yourself, leave your tag inside the baggie to identify the cross.
- The seeds can be stored inside the fridge until they are ready to be prepared for planting.
- Seeds can be stored in the fridge in the dry state for up to a year. Do not add any moisture to the bag as they will most likely germinate as in the picture above.
How Long Are Daylily Seeds Viable?
- Over time daylily seeds will lose viability and are less likely to grow. I have grown some after several years, however there is more success with fresh seeds.
- If you have seeds in the fridge for several years and want to germinate them, there is no harm in trying, you may have success.
- From my experience, seeds stored at room temperature for several years have a greatly reduced chance for germination.
How To Prepare Daylily Seeds For Planting
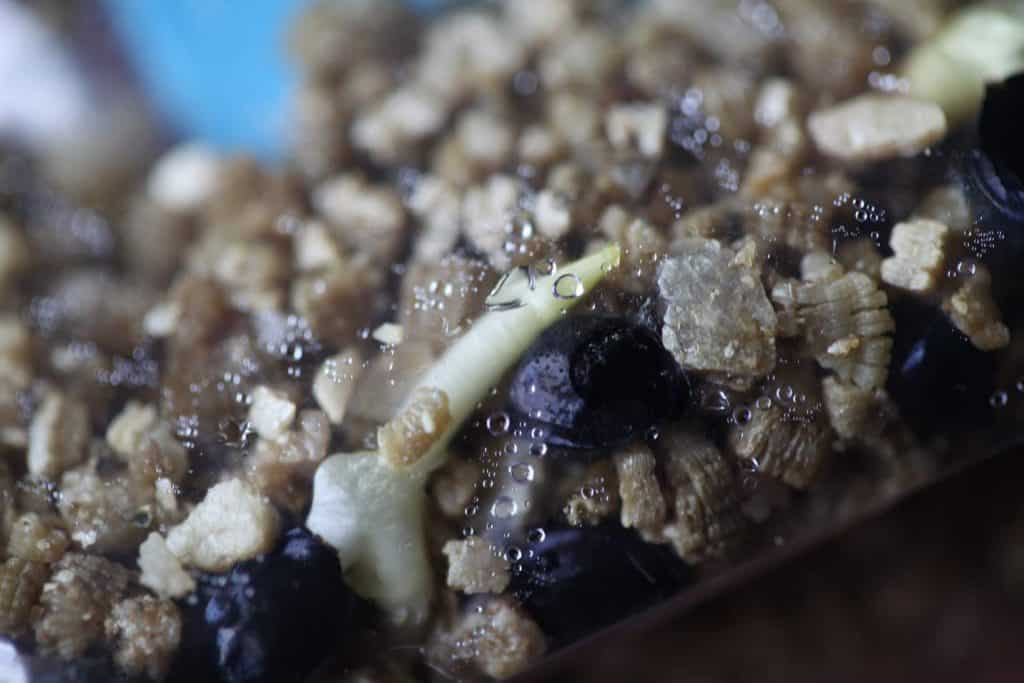
To prepare the daylily seeds for planting, and to get the best results, the daylily seeds should undergo cold moist stratification in the fridge for 30 days.
Do Daylily Seeds Need Cold Stratification?
Daylily seeds need cold moist stratification to break their dormancy and to have the most successful germination. Cold stratification helps, and if you add moisture to this process it will enhance the stratification to achieve the best results.
I have been stratifying daylily seeds for sixteen years, and have found this is the best way to germinate these wonderful seeds.
How To Stratify Daylily Seeds
There are a number of different methods to stratify daylily seeds.
Stratifying seeds involves breaking down the outer coat so that the embryonic part of the seed is able to germinate. Some seeds also require a period of cold to break the dormancy of the seed.
By providing a cool and moist chill period for daylily seeds, it enables the seeds to meet both these needs for germination.
When you add moisture to the baggie containing seeds that have been in the fridge for months, they will start to germinate inside the fridge.
I have held seeds in a dry chill inside the fridge, meaning dry without any moisture, and they have not germinated.
When you add a moist medium to the bag, such as vermiculite or a moist paper towel, they will always germinate inside the fridge if they are viable. They do not all germinate at the same time, however this will start the process.
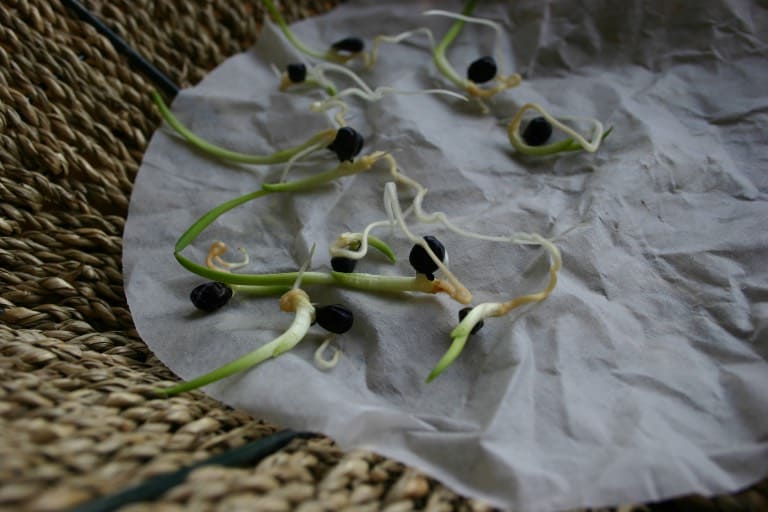
The methods I have used with great success include:
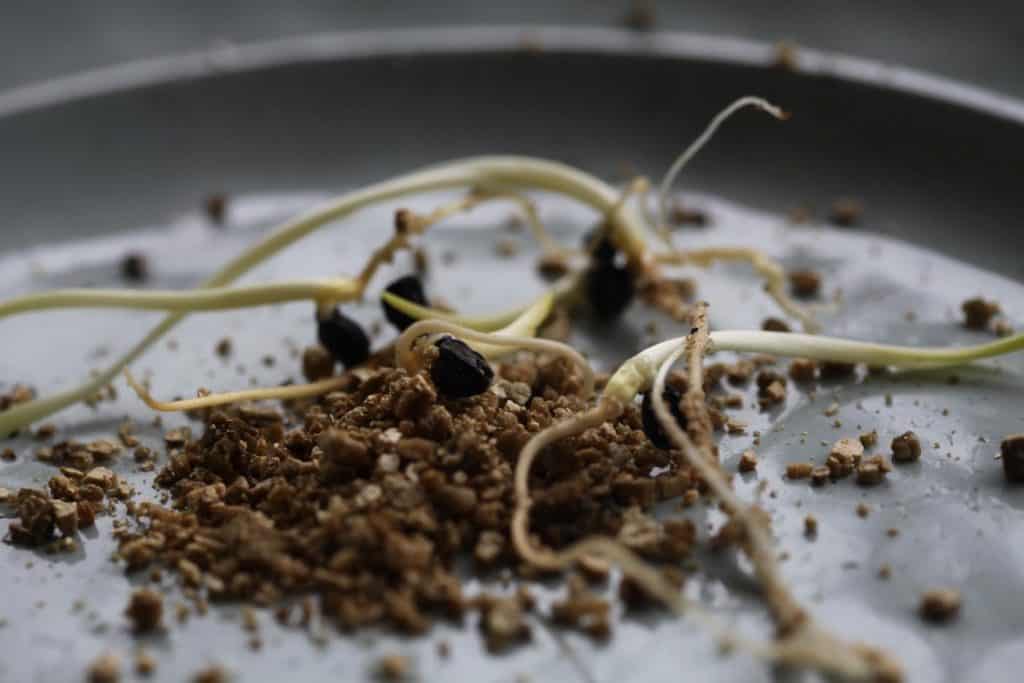
- Adding moist vermiculite into the ziplock bag with the daylily seeds. Keep in fridge for one month, then plant.
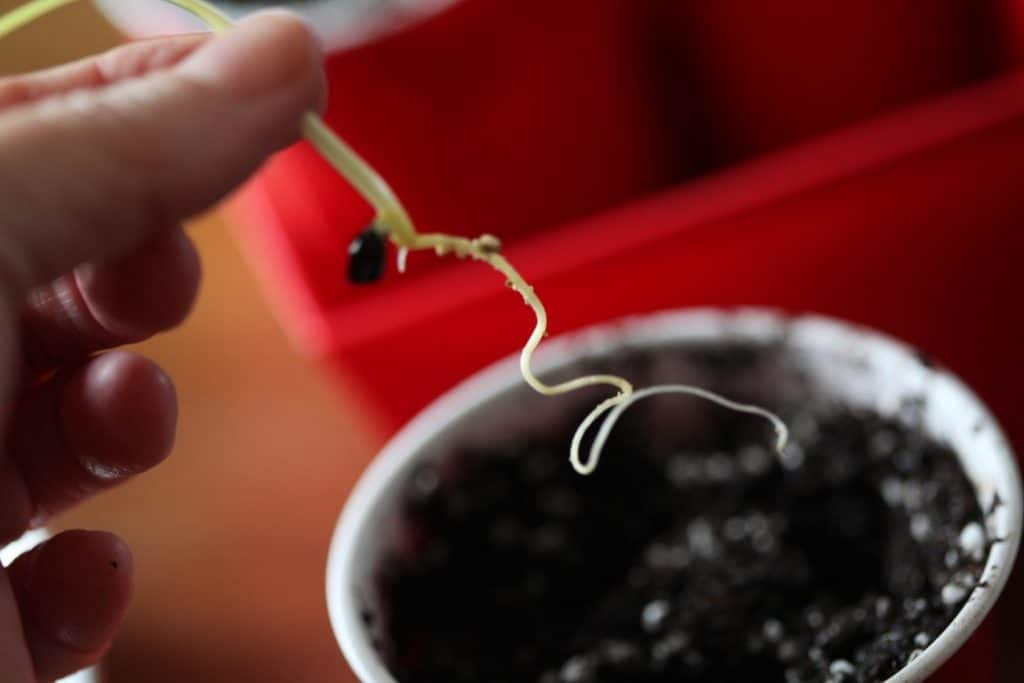
- Wrap the daylily seeds in a moist paper towel or coffee filter, and place in ziplock bag in fridge. Be careful that the daylily roots do not weave into the paper towel, and if they do be very careful as you remove them. Plant after one month.
If the seeds start to sprout before one month, you can plant them up at that time.
A Third Method Is To Soak The Daylily Seeds :
3. Soak the daylily seeds in peroxide to aide in germination. This is not a method that I have personally used, and have provided a link with the information on the ratio of peroxide to water.
Planting and Growing Daylily Seeds
- After you have stratified the daylily seeds they can be planted.
- It's a good idea to use a deep pot as the roots of these seedlings need lots of room.
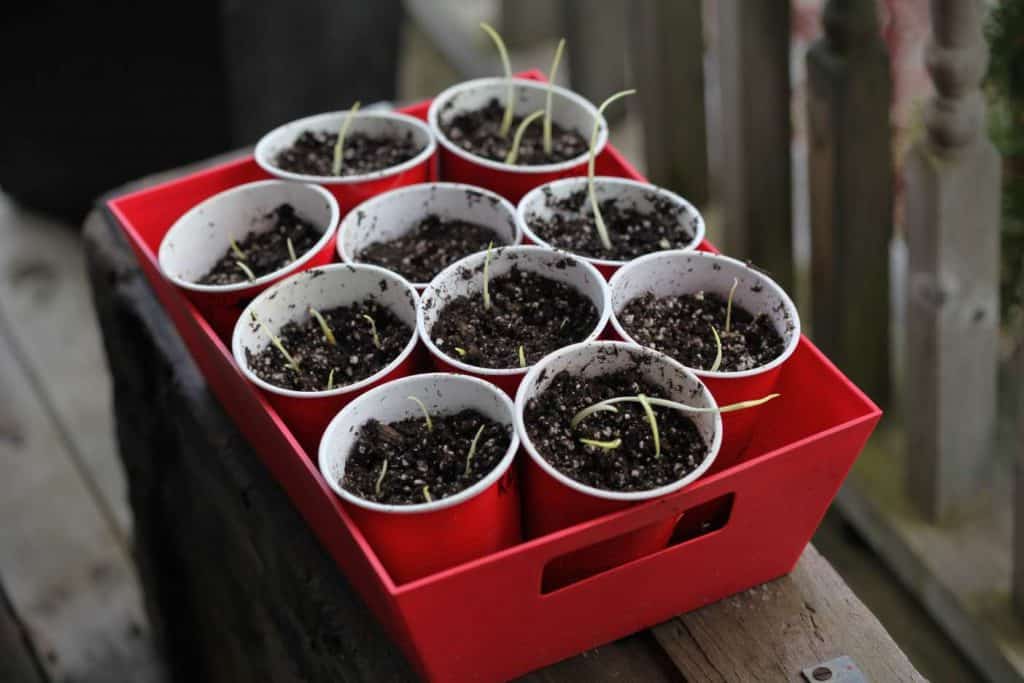
- An ideal container is a solo cup, or a disposable beer cup. You can continue to use these for a few seasons.
- Use a good seed starting mix.
- If the seeds have sprouted, use a knife and make a deep hole in the soil. Plant the seedling to a depth just above the attached seed.
- I usually plant three tetraploid seedlings in one cup, and four diploid seedlings in one cup.
- Plant all sprouted seedlings, and any seeds that have not sprouted as well.
How Long Do Daylily Seeds Take To Germinate?
If daylily seeds have not yet germinated after stratification in the fridge, they will most likely germinate within a couple of weeks after planting. Expect growth within two to three weeks.
We do not put these seeds on the heat mat, and they germinate well without it.
Do Daylily Seeds Need Light To Germinate?
Daylily seeds do not need light to germinate. If you are planting unsprouted seeds, plant at a depth that is equivalent to the size of the seed. Cover with dirt.
Daylily seeds will sprout even in the dark fridge when you are providing them with a cool moist chill.
When To Plant Daylily Seeds
Time frame for planting daylily seeds is different for different growing zones.
Here in zone 5b I place the seeds in the cold moist chill starting in March, and start planting in April.
There are other gardeners who start much earlier in the season and grow them under lights before planting outside.
In the south earlier planting may mean earlier blooms. Here in zone 5b an earlier start does not mean earlier blooms, since these seedlings may not bloom until the following year, or even the next.
We are pretty relaxed therefore with our planting schedule. If we plant in April, the seedlings are a great size to plant out into the garden in June or July.
Growing Daylily Seedlings
When growing daylilies from seed it is very important to keep the soil moist in the planting container while the seeds are germinating. If the soil dries during this process the seeds may be lost.
I try to get the daylilies potted up and outside as soon as possible so they can grow in their pots in the outdoor elements. We are fortunate enough to have a cold frame, so this is where the newly planted seeds and seedlings will go.
That way they become naturally hardened off and they become quite sturdy young seedlings and grow much better.
Planting Into The Garden
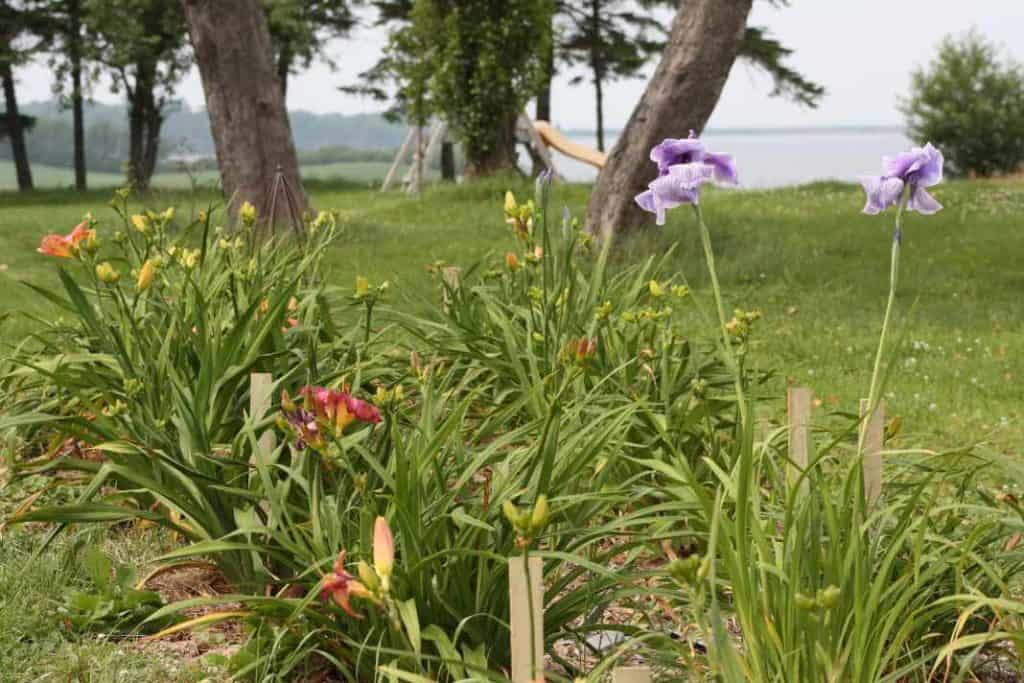
Plant into the garden in June or July, or even earlier if your hardiness zone will accommodate.
Always harden off your seedlings before planting out.
For us in zone 5b, summer planting is essential to allow the daylilies to establish a good root system so that they will not be forced up and out of the ground by frost during the winter.
We have found that any daylilies that are transplanted after July are at risk to be lost during the winter, so we ensure an early planting to be on the safe side.
Do Daylily Seedlings Bloom The First Year?
As a general rule daylily seedlings will not bloom until their second or third year. In the south some seedlings will bloom in the first year if they are started very early and if they have had an extended growing season.
When growing daylilies from seed to bloom, naturally it would be wonderful to see that first bloom in the fist year. However for most of us that is not possible.The wait on the other hand will be much anticipated and lots of fun.
Waiting several years to see the very first bloom, which is unique to the world, feels very much like Christmas morning when it actually happens! It just never gets old, and we've been doing this for quite some time!
If you start daylily seedlings every year, once you put the first year in, you will always have new seedlings blooming every summer. It is something to look forward to every single year.
Can You Freeze Daylily Seeds?
Do not under any circumstance freeze daylily seeds. The seeds will turn to mush and will be nonviable after being frozen.
This happened to some of my seeds accidentally one year when our fridge was not regulated correctly, and the seeds being stored on the top shelf next to the freezer became frozen. All the seeds were ruined from the freezing and needed to be discarded.
Related Questions:
When To Plant Daylily Bulbs
Daylilies are best planted in the spring or summer. Planting during these times allows the root system to develop well before the fall. These roots and rhizomes will securely hold the daylily in place during winter and spring frosts, thereby preventing heaving from the frost and daylily loss.
Other Posts You May Like:
I hope that you found this post on how to grow daylilies from seed to bloom helpful. Questions and comments are always welcome!
PIN IT FOR LATER!


MC
Thanks so much for this great post! I went in my backyard the following morning and picked up all the seed pods I found 🙂
I have been in love with hemerocallis for over 20 years and only got to plant some over the last 10 years, since I own a house…
Unfortunately, we recently decided to sell the house and some species of daylilies didn’t have any pods. Is there anyway that I could save myself a few of these cultivar?
I am in Ontario in a 5b zone like you.
Could I split them and keep a fan (or two) in a pot for the winter, in a dark cool place or in the house or???
Thanks in advance
MC
cheyanne
Thanks for your comment! Yes you can absolutely lift and divide and put in a pot for the winter if you bring them inside. A garage is preferable. They will likely go dormant, so water only once or twice a month. They will also start growing earlier in the spring and get a bit leggy until planted out into the garden. They may not bloom for a year or two but will eventually, once they get established in their new location. Good luck!