
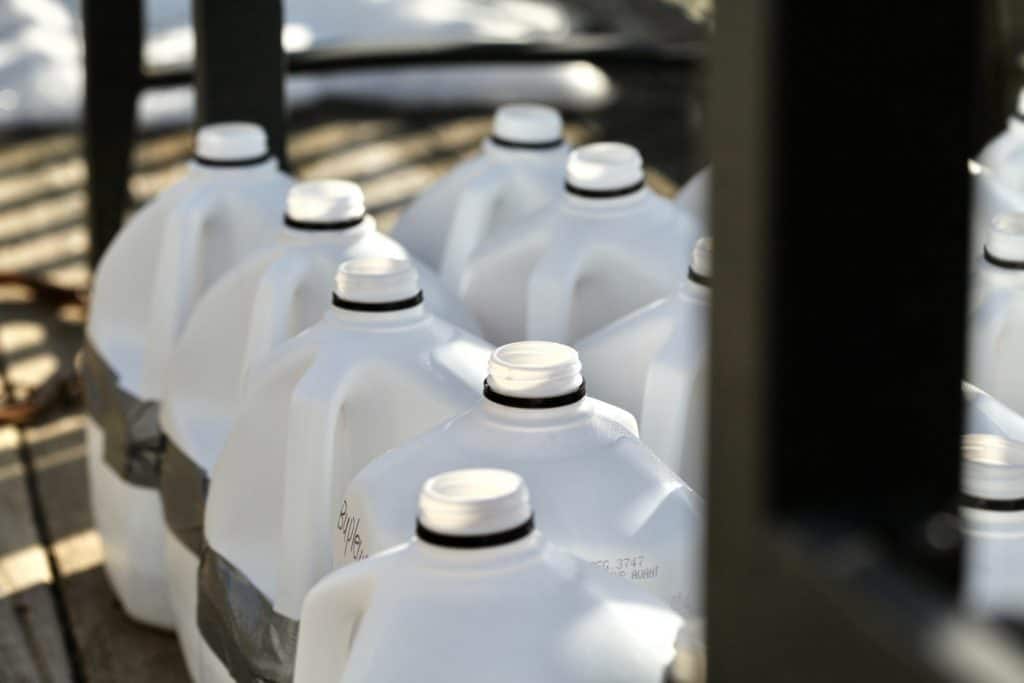
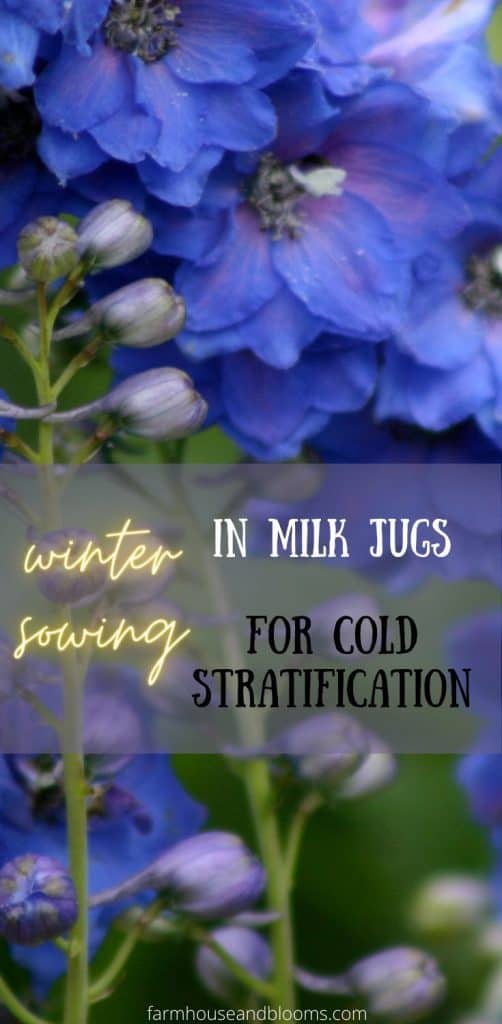
Winter sowing in milk jugs is one of the easiest and most budget-friendly ways to start seeds outdoors in winter. This method uses recycled containers to create mini-greenhouses, letting nature do the work of cold stratification, the chilling period many seeds need before germination.
If you are looking for a low-maintenance way to start hardy plants, winter sowing in milk jugs is definitely a method worth trying.
This is a method that I've been using more and more, and the bounty increases every year. The end results are amazing, and the process is just so simple.
What Is Winter Sowing?
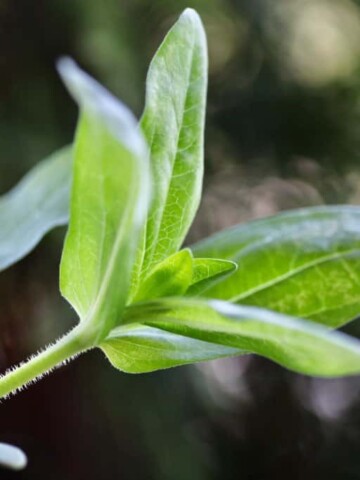
Winter sowing is a method of starting seeds outdoors during the winter months using covered containers that protect the soil and seeds, while also allowing exposure to cold, moisture, and sunlight. The process mimics nature, as the seeds lie dormant in winter, and germinate when the time is right in spring.
The container used for winter sowing becomes a little miniature greenhouse with a protected microclimate, that's perfect for germination at just the right time for your growing zone.
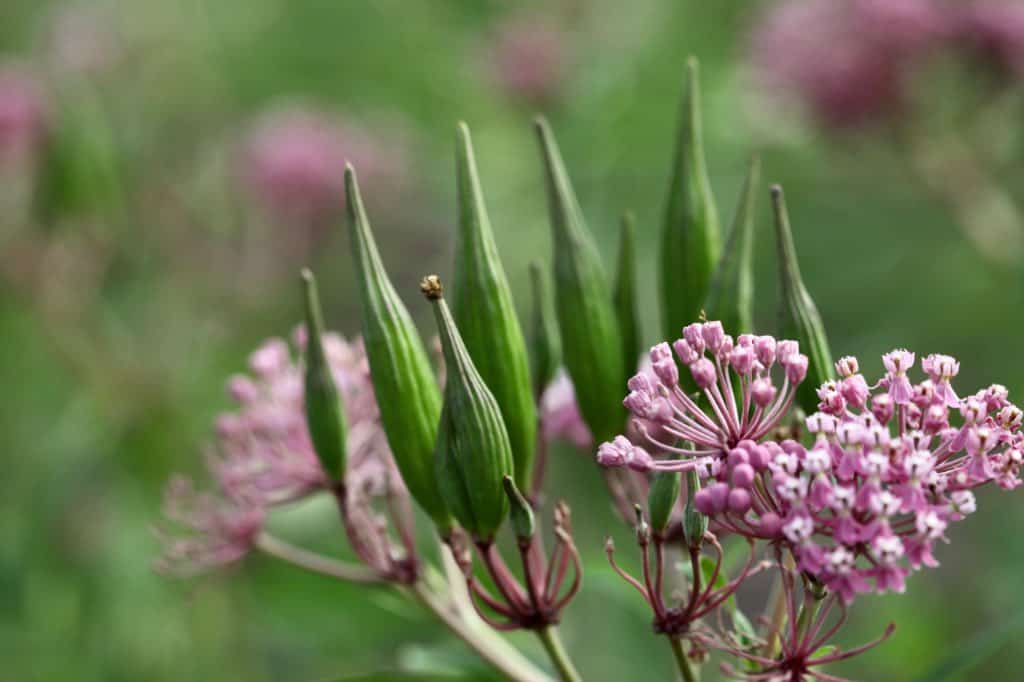
In our own zone 5b garden, winter sowing allows us to plant some of our hardy annual, herb, and perennial seeds in containers, and place them outside in winter. This is a great method for starting seeds in a cold climate, because once planted, pretty well all you have to do is wait until spring.
This sowing method also frees up space inside your home, for more tender seedlings which are not tolerant of the cold. This can be invaluable, especially if you are growing lots of plants.
Why Use Milk Jugs For Winter Sowing?
Milk jugs are ideal for winter sowing because they:
- are made of translucent plastic, allowing light to reach the seedlings
- hold moisture well, creating a humid environment
- are easy to cut, label, and reseal
- can be reused year after year
Not to mention they’re essentially free as well! Just rinse and repurpose a jug from your recycling bin.
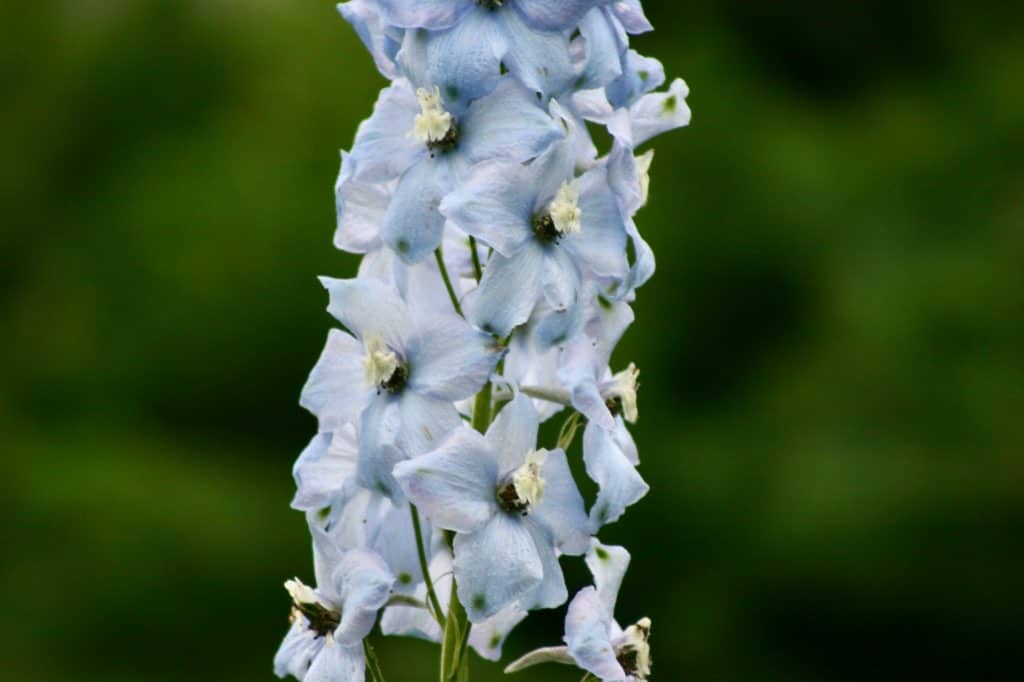
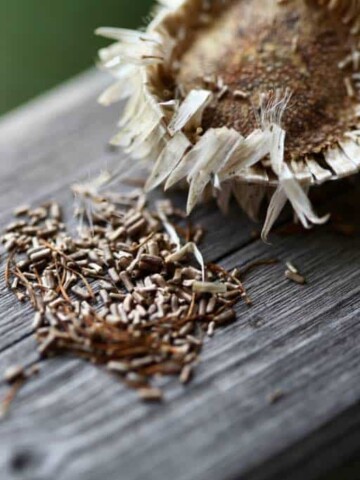
Use this method for seeds which have hard seed coats that require cold stratification, such as those from perennials, biennials, and cold hardy annuals.
By placing the seeds outside in these mini greenhouses, they are exposed to freezing temperatures and thaw cycles, which help these thick seed coats to split and crack.
The resulting seedlings that are grown through this process, naturally acclimatize to the outside weather in the milk jug, and become hardy and strong.
These seedlings will become naturally hardened off, because they are already outside.
When To Start Winter Sowing In Milk Jugs
You can start winter sowing anytime after the winter solstice (late December), when daylight begins to increase. Hardy perennials and cold-loving annuals are ideal for early sowing (December–February).
Make sure that you start the sowing process when the outdoor temperatures are very cold, and when there is no longer a risk for a warm spell that can stimulate germination. Early germination can result in seedling loss, once the temperatures freeze again.
By starting after the winter solstice, there is less risk for warm days to cause premature germination of the seeds.
Seeds sown during the freezing cold winter months will automatically germinate when the weather warms up in spring, and will come to life at exactly the right time for your growing zone.
Once the seeds are safely tucked away into their milk jugs, and positioned outside, all you have to do is wait until spring.

How to Winter Sow in Milk Jugs (Step-by-Step)
What You'll Need:
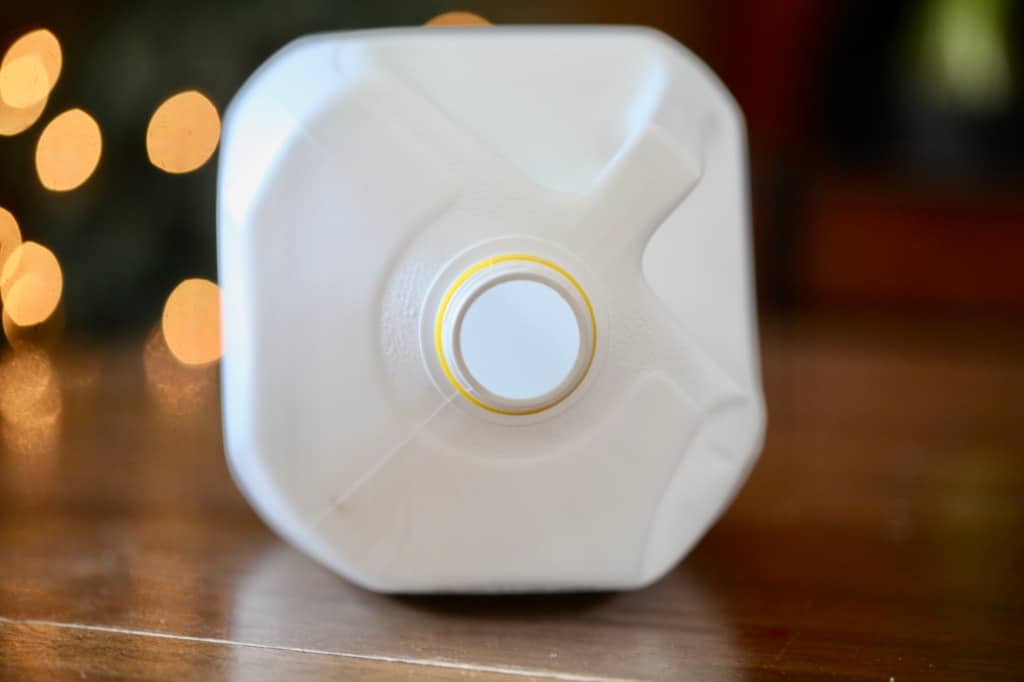
- Clean 1-gallon milk jugs (with caps removed)
- Potting mix (seed starting or regular mix), just make sure it's good quality
- Seeds that require or benefit from cold stratification
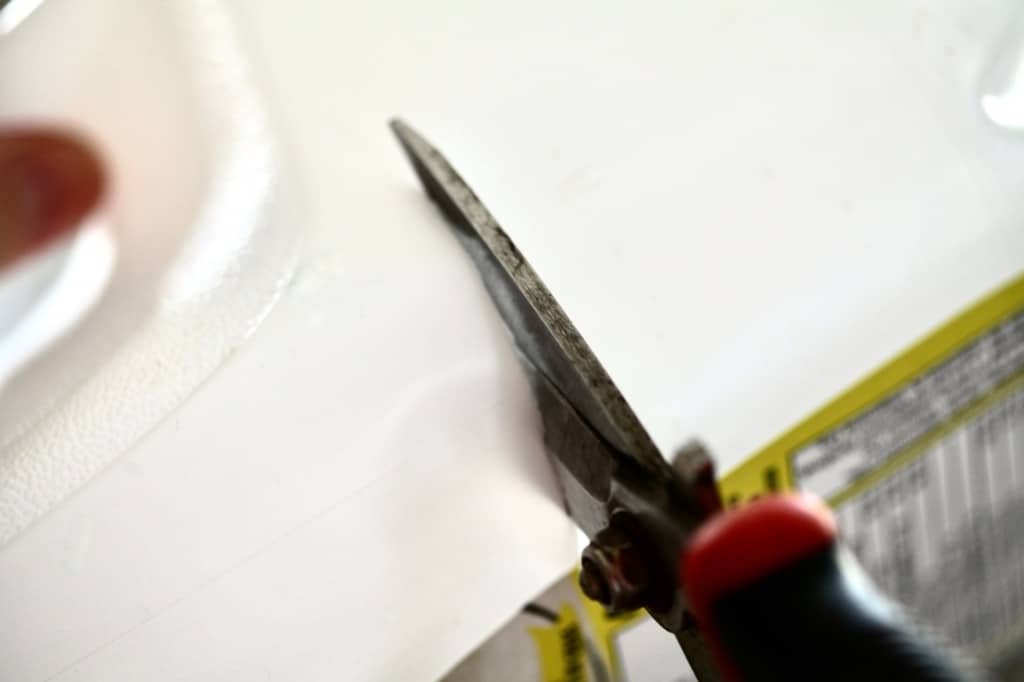
- A sharp knife or scissors
- Plant labels
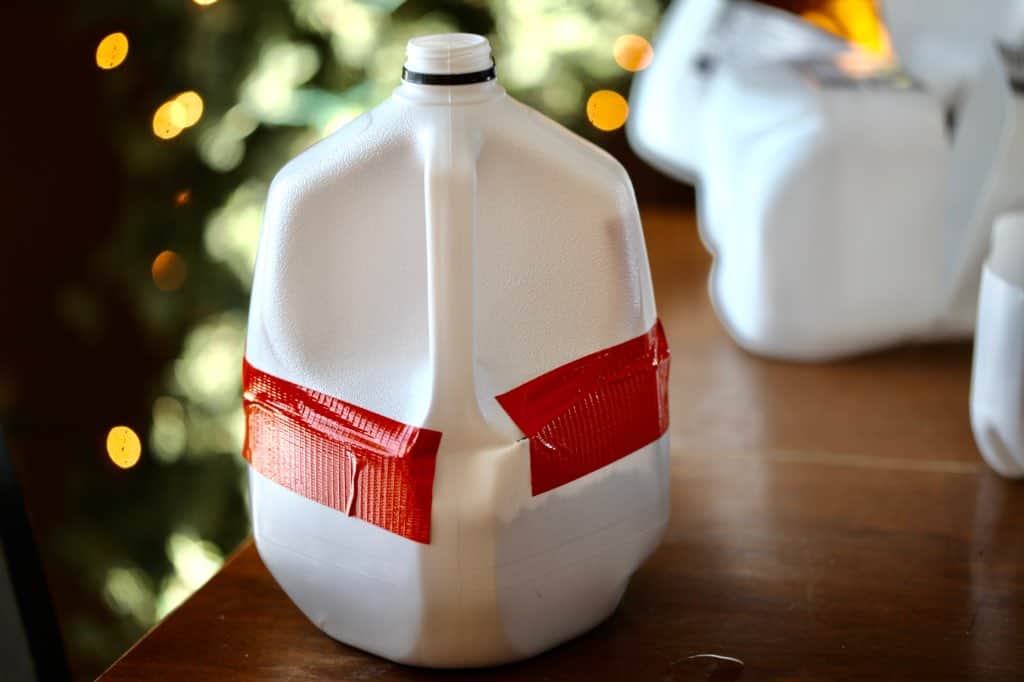
- Duct tape or weatherproof tape
- Permanent marker
Steps
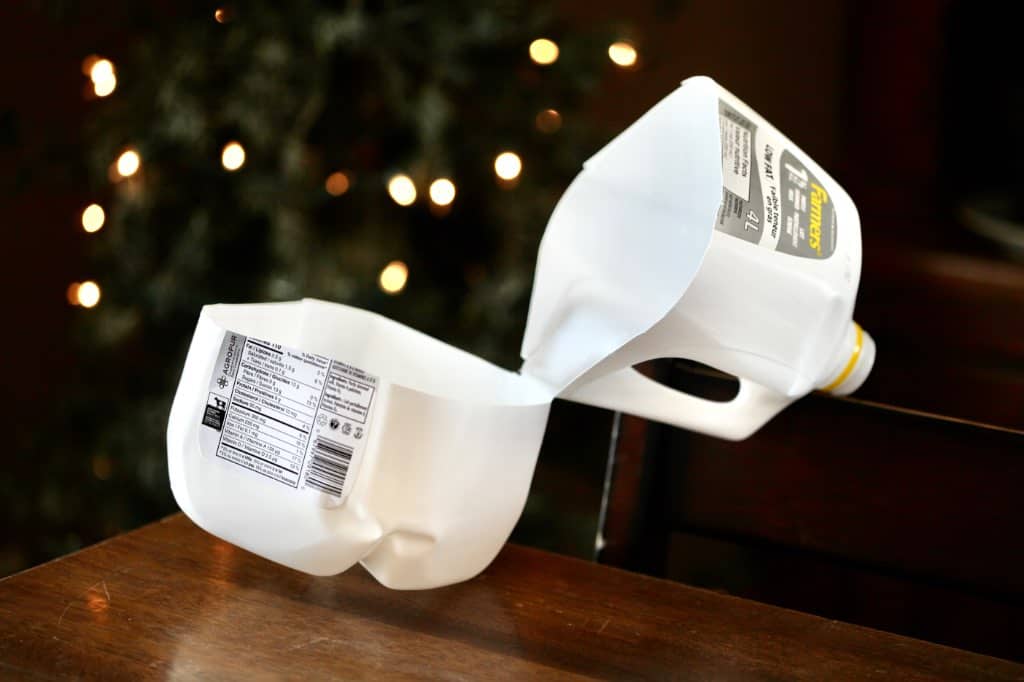
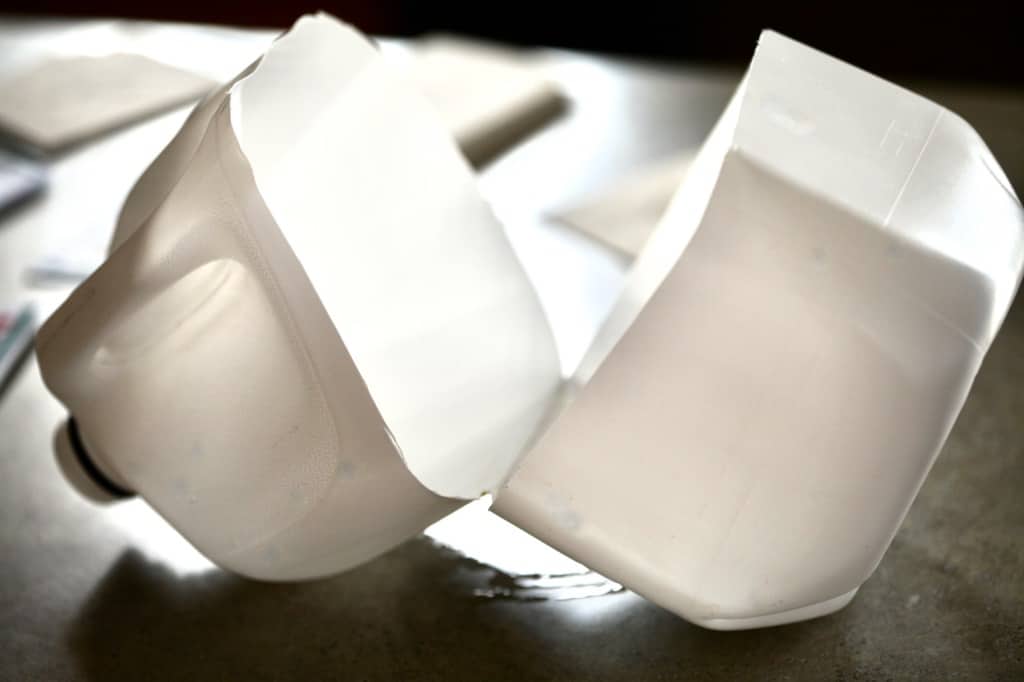
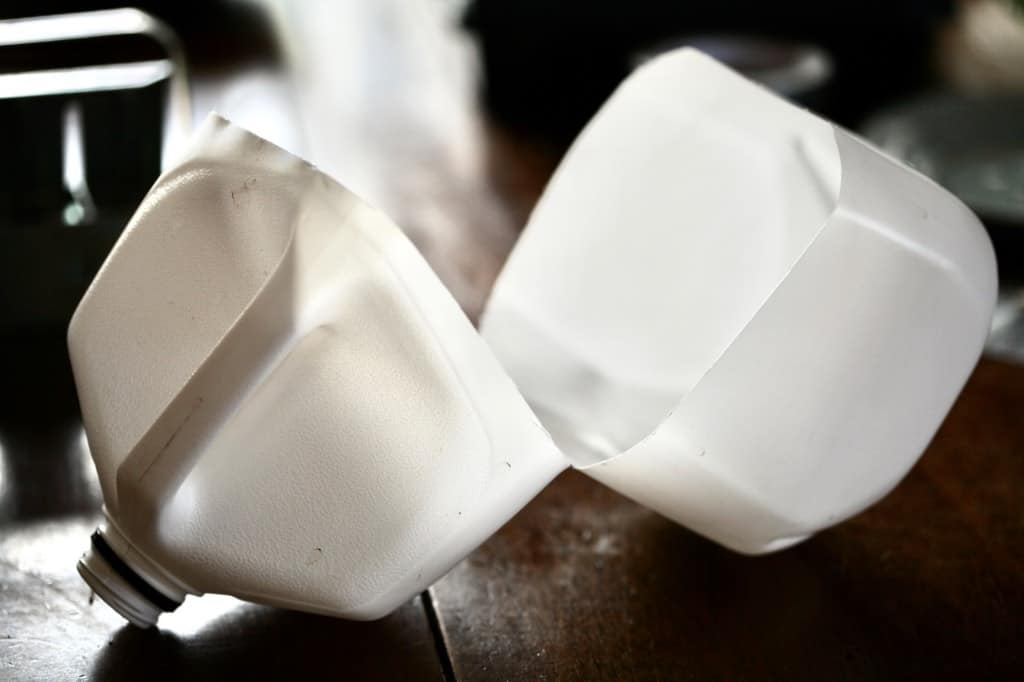
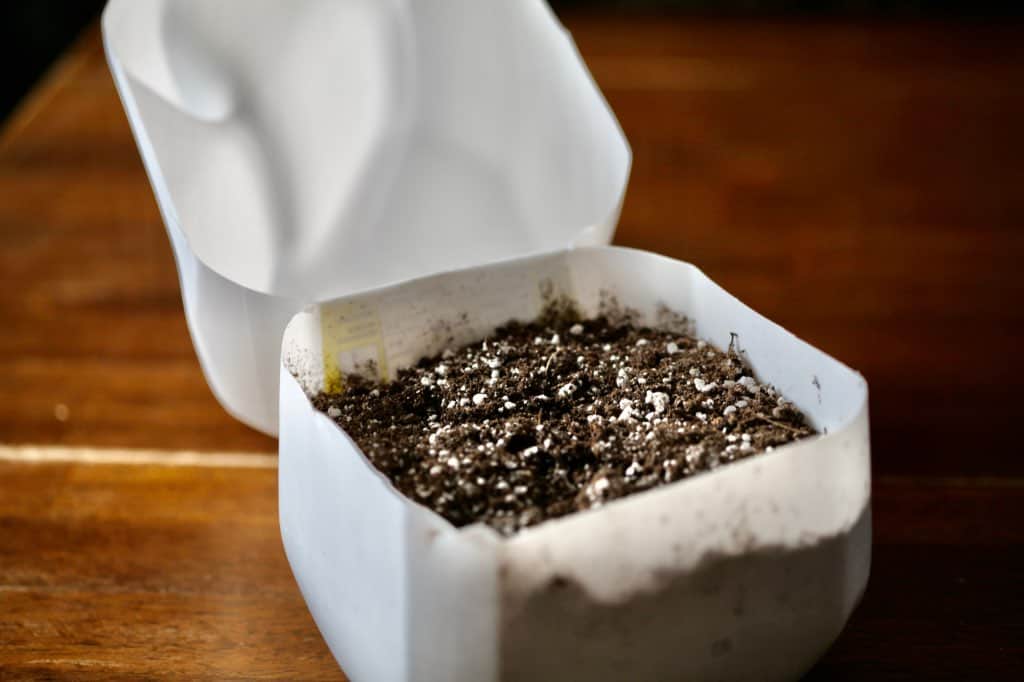
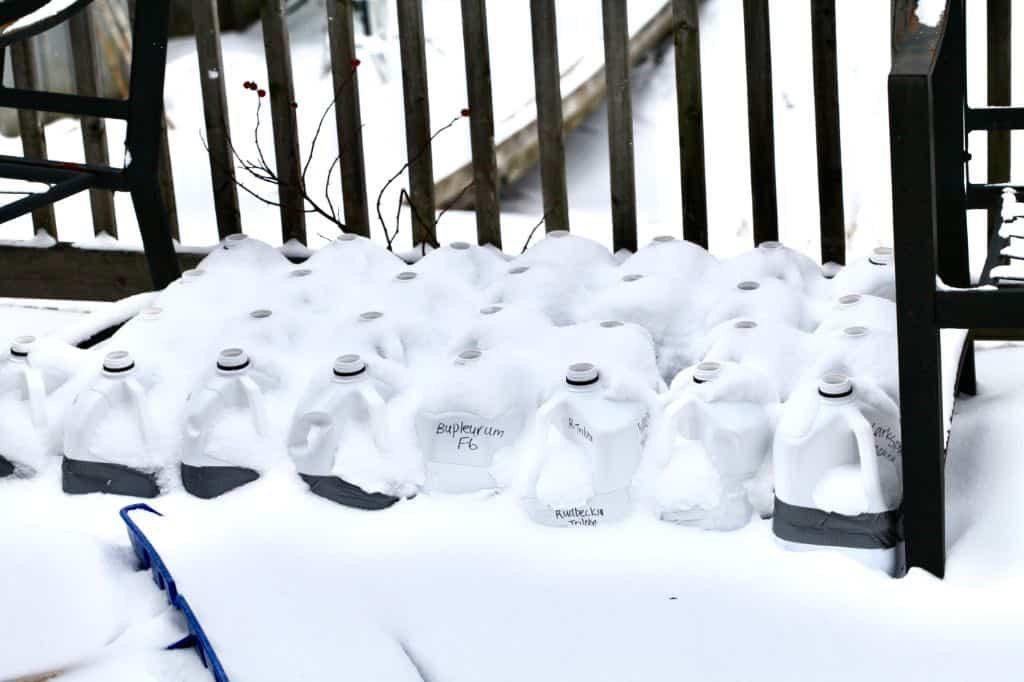
- Prepare the Jug: Cut the jug almost in half horizontally, leaving the handle intact as a hinge.
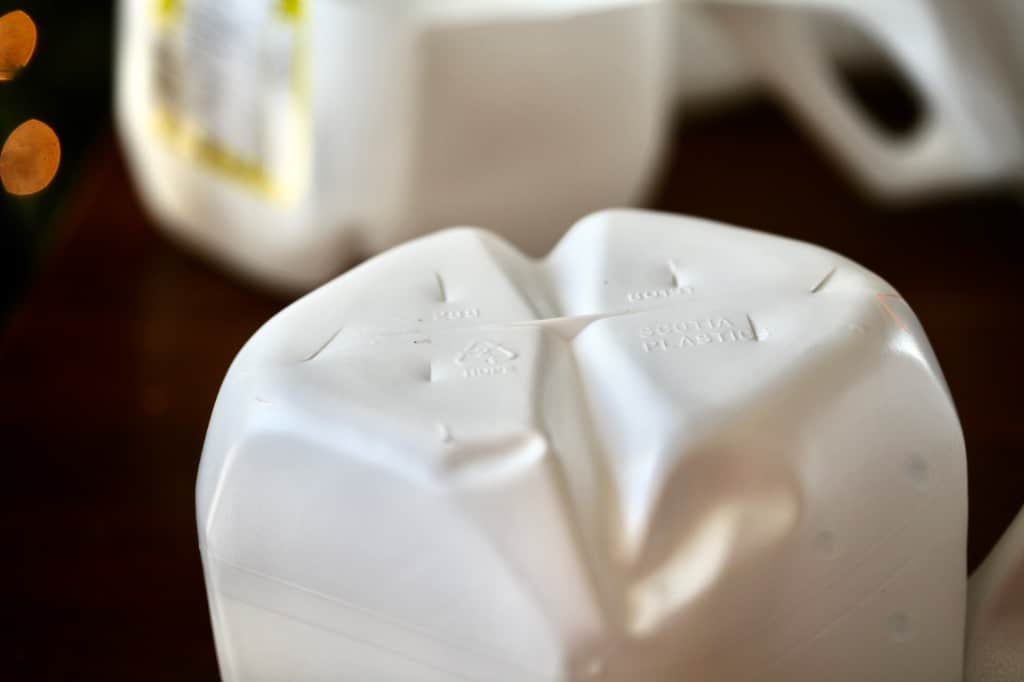
- Add Drainage Holes: Poke several holes in the bottom of the jug for water drainage. Good drainage is essential, because the jugs are open to the elements, and will be exposed to lots of snow and rain.
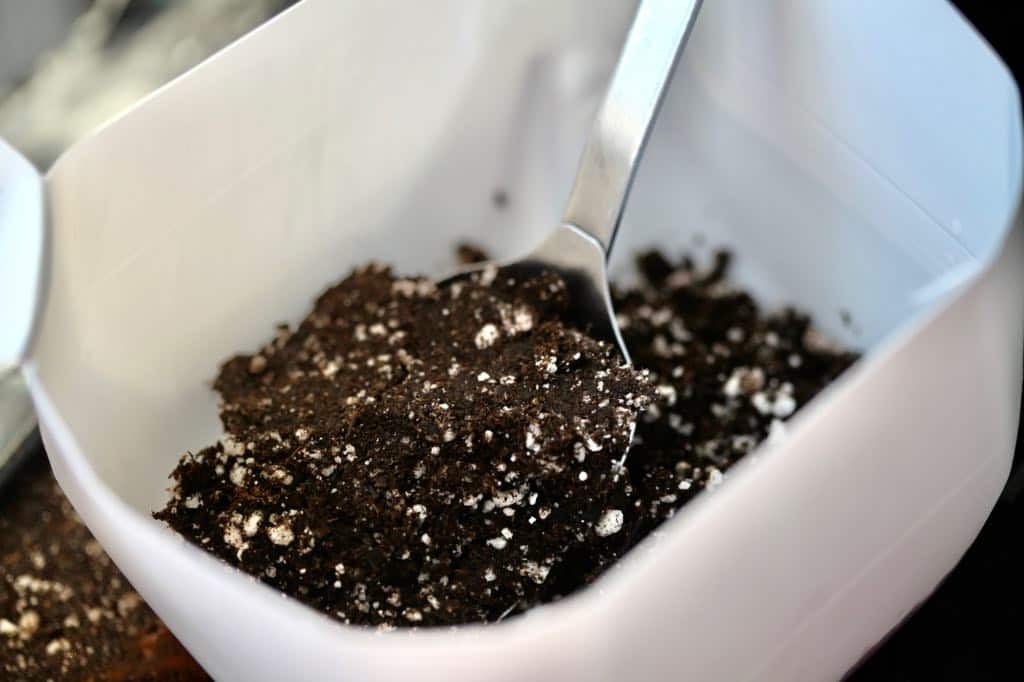
- Fill With Soil: Add about 4-5 inches of moistened potting mix to the bottom of the jug.
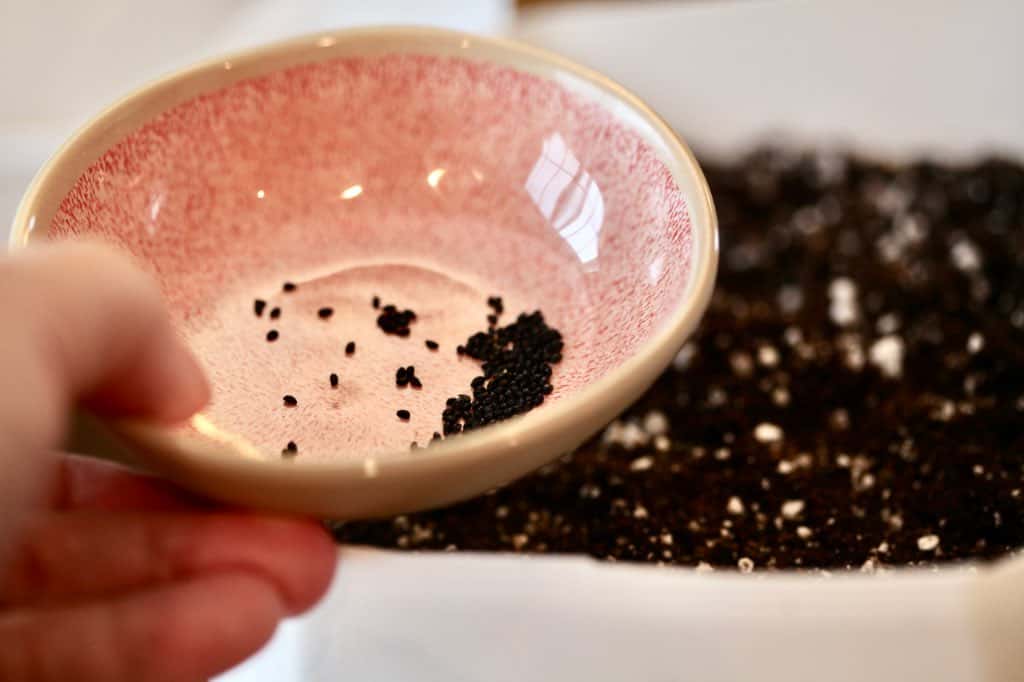
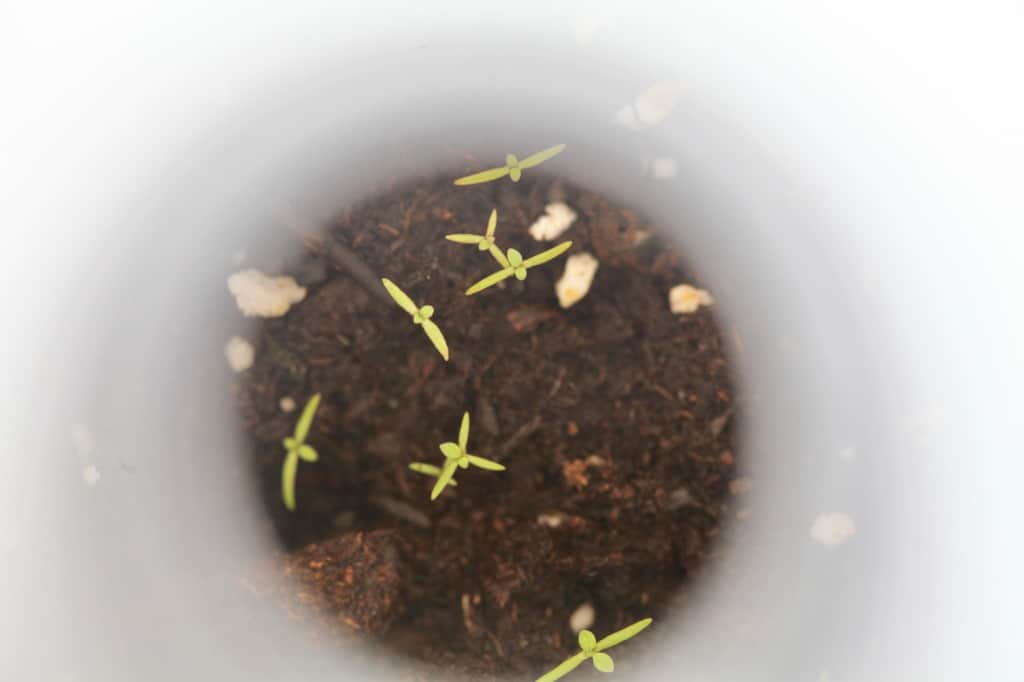
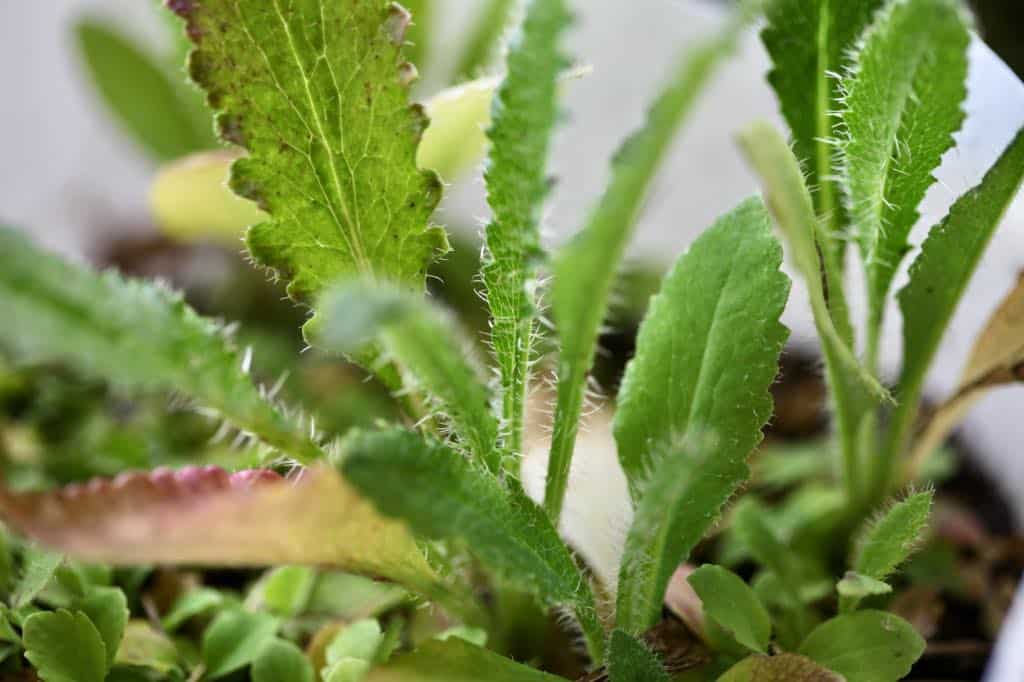
- Plant The Seeds: Sow seeds according to the recommended depth and light requirements on the seed packet. Some seeds can be sprinkled on the surface of the soil. Others need to be covered.
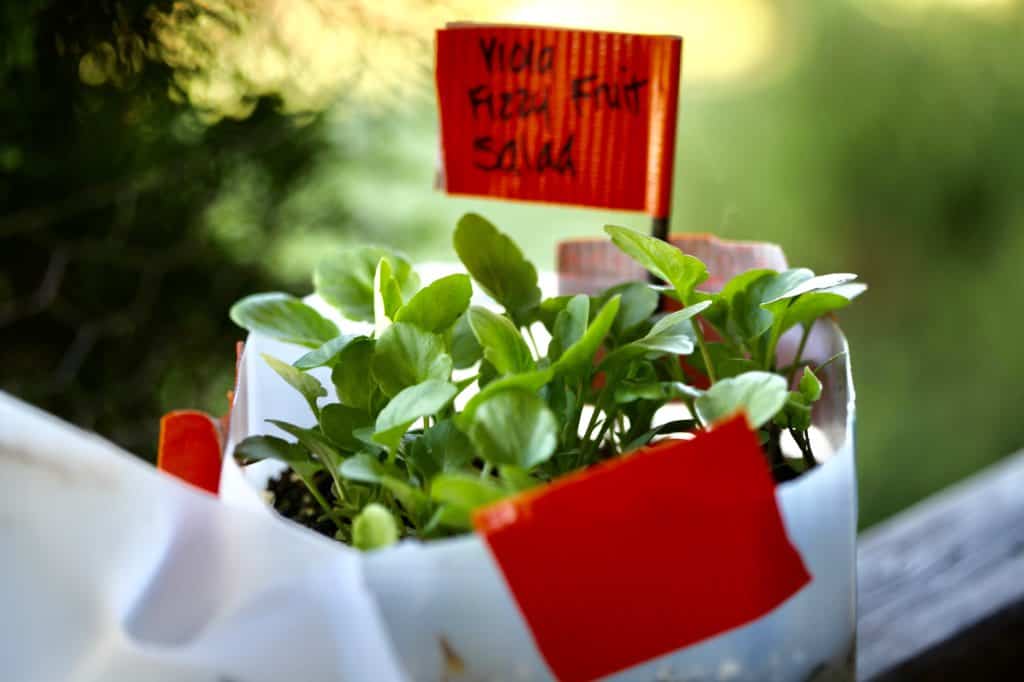
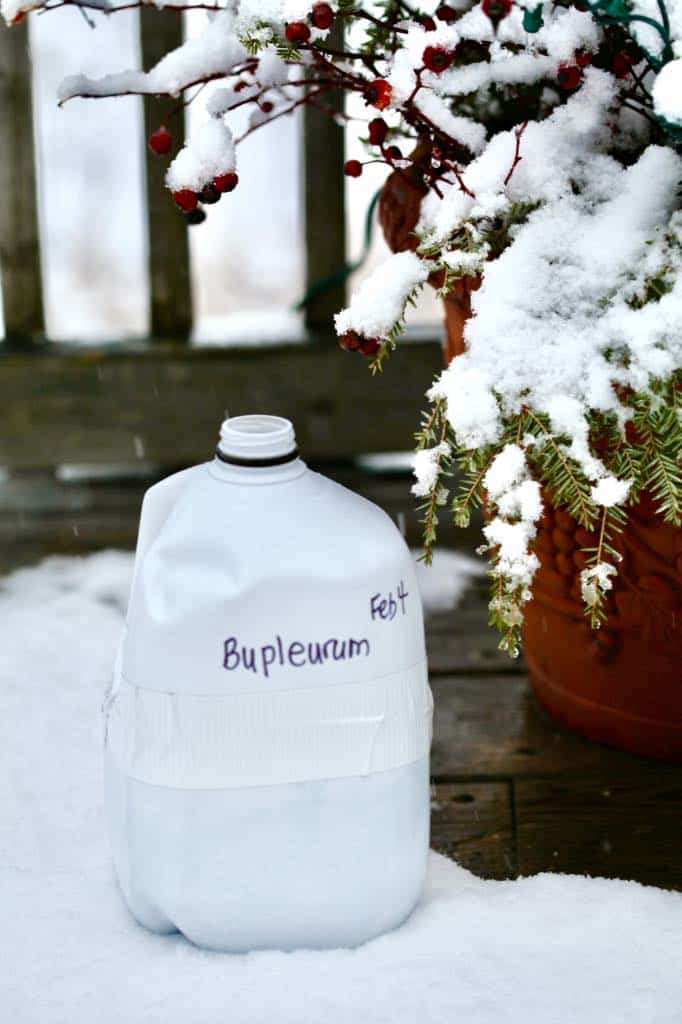
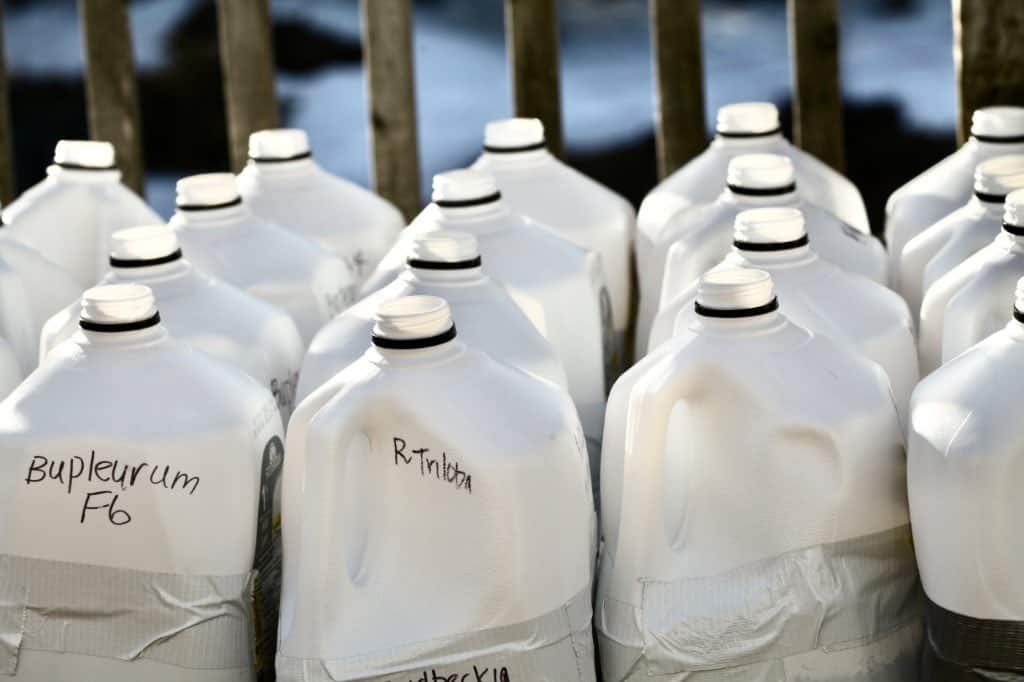
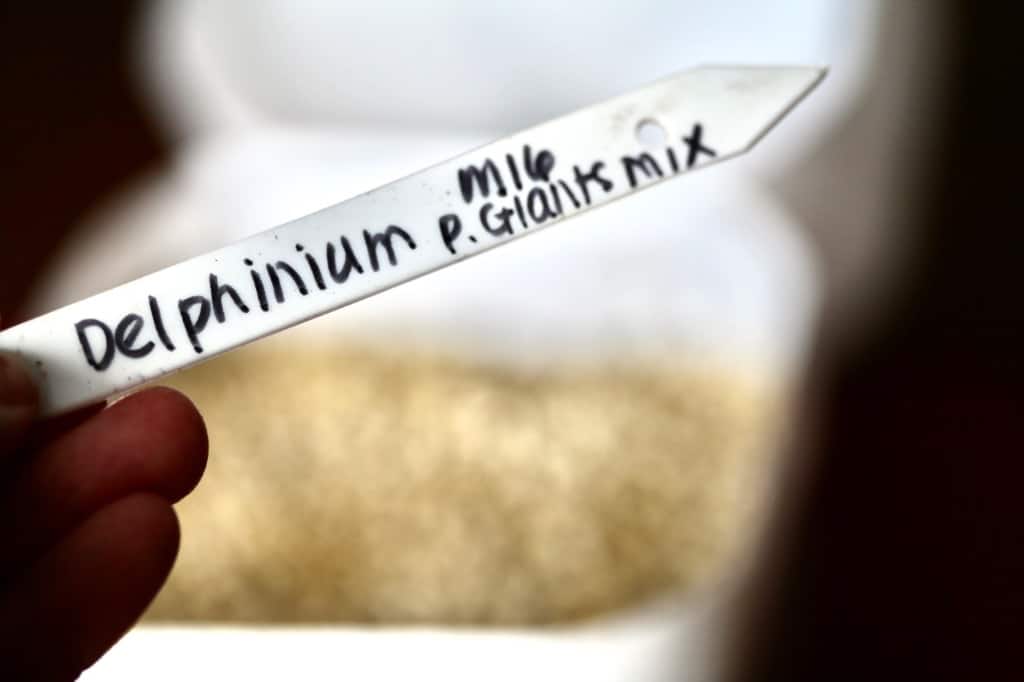
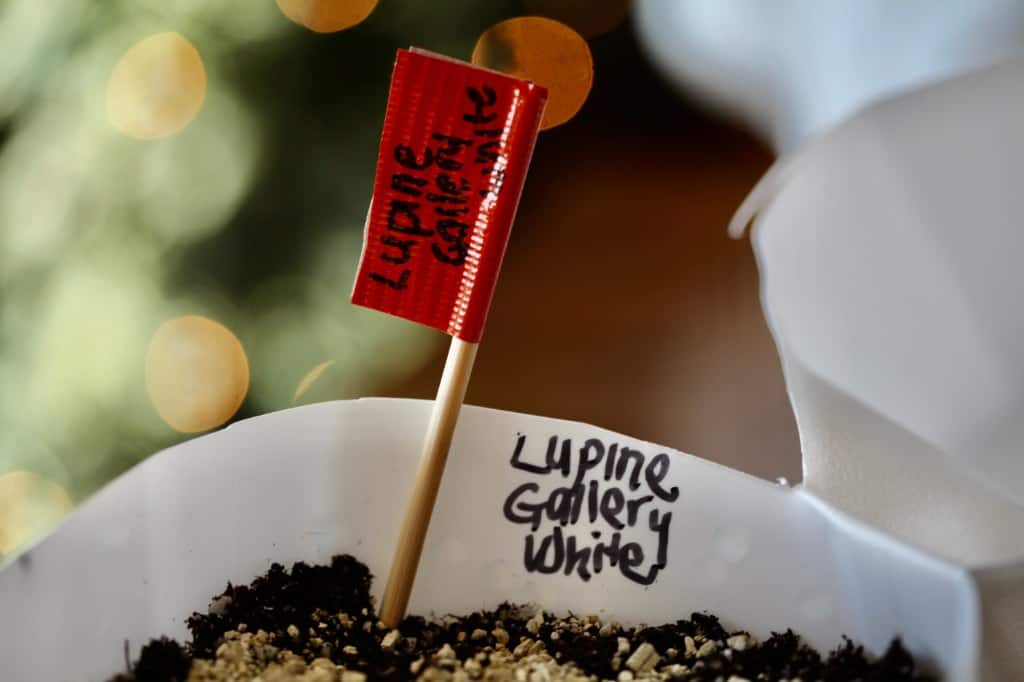
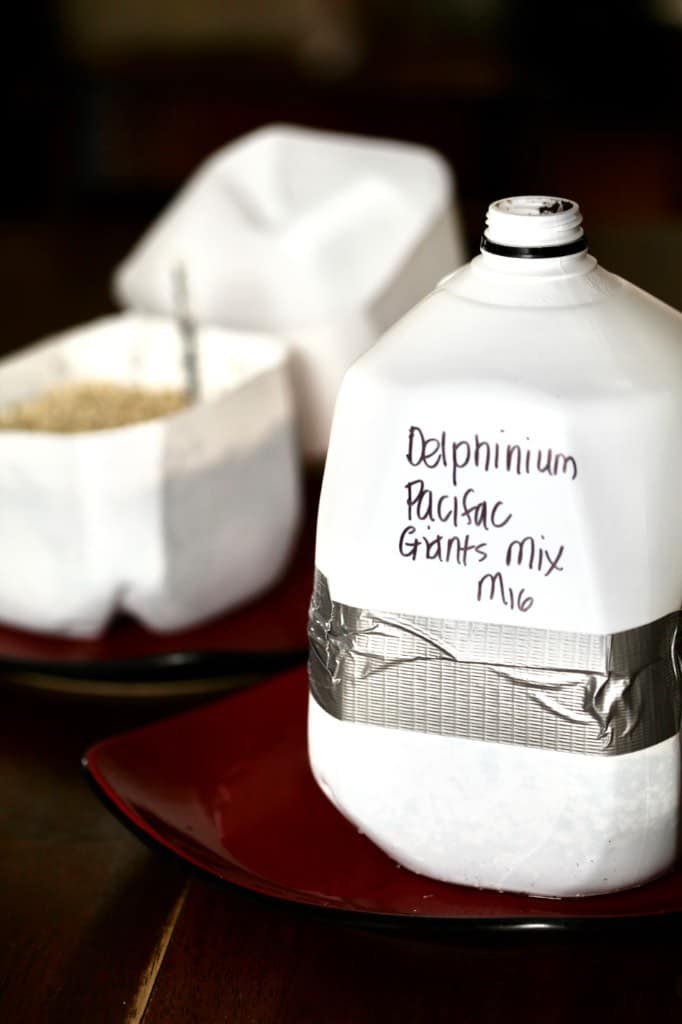
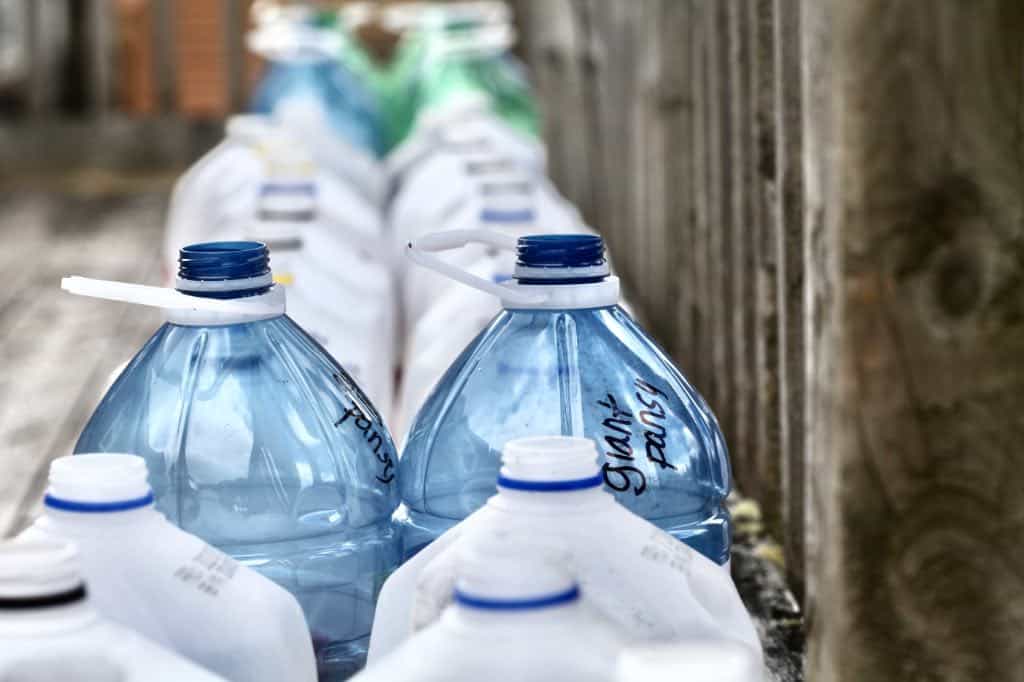
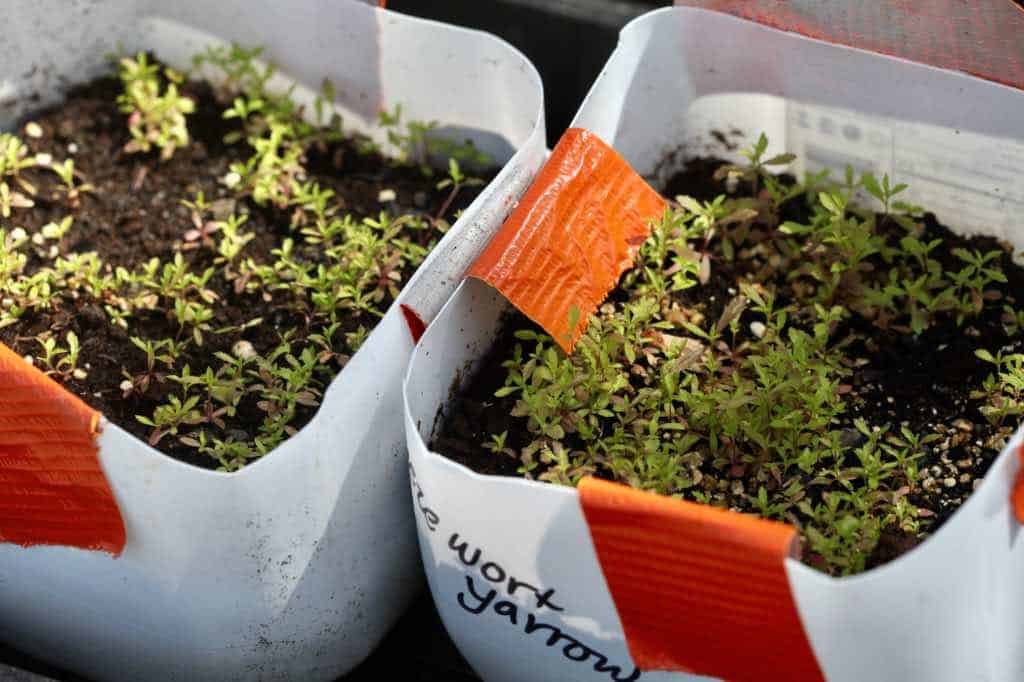
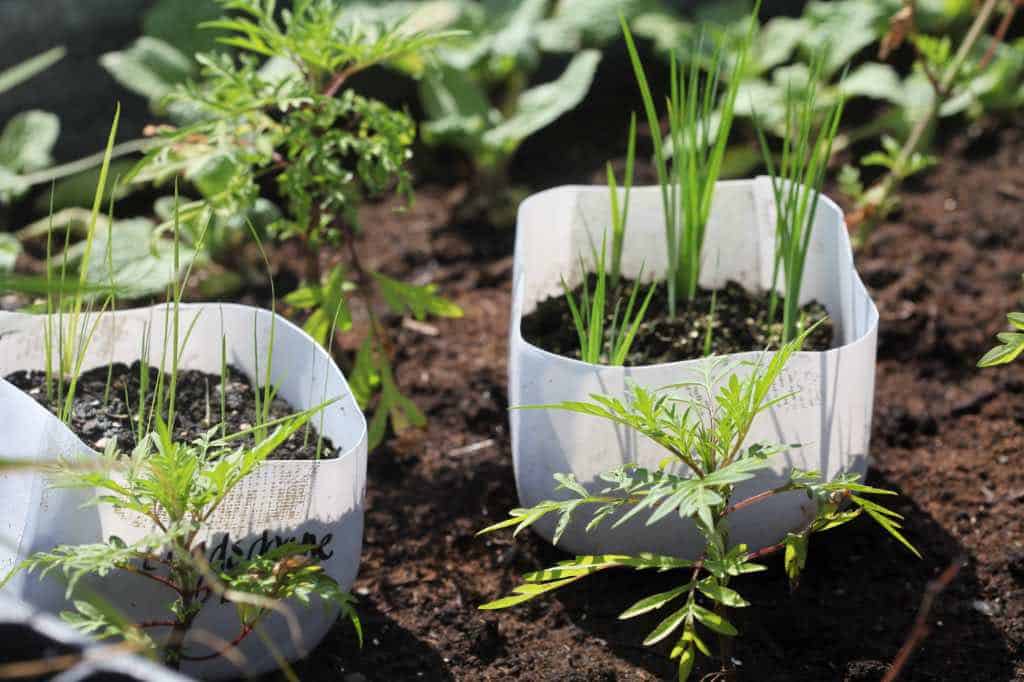
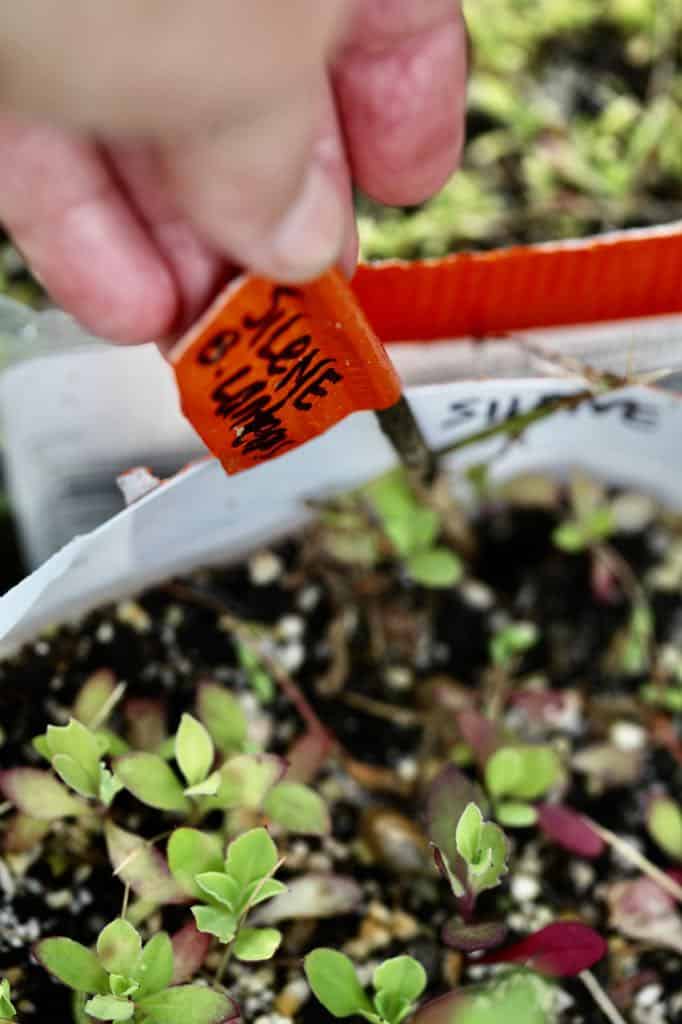
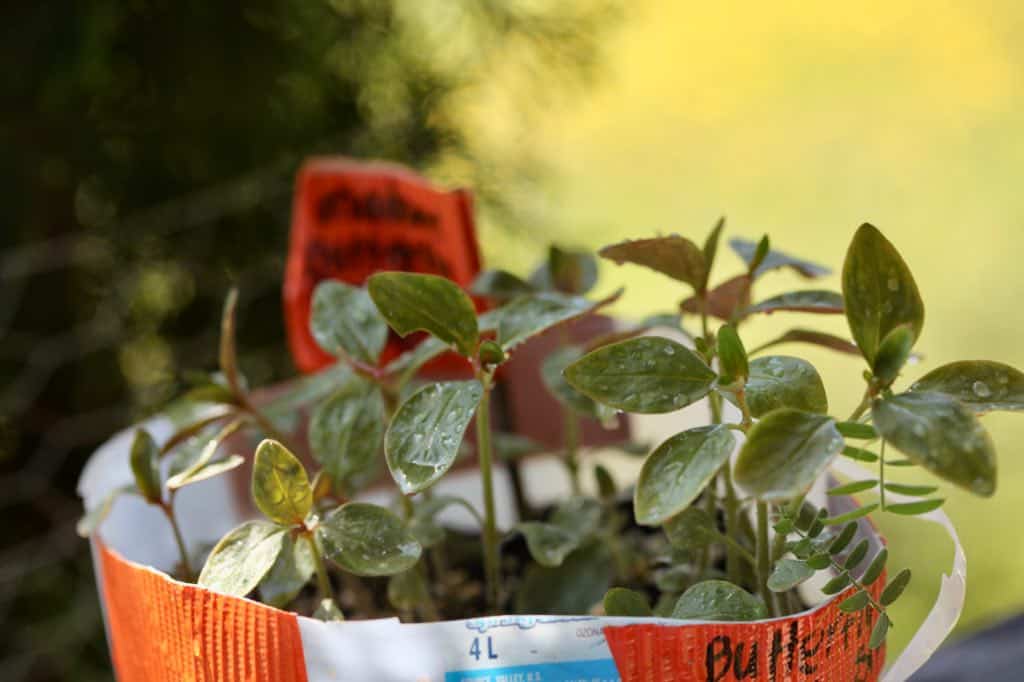
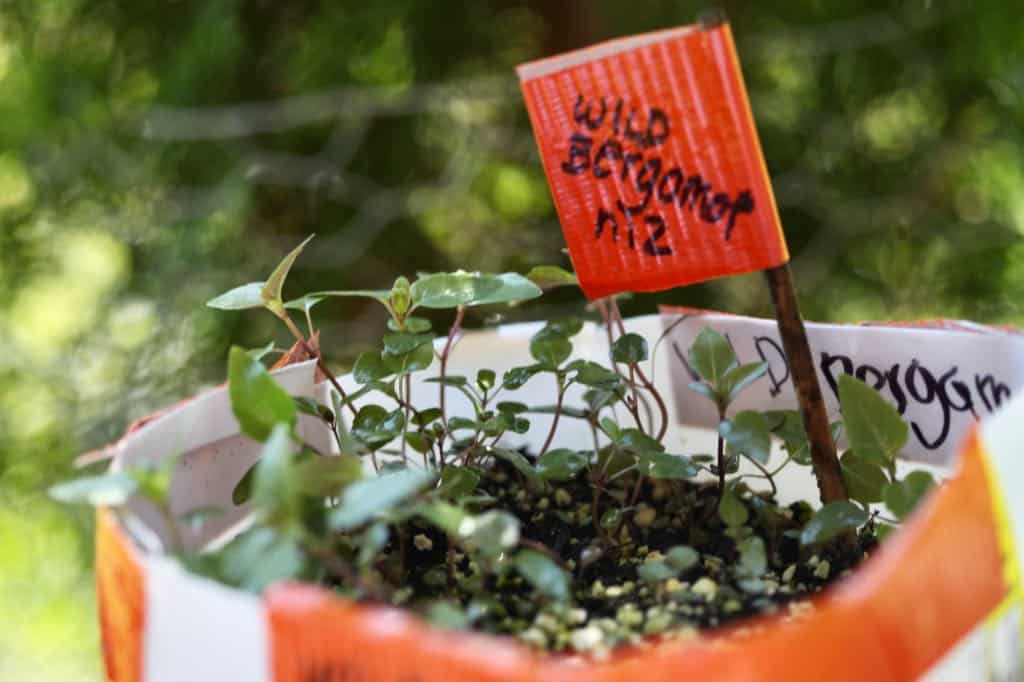
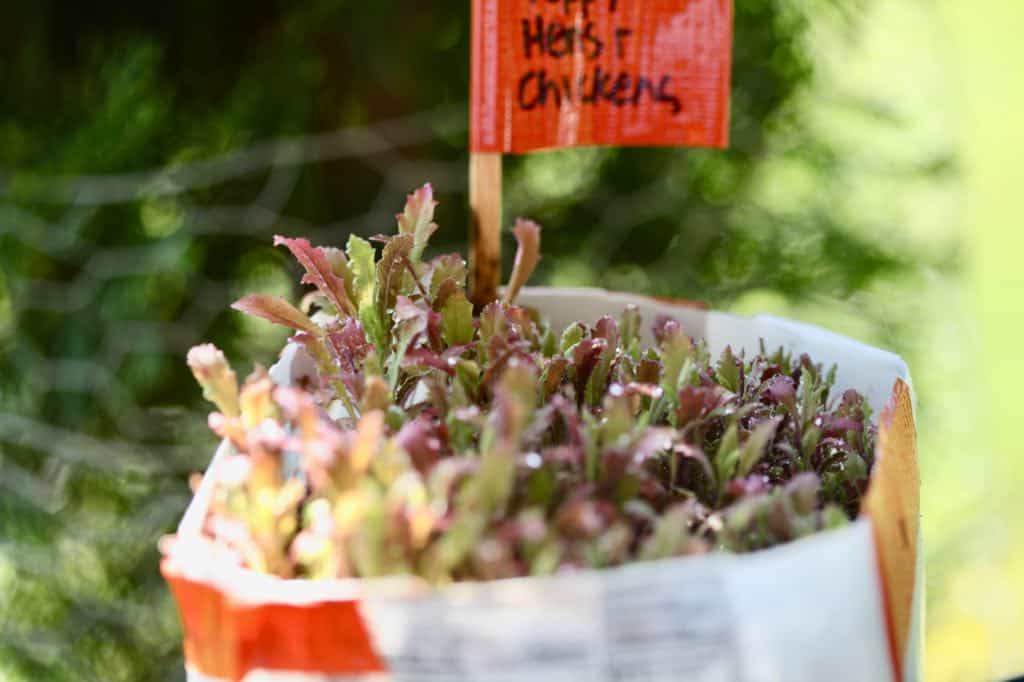
- Label Clearly: With a permanent marker write the plant name and date on the jug in several places, and consider inserting a label inside as well, because sometimes (in fact many times) the outside labelling gets washed off.
- Seal the Jug: Close the jug and secure it with duct tape or other weatherproof tape. Leave the cap off for ventilation. You can also poke small holes in the top of the jug, to allow heat to escape.
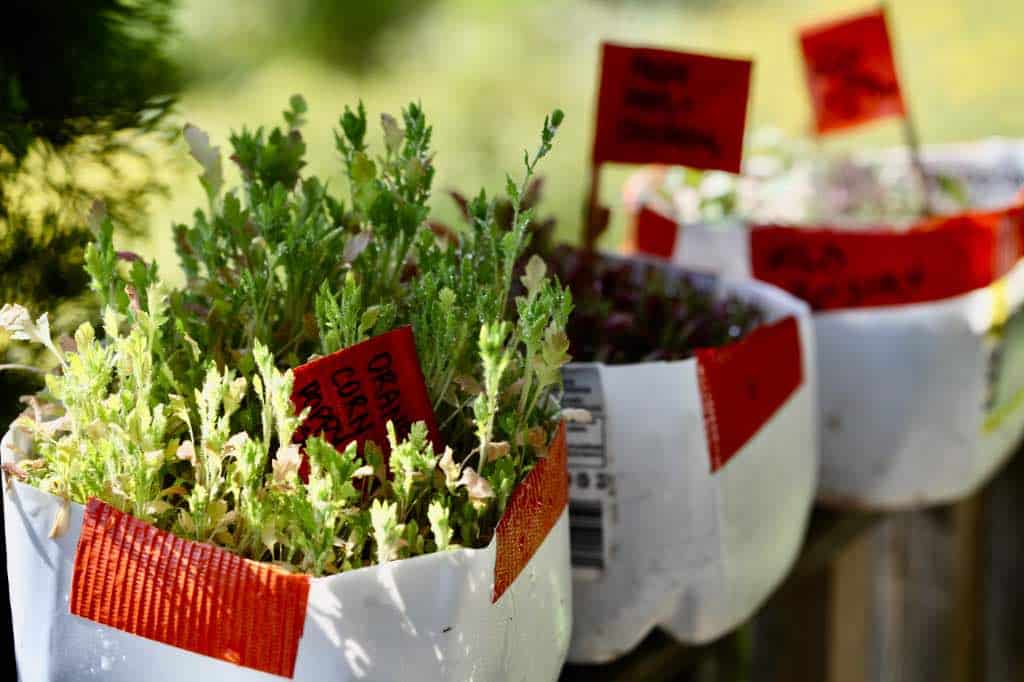
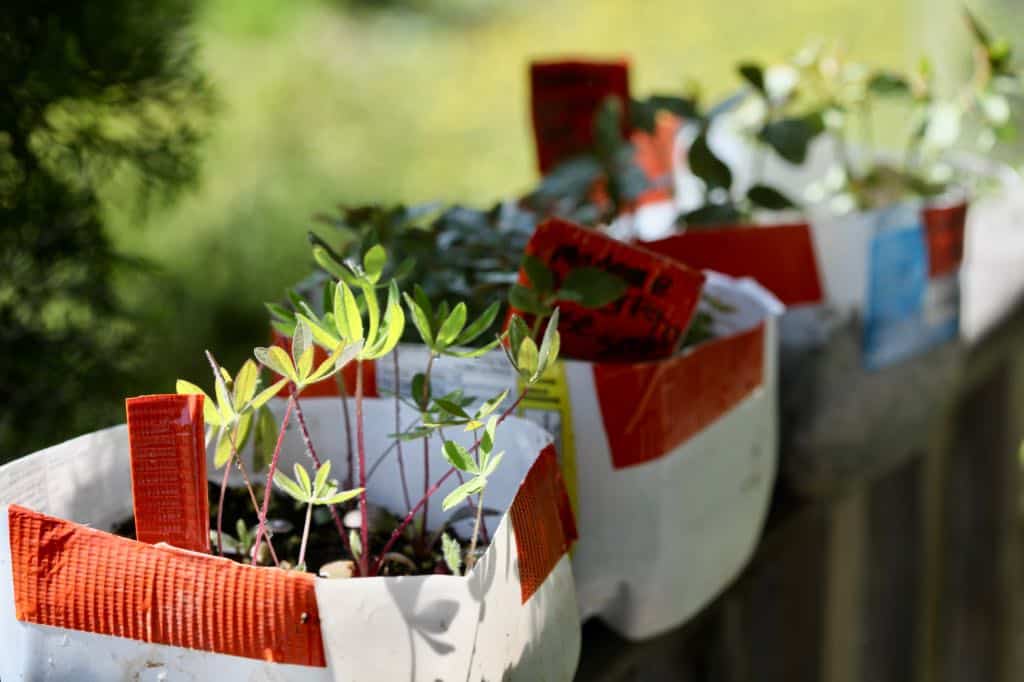
- Place Outside: Set jugs in a sunny, sheltered spot outdoors, and one where the jugs will also have access to the rain and snow for moisture via the open spout on top.
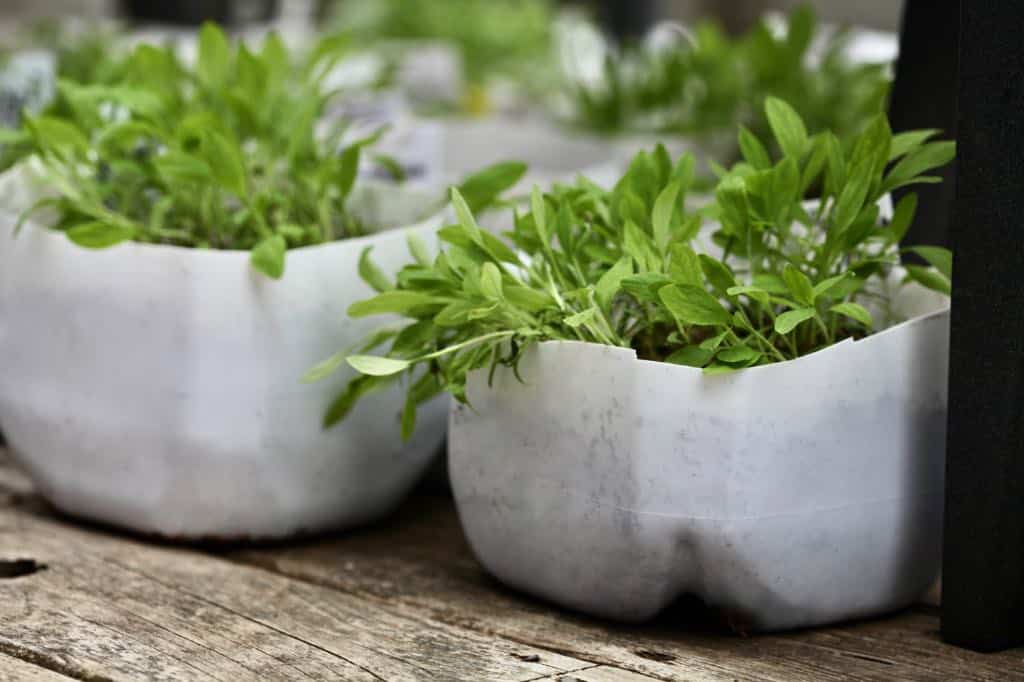
Caring for Your Milk Jug Seedlings
- Keep The Containers Secure: High winds can knock over the containers, and disrupt the soil and the seeds inside. Continue to keep an eye on your milk jugs to make sure that they stay upright, and are secure, to prevent tipping in the wind.
- Monitor For Moisture: The jugs generally remain moist throughout the winter, and do not require watering until later in spring when the weather warms up. Water if needed. Jugs usually hold enough moisture, but if they dry out, water gently.
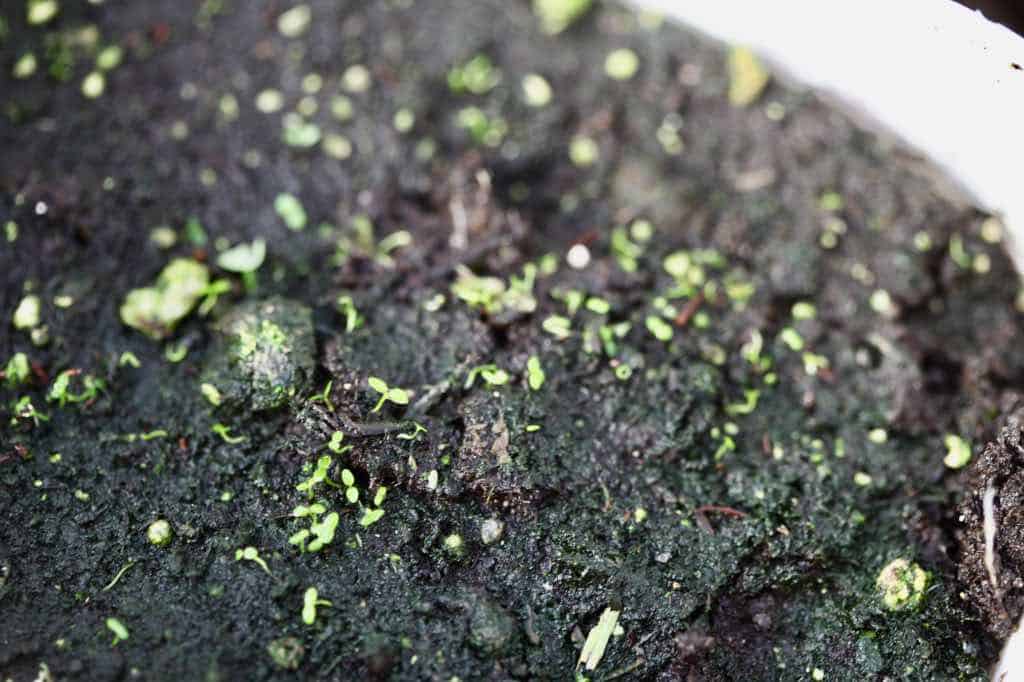
- Check Weekly: Check your milk jugs regularly for condensation, mold, or early germination.
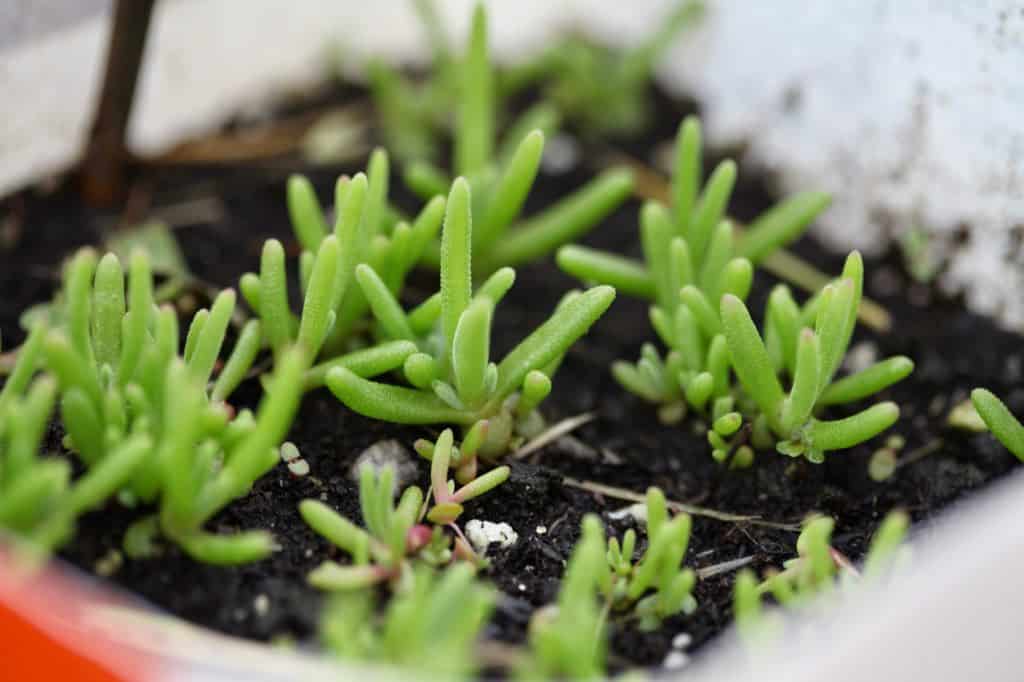
- Watch For Overcrowding: Keep an eye on the seedlings when they start to sprout. Make sure they have enough room to grow in their tiny greenhouse space, and thin as necessary.
- Maintain the Temperature: Once seedlings sprout and weather warms, keep an eye on the temperature inside the jugs. If it starts to get too warm, you can remove the tape and open up the lids to allow for better air circulation.
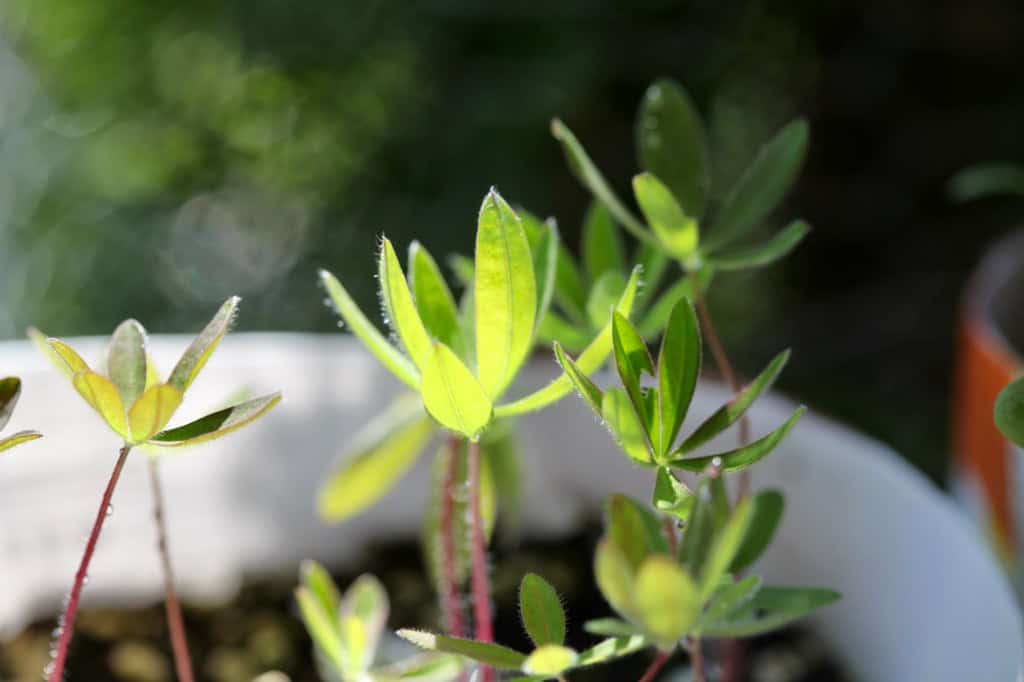
- Harden Off: Winter sown seedlings are very hardy and sturdy seedlings to begin with. Opening the lids will also help the seedlings to further adapt to the outside environment, helping them to harden off before transplanting. You can accomplish this by opening the jugs during the day for 5–7 days.
- Removing The Lid: Eventually when the risk of frost has passed, you can remove the top of the container. Know the last frost date for your growing zone to be on the safe side.

Transplanting The Seedlings
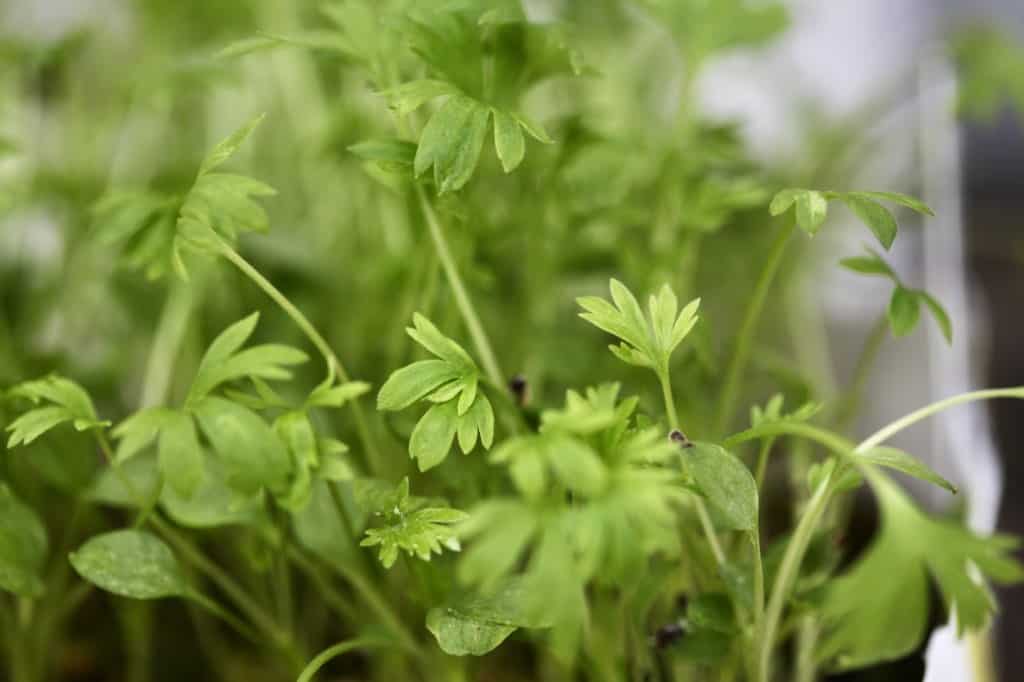
Depending on the seed type, and the growth within the container, sometimes it is easy to just to pull the soil apart in segments, and transplant the seedlings into the herb, vegetable, or flower garden in this manner.
I have had best success with this method if the seedlings are densely packed and would be damaged by root disruption from pulling out individual seedlings.
At other times, it is easy to separate individual plants, and to transplant individually.
Frequently Asked Questions
Seeds that need or benefit from cold stratification work best, like native perennials, hardy herbs, and cool-season annuals.
Usually not. Snow and rain provide enough moisture. But check periodically. If the soil is dry, lightly water to keep it damp (not soggy).
Yes, but milk jugs are the most popular because they’re easy to cut, label, and seal.
You don’t need to, as seeds are meant to freeze and thaw naturally as part of cold stratification, and shouldn't germinate until it's safe in your growing area. Once they sprout, they’re hardy enough to handle chilly nights.
A little mold on the soil surface isn’t usually harmful. Improve ventilation by widening the jug opening slightly or removing the top on warmer days.
In Summary
Winter sowing in milk jugs is simple, sustainable, and effective. It saves indoor space, avoids grow lights, and gives seeds a strong start by following nature’s timeline.
It's an almost hands off method of growing, letting mother nature take care of the watering and direct sunlight needs of the tiny germinating seedlings.
By focusing on hardy varieties and reusing everyday containers, you can grow beautiful, resilient plants, all while gardening in your boots and mittens.
Every year I winter sow many different seed types, because it's just so easy. Last year I grew more than ever before, and the winter sown plants were so beautiful, blooming in their very first year.
You may be surprised at just how easy it is to winter sow your seeds. It offers so many advantages, and I hope that you can give it a try this coming season!
Have you ever tried winter sowing in milk jugs? Be sure to leave a comment below to share your experience!
Other Posts You May Like:
PIN IT FOR LATER!


Julie
Very insightful article! I've had success winter sowing shasta daisies and lupins but haven't tried any veggies or hardy annuals. Adding vermiculite is a great tip that I will have to try next year!
cheyanne
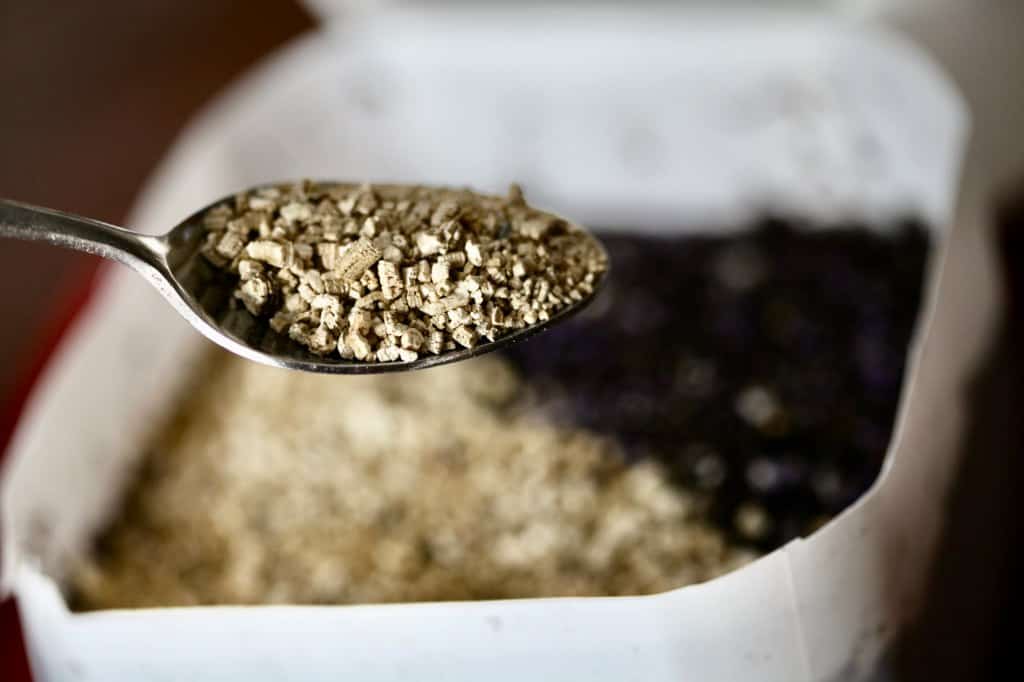
We use vermiculite often when planting seeds, with great success!
William MacFarlane
Cheyanne, First time winter sowing nicotiana. The seed are like dust. It requires stratification..
I put them in a mini ice cube tray and froze them overnight to make it easier to distribute the seeds in the container. They also require light to germinate. Once the ice melts they will be on the surface.
It is February 1 in zone 5B. Do you think this is a good idea?
Cheyanne Mullin
Hi William, that sounds like a good way to distribute those tiny seeds. Time will tell how they tolerate this method. I sometimes just sprinkle the seeds on the surface by holding them between my thumb and forefinger, and go more by feel than visualizing the seeds if they are that small. Winter sowing is such a fabulous method of seed sowing. Best of luck with your flowers!