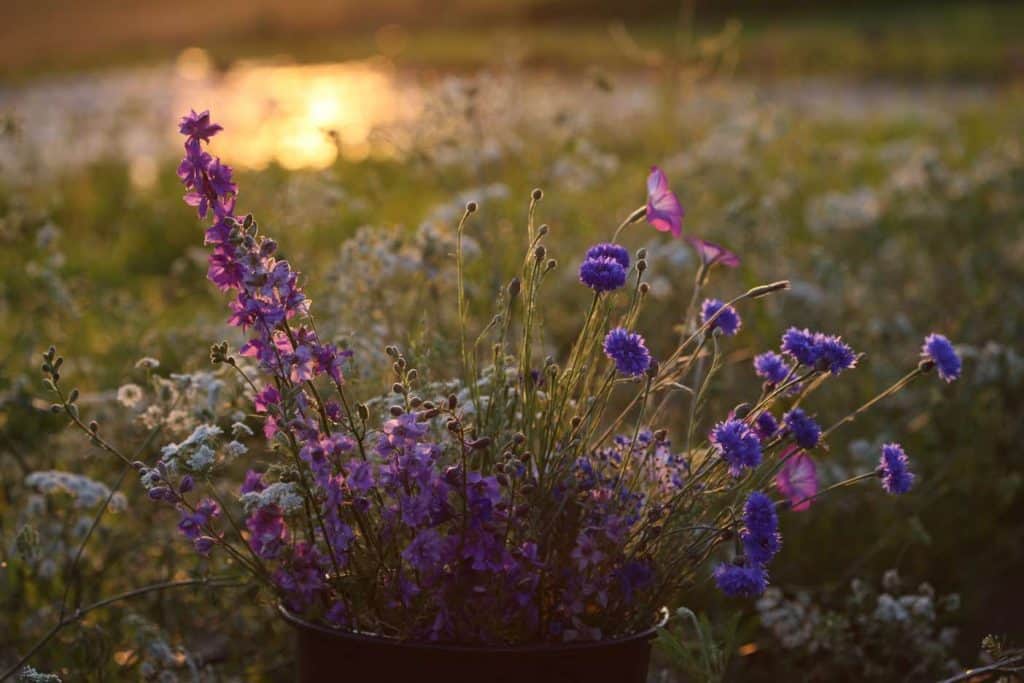
Learning how to start flower seeds indoors is a valuable lesson for any gardener. Starting flower seeds indoors offers a wonderful opportunity to get a head start on the gardening season. It also allows those of us in cooler climates to grow some amazing plants and flowers that we would not normally be able to grow to maturity, due to our shorter growing season.
Is It Easy To Start Flower Seed Indoors?
Yes absolutely, it is easy to start flower seeds indoors, if you do it the right way. To successfully start flowers from seeds you should provide them with the right growing medium, heat, moisture and light. Prior to planting you will need to properly prepare cold hardy or perennial flower seeds for successful germination.
Long before I had success starting seeds indoors, I thought that I couldn't. Literally, I had a belief that I was a person who had more success growing outdoors than in.
In fact, I had told myself that I just wasn't good at it.
I had tried it and failed, many times. I had fungus gnats, spider mites, damping off, and leggy sick seedlings. It just didn't seem worth it to grow any more flowers from seed indoors.
However, when we decided to grow flowers at the farm, I knew I had to step up my game. I had to shift my thinking. It was finally time to figure out how to get this growing from seed practice right.
Then I took several courses, and I learned the right way to grow flower seeds inside. The courses were so helpful and encouraging, and inspired me to do it right. I hit the ground running, and never looked back.
I changed my perspective, and now believe that I can grow pretty much any flower seed.
Sometimes it can still be challenging, especially with cold hardy annuals. However now I always believe that I'll figure it out. If it doesn't grow the first time, I figure out ways to make it work and keep trying!
I will share with you some of the things I've learned along the way that have helped with starting flower seeds indoors.
How To Start Flower Seeds Indoors
1. Choose Your Seeds
The wonderful thing about growing from seed is the increased selection of flowers that we can all have access to.
It is easy to purchase seeds online these days, and we can grow many different types of seed not normally grown at our local nurseries.
Choose your flower seeds, and decide how many of each you will be growing.
Depending on the type of seed, some may require special preparation before planting.
- Most heat loving annual seeds will not require any special treatment.
- Hardy annual seeds, or "cool flowers"often require stratification to assist the seeds with germination.
- Perennial seeds may also require special treatment prior to planting.
2. Choose Your Containers
What Type Of Containers Can Be Used To Start Seeds?
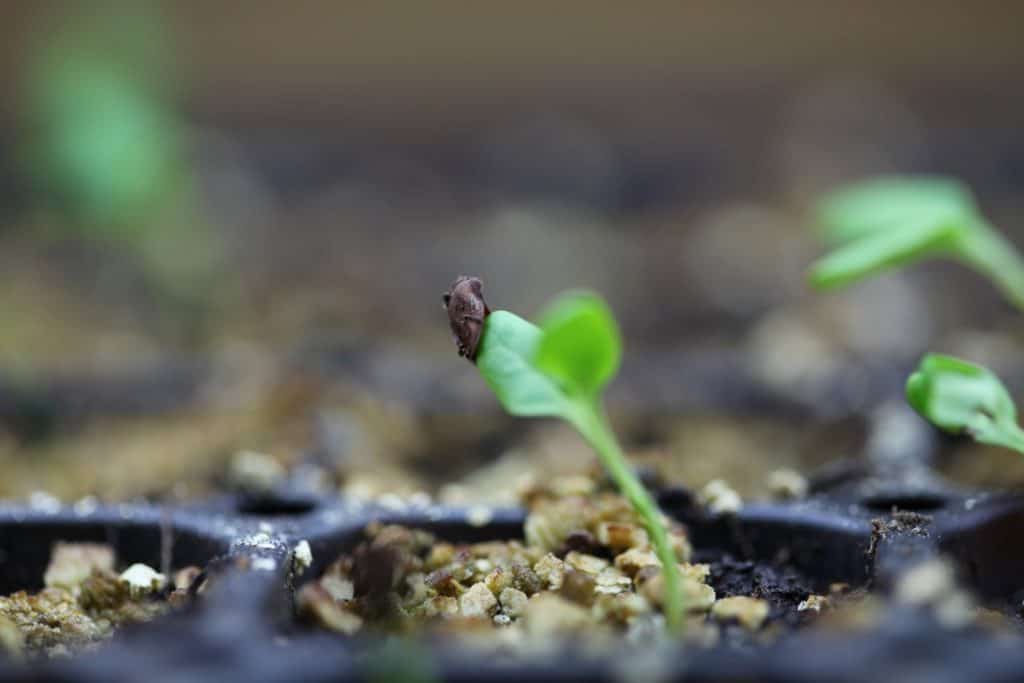
There are many different types of containers that can be used for starting flower seeds indoors. Some examples include:
- plastic cell trays of varying cell sizes
- soil blocking (container free- the soil is essentially the container)
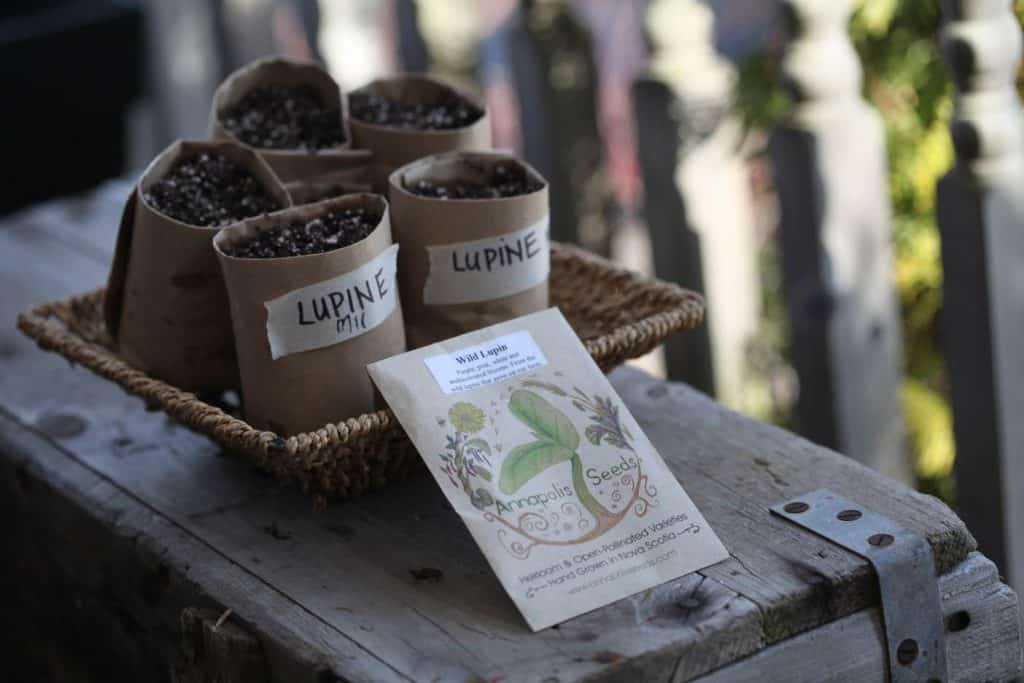
- growing in homemade paper pots
- recycled containers, such as egg cartons, toilet paper rolls, take-out containers with lids
- compostable pots, such as peat pots
I have used a number of these, and have found that they all have pros and cons (see below).
2. Find Your Shelving
When growing flowers from seed indoors you will need a place to put all of your seedlings.
Some people who grow only a few seeds may choose to grow them on a sunny windowsill.
- This may be a good beginning, and the seeds may do well in this location.
- However watch that your seedlings are not growing too tall and spindly.
- If this is happening, the seedlings may require supplemental light.
I did not have enough south facing windows to grow the number of seedlings that I wanted to grow.
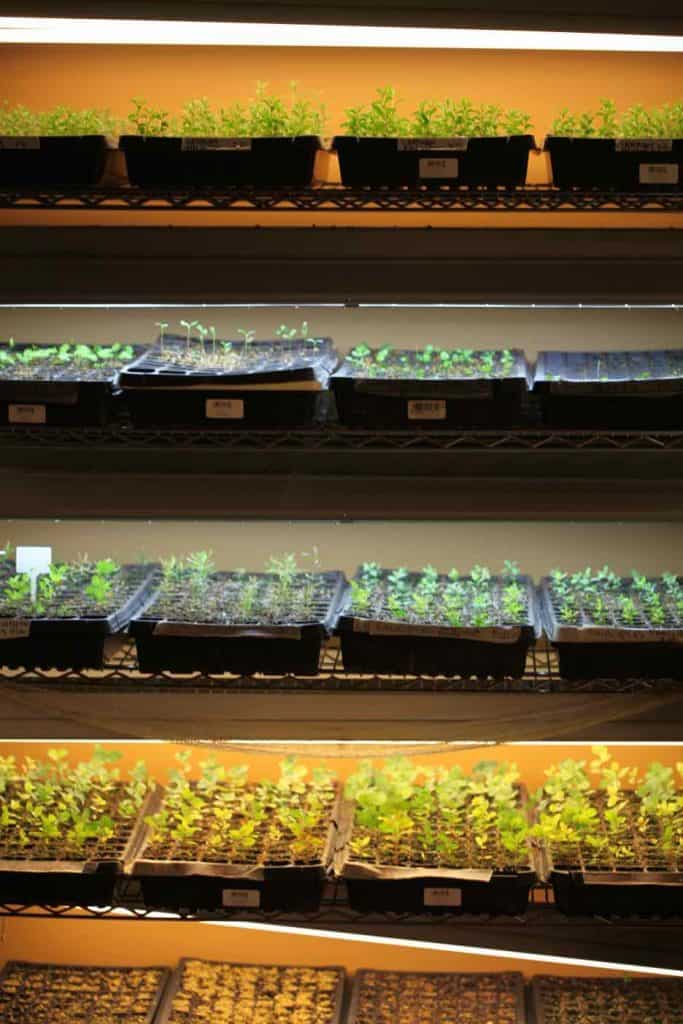
I knew that I needed shelving with multiple shelves to support the trays of flower seedlings. The shelving would also be the structure on which to attach my grow lights.
Our first shelving unit was great, a heavy and solid workshop unit with 5 shelves, and it met our needs at the time.
I quickly realized that this shelf was meant to be stationary, and learned that any future units should have wheels! I have since bought five more units and all are mobile with wheels.
3. Choose The Right Seed Starting Mix
Seed starting mix is important to grow strong healthy seedlings. It should contain a mixture of ingredients, all essential to keep the soil aerated and well balanced for the growing seedling.
You can generally pick up any good seed starting mix at your local hardware store. The mix should contain peat, vermiculite, and perlite. Sometimes it will contain a fertilizer as well.
We have used Sunshine Mix 4 Aggregate plus, which is a favourite. We have also used different selections of professional seed starting mixes from the hardware store.
Do not use your garden soil to start your seeds indoors. Your starting mix should be sterile, which will help reduce the risk of any pathogens damaging young seedlings, which are vulnerable at this stage.
4. Consider Germination Needs When Planting
It's important to learn the germination needs of your seeds before you start planting your seeds.
- The reason for this is that some flower seeds are a little more difficult to get started. Some may not germinate at all without pre-treatment, such as stratification or scarification.
- For seeds that require stratification or scarification, they may need to spend some extra time in the fridge before planting. Some may need a chill along with time spent in a moist medium. Knowing the needs of your seeds will increase your chances of success!
- Some seeds need light to germinate. Some seeds need darkness.
- The internet is a wealth of information these days. I will often double check on germination needs quickly before I plant (such as do I cover, do I not).
How Long Does It Take For Seeds To Germinate?
The length of time it takes a seed to germinate depends on a number of factors.
Genetics
- Check your seed packet to determine the number of days to maturity. Some seeds germinate and grow fairly quickly. Others take many months to grow to the necessary size to be planted out.
Meet The Requirements For Germination
- Another factor is giving the seeds what they require during the germination process. If we meet their needs they should germinate in the predicted amount of time.
- For example, if the seeds require heat and moisture, and receive this during the germination process, they will be more apt to germinate at the specified time.
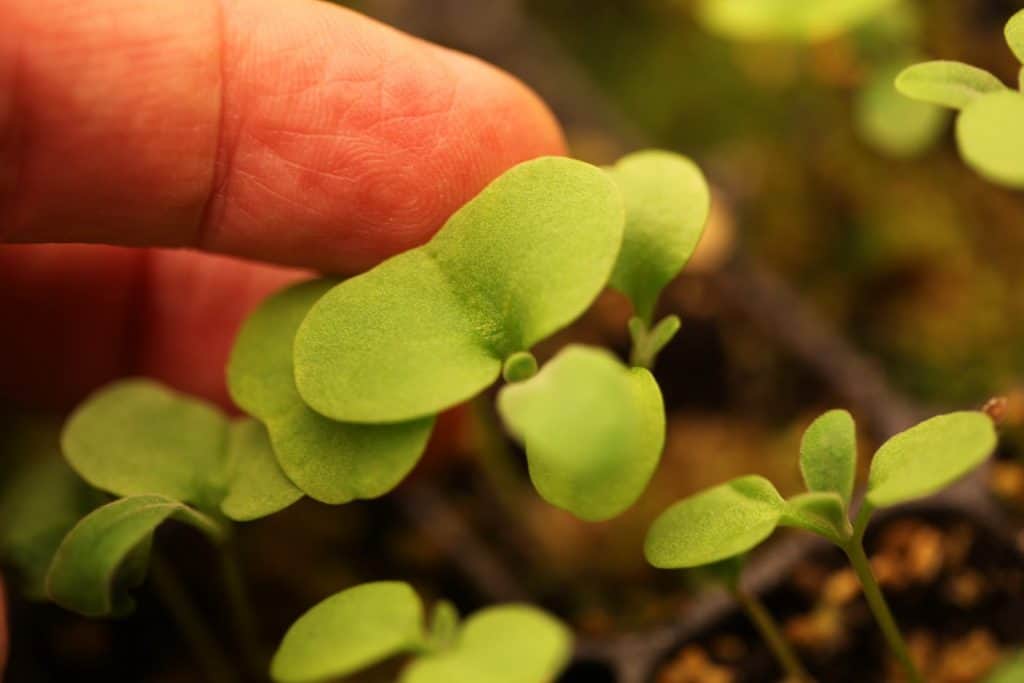
5. Provide Heat If Required
Most seeds benefit from bottom heat for germination, however there are some that do not require it.
I have had many trays of seedlings germinate while waiting to go onto the heat mats. These were usually the cold hardy annuals.
Having heat mats was a game changer for us. It was the key to allowing me to successfully germinate the seeds, and then to get them under grow lights more quickly.
Back in the days when I had difficulty starting flower seeds indoors, the seeds were expected to germinate in cold damp soil. This in turn caused many problems, like mold and damping off.
We haven't really had these problems since using the heat mats and grow lights.
We turn the heat mats on in the morning when our grow lights go on, and off at night when the lights go off. This system works well for us.
The Size Of Heat Mats We Use:
We use the 48" x 20.5" mat, which fits quite well on an individual shelf on our shelving unit, which is 48" wide. I can then neatly place 4 trays together on one heat mat, which takes up the space of one shelf on the unit.
We eventually accumulated seven heat mats of the same size, and occasionally they are all in use at the same time!
Our heat mats are basic and do not have dials to regulate the temperature. They are very effective and do not overheat.
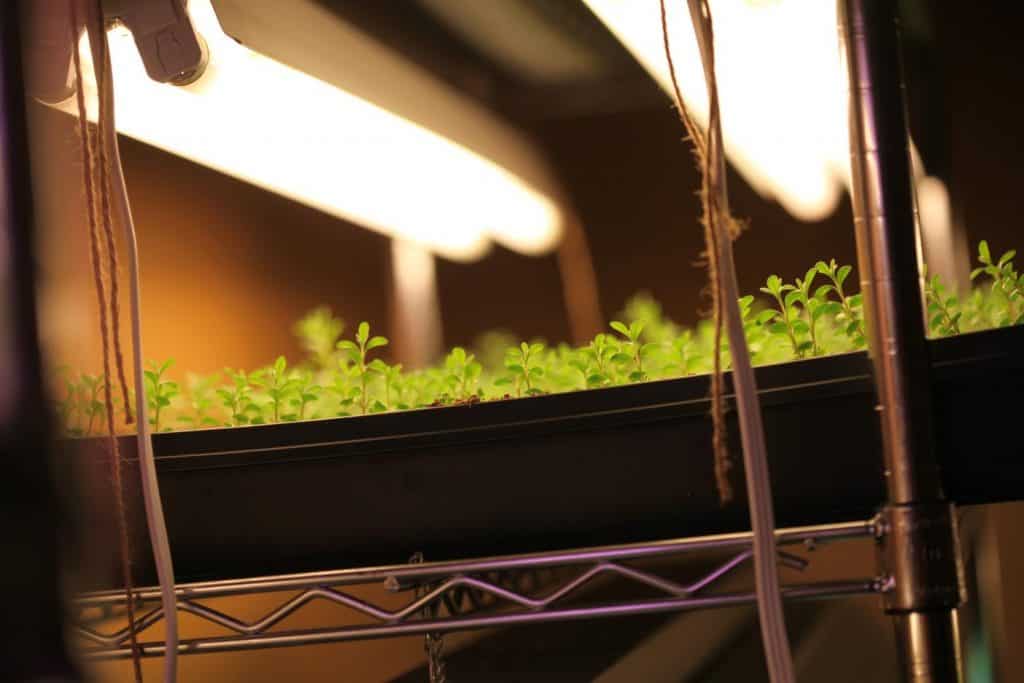
6. Provide Light For The New Flower Seedlings
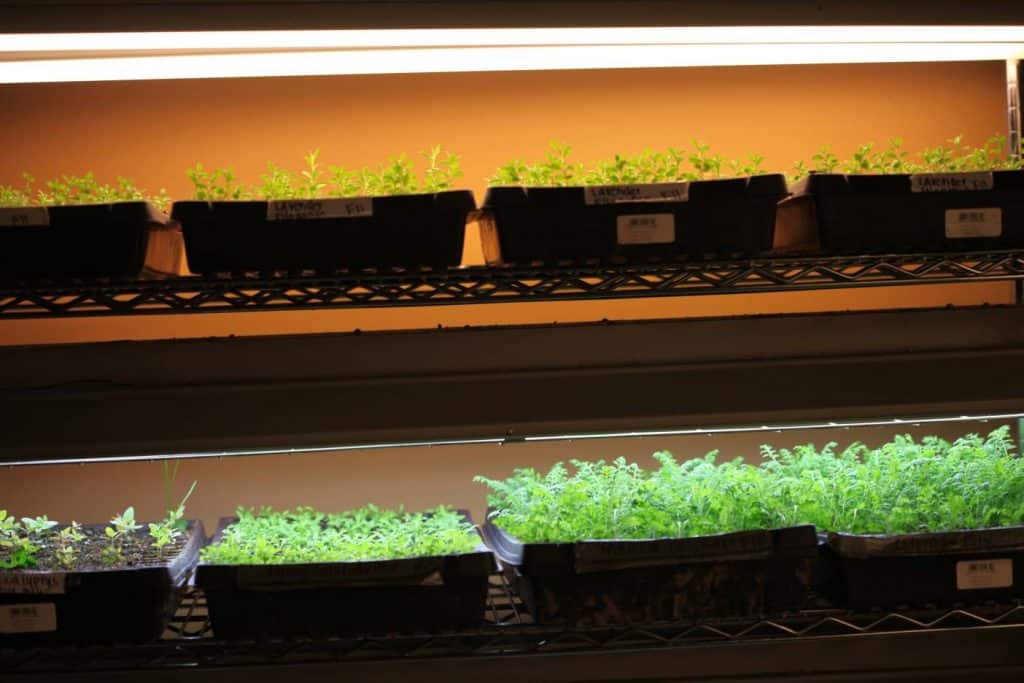
When sixty percent of seeds have sprouted they are taken off the heat mats and placed on a shelf with grow lights.
What Kind Of Light Do I Need To Start Seeds Indoors?
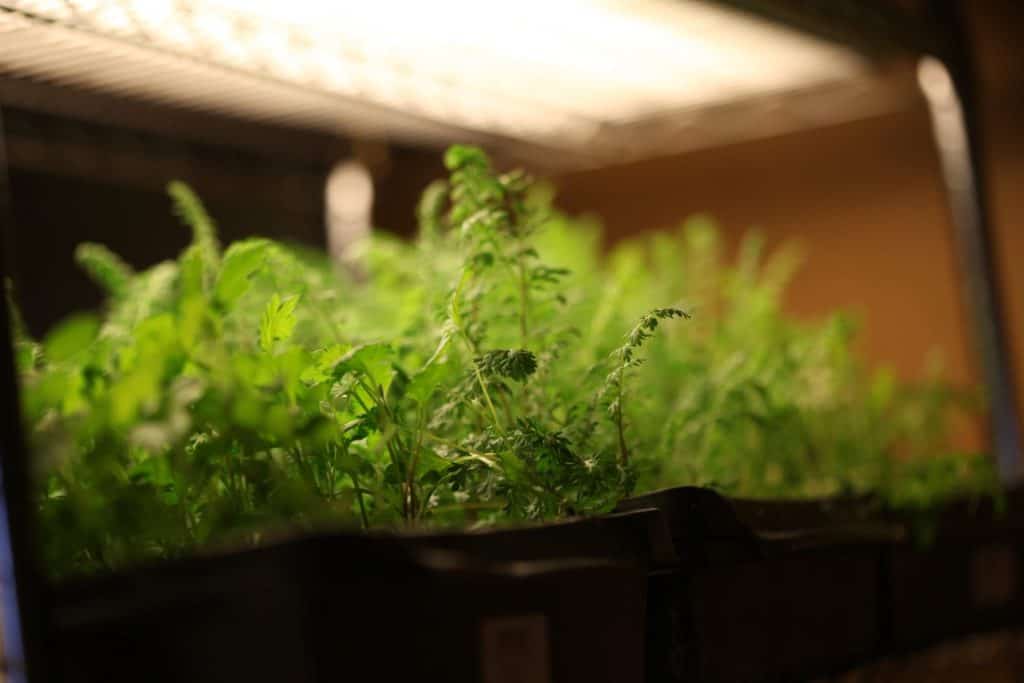
We do not use any type of special lighting for our seedlings. I had learned that many people just use regular shop lights to grow their flower seedlings. So that is what we did!
We started off buying a few special grow light bulbs made specifically for growing plants. They were quite expensive. We didn't notice any difference in the growth of the plants compared to the regular white shop lights.
Our setup essentially consists of two T8 shop lights suspended over each shelf. The shop light fixtures each hold two florescent bulbs per unit.
Therefore we have a total of four florescent bulbs over each shelf.
We also have a few four bulb fixtures, and these are suspended over a shelf all by themselves. These don't seem to throw the light as well as the double units, and the seedlings under these units don't grow as evenly.
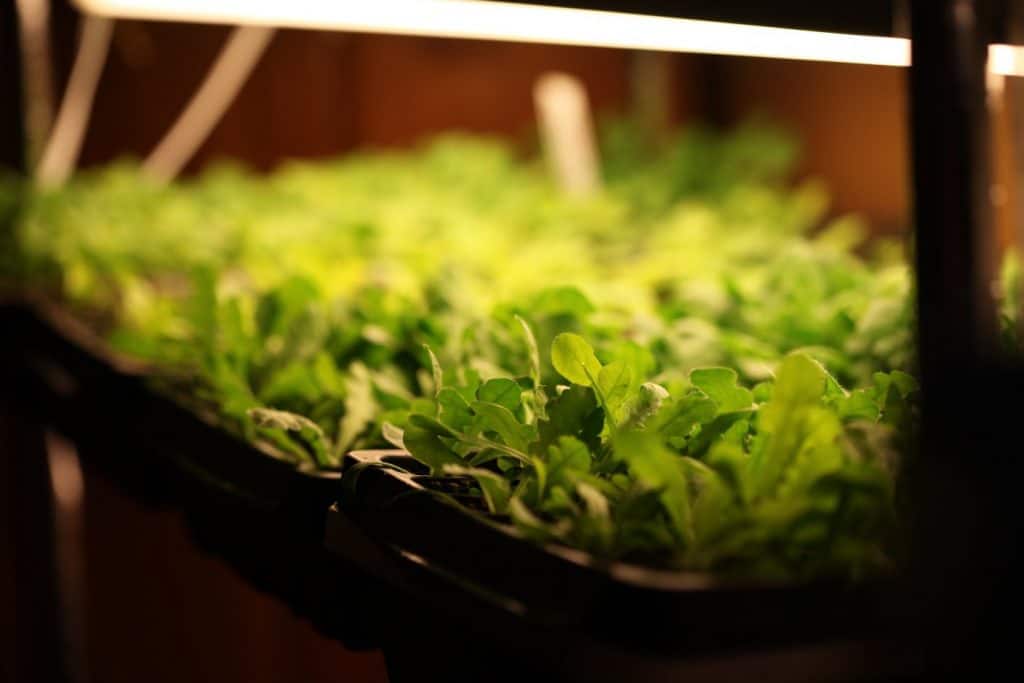
Do You Need A Grow Light To Start Seeds Indoors?
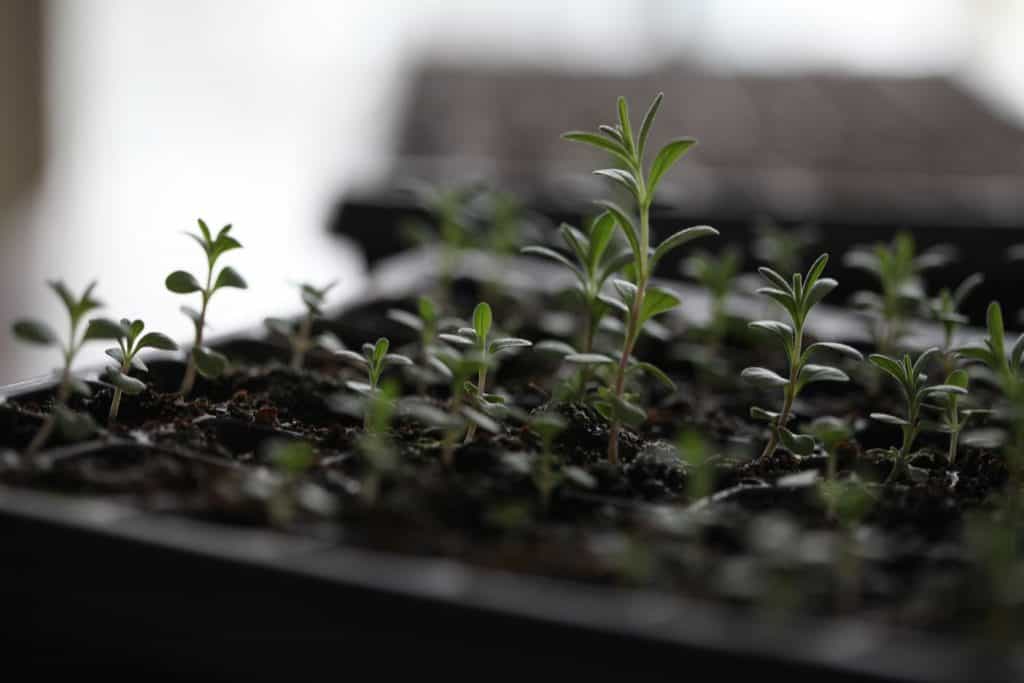
- If you are growing a small number of seeds in a sunny south facing window, you may not need any additional lighting. However if the seedlings get tall and leggy, they probably aren't getting enough light.
- You may need some sort of lighting source to provide supplemental lighting to seedlings grown indoors.
How Many Hours Of Light Should You Provide?
- Seedlings grown indoors will need 14-16 hours of light for adequate growth. We turn our lights on first thing in the morning, and off again at night after they have received their required number of hours.
7. Watering Your Seeds Indoors- Tips and Tricks
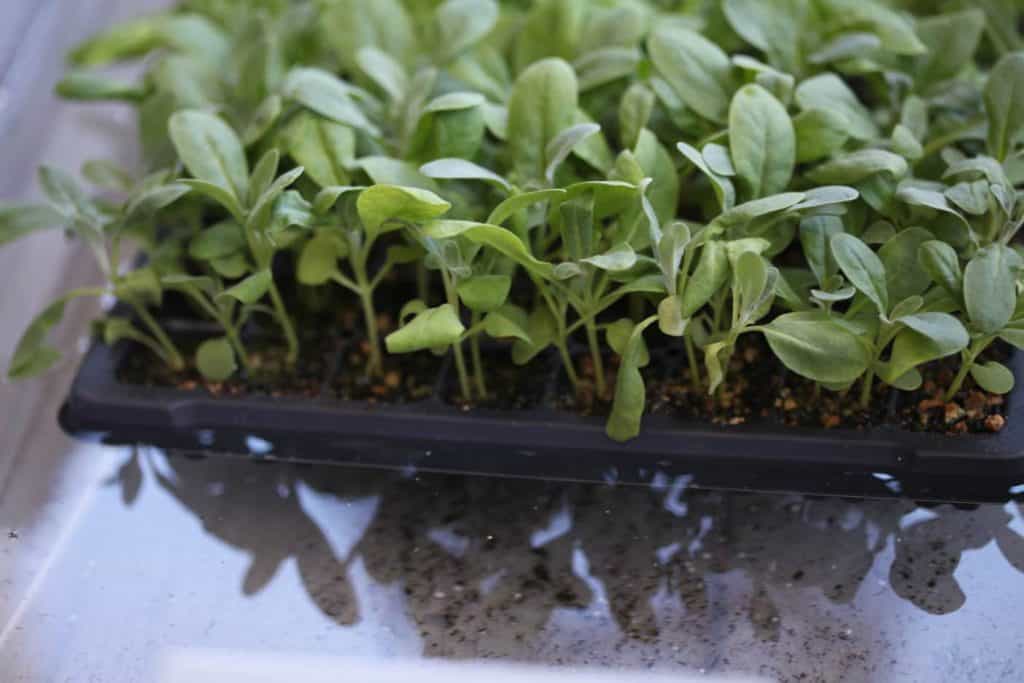
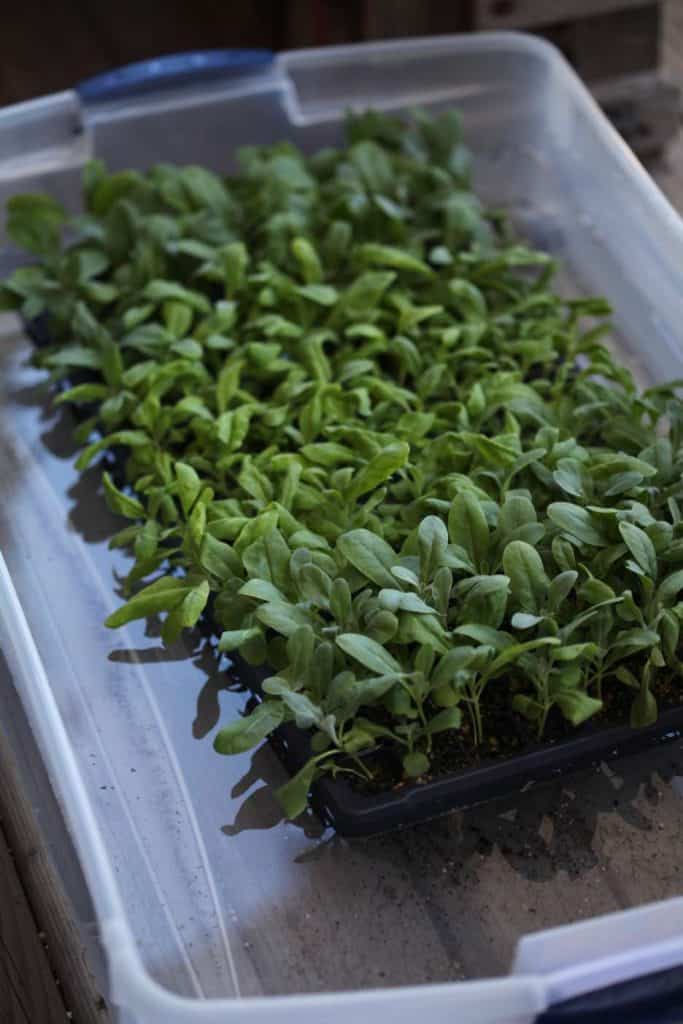
We bottom water most of our seedlings, since they are grown in cell trays. It is very easy to get these plants watered as needed.
I use a shallow storage container which is larger than the size of the trays, and fill this container full of clean water.
Then I place each plant tray in the container of water until it is saturated. It doesn't take long for the soil in the tray to get wet.
I only water when the soil is starting to dry out a bit and the trays are starting to feel light when lifted up on the edge. You eventually get a feel for when each tray requires water.
Try not to let your soil completely dry out, as this will cause stress to the seedlings and you may see some wilting.
For the other types of containers that need to be watered such as seedlings in pots, I overhead water when the soil is just starting to feel a bit dry.
Soil blocks are watered when they start to dry, and given enough water in the tray to allow for complete absorption by the soil. They wick up the water, and it's interesting to watch.
Try not to put too much water in the soil block tray and and try not to provide more than can be absorbed. If this happens and you have more water than you need, you can gently pour it out of the tray.
The Pro's And Cons Of Different Seed Starting Containers
1. Growing Seeds In Plastic Cell Trays:
Pros:
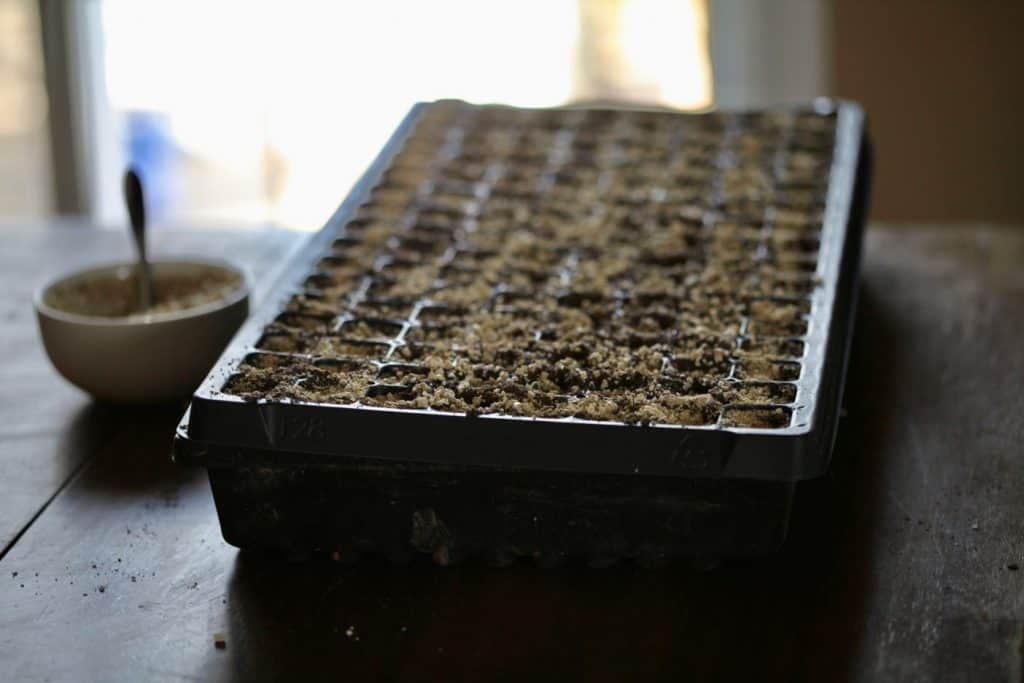
- I use the 128 and 72 cell trays for starting flower seeds. I find them very easy to manage and personally they are my preference due to ease of use.
- As well, when growing in larger quantities they are fairly quick and easy to handle for things like watering, or transport.
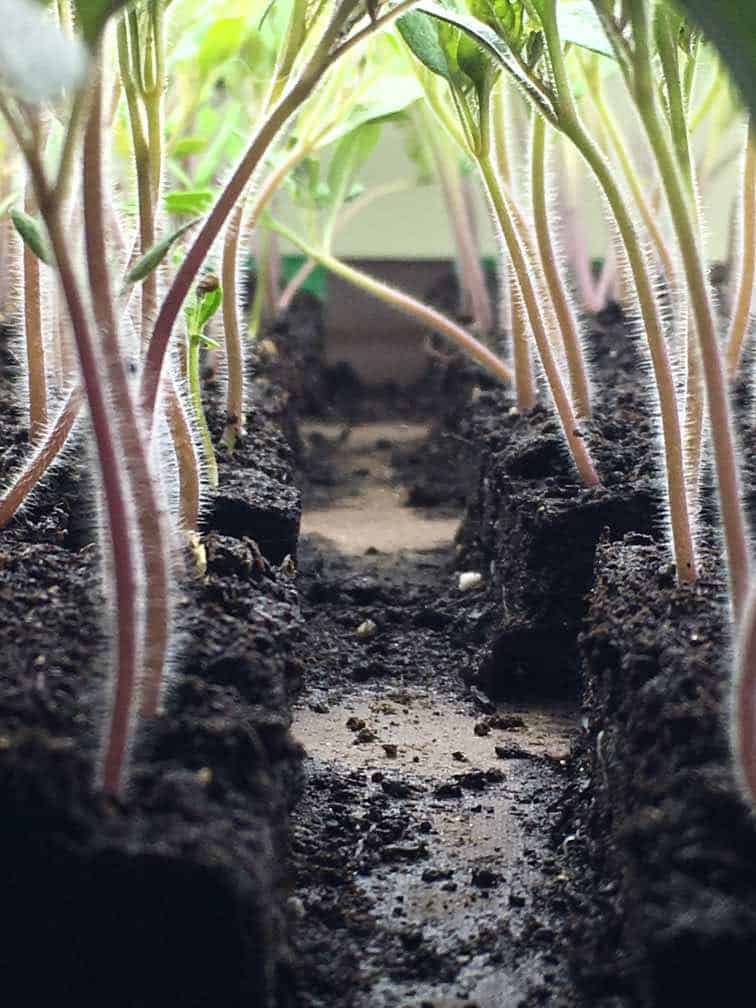
- The seedlings usually grow very well in these trays.
- The seedlings growing in cell trays most often don't have to be bumped up to larger containers, and will hold in their cells until planted out into the garden.
Cons:
- The biggest con of using trays is that they are plastic.
- The other issue is that they really do not last long, and have a tendency to become brittle and crack over time. This can be disappointing, especially since they are not cheap to begin with.
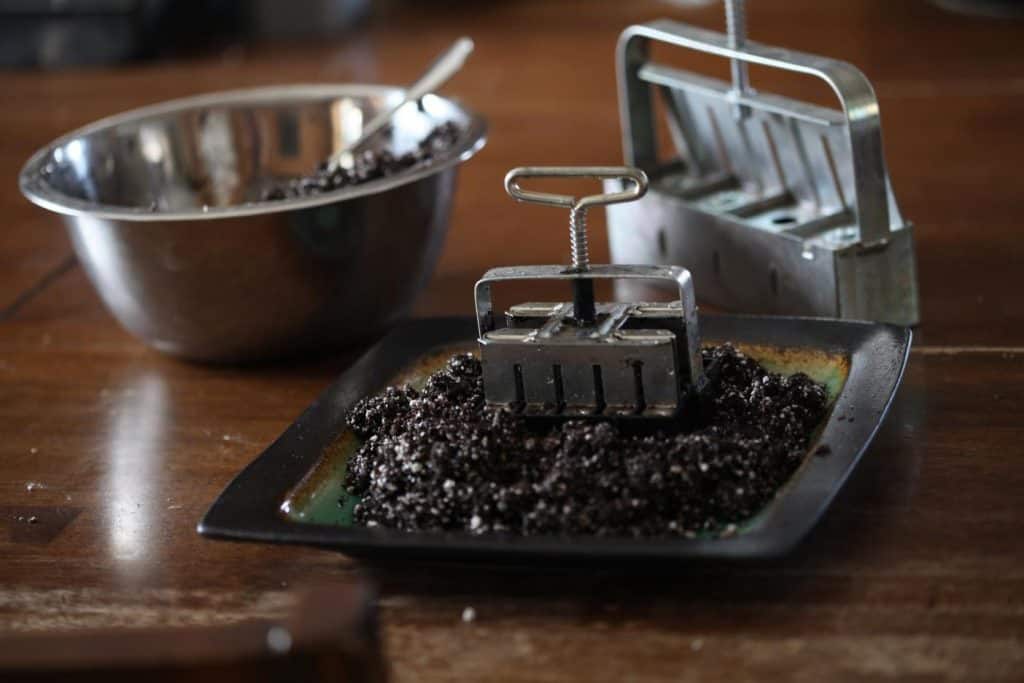
2. Growing Seeds In Soil Blocks:
Pros:
- Soil blocking is a great way to start any seeds.
- The seeds tend to do very well, and the root pruning effect is very beneficial for the individual plants.
- You can place many small blocks on one plant tray, and therefore plant many seeds per tray.
Cons:
- The first con that I experienced with soil blocking was the need to water more frequently, especially when the seedlings got to be a little bigger.
- As a result the seed trays with soil blocks sometimes dried out before I got to them, which caused stress for the tiny seedlings. This occurred when I was using the smaller blocks, and had hundreds of the blocks an a tray at a time.
- These seedlings would have benefited from a bump up to a larger soil block at the time. However this involved a lot more time and effort, and much more space on the seedling shelves.
- I would say that if you are using soil blocks, and don't have the time or space to bump them up to larger containers, use soil blocks later in your planting schedule. That way the seedlings can be planted directly into the garden when they are ready without stressing out the plants.
- Another issue I had with soil blocks was the watering process. Although it is fairly easy and enjoyable to water soil blocks, I found that sometimes watering would wash away some of the soil from the blocks if done too quickly, especially early on before the roots had established within the block.
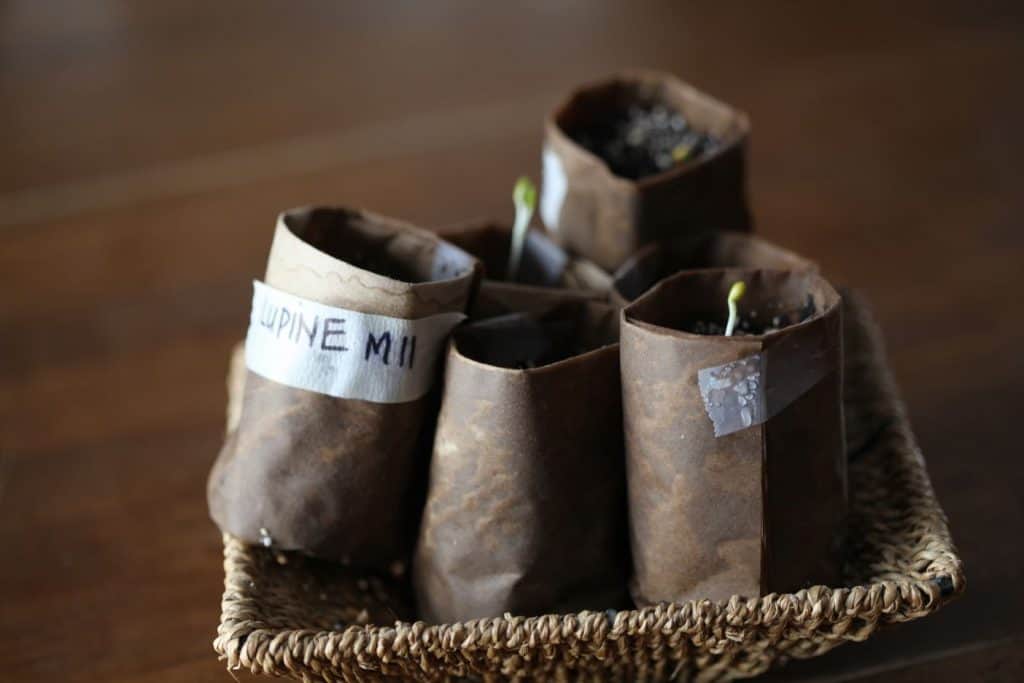
3. Growing Seeds In Homemade Paper Pots:
Pros:
- I have grown seeds occasionally in homemade paper pots because I like the idea that they can be planted directly into the ground.
- They are not made of plastic, and involve recycling of paper which is terrific.
- They are fairly cheap, and the only cost of this process is the seed starting mix.
Cons:
- From my experience, homemade paper pots do not wear well. The paper starts to break down fairly soon after the pots have been watered several times.
- As a result the pots become fragile and can tear easily if moved.
- As well, the moist pots have a tendency to grow mold, which can be hazardous to young seedlings.
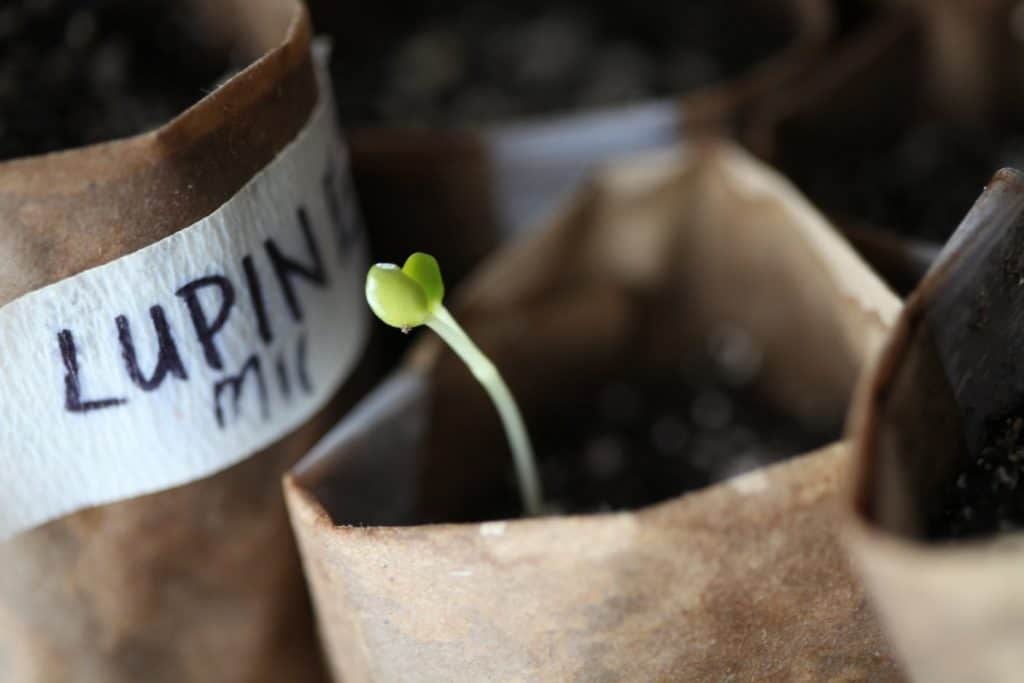
- This year I transplanted my young lupine seedlings out of the paper pots due to a mold issue, and I'm keeping my fingers crossed that they will thrive in their new containers.
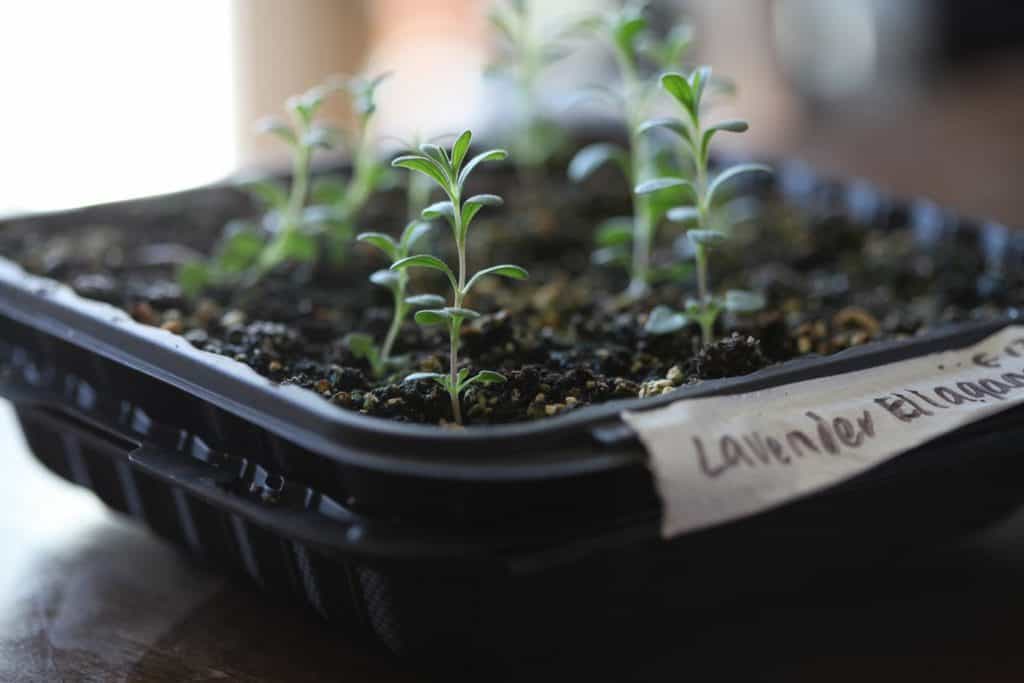
4. Growing In Recycled Containers:
Pros:
- Using any container that has been recycled is always a good thing. These containers are free, and recycling is important.
- Some of the containers have lids, which will help keep the moisture in the soil at the beginning, like a mini greenhouse effect.
- Many of these types of containers will eventually compost, such as egg cartons, or toilet paper holders, and can be planted directly into the planting hole with the seedling reducing transplant shock.
Cons:
- Sometimes the trays are shallow, and the plants may need to be bumped up into larger containers before they are ready to be planted outside, which will require more space on your shelves.
Cost Of Indoor Seed Starting Set Up
The cost of our indoor seed starting setup was approximately $3000. We bought our supplies gradually over a couple of years.
This included in total 6 four foot wide shelving units (each with 5 shelves), 7 heat mats, and 19 sets of shop lights. This set up provided a growing space indoors for many flowers that would fill our large cutting garden at the farm, which is approximately ⅓ acre.
For most gardeners, one or two shelving units and heat mats should be sufficient to start flower seeds indoors. You can always add more units as needed.
When To Start Flower Seeds Indoors
To determine when to start your flower seeds indoors, first you need to calculate your last frost date for your growing zone. You can check this date at the Old Farmer's Almanac.
Next look at your individual seed packets to check the growing time necessary for each of your flower varieties. The seed packets will often say "plant 6-8 weeks before last frost" or "plant 10-12 weeks before last frost".
Now it's time to count back the weeks from your last frost date with specific growing times in mind, to determine when you should plant each variety of your seeds.
For example, count back 6-8 weeks from your last frost date for the flowers that say "plant 6-8 weeks before the last frost date" for the approximate date to plant these seeds. Do this for all your seeds, keeping the individual growing times in mind.
This is just a rule of thumb and not fixed by any means! I mainly just plant when I can, but plant the seeds that take longer to grow earlier!
How Long Does It Take To Grow Flowers From Seeds
We start some of our flower seeds indoors in February, but the majority get planted in March and April.
All these seeds are planted out in our field between mid May and mid June, and we start harvesting in July.
Some flowers are not ready to be picked until later in the season. It just depends on the growing time that the individual flowers require to grow from seed to maturity.
Hardening Off Seedlings
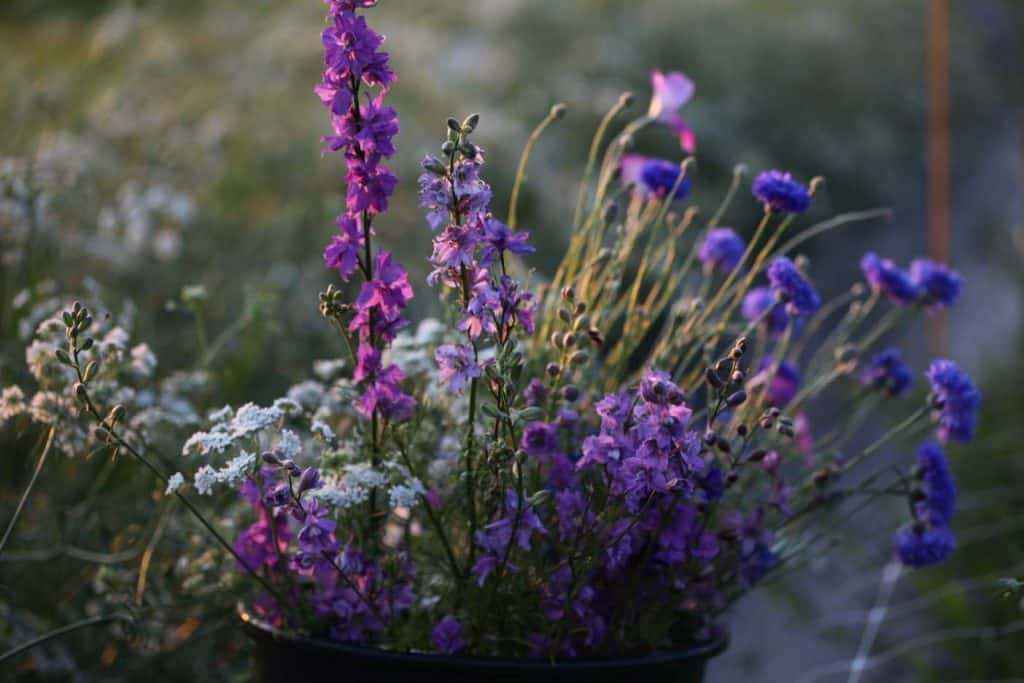
All flower seedlings grown indoors will require a period of hardening off.
This entails a gradual exposure to the outdoor elements, including wind, rain, sun and fluctuating temperatures. Once the seedlings are hardened off they become tougher. You can almost see the change in them as they become hardier and firmer.
Place the seedlings that you are hardening off in a protected location outside. We usually move the seedlings out onto our covered porch.
Depending on the temperature, you can expose the seedlings for several hours at first, and gradually increase the time outside over a period of several days to a week.
If the weather is warmer, I will generally place my hardy annuals outside and just leave them there. They will harden off fairly quickly.
I never place any seedlings out under direct sunlight until they have been hardened off, as they are very vulnerable to burning. Our covered porch is great for keeping the tender seedlings out of the sun until they are hardened off completely.
A Few More Tips For Starting Flower Seeds Indoors
- Try not to grow more seeds than you can plant, it's easy to do!
- Sterilizing old trays is not a necessity, unless you want to. It can be an overwhelming task, and I usually just don't do it ,and have not had any problems.
- Use vermiculite to cover your seeds, I wouldn't be without it. It helps to hold in the moisture and prevents mold to some degree.
- Double label your trays, because labels sometimes unfortunately wash off, and you will be left with unidentified plants.
- You may recognize the leaves of course but may not know the variety of the flower until it grows. I always place a small sealed baggie containing a piece of paper identifying the flowers, between the bottom tray and the cell tray.
- Grow the seeds that need the longest growing period first.
- Then start with your cold hardy flower seeds, so you can get them outside early, and make way on your shelves for heat loving seeds.
I hope you have found this post useful and have found some helpful tips on how to start flower seeds indoors. Please leave a comment down below if you have any questions or comments to add!
OTHER SEED STARTING POSTS YOU MAY LIKE:
HOW TO GROW LAVENDER FROM SEEDS INDOORS
HOW TO GROW STATICE FROM SEED TO BLOOM
WINTER SOWING IN MILK JUGS: COLD STRATIFICATION
HOW TO GROW DELPHINIUMS FROM SEED
PIN IT FOR LATER!

Wendi
Thank you so much for this information. I am new and just starting out with growing seeds/flowers.
Cheyanne Mullin
You are very welcome! All the best with your new adventure, it is so rewarding!