
Collecting Celosia seeds in the fall is an easy and economical way to save these seeds for next year's flower garden. We grow Celosia every year for the bright and interesting blooms, and always save some garden seeds for the following year. Learn how to save celosia seeds, and have them year after year in the flower garden.
Every year in fall I harvest flower seeds for planting through the winter months, and for next year's garden.
It is an interesting activity, getting to know how each flower produces seed. I love identifying seed pods, and discovering the seeds inside, and becoming familiar with each type of plant and seed.
Celosia is no exception. It tends to form seeds early in the season, as the flower is still blooming.
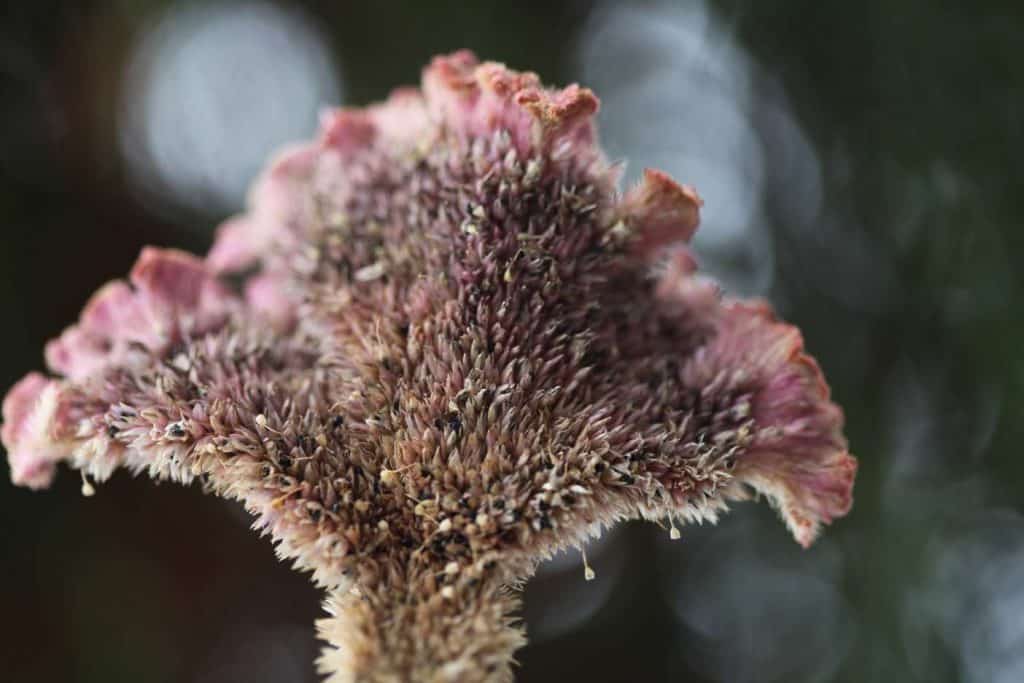
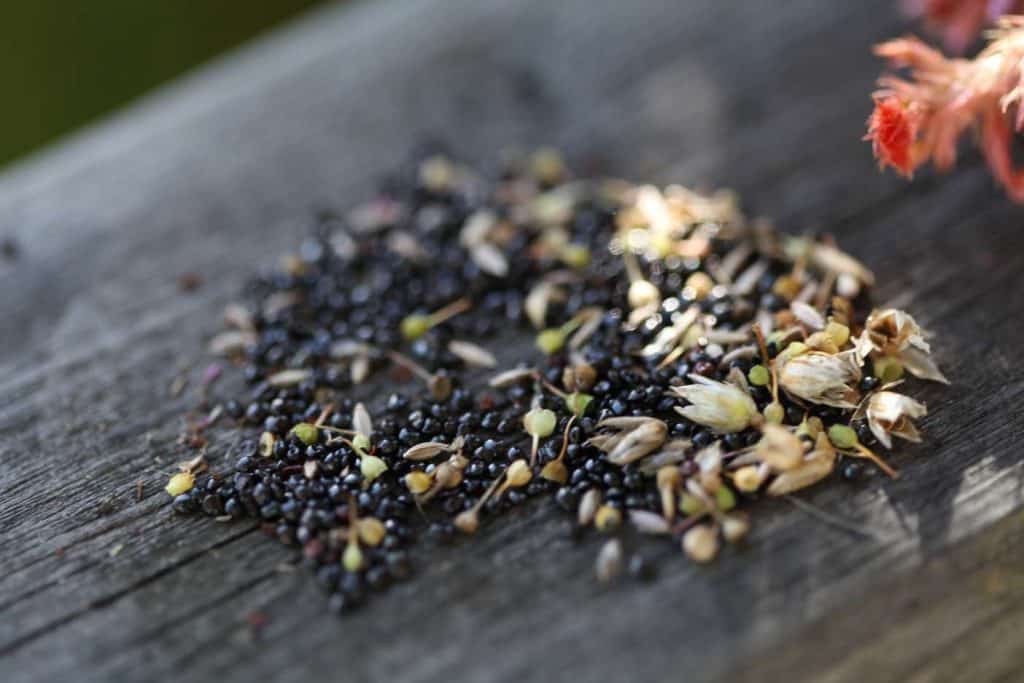
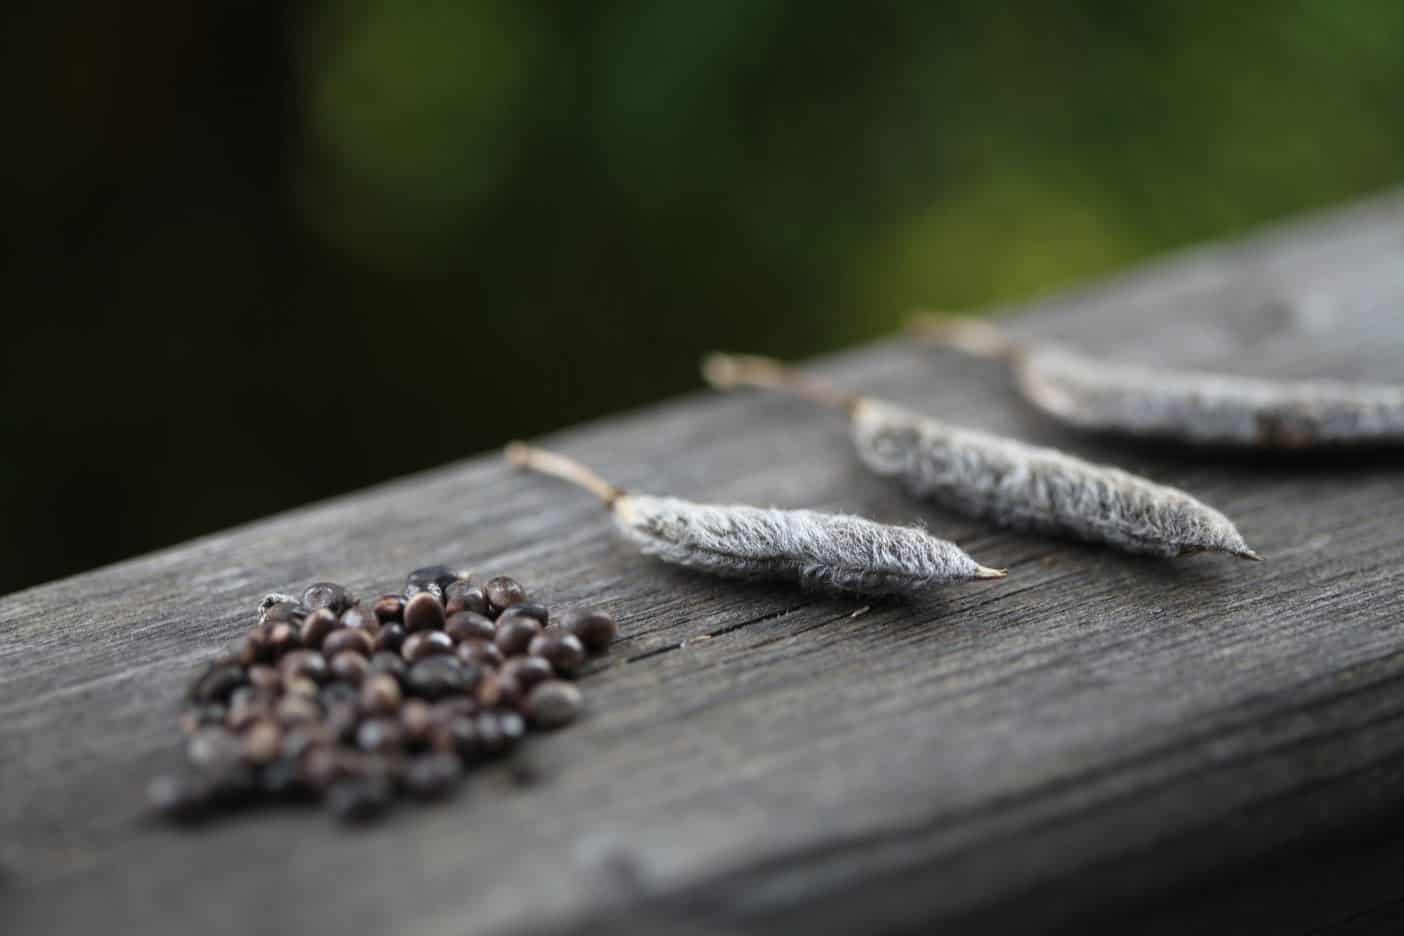
I love to see the glistening black seeds on the outsides of the celosia blooms.
The seeds are produced in mass numbers, and since there are so many blooms often on one plant, there will be many seeds as well.
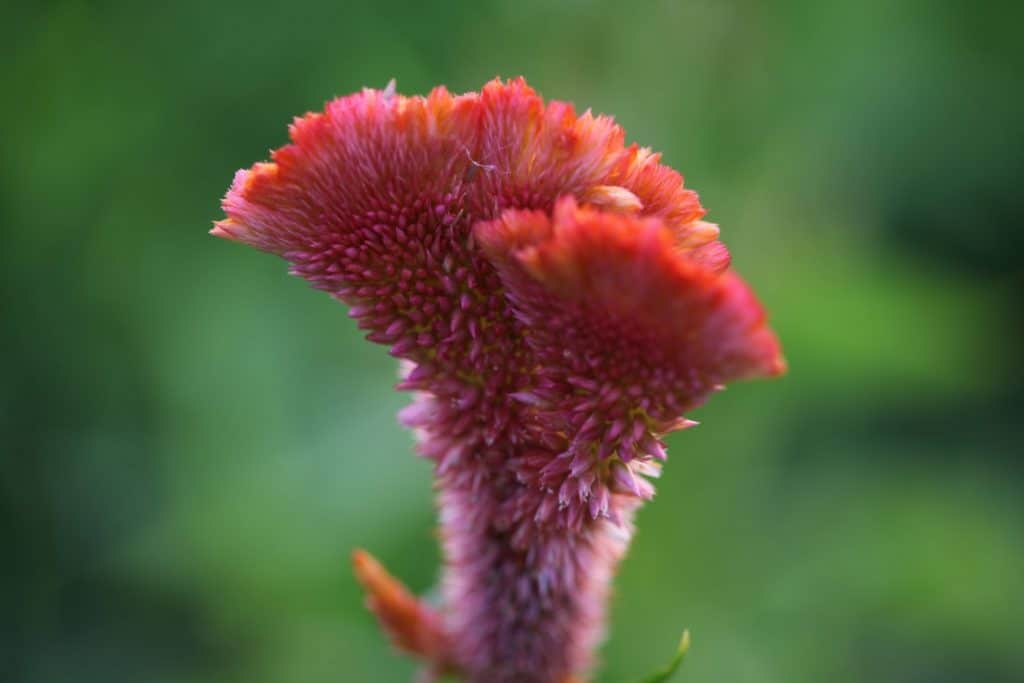
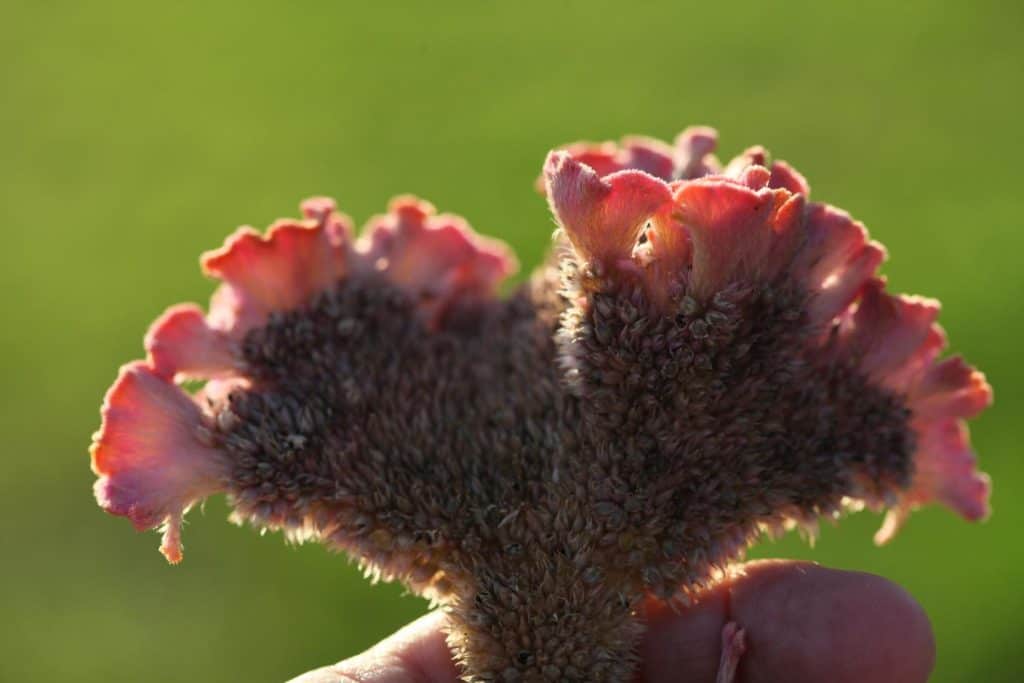
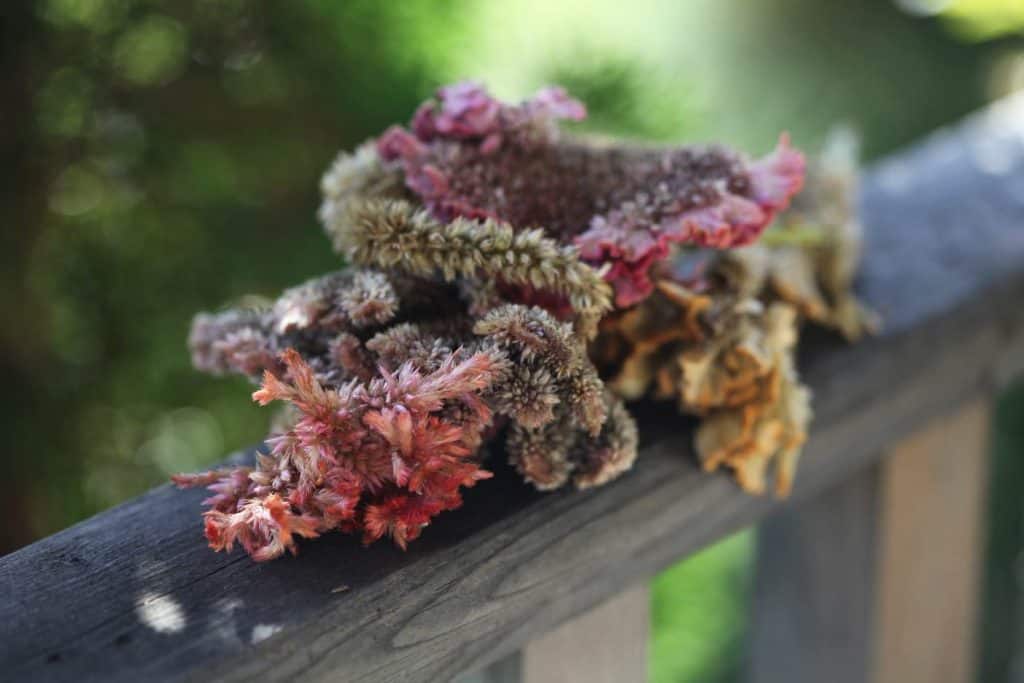
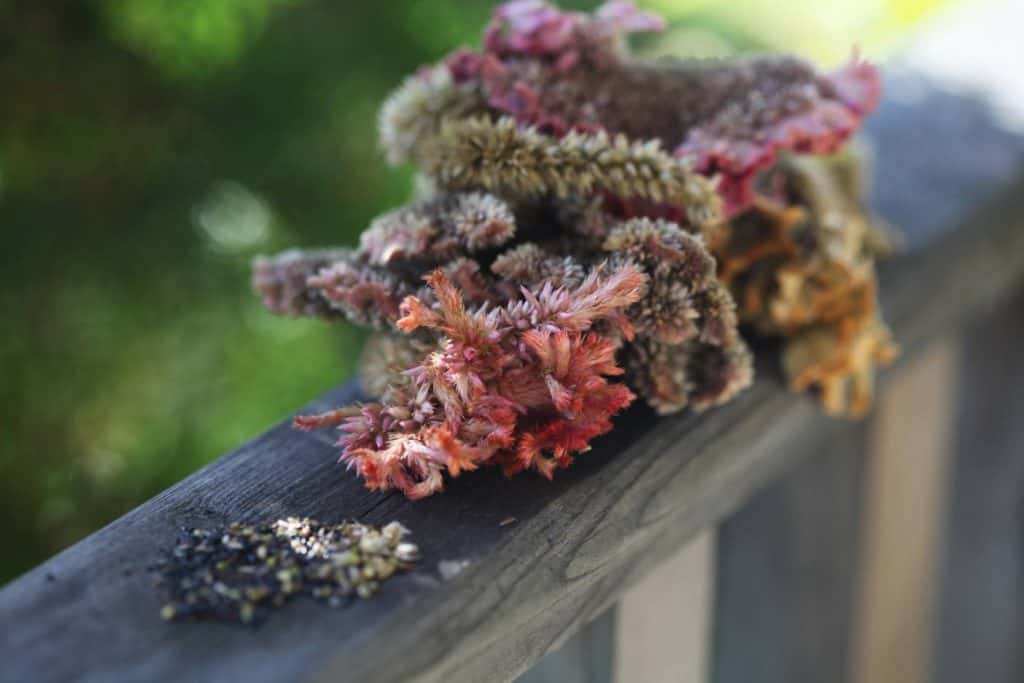
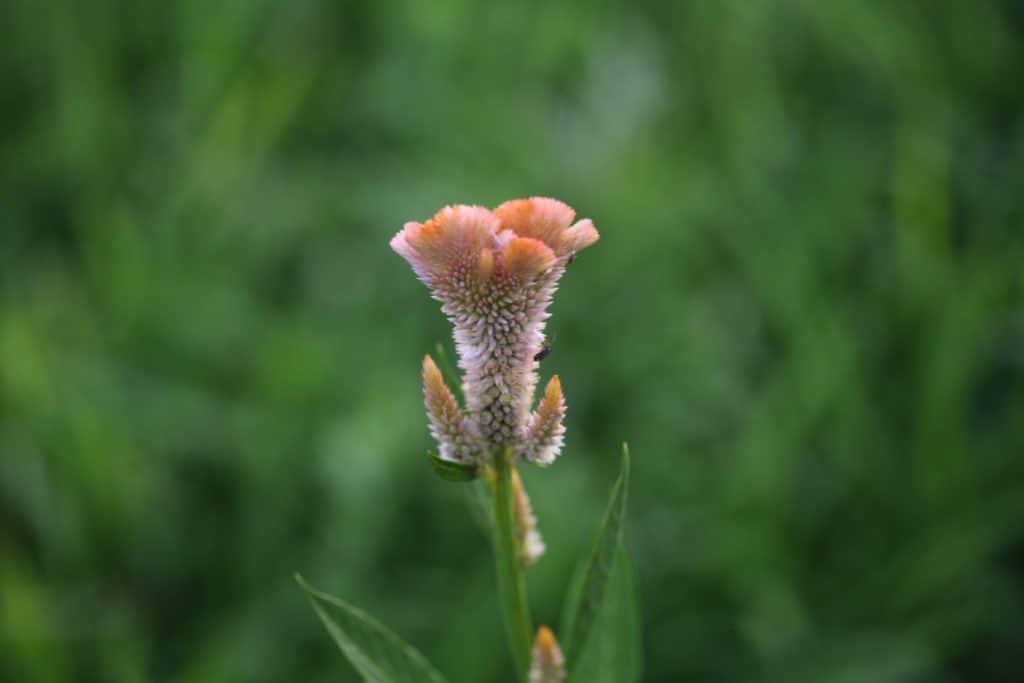
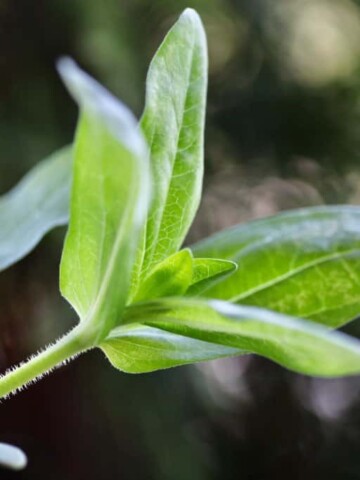
We love growing Celosia at the flower farm, with their blooms shaped like cock's comb, and plumed types of flowers.
Celosia a good cut flower with it's unique flower spikes and interesting shaped blooms.
Saving celosia seeds is so easy, and is a great activity for the end of the gardening season.
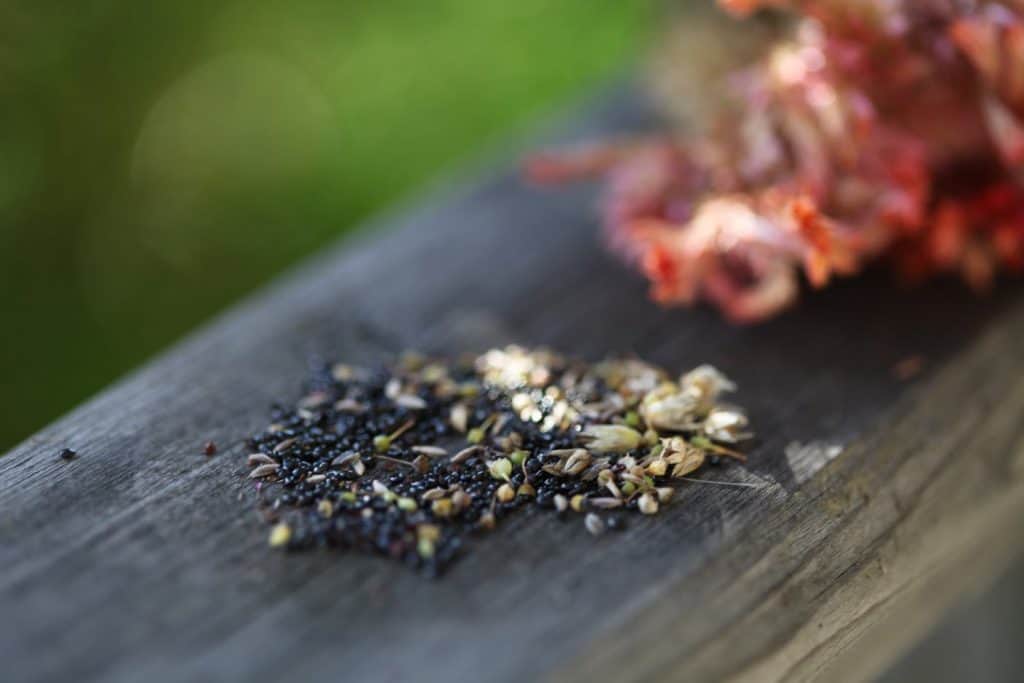
What Do Celosia Seeds Look Like?
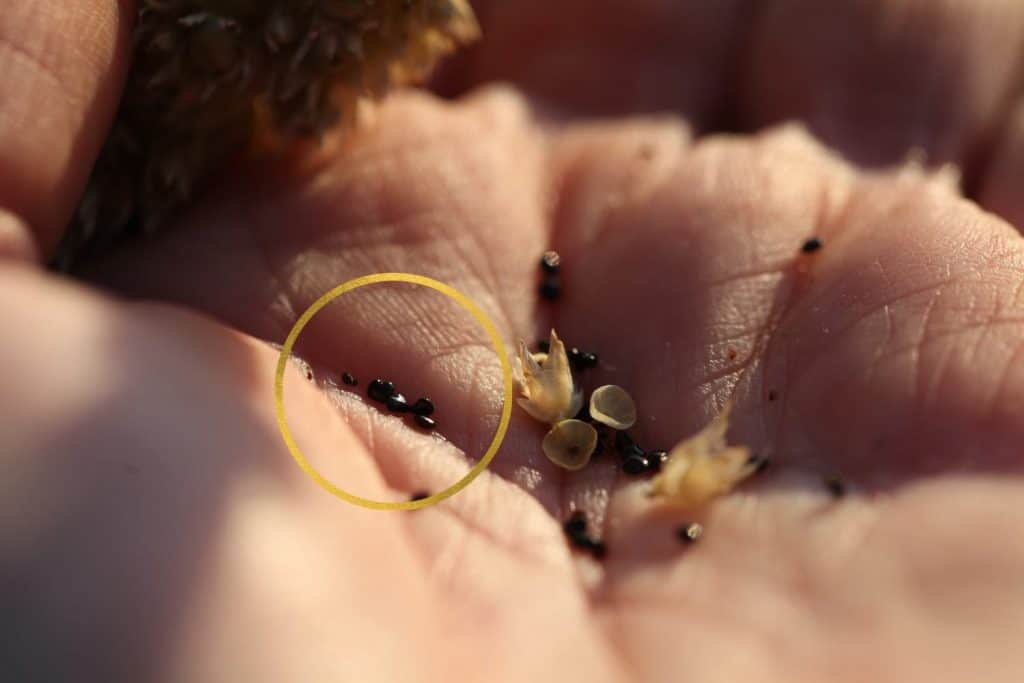
Celosia seeds are very tiny, round, black and shiny.
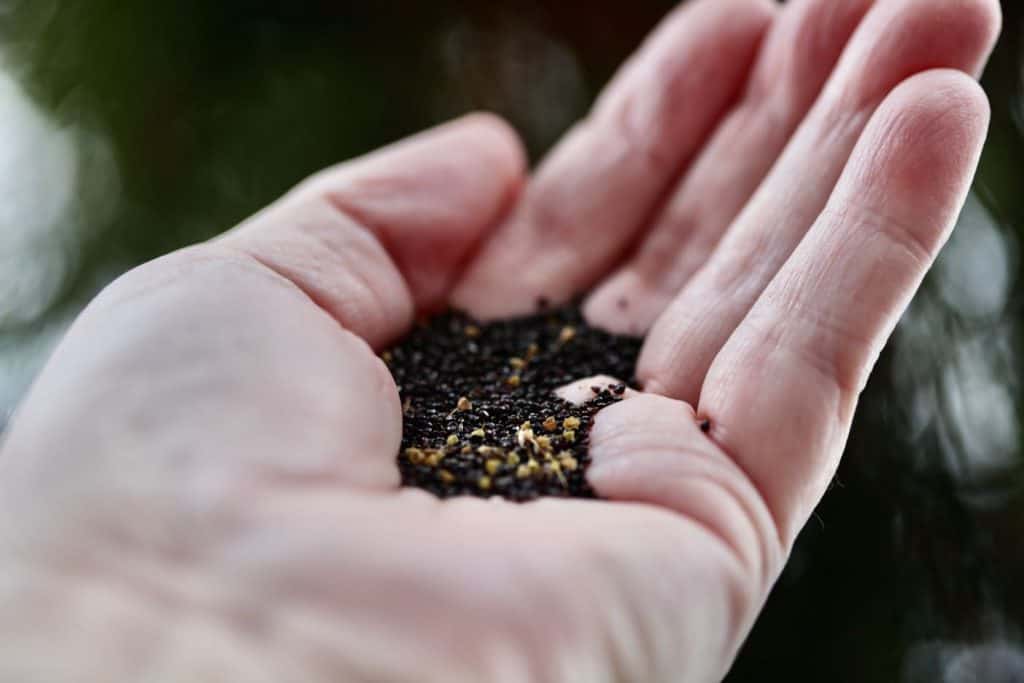
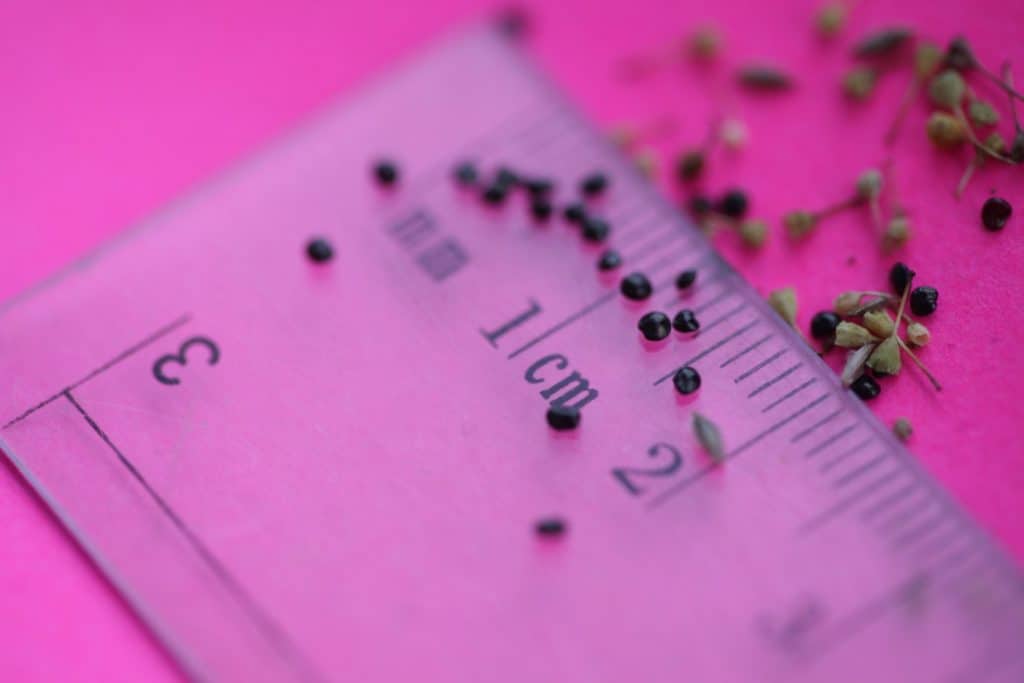
The seeds are round and approximately 1 to 1.5 mm in diameter.
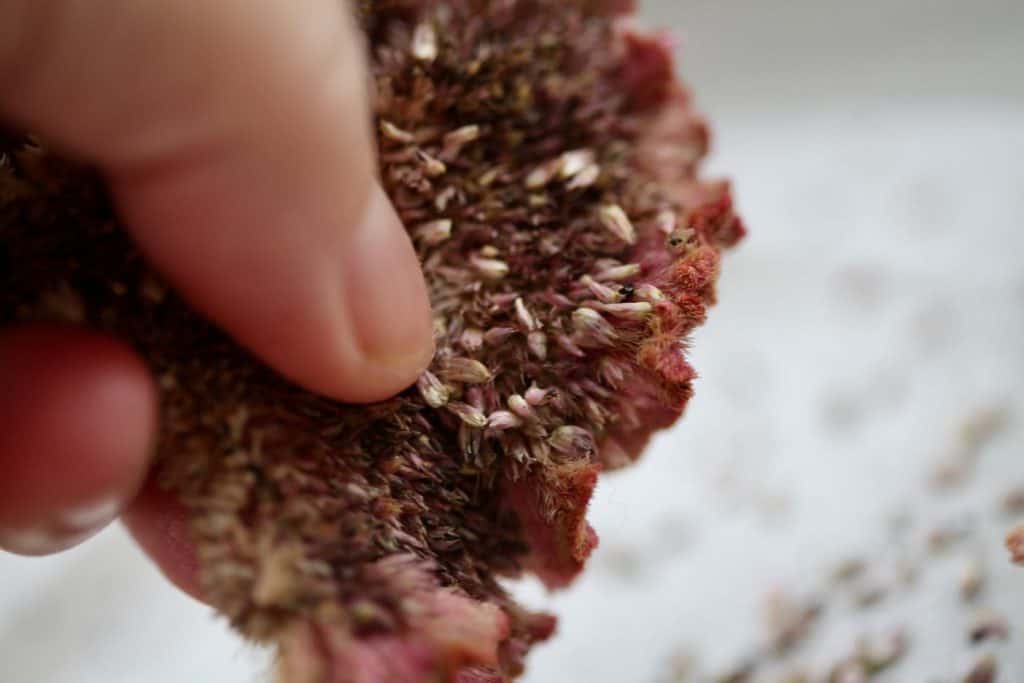
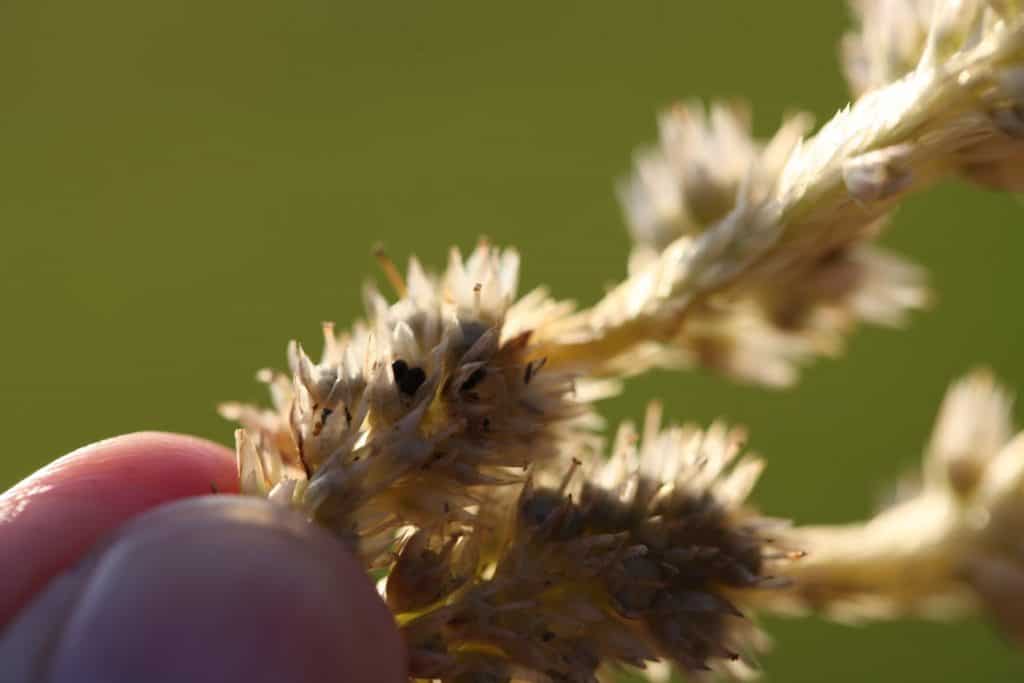
Celosia flower seeds begin to form on the outside of the blooms in the tiny spent florets in late summer. They are often visible at the bottom of a bloom that is still in blooming condition.
When harvesting celosia flowers for bouquets it's important to observe your flowers for the right stage of harvest, and make sure not to harvest these seed producing blooms. During the summer I will often deadhead these blooms to maintain fresh flowers for harvesting.
Towards the end of the season however, I will stop deadheading, and allow the blooms to develop seeds for harvesting for next year's crop.
How To Save Celosia Seeds
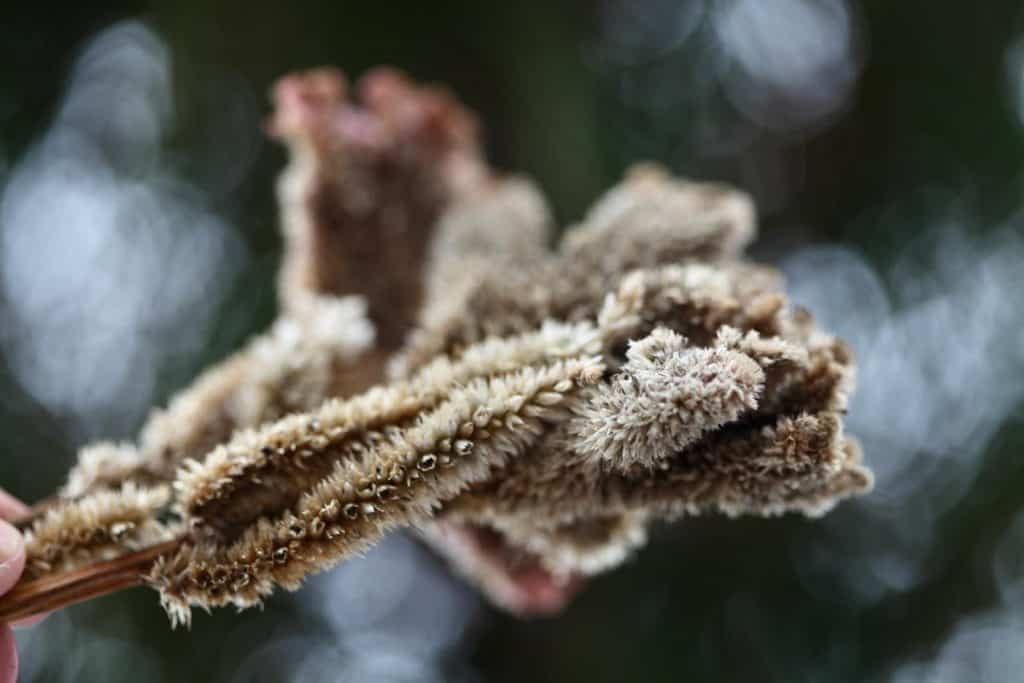
As with all other types of flowers, it's important to let the seeds mature on the plant for viable seeds.
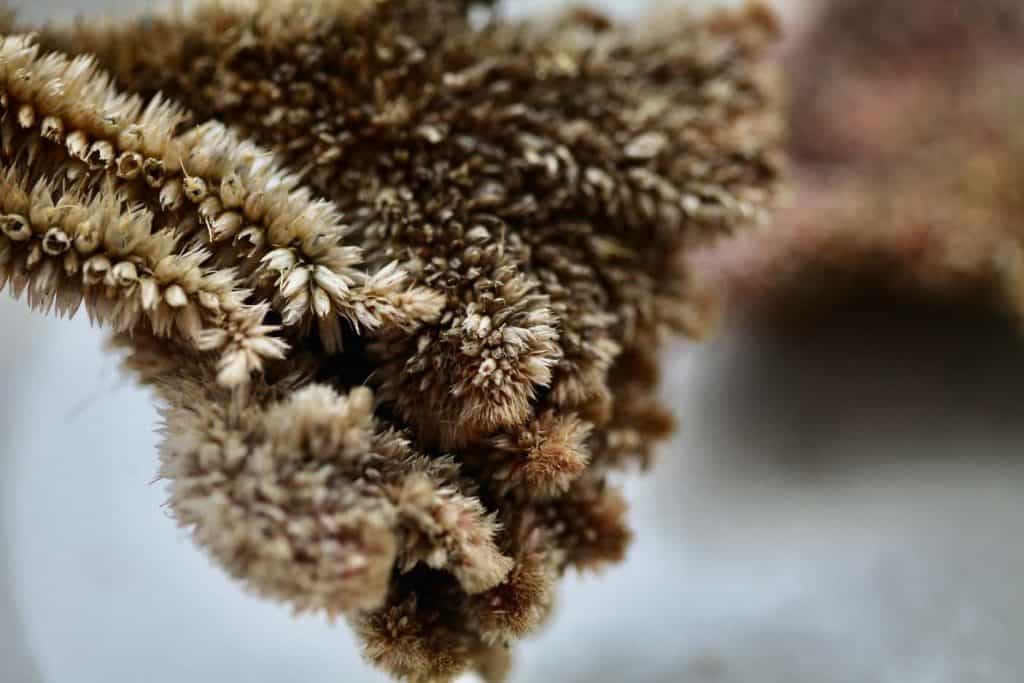
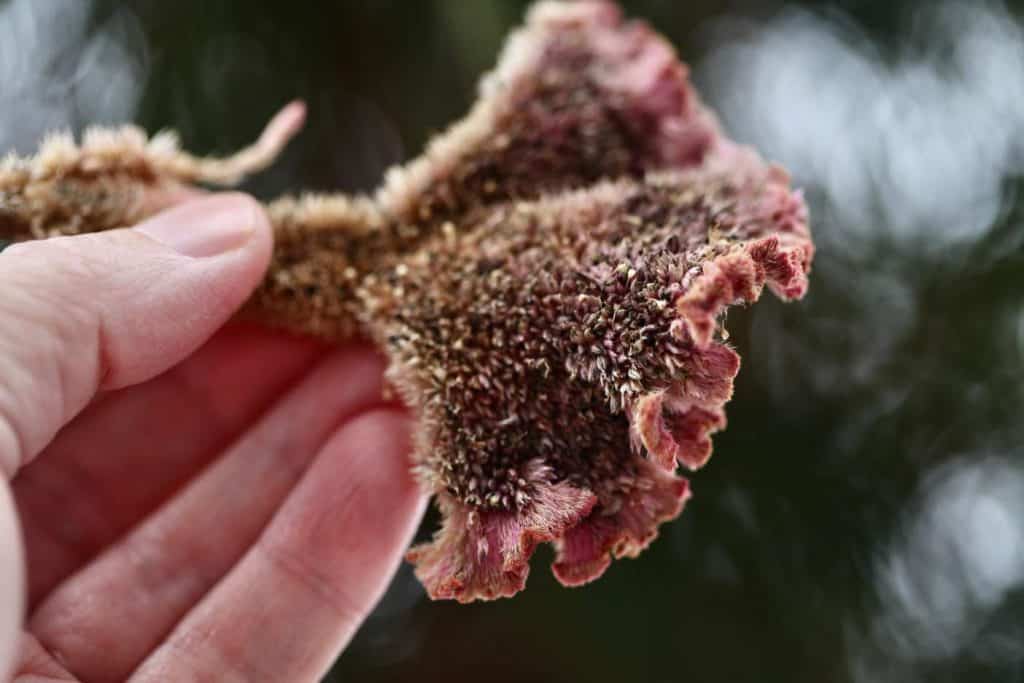
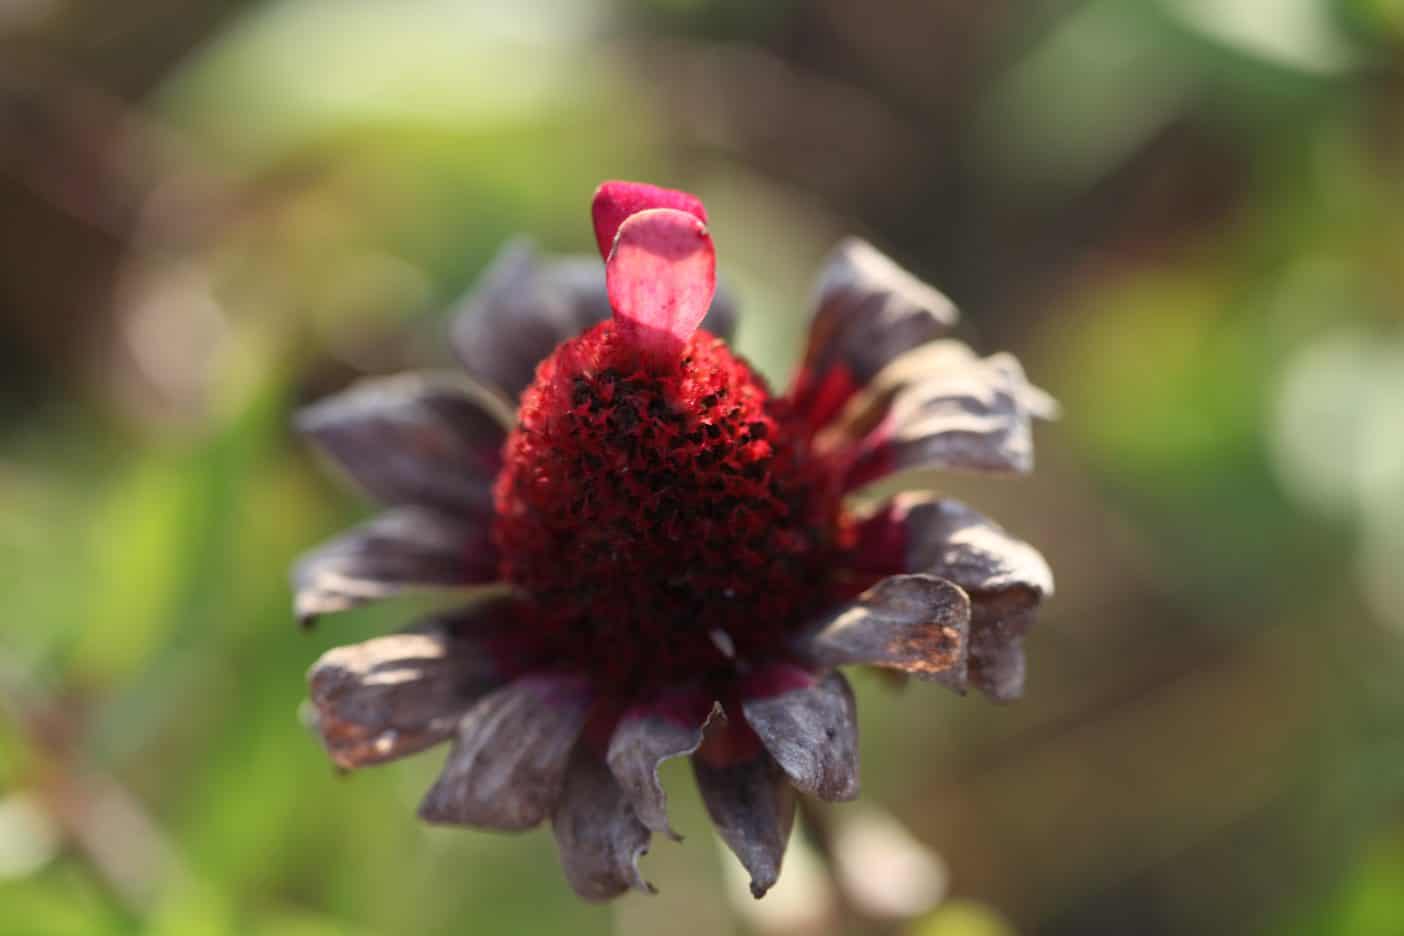
You will know when celosia seed heads are mature, as the flowers, on which the seeds will be found, will become dry and brown and lose their colouring.
I always say that you generally can not save seeds from cut flowers, as the flowers will not have had a chance to develop seeds before they are cut.
Celosia however might be an exception, especially if cut at a later stage and after having developed a few seeds on the blooms. In this case, look closely at your celosia cut flowers, and you may get lucky and find a few cherished seeds.
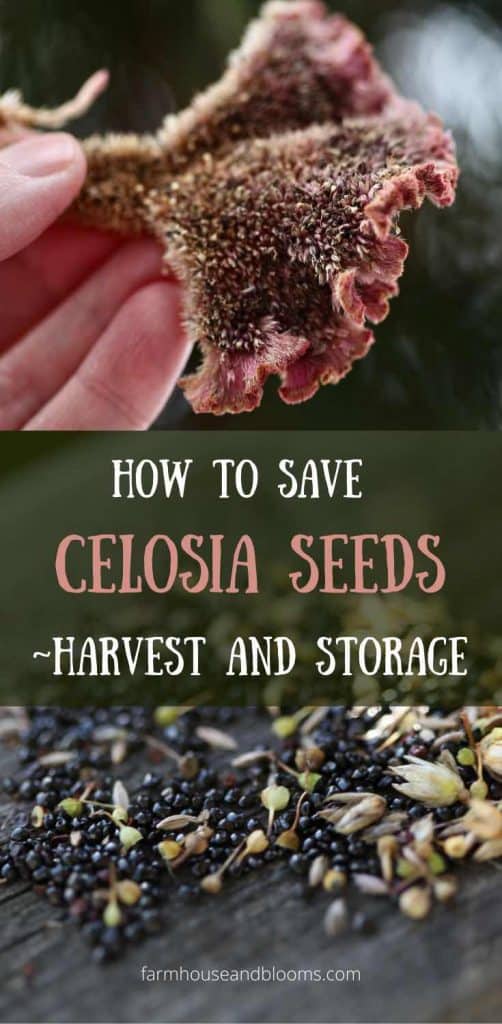
Celosia seeds will be tiny, black and hard when mature.
Supplies Needed For Harvesting The Seeds:
There are a few supplies that you will need for harvest day:
- A pair of sharp scissors or snippers
- Labels, such as post it notes, to place inside a container to identify the type and variety of seeds that you are harvesting
- A container in which to place the harvested blooms, such as a box, tray, or even a large paper bag. I often use seed starting trays, which I find to be the perfect size and weight for harvesting flower seeds.
- If using a paper bag, you can easily label the seed type and variety, right on the outside of the bag with a marker.
Harvesting Celosia Seeds
Harvesting celosia seeds is quite easy.
The best time to harvest is on a dry day in late fall. It is important to harvest dry blooms so that they will not become mouldy and therefore have a negative affect on the seeds.
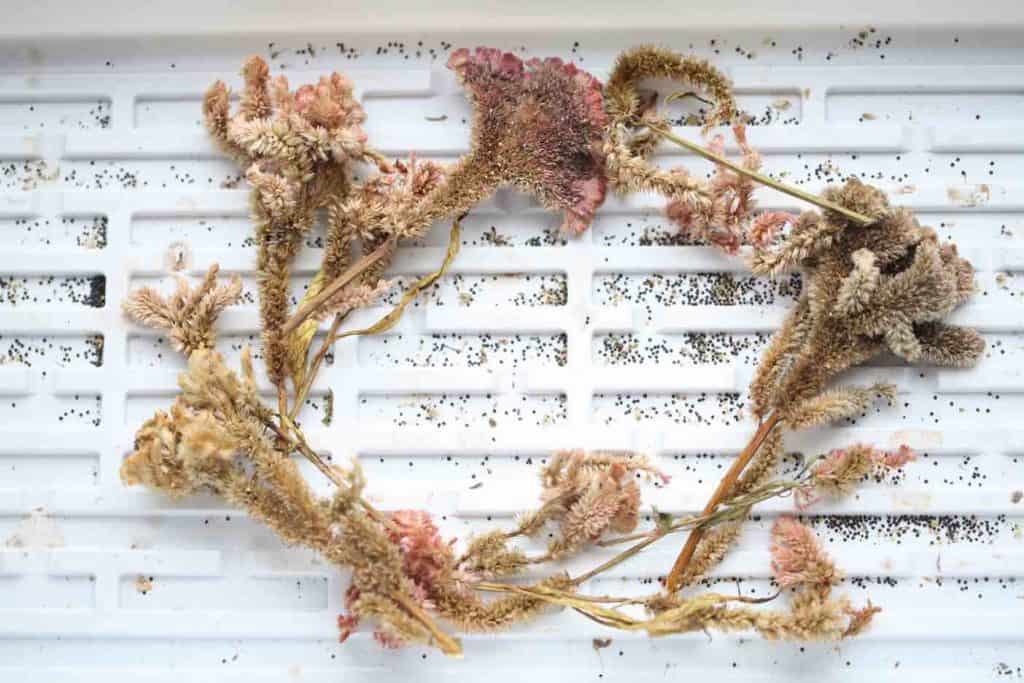
The seeds will readily fall from the blooms when they are mature, so be careful not to shake the stems when harvesting, or the seeds may fall onto the ground.
I find that the easiest way to harvest celosia seeds is to either cut the flower heads separately if they are large, or cut the entire stem if there are many flowers, as this will speed up the process.
Cut the flowers or stems, place them into your chosen container, and then bring the container inside.
If you have chosen a large tray, there is often enough room to space the flowers out within the tray to dry. I often like to dry the blooms further by setting them aside for a few days, or even longer if needed.
Inside your container, you will notice that many tiny black seeds will have already have fallen out, as the seeds become very loose as they mature. The seeds easily drop off of the blooms into the container.
Many more will also be revealed as the flower dries.
Celosia flowers generally produce a large number of seeds.
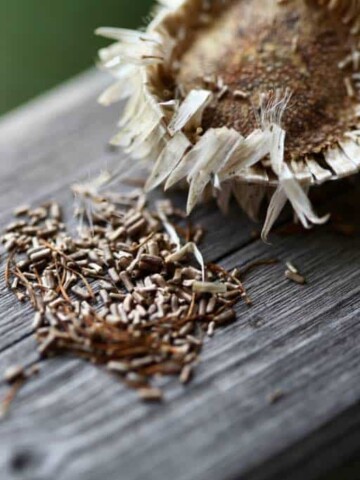
Separating The Seeds From The Chaff
Getting the seeds to fall out of the spent celosia bloom is quite easy.
Initially as we discussed, some seeds will automatically fall off as you harvest and move the blooms.
Those that are still attached can be removed with a little effort.
I sometimes gently knock the blooms on the container, making sure that the flowers are over the container to catch the seeds during the process.

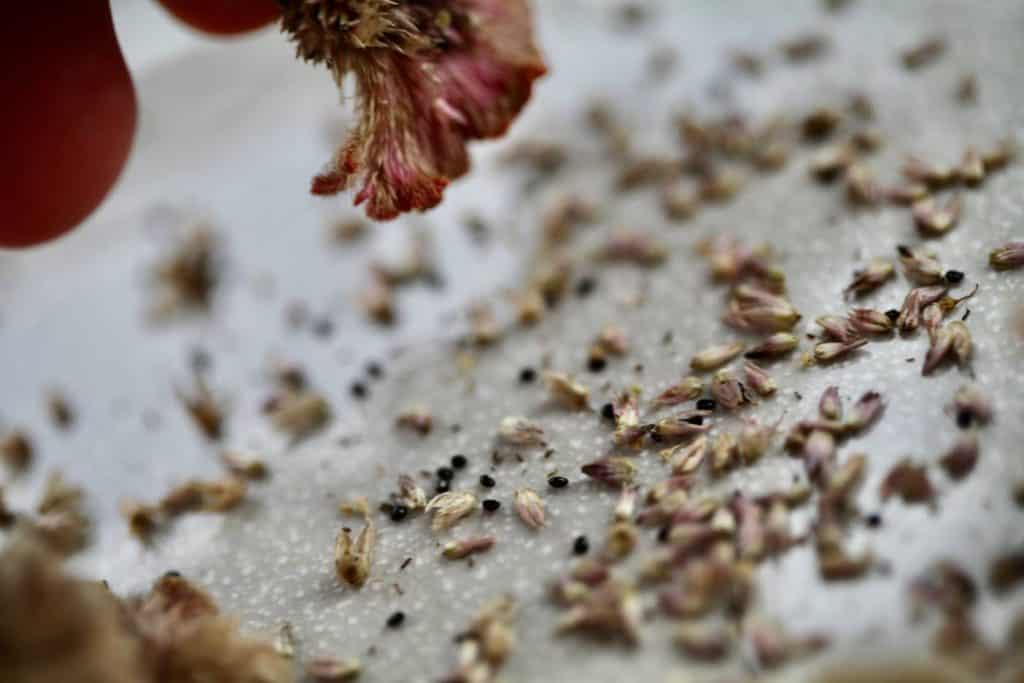
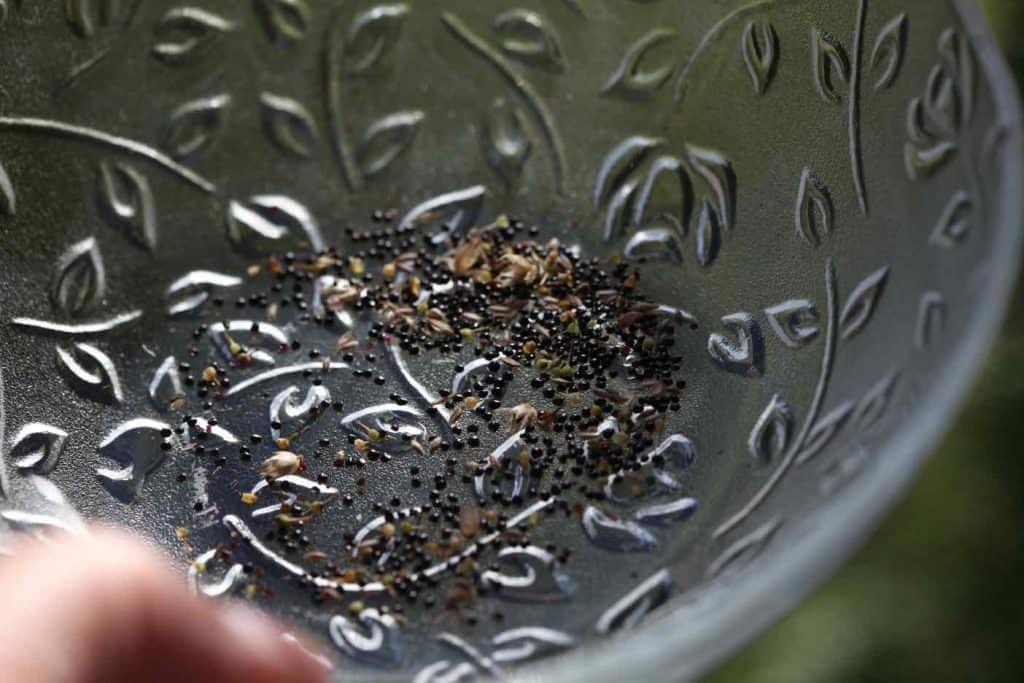
You can also gently rub the dried blooms, releasing the chaff and seeds.
There is quite a bit of chaff that comes off when you rub the flowers, so it will be important to try to remove some of this debris before storing.
If you can't get it all out that's okay. The bigger bits are easy to pick out.
For the sake of harvesting and storing celosia seeds for your own use, a little bit of chaff mixed in with the seeds will not make any difference as long as it is dry.
Methods To Remove Celosia Seeds From The Chaff
Some of the best ways to remove the seed from the chaff include:
- Screening and winnowing- removal of chaff by allowing an air current to blow the chaff, allowing the seeds to drop into a collection container.
- Sifting the seeds through a sieve with large enough holes for the seeds to drop through, separating the seeds from the chaff.
- Manual removal with a pair of tweezers.
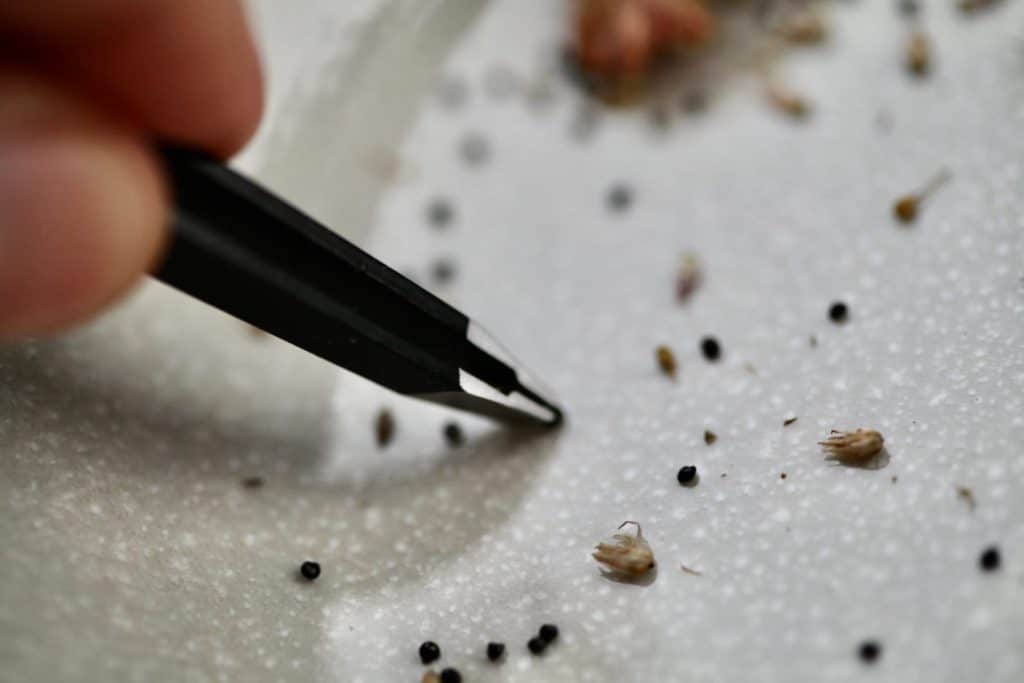

I find the easiest way for a small amount of seeds is just to separate them from the chaff with a pair of tweezers. The tiny seeds are easy to pick up and separate from the debris using this method.
If you are separating a large amount of seeds, the first two methods would probably be better options, in particular the use of a sieve to sift the chaff from the seeds.
I do find that celosia seeds are very light, and winnowing in a breeze may cause some seed loss as they are easily blown away.
Use whatever method works best for you.
Storing Celosia Seeds
- Celosia seeds should be completely dry before storing to prevent moulding.
- Dry for several days before storing away.
- Store seeds in a paper envelope or a small paper bag to help keep the seeds dry.
- Make sure to label the envelope with the plant name and the date harvested, including the year.
- Another option for storage is in an airtight container or glass jar, such as a mason jar, once the seeds are completely dry.
- Store in a cool, dark, and dry place for best longevity.
How Long Do Celosia Seeds Last?
Celosia seeds can last for several years if stored in ideal conditions.
The seeds can last even longer, possibly up to four years, but for best germination results use the seeds within a couple of years.
Here is a great seed storage guide from Johnny's Seeds, referencing how long seeds can last in storage. Celosia is on this list.
We usually don't store our seeds for longer than a season however. We generally sow seeds indoors the next spring, and plant the new seedlings out into the garden after our last frost date.
Make sure to plant your celosia plants after the danger of frost has passed, as these are tender plants and are very vulnerable to injury from frost in early spring.
Do Celosia Reseed Themselves?
Celosia does reseed, and we usually get a few celosia volunteer plants every summer.
I leave them where they grow, so as not to injure or disrupt their growth.
I find this interesting with Celosia, as it is a heat loving annual plant. Most often it is the hardy annuals that will reseed in our zone 5b garden, as they are more apt to survive our cold winters.
However sure enough, every summer we will find a few celosia plants growing on their own.
Conclusion
If you grow Celosia, I would highly recommend learning to save celosia seeds from the garden.
The process of harvesting Celosia seeds is fun, and just getting out into the garden in fall to collect the seeds can be a wonderful experience.
It is also very cost effective, and you can have hundreds of new celosia seedlings for free every year.
Saving seeds is a great way to provide your garden with plants that are adapting to grow in your own unique space. The next generation of plants will be more adapted to your garden.
Over time you will be growing new plants that are hardier and home grown in your very own garden.
Have you ever tried to save Celosia seeds? Leave a comment below to share your experience.
Other Posts You May Like:
See the Web Story on Saving Celosia Seeds!
PIN IT FOR LATER!


Leave a Reply