
The winter sowing method is one of the easiest techniques for planting and germinating lupine seeds. Winter sowing lupine seeds helps to stratify the seeds naturally, and allows nature to provide a lot of the early seed care. If lupines grow well in your area, consider winter sowing these seeds, and add some of these beautiful perennials to your garden.
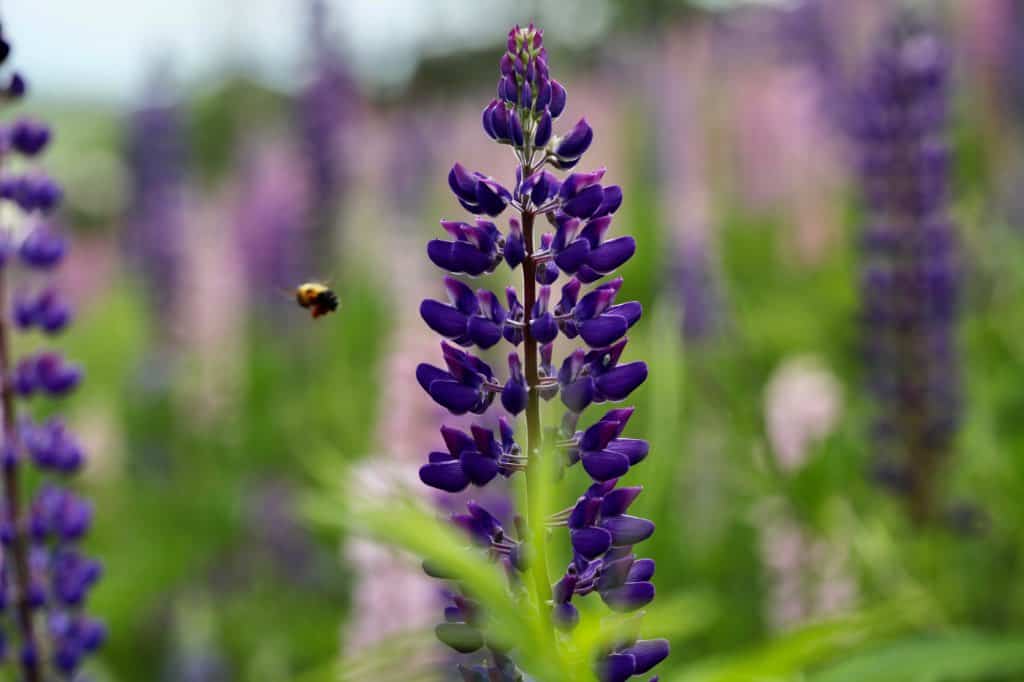
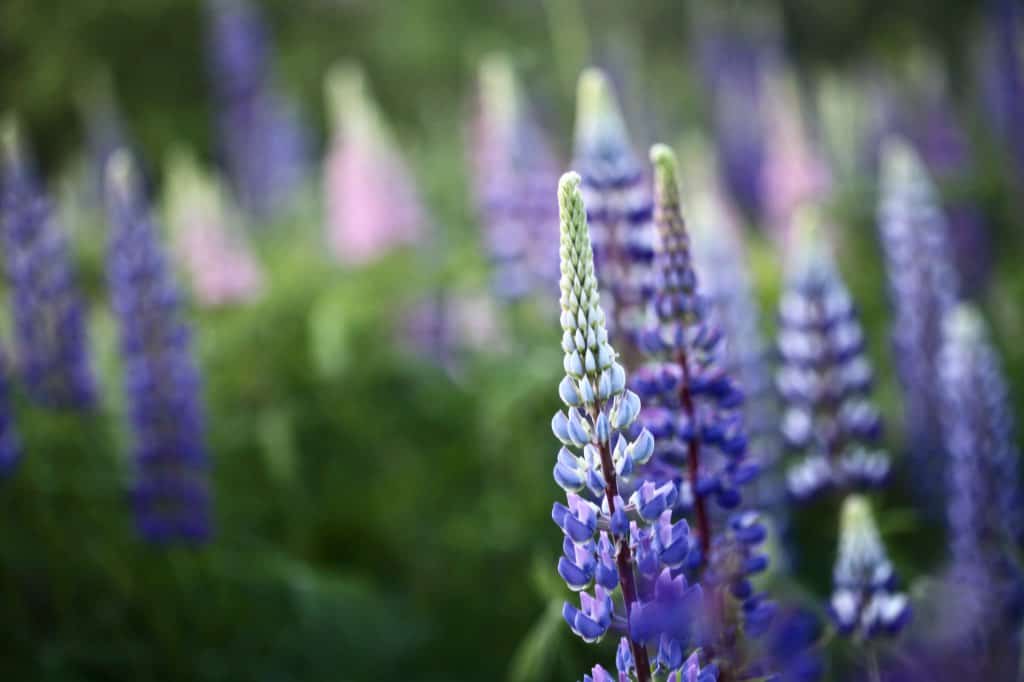
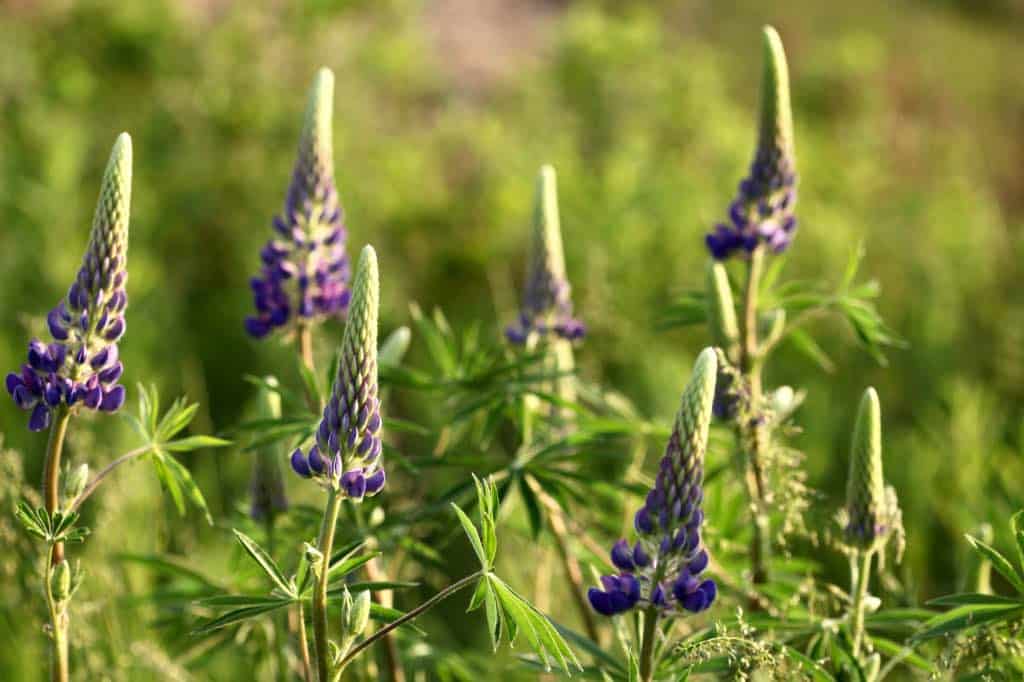
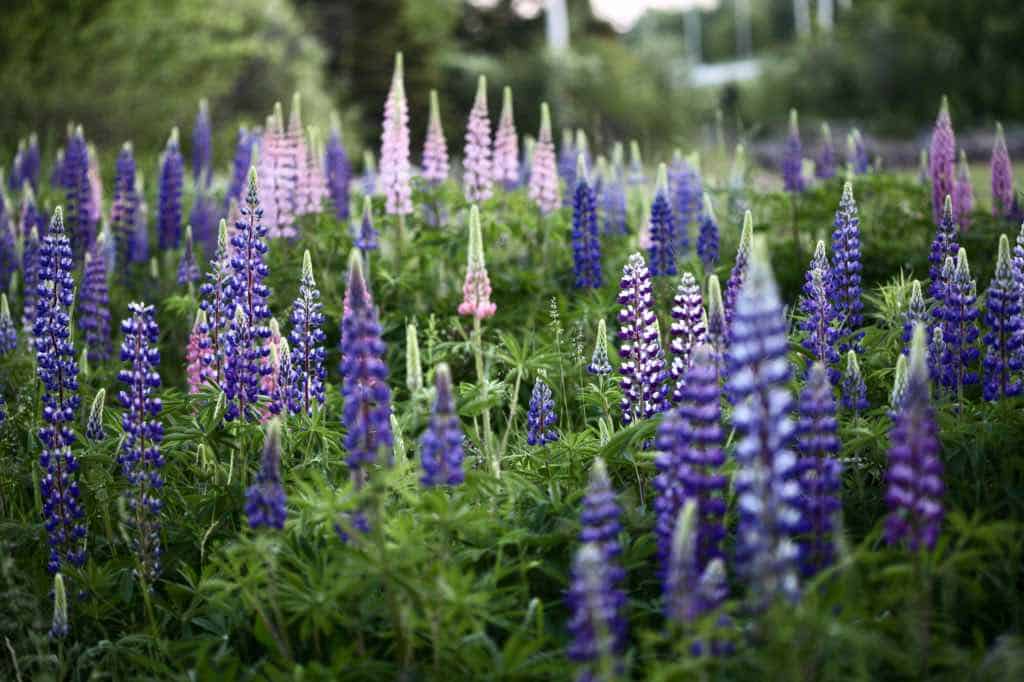
Lupine flowers are early summer favorites, as they transform the landscape with drifts of striking pastel blooms along the roadways and open fields in Nova Scotia.
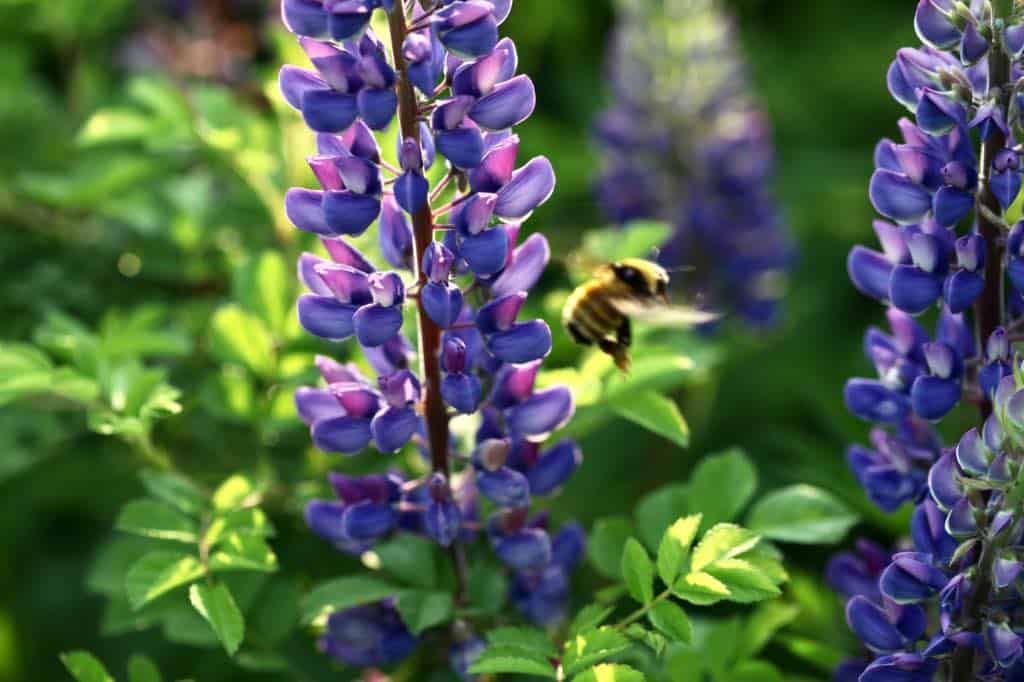
The plants also make great cut flowers, and can be easily started from seed and grown in the flower garden.
Lupines are herbaceous perennial plants, and are great candidates for winter sowing. These are hardy perennials, which can withstand cool temperatures.

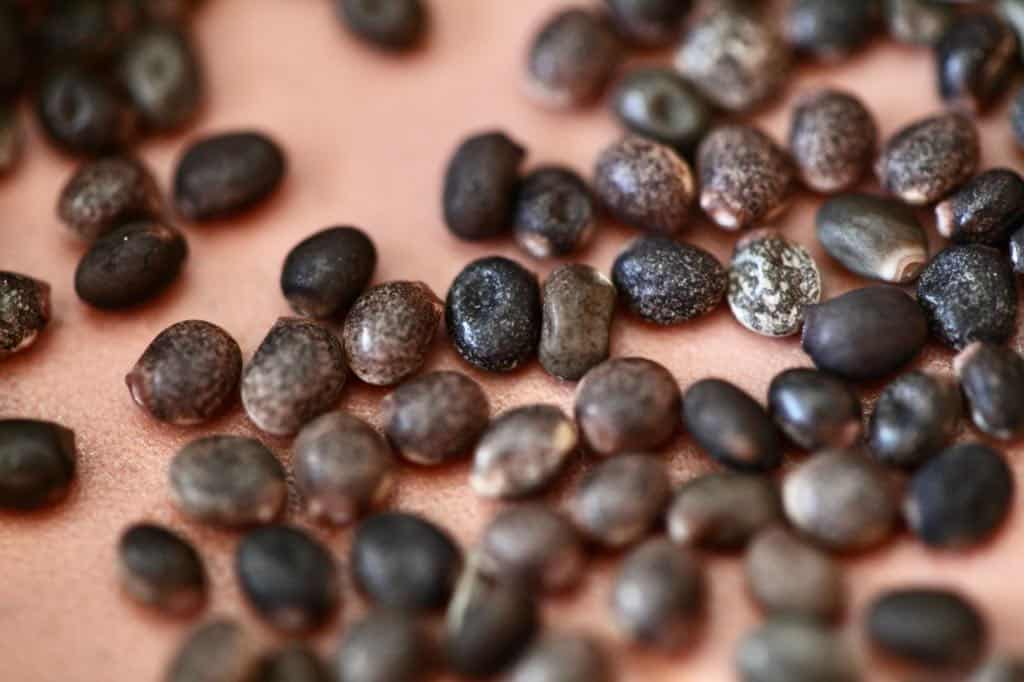
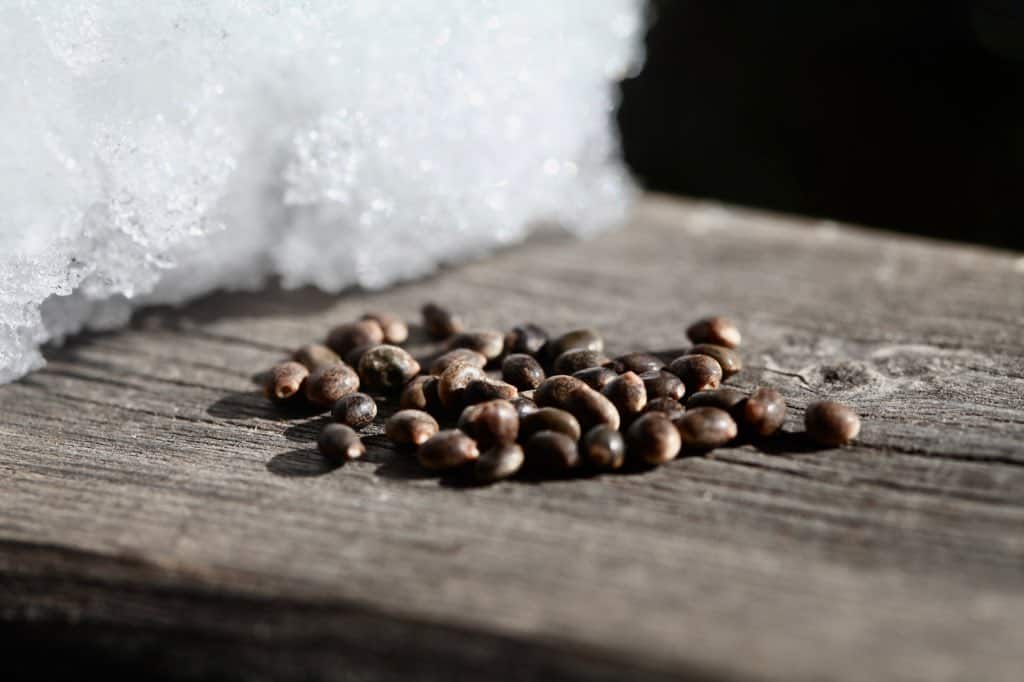
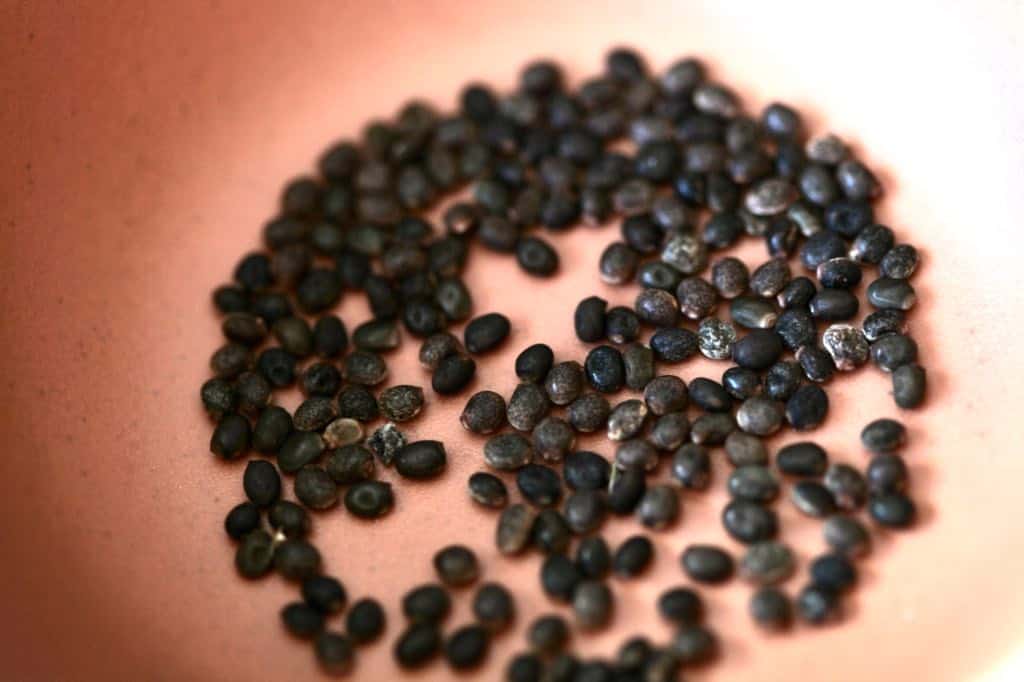
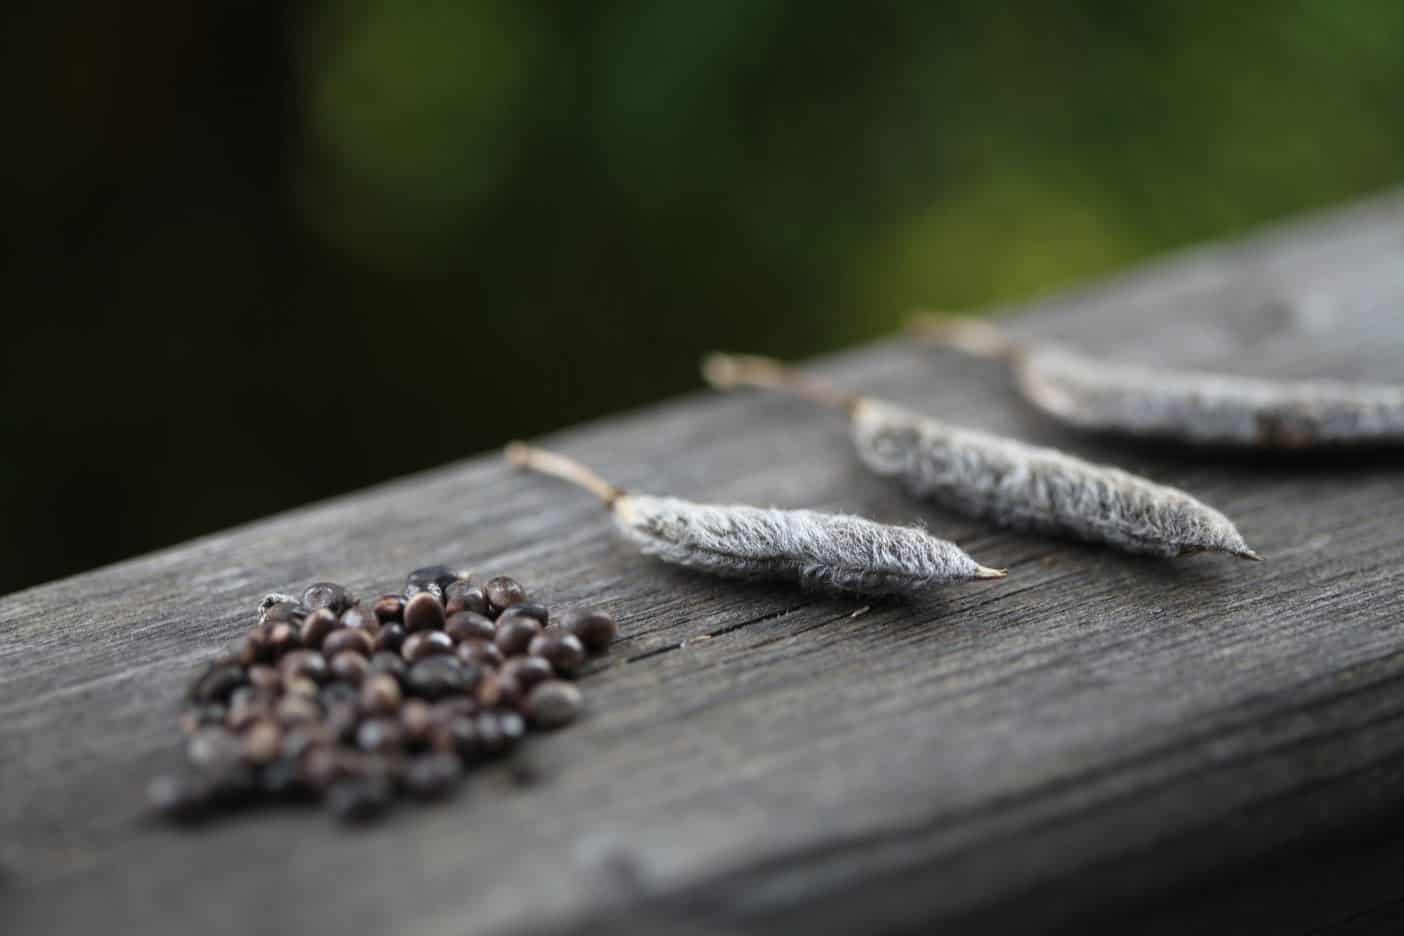
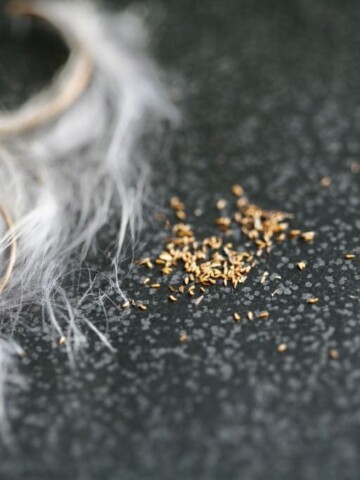
The lupine seeds have very hard surfaces, and are made to endure the freezing winter weather in cold climates.
If you are considering growing lupines in your garden, and plan to start them from seed, consider this winter sowing method.
What Is Winter Sowing?
The winter sowing process involves planting the seeds, and setting them outside in containers in winter. The containers act as mini greenhouses, helping to protect the seeds, and warming up the planting environment in spring. Although the lupine seeds are partly protected by their planting containers, they are also exposed to the elements and cold weather throughout the winter months, assisting with germination.
Winter sowing is a set and forget type of process, in my experience. After the seeds have been planted, and the planting containers are safely tucked away outside in the cold winter environment, all you have to do is wait until spring.
It doesn't get much easier than this.
Benefits Of Winter Sowing Lupine Seeds
Winter sowing lupine seeds makes the planting process easy. Nature takes care of the hard part, such as the watering, the sunlight, and the warmth in spring.
The winter sowing method also replicates nature.
Winter sowing exposes the lupine seeds to the cold temperatures that wild lupines experience in nature. This is the environment that the plants have adapted to.
This cold exposure is a natural process that these lupine seeds naturally go through, in those beautiful stands of wild lupines, that many know and love.
Winter sowing reduces the time necessary to care for these seedlings, compared to starting flowers from seeds indoors. There's not a lot of care to be given to the winter sown lupine seeds, while waiting for them to germinate, and then to be planted out in spring.
Rather, the seeds become naturally stratified in their outdoor location. Then they germinate outside in their winter sown containers, when the timing is right for your individual growing zone.
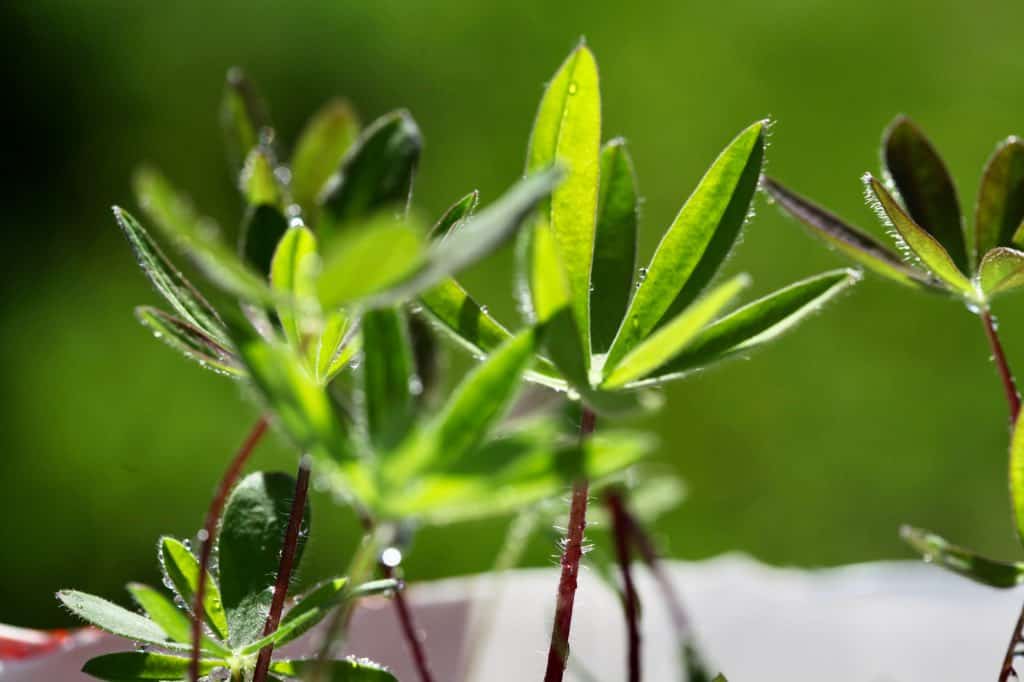
Winter sown lupine seedlings are strong seedlings, and are hardy and rugged plants.
The tiny plants are naturally hardened off, already exposed somewhat to the outdoor elements by their location alone. All they need is a little more exposure in spring, to be completely hardened off before planting.
Do Lupine Seeds Need Cold Stratification?
Lupine seeds benefit from a period of cold stratification, for successful germination, and improved germination rate. Stratification is a cold treatment which helps to break down the hard outer seed coat, and assists with germination, making the sprouting process easier.
Lupine is a herbaceous perennial.
Perennial seeds most often have hard seed coats. These coats protect the seeds during the cold winter months.
These protective structures endure freezing and thaws, exposure to moisture and the outdoor environment, and help to safely bring the seeds into the new growing season.
At the end of the winter, when the seeds are finally softened, they are ready to germinate in the early spring, when the weather finally warms up.
This is why winter sowing is perfect for lupine seeds, as well as other perennial seeds.
It exposes them to the outdoor environment, for which they are well adapted. It helps them to undergo the stratification process naturally, and results in hardy seedlings in the long run.
How Long To Cold Stratify Lupine Seeds?
If you were to start lupine seeds indoors, the seeds should receive a cold moist stratification period of at least two weeks for successful germination.
Fortunately with winter sowing, the seeds will receive this amount of cold moist exposure, and much more.
In fact, the seeds will tolerate freezing and thaws in cold winter climates. These cycles of freezing and thawing will help to break down the hard seed coats, and help with germination in spring.
Lupine seeds will be naturally stratified by the winter sowing process.
Winter Sowing Lupine Seeds
Lupine seeds are excellent candidates for winter sowing, due to their perennial nature, and the anatomy of the seeds.

Let's have a look at the process of winter sowing lupine seeds, from start to finish.
When To Start Winter Sowing Lupine Seeds
Timing is important when it comes to winter sowing lupine seeds.
The key is to not start the winter sowing process too early, such as when it is still warm outside, or if there is a risk of warm weather, in late fall or early winter.
These warm spells can cause some seeds to germinate early. The resulting tender young seedlings will not have an opportunity to establish their root system, before the freezes return, and will likely perish during the cold winter months.
Instead, start your winter sowing in the cold and freezing winter weather, during January and into late February, or even early March. Aim for planting after the winter solstice, to be on the safe side.
You can start to winter sow the seeds at this time, and continue to sow more as needed, right into late winter.
Supplies:
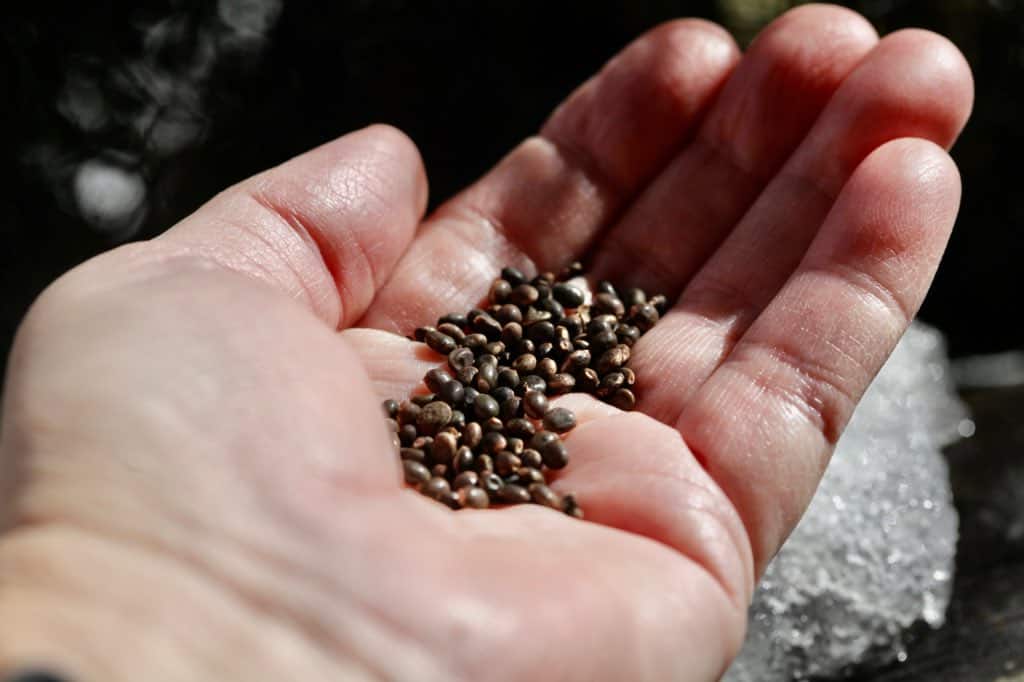
- seed packet of lupine seeds, or your own harvested lupine seeds
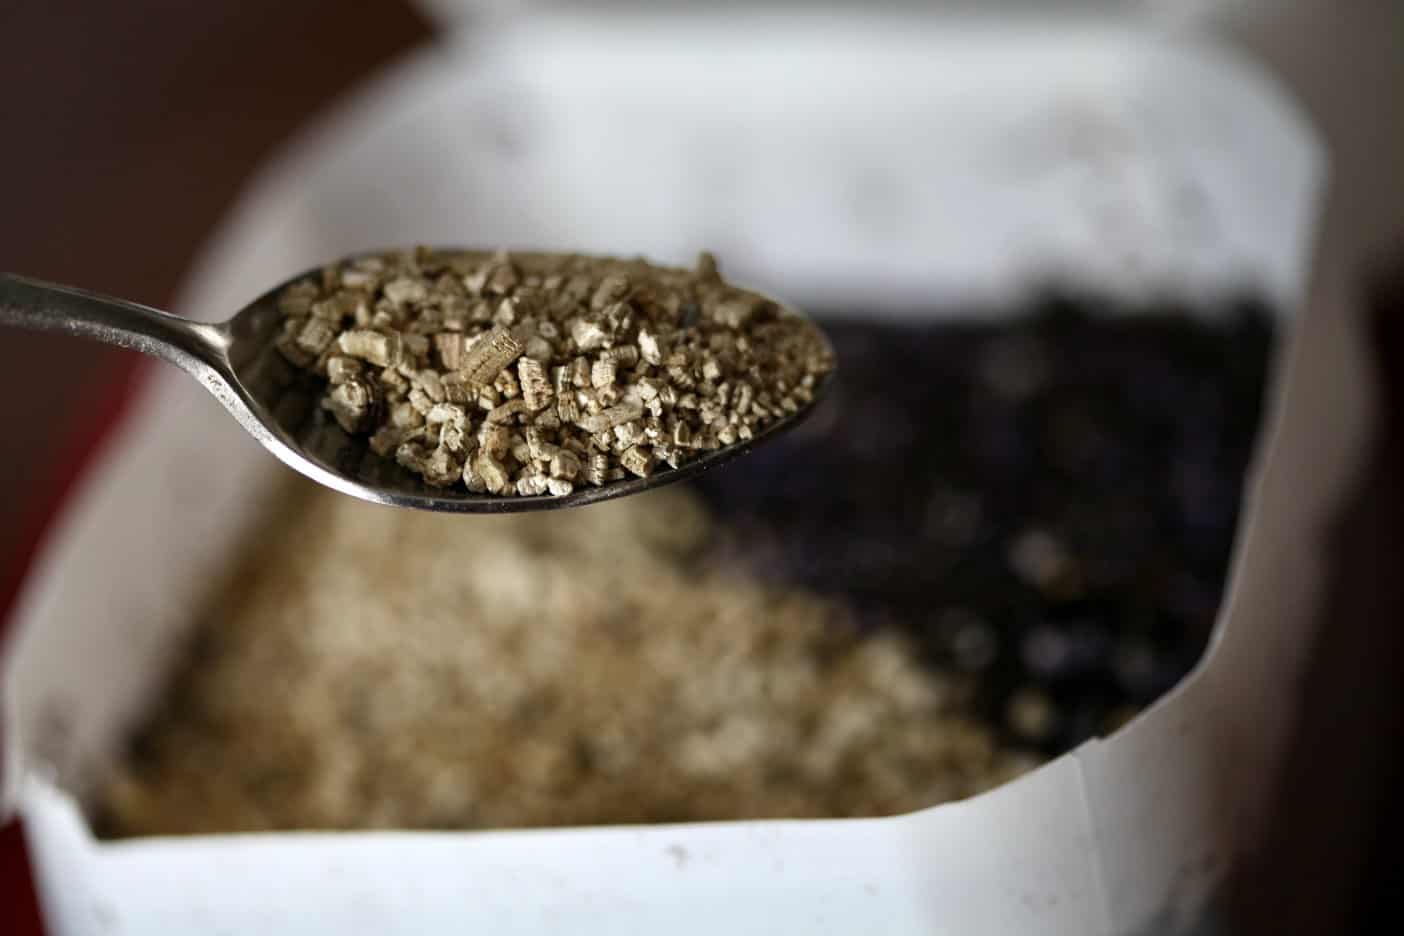
- sterile seed starting medium
- containers for planting
- sharp scissors
- duct tape
- labels
- permanent marker or paint pen
Preparing The Containers
Choosing The Containers
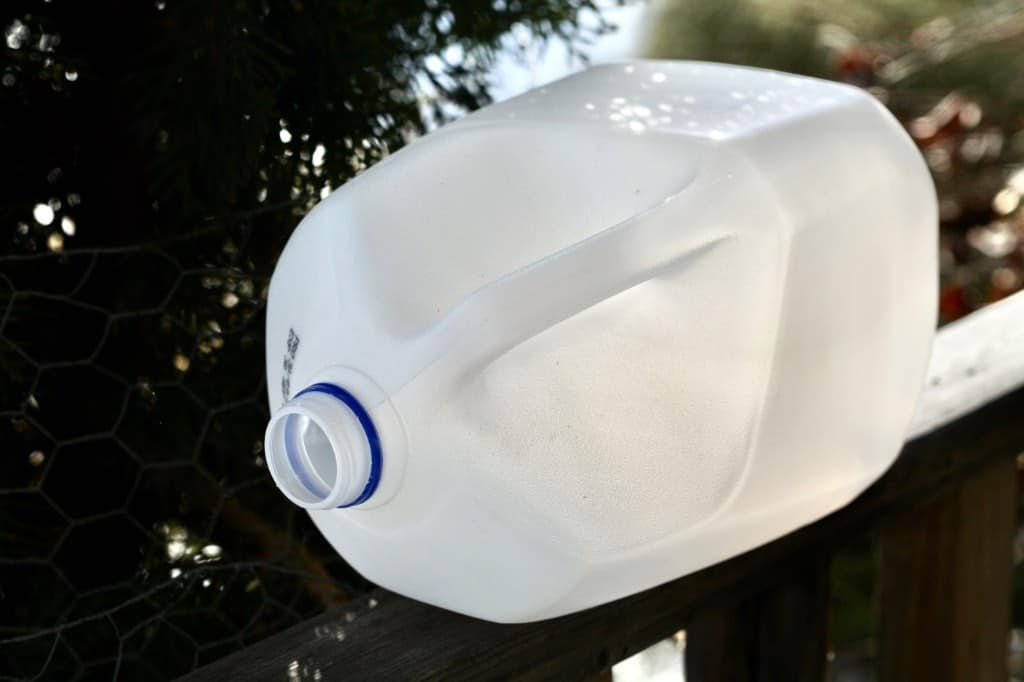
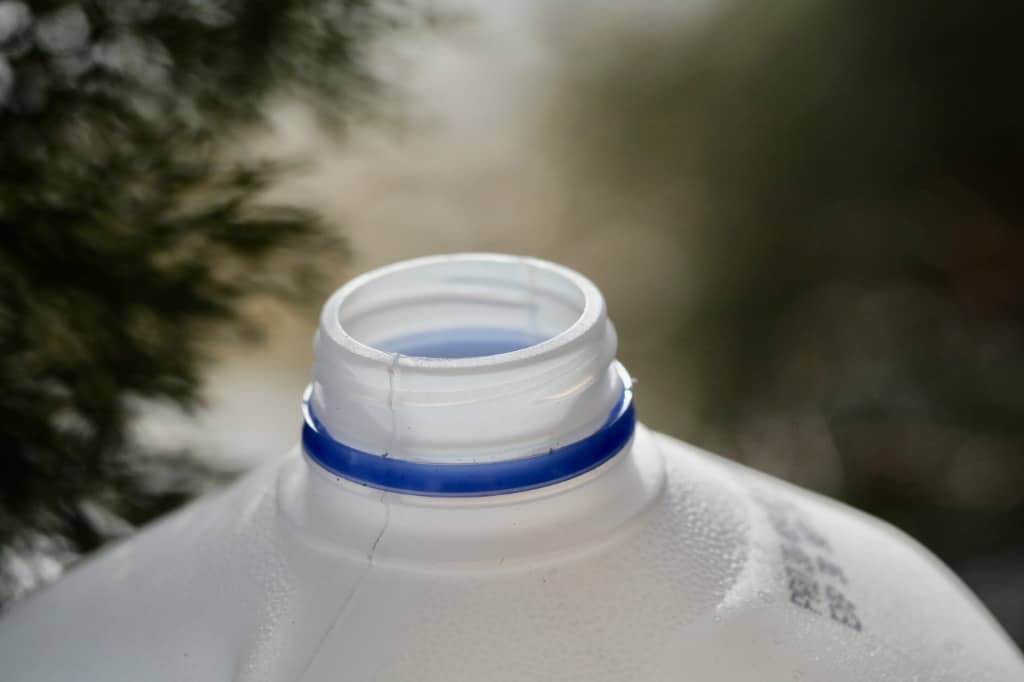
- Recycled plastic milk jugs are perfect containers for winter sowing. This is due to their size, ease of use, transparency, and stability when placing outside.
- They are also free, making them a perfect choice.
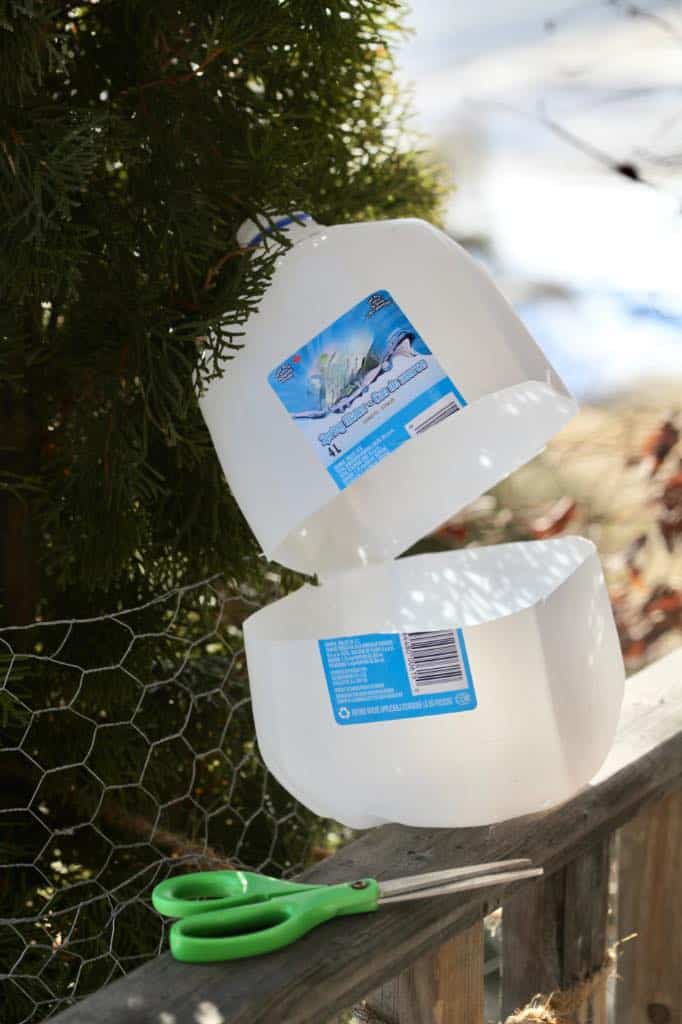
- The milk jugs will need to be cut in half, with the bottom half used for planting, and the top half for warmth and protection.
- There are also other types of plastic containers, which are great to use for winter sowing. Juice or water jugs, recycled take out containers, salad containers, or any other larger plastic container that might fit the bill are also good options.
- Some containers will not have much room for the seedling growth, so avoid flat shaped containers with no head space and shallow depth.
- You can also place individual plastic pots in clear plastic bins, and adapt the bins with drainage and ventilation holes.
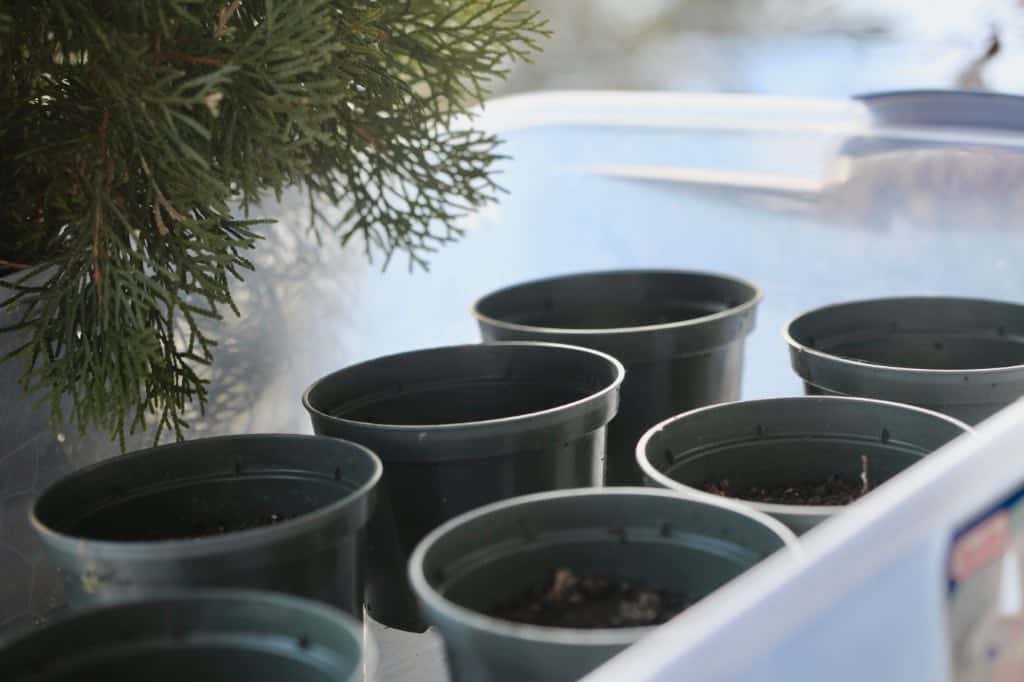
- Your chosen planting container will first house the seeds, and then the seedlings when they begin to grow, so consider the size and space needed to do so.
- Consider containers with good depth, as lupines have long tap roots, and will need space for good root development.
- Consider the head space as well, and make sure that there is also growing room your lupine seedlings, so they can easily stretch out and grow, before they are ready to be transplanted into the garden.
- Make sure that the container is transparent, to allow light to penetrate when the seedlings germinate and begin to grow.
Adapting The Containers
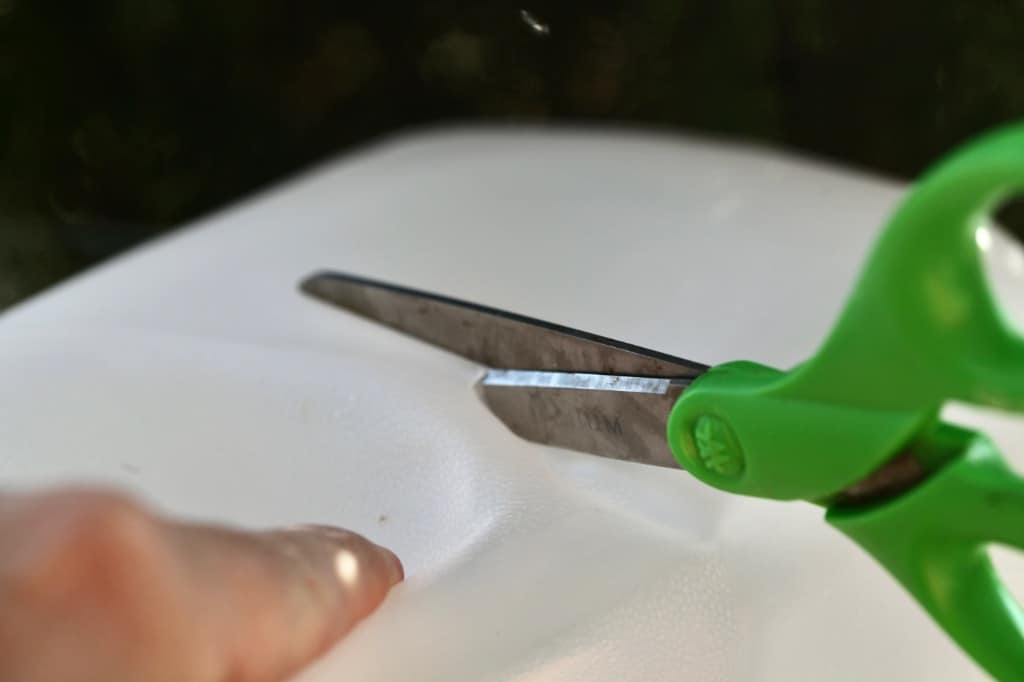
- If you have chosen a container which needs to be cut in half, this next step will help to prepare the planting space.
- With sharp scissors, cut your container in half, leaving a small hinge on one side for stability.
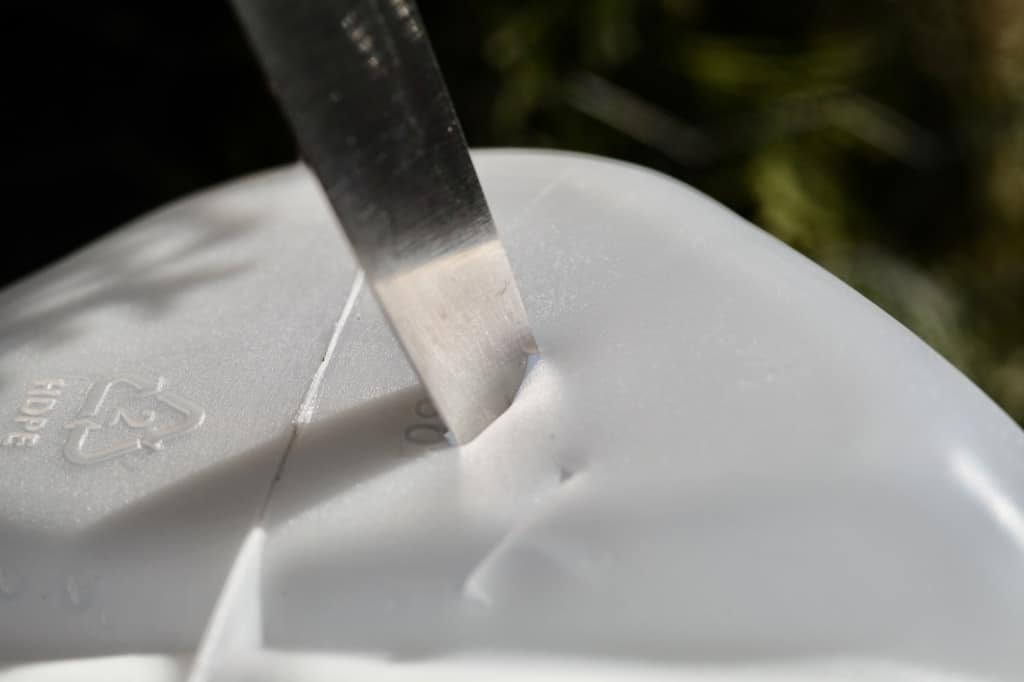
- After cutting the unit in half leaving a small hinge attached, it's time to make drainage holes. Drainage of the soil is key to preventing the lupine seeds from rotting in moist waterlogged soil.
- The growing container allows for lots of moisture to enter when placed outside, as the cap will be left off. This moisture that enters the container will need somewhere to drain, so ensure that drainage holes are created.
- To do this, tip the container upside down, and with a sharp pair of scissors or a sharp knife, make about 5 to 6 puncture holes on the bottom of the container.
- Leave the cap off the top of your chosen container.
- This will allow for moisture to enter the container, as well as allowing for heat to escape, when it warms up in spring.
- Now the container is ready for planting.
- If you have chosen another type of planting container, apply these same principles.
- Containers will need drainage holes on the bottom of the container, and holes on the top for moisture and ventilation.
Planting The Seeds
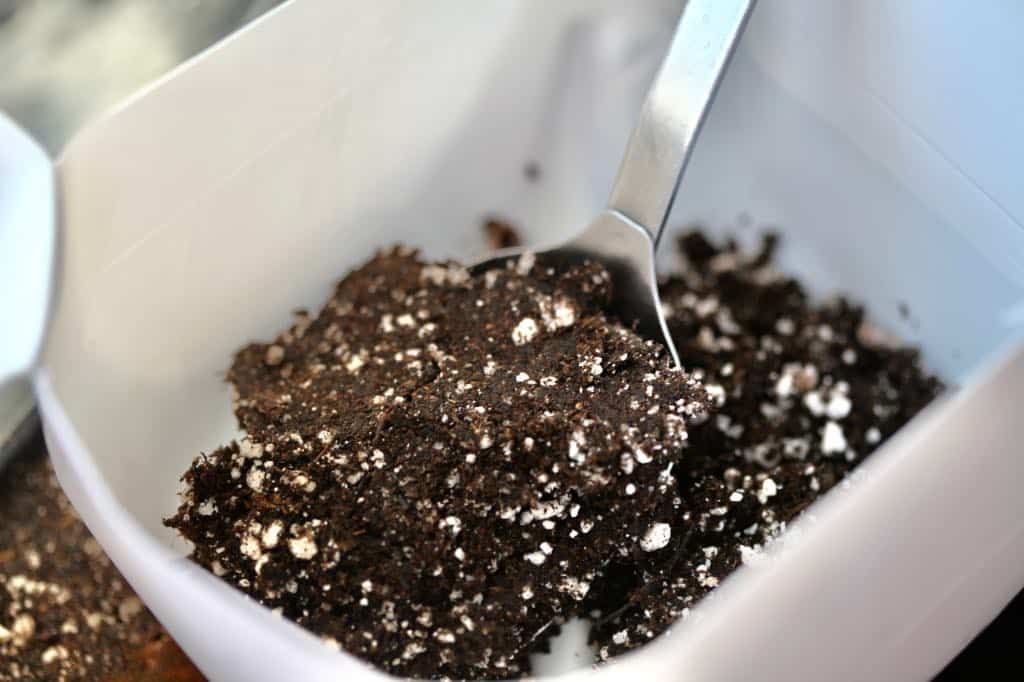
- Fill the bottom half of the container with a good seed starting medium.
- Moisten the soil.
- If using milk jugs, you will see that the planting area has good depth, with lots of room for root growth.
- Lupines have long taproots, and the seedlings do not like root disruption on transplanting. This container seems to make a difference for the seedlings, allowing lots of space for growth.
- Sow seeds shallowly, at approximately ⅛ inches deep.
- Space the seeds approximately 3 inches apart in the winter sowing container. If you have lots of seeds, consider using more than one container for your winter-sown seeds.
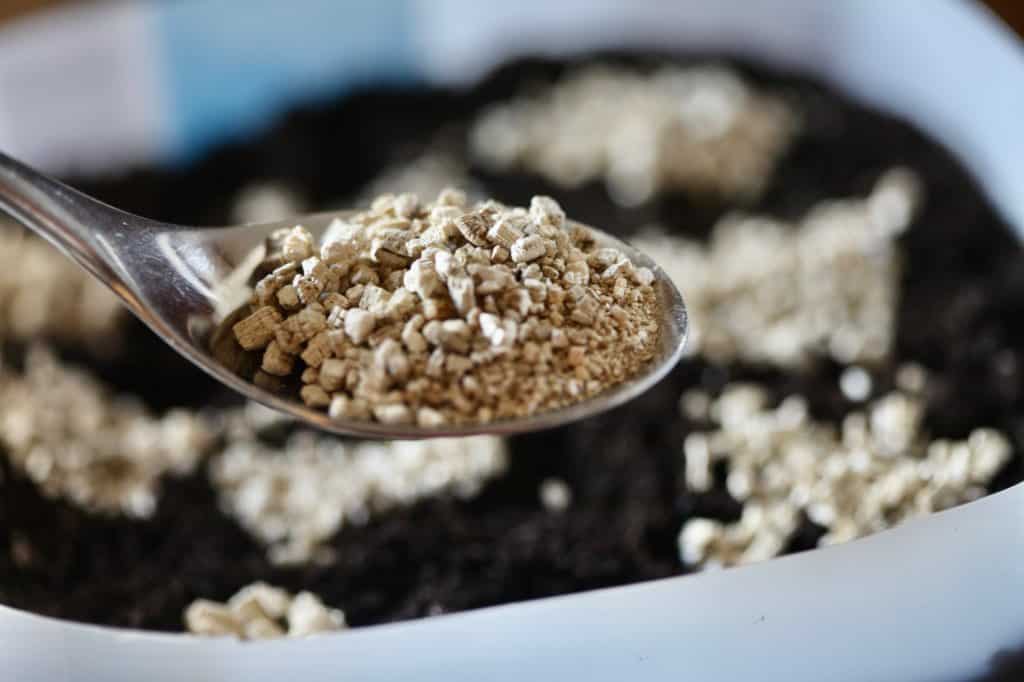
- Cover with the planting medium, or alternatively you can also use vermiculite to cover. I tend to use vermiculite indoors especially, as it helps to keep the soil in the containers from drying out quickly.
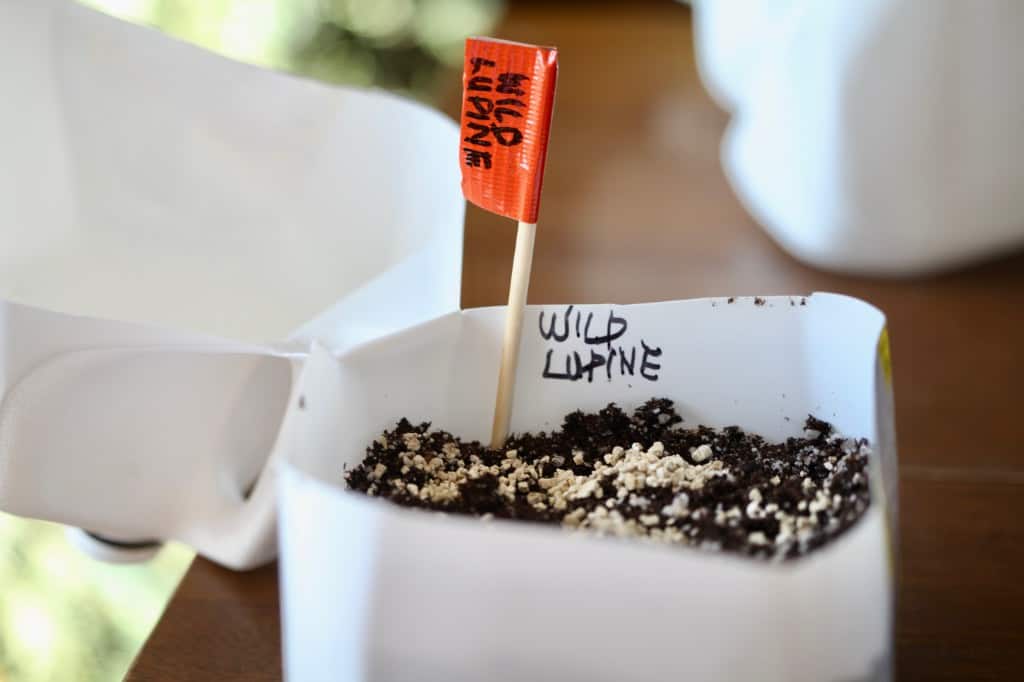
Label the Containers
- Labeling the containers is important, especially if you are growing a number of different lupine varieties.
- I always like to identify the seeds, as well as the date on which they were planted.
- The winter sowing method places the containers into the outside environment, where the labels are easily washed away. Make sure therefore to choose a weather resistant label maker, such as a permanent marker, or paint pen.
- Even these markers and pens will eventually fade and wash away in an outdoor location. So try therefore to label your containers in a few different spots.
- Consider placing a label inside the container, on the inside wall, on the outside of the container, and even on the bottom of the container. This may seem like overkill, but trust me, you won't regret it.
- If washed away in one or two locations, you will still have another to refer to.
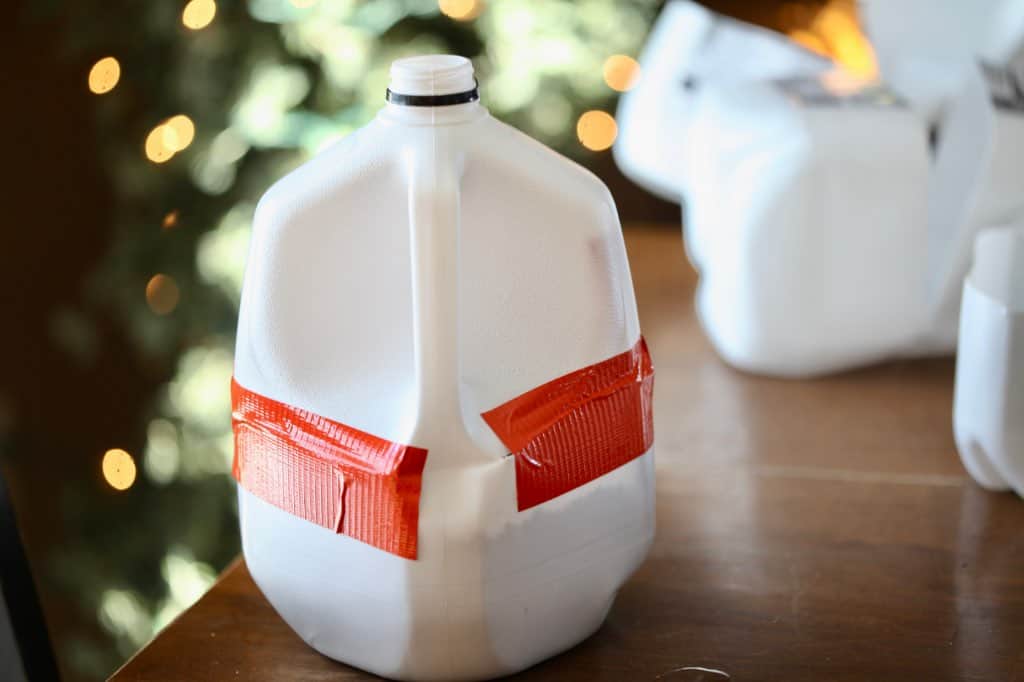
Taping The Containers
- Next it's time to close up the container.
- If you have chosen milk or juice containers which have been cut in half, it's time to tape them back together. The hinge that you left in place will make this step easier.
- Use duct tape to stick the top and bottom halves together.
- It's okay if there are some gaps in the tape, as this will allow some extra moisture to get in.
- Duct tape works exceptionally well, and holds the containers together, without peeling away in the moisture. It usually holds for the whole duration, until you are ready to remove the top from the container in spring.
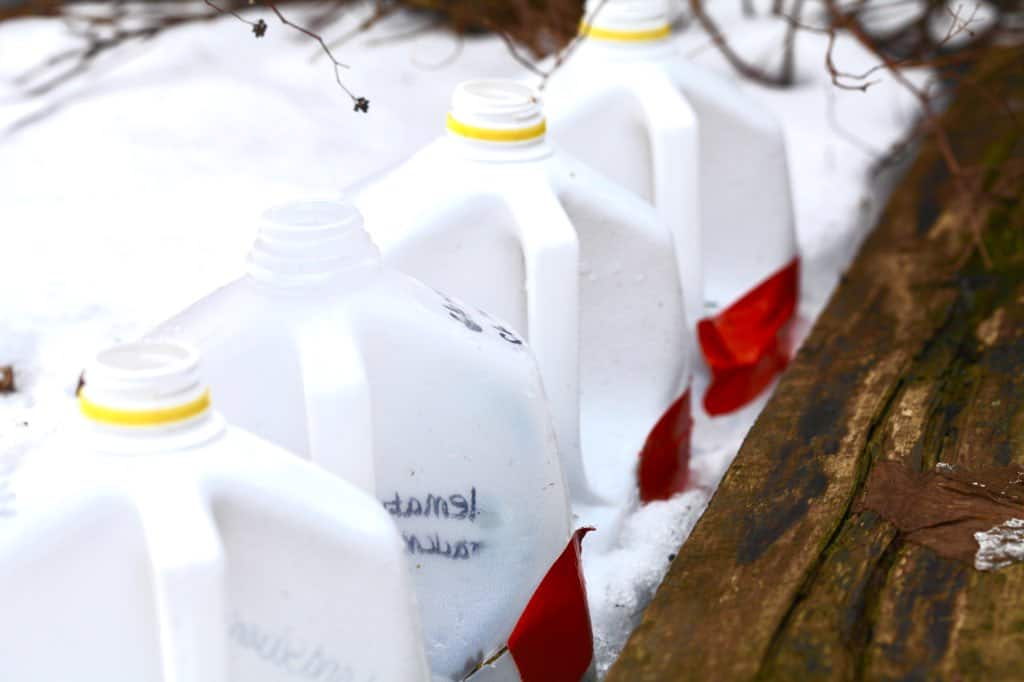
Securing The Containers Outside
- Now it's time to place the containers outside.
- This is an important step, as the chosen location should be protected, while still allowing for exposure to sun and moisture.
- Protect the containers from toppling by supporting them in some way on either side, to prevent them from falling or blowing over.
- You may not think that they would topple, however there is always a risk in windy weather. Animals and humans cans also accidentally knock them over.
- If you have a long row of containers, wedge the end of the rows. I have used heavy garden furniture for this purpose, which worked perfectly.
- If containers fall over, it disrupts the planting medium inside. The seeds can get shuffled around, sometimes being exposed, or also replanted too deeply to germinate.
- So try to prevent tipping of the container from the beginning, for best outcome for your lupine seeds.
Spring Care
Germination
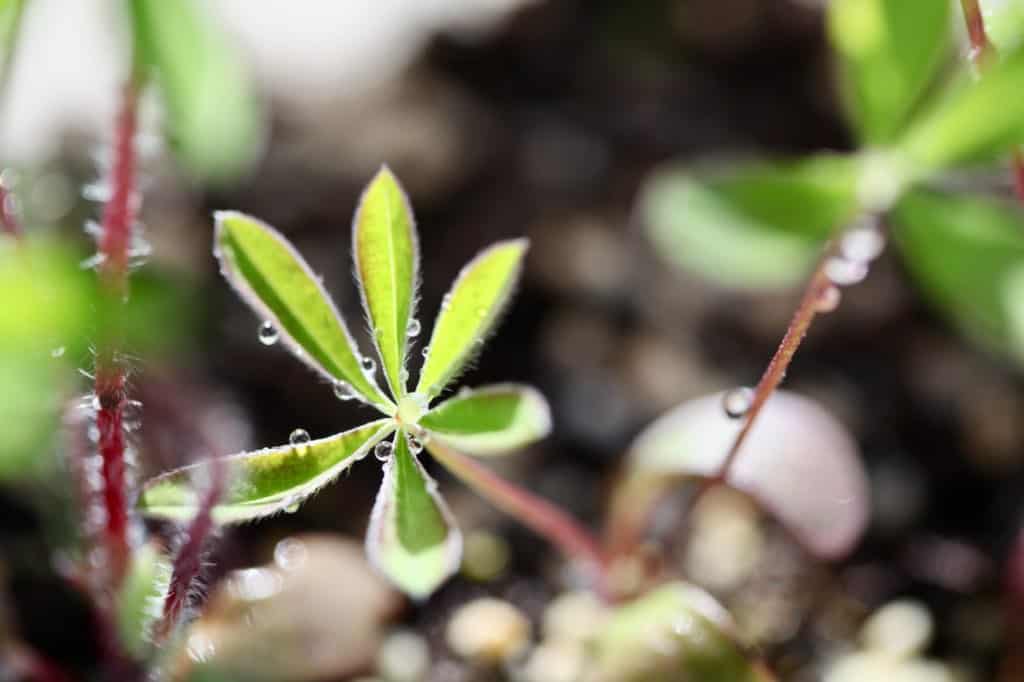
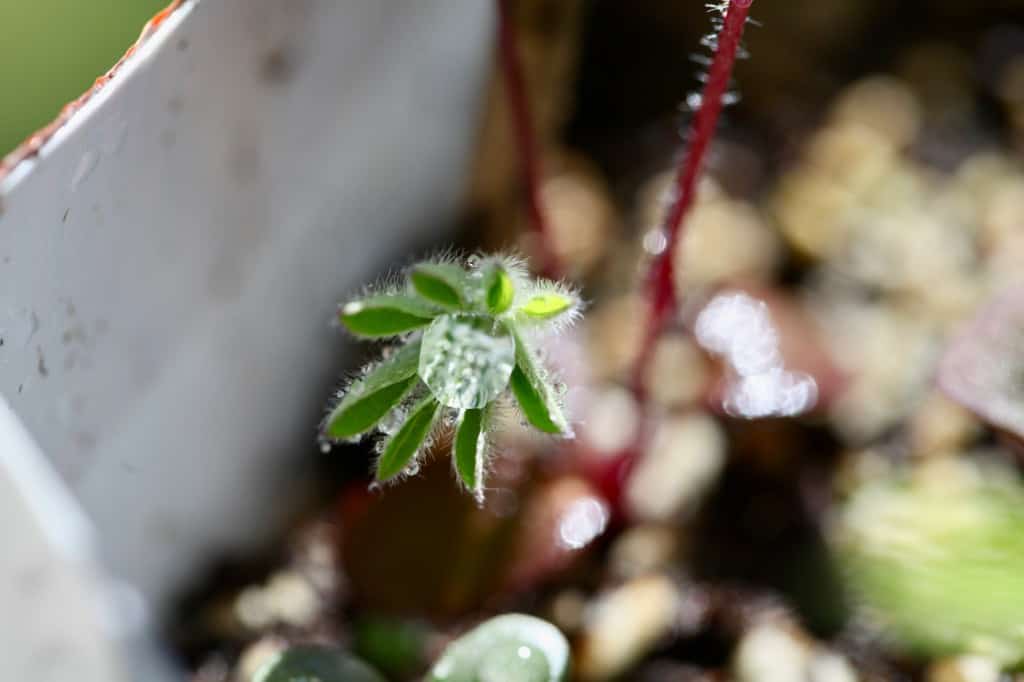
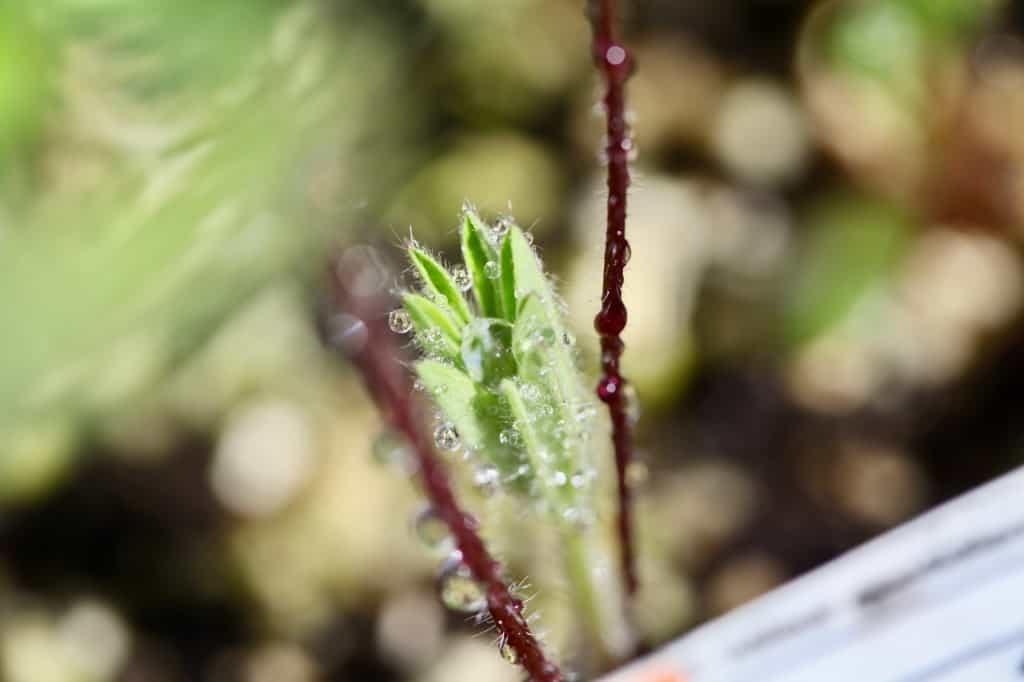
When the weather begins to warm up, the seeds will begin the germinate. At just the right time for your growing zone, the lupine seeds will begin to sprout.
If you are in a colder climate and growing zone, don't worry if germination is a little later than expected. The seeds will know when the time is right, guided by the signals of soil and air temperature, and the changes in light.
They will sprout when they are ready.
Providing Moisture
Keep an eye on the containers on warm days, especially on sunny days. This is when the air temperature inside the containers can get very toasty, and the soil can dry out.
Make sure that the soil in the container remains moist, as this moisture during germination is important.
If the soils looks dry, deliver some moisture through the top of the container with either a spray bottle, or by using a fine spray mist from a hose.
Ventilation
In the warmer weather, the air inside the containers can become pretty warm, even with open holes on the top, which allow warm air to escape.
If the seeds have germinated and the lupine seedlings are growing, you can undo the duct tape, and allow some air flow into the containers at this point. Some people also make additional ventilation holes to cool down the space.
Don't completely remove the container covers yet however, until the seedlings are completely hardened off. Rather, gradually expose the seedlings over a period of several days.

Hardening Off
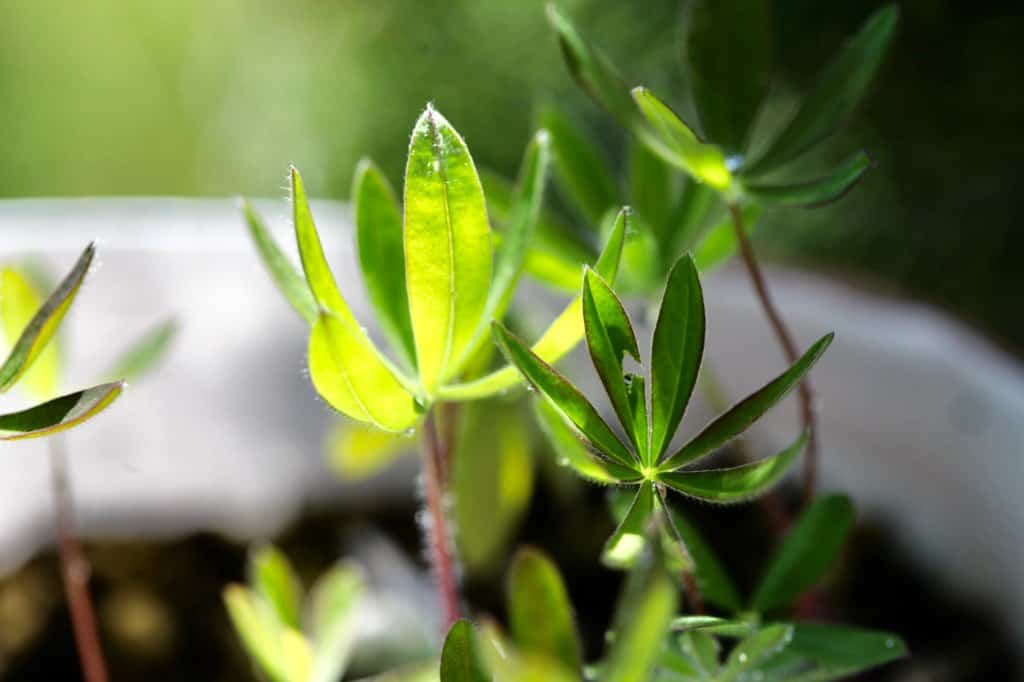
The lupine seedlings grown by winter sowing are quite hardy to begin with, having been grown in the outdoor setting, and exposed to the elements.
Yet they have also been somewhat protected, and will benefit from a gradual exposure.
Gradually expose the lupine seedlings to the outdoor elements, and allow the plants to become further hardened off.
Lift off the lids, for increasing periods of time.
Once hardened off, the container covers can be completely removed.
Transplanting
Transplant the lupine seedlings after the last frost date in your growing zone. The lupine seedlings are hardy perennials, and will still tolerate light frost after planting.
Lupine seedlings don't tolerate disruption to their roots, so take care during the transplantation process.
If you are able to separate the lupine seedlings from the containers, do so gently.
If you have planted in juice or milk containers, you can gently divide the planting medium in half or in quarters, and plant each segment of planting medium with seedlings, as is.
I find this technique less disruptive to the plants, and they respond well when planted in this manner.
Transplant into a prepared bed in a sunny spot, for best flowering and mildew resistance. Lupines can also be grown in a partial shade location.
Plant into average and well drained soil.
If the seedlings are separated, space them approximately 18 inches apart. Otherwise, plant them as divided from the growing containers, with least disruption to the roots.
Water in well after planting, and water regularly until established in the garden. Once established, the lupine plants are drought tolerant.
Learn more about tips for growing lupines in the garden here.
Lupines are a cool weather plant, and grow well in zones 4 to 8.
Frequently Asked Questions:
Can I Sow Lupine Seeds In September?
Lupine seeds can be directly sown into the garden in early September.
This is about the time when they are naturally dispersed from the lupine plants themselves, back into the garden.
These seeds will generally be protected, and not germinate until they have gone through the stratification process, which occurs throughout the winter. These autumn sown seeds will then germinate the following spring.
If however, the seeds become stratified by an early cold spell, and then afterwards are exposed to a warm spell of weather which causes germination, the resulting plants will most likely not survive the winter.
Winter sowing will prevent this from occurring, as the seeds are sown in the dead of winter. Once they germinate in spring, they are partially protected in their mini green houses from late frosts.
The plants are less vulnerable to early loss when winter sown.
How Late Can You Plant Lupine Seeds?
If you are sowing seeds directly into the garden, lupine seeds can be planted as late as the ground is workable. The later the better, to prevent early germination.
When winter sowing lupine seeds, the soil is always workable, as the seeds are planted indoors into a container with soft moist soil, and then placed into the outdoor environment, in the middle of winter.
Winter sown lupine seeds can be sown from winter solstice through March, depending on your hardiness zone. As long as it remains cold outside, and the seeds have time to stratify, your winter sowing efforts should be successful.
In warm climates, aim for the coldest months.
In zone 5b we usually have snow on the ground, right through until April, whereas in warmer growing zones, the tulips and daffodils are already blooming by then.

Will Lupines Flower First Year from Seed?
As with most herbaceous perennials, lupines generally do not flower in the first year when grown from seed.
During that first year the small seedlings are establishing in the garden, and developing their root system.
In the second year from planting, the plants will grow larger, and are more likely to bloom.
Last year however, my winter sown lupines grew exceptionally well, and so much so that they actually bloomed in their first year.
The new lupine plants and blooms were somewhat smaller than those of a mature plant, however they were impressive, and it was lovely to see them in bloom.
These first year blooms occurred at the end of the season, towards fall, and not typical of the normal bloom time of a lupine plant. I am hopeful however that next year they will be in sync with the others, and bloom in late spring or early summer.
Conclusion
Lupines are great choices for the spring garden, with their striking pastel spiked blooms.
These perennial flower seeds can be easily grown, using the right techniques to get them off to a great start.
Lupine seeds are perfect candidates for winter sowing due to their perennial nature.
As with most perennials and hardy annuals, winter sowing is a great way to naturally stratify the lupine seeds, while letting Mother Nature take over much of the early seed care.
Winter sowing is a natural sowing method, resulting in strong and healthy seedlings in spring.
Milk jug green houses are easy winter sowing containers for lupines, however there are also many other options to choose from.
Consider winter sowing lupine seeds this season, for an easy hands off method, to start these fabulous perennial plants.

Have you ever tried winter sowing lupine seeds? If so, be sure to leave a comment below, to share your experience!
Other Posts You May Like:

PIN IT FOR LATER!

Chuck Ezell
Great tip on the Milk Carton greenhouse. I tried it and it worked very well. Thank you for sharing that..
Cheyanne Mullin
Hi Chuck, Best of luck with your winter sowing. It's a fabulous way to start your seeds, and definitely my favourite!