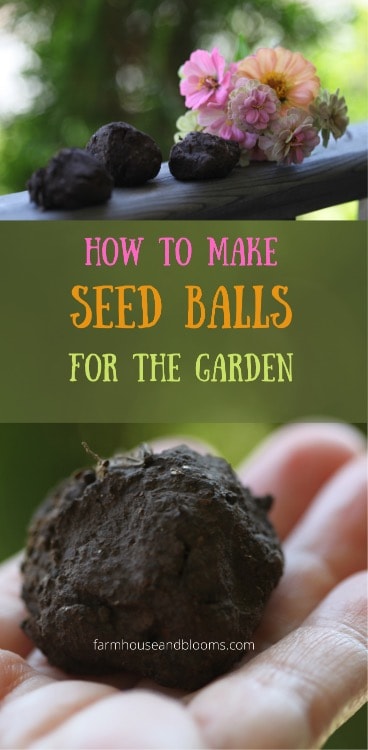
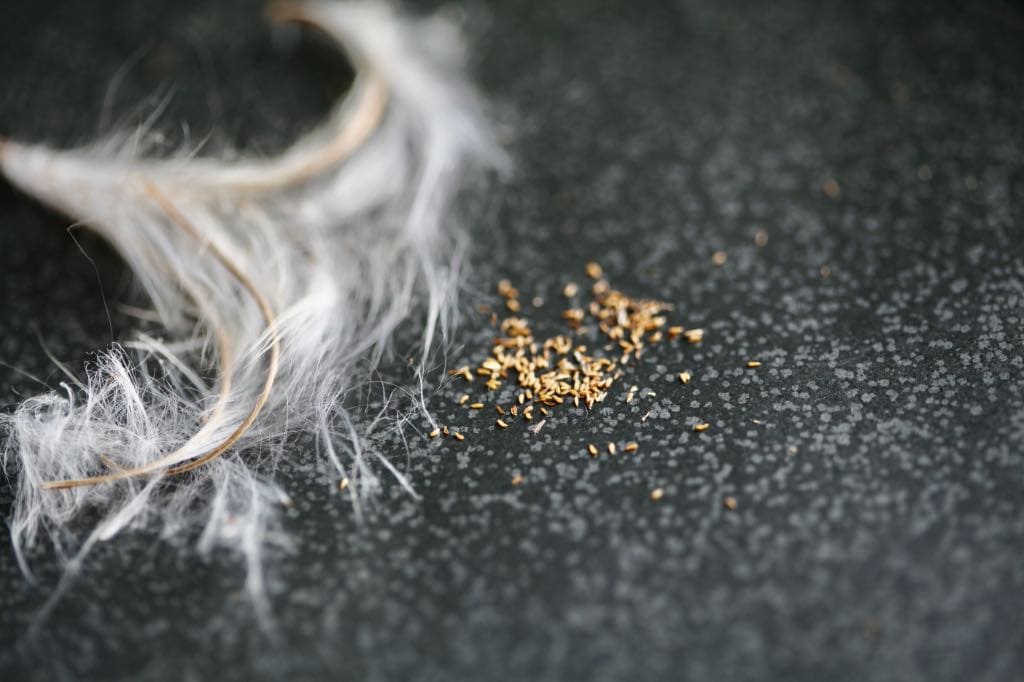
Last year we harvested many seeds from our autumn garden. This spring, after we finished planting all the seeds that we intended to grow, I realized that some of the excess seed could be used to make seed balls, also known as "seed bombs". These are self contained germinating balls of wonder, and always a pleasure to make! Learn how to make seed balls, to share the beauty of your flowers with others.
What Are Seed Balls?
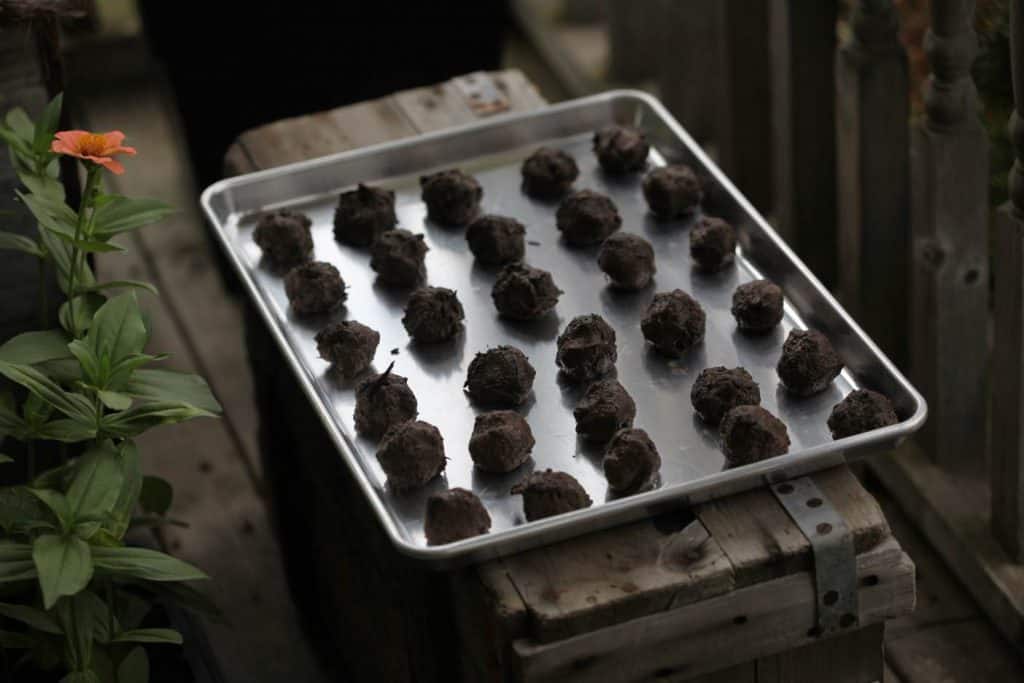
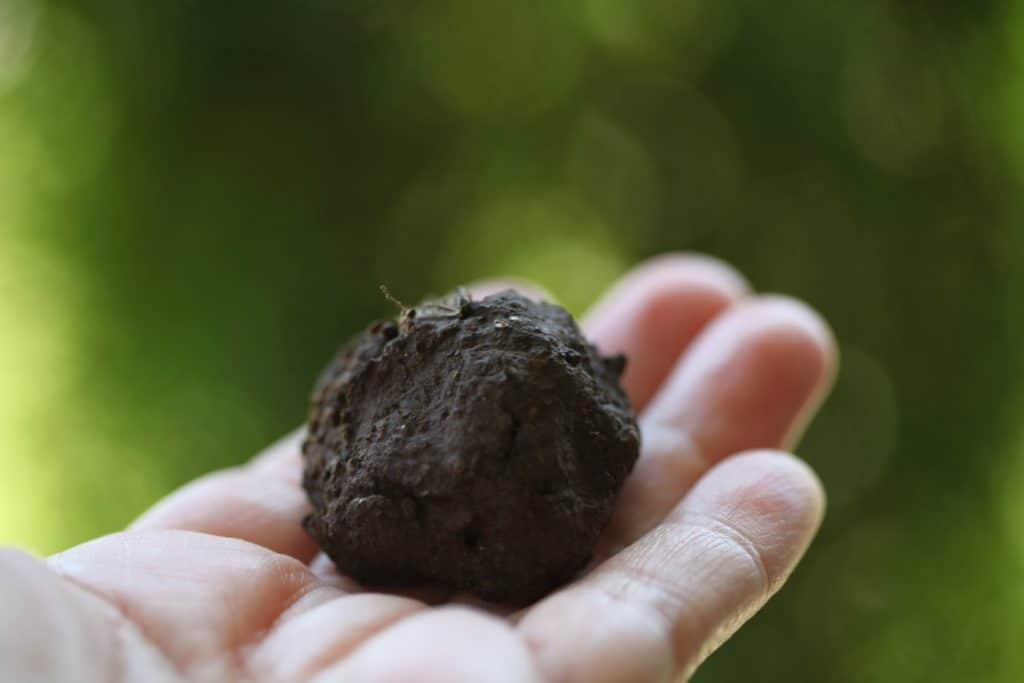
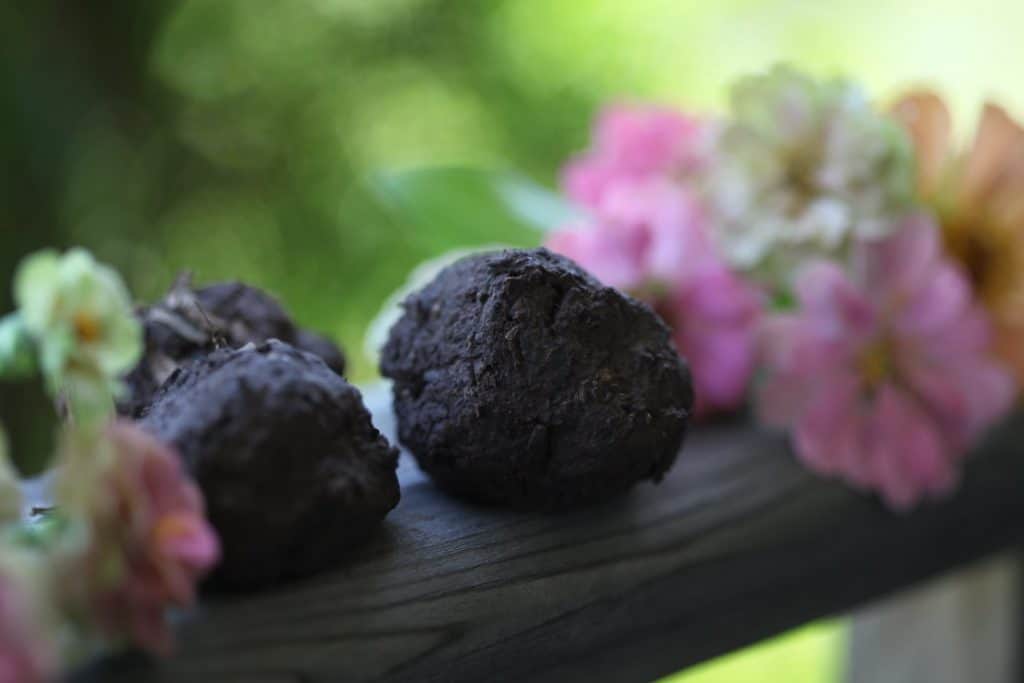
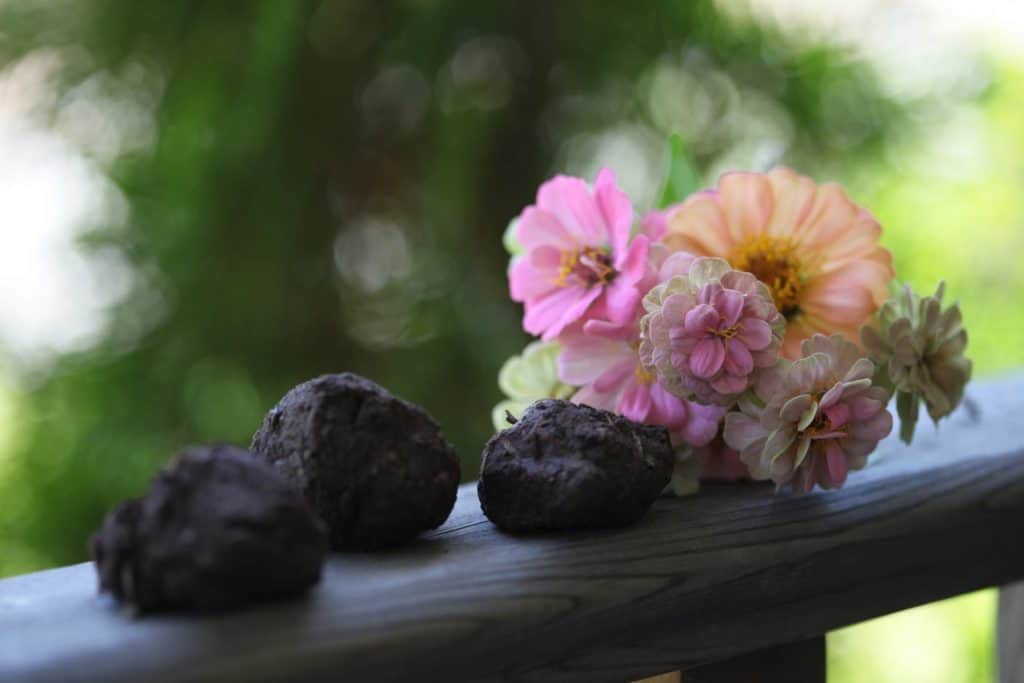
Seed balls are round formed balls made from clay, compost, seed, and sometimes sand. These balls are formed when they are wet and the seeds are either mixed into the mud or pressed deeply into the outside of the ball. Seed balls are used to distribute and grow seeds, often flower seeds or tree seeds. The places where seed balls are placed are often areas that might benefit from the beautification of the planting.
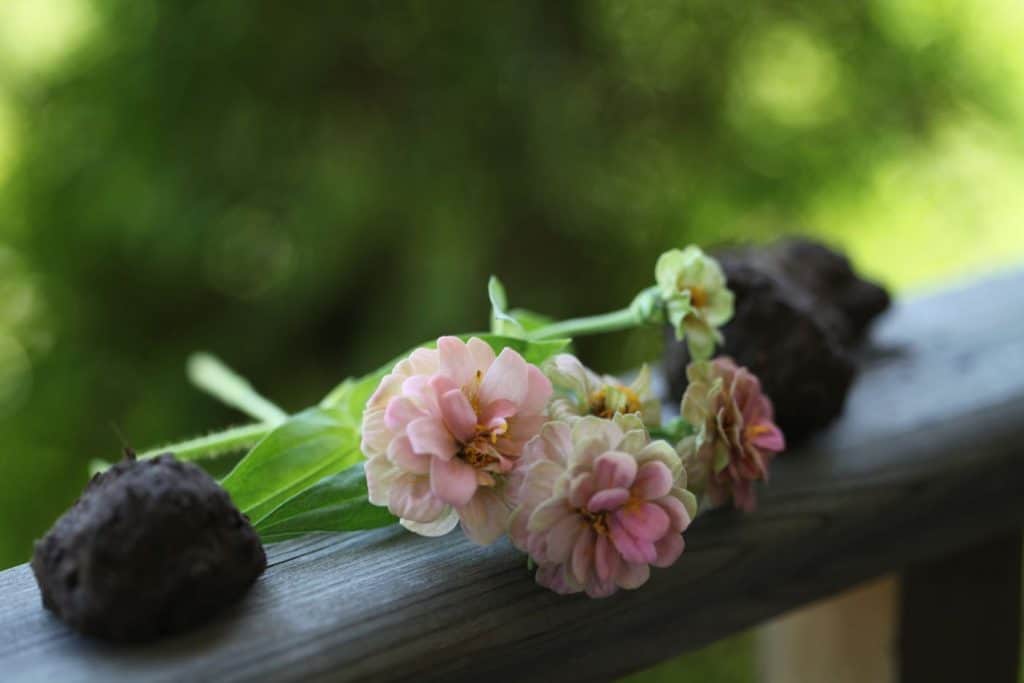
You can give your seed balls as a gift to any gardening neighbours that you would like to share in the joy of your flowers.
The nuggets can be distributed to places where you would like to see a few extra flowers growing.
You can also put them anywhere in your own garden!
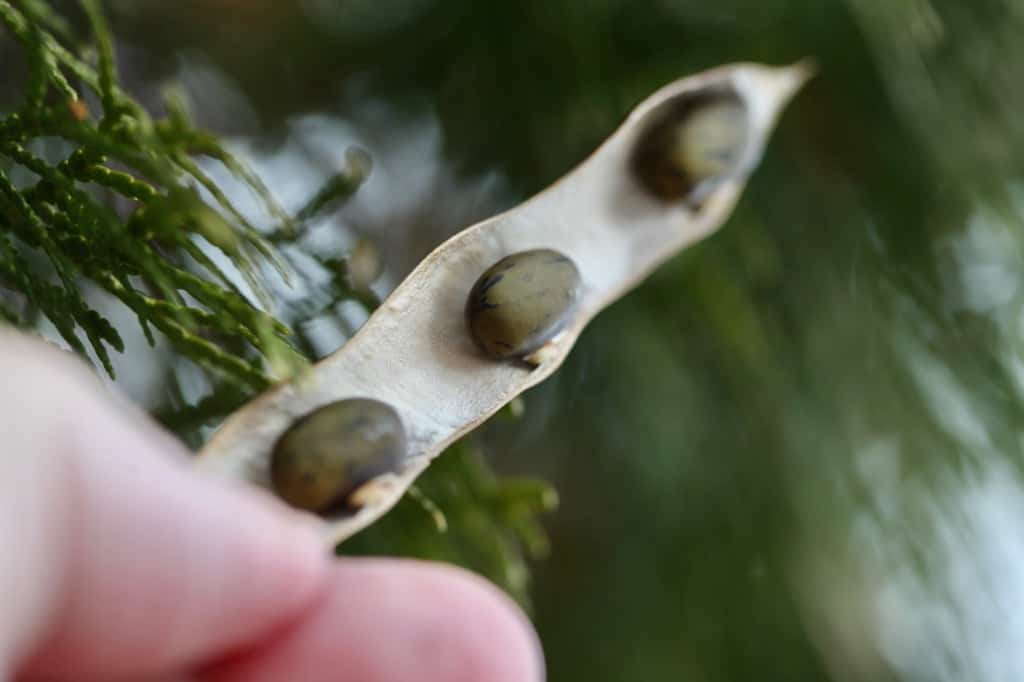
Seed balls ideally will include native plants and those that grow well in the area where they are planted. Milkweed seeds are a great seed to add to attract the Monarchs.
These little brown spheres of soil are essentially self contained tiny planters, housing seeds which will grow when exposed to sunshine and rain.
Seed Balls Benefits
The ingredients of a seed ball provide the seeds with all that they need for germination and initial growth, with the exception of moisture and sun which will be received in the outdoor environment.
Making these earthy nuggets full of seeds allows a gardener to secretly share the beauty of their flowers with others, by secretly placing them in areas where they want the flowers to grow.
These tiny garden treasures are so easy to make, and it's such a fun activity, especially for kids.
It is a simple activity, with positive results.
It allows the adults involved in the project to play in the mud for a few short minutes, reminiscent of carefree childhood days making mud pies.
The anticipation of a surprise reaction from others when they see the flowers growing in areas where they would not expect is always heart warming.
Seed Balls Recipe
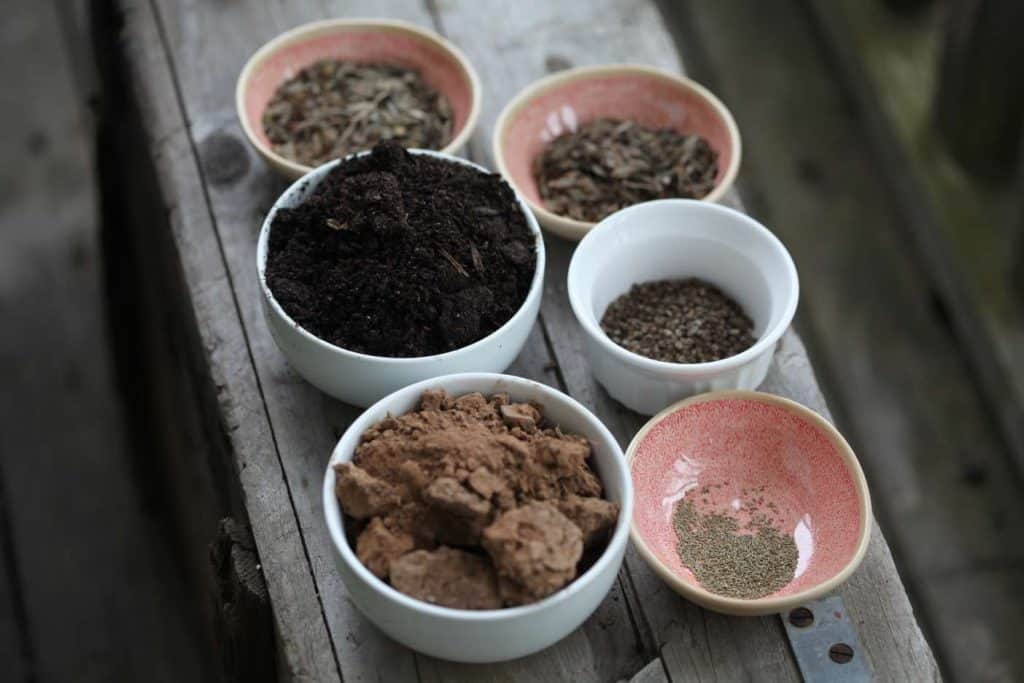
We have wonderful red clay soil at our farm which is ideal for making this recipe.
For us, all we used is clay, compost and seed.
Clay is amazing at retaining moisture, which will help the seed as it germinates. It is important that the seeds do not dry out during the germination stage.
Ingredients:
- Clay- 5 parts
- Compost-3 parts
- Water- use an amount required to make a ball forming consistency
- seeds- 1 part
Alternatively you can use soil, sand and compost along with water and seeds. Experiment with what you have on hand to get the right mix.
You can use any type of clay that you can access. Red clay is ideal. It all works well to coat the seed and to keep it protected while germinating.
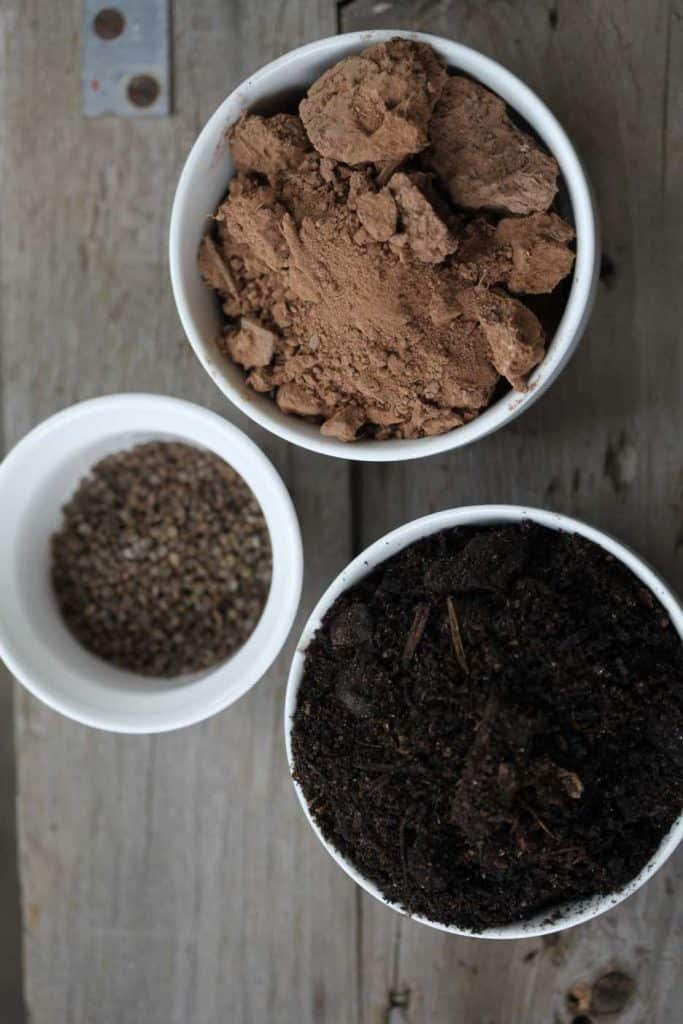
Break up the clay to remove any big chunks. Wetting the clay will make it much easier to break up.
The compost should also be fine, and any large chunks or bits removed.
How Do You Make Seeds Balls For Flowers?
- Gather up your ingredients.
- Mix the clay and compost together.
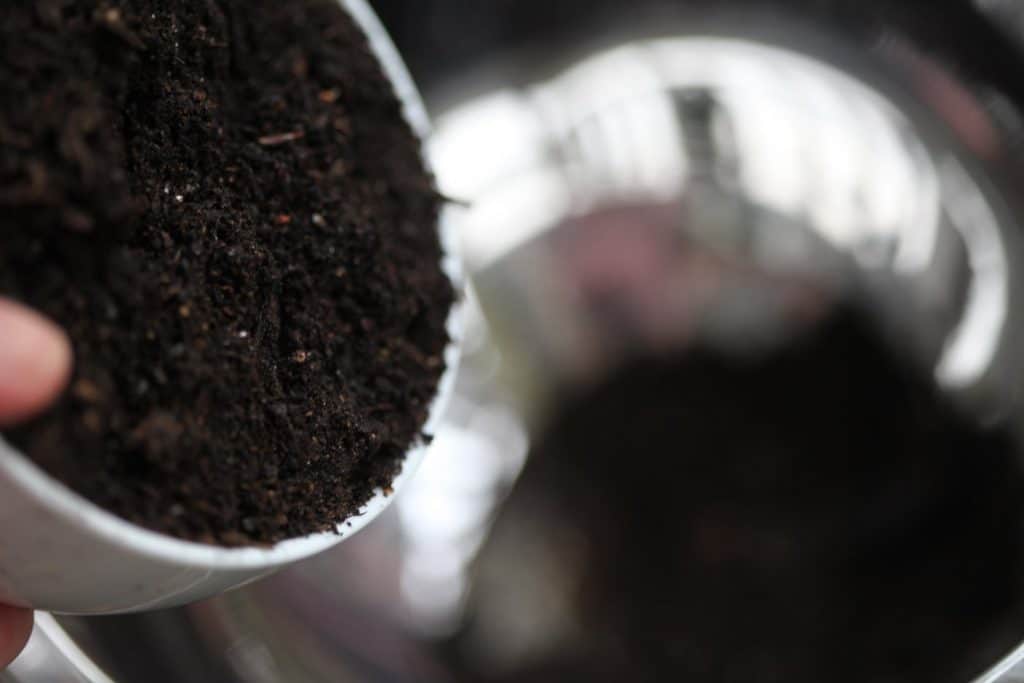
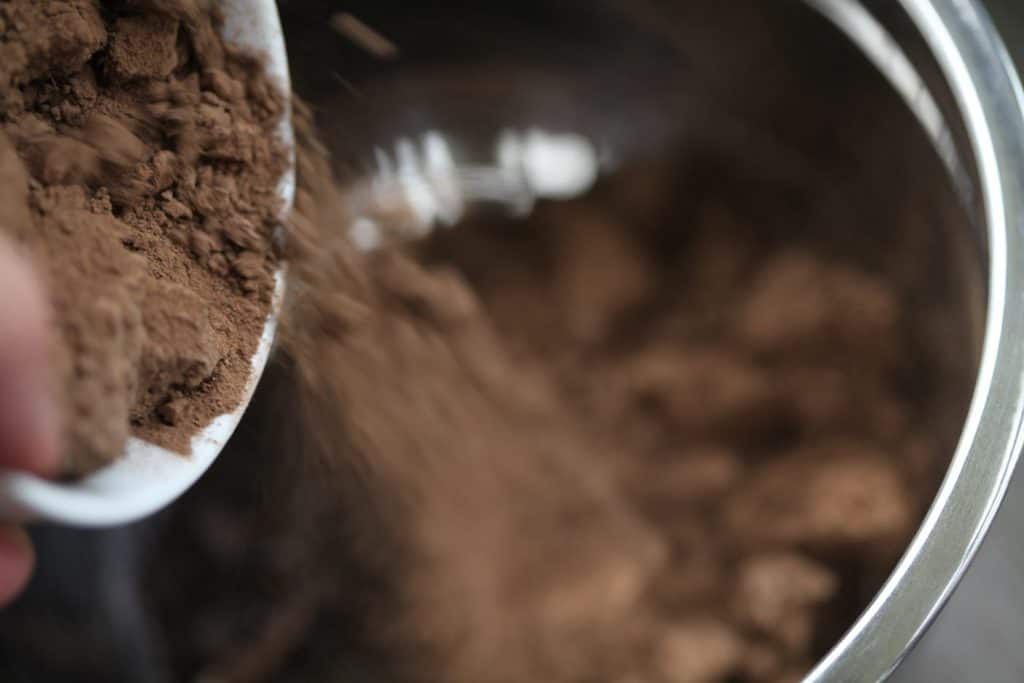
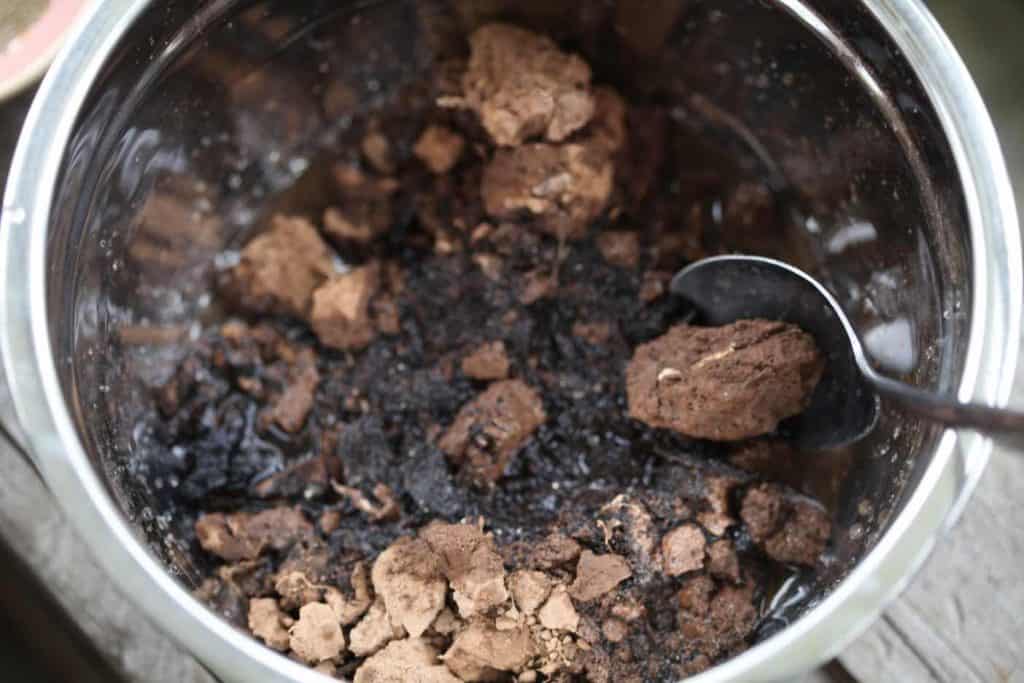
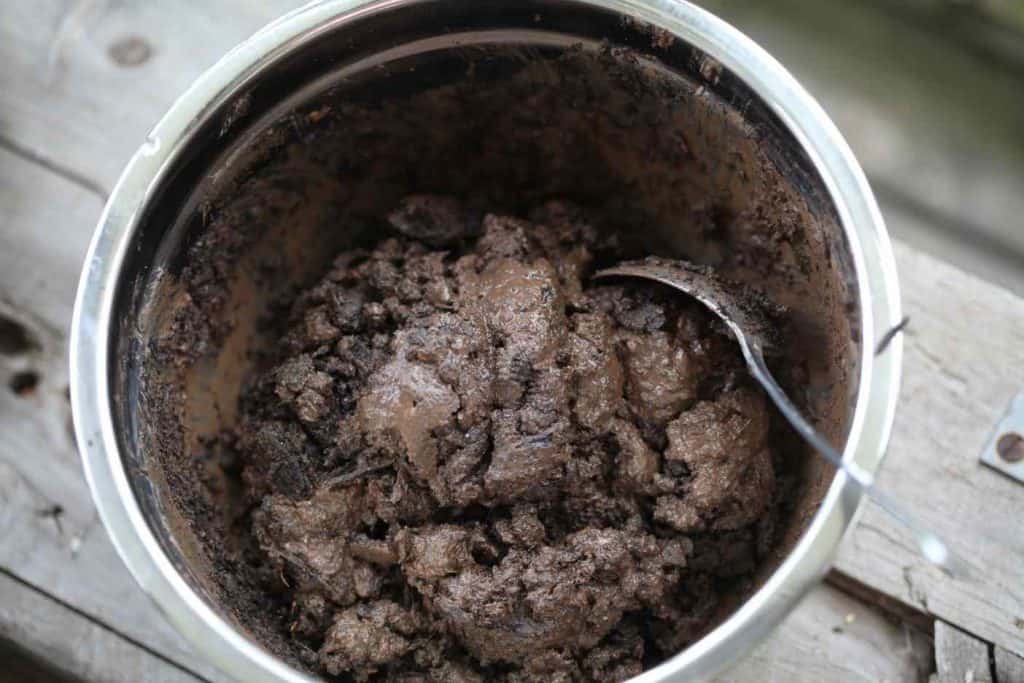
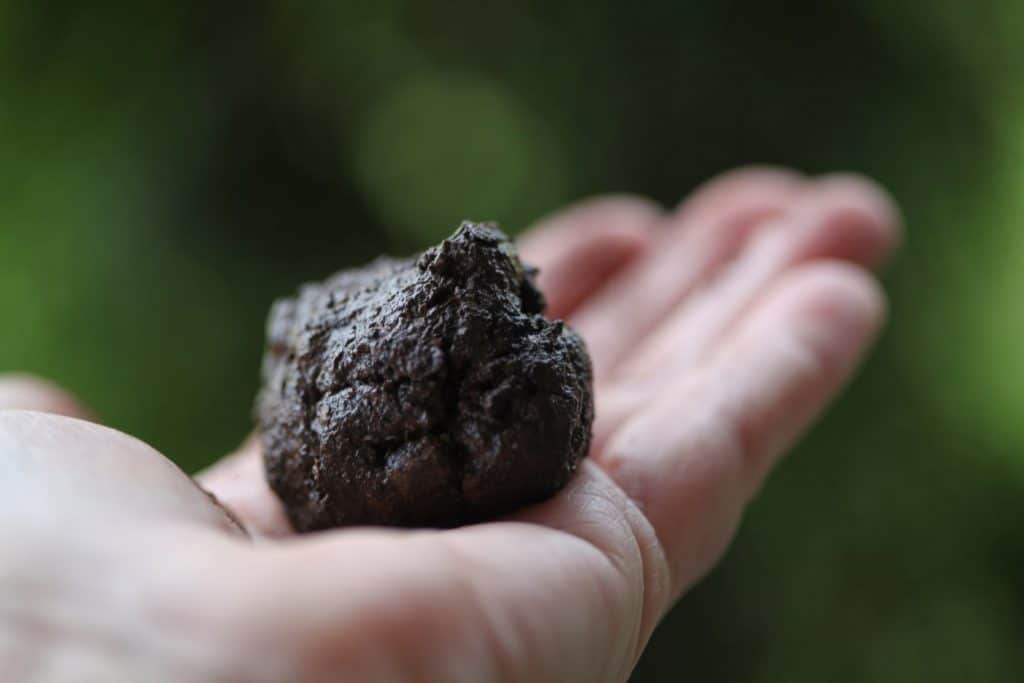
- Add water to the mixture, adding just enough to enable you to form the mud into a small ball. I had to add a bit of extra compost to get a drier mixture.
- You can add the seeds into the mixture at the beginning, or roll them onto the outside of the ball as it is forming.
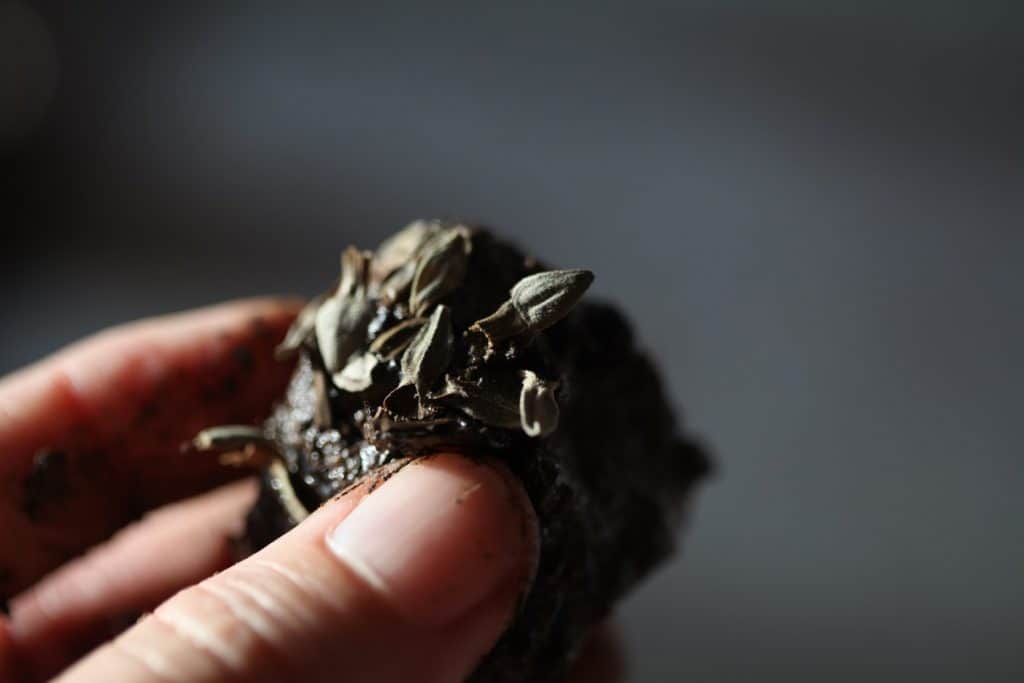
- I like to put some seeds on the outside of the units, especially the smaller seed, and then cover them up lightly.
- Roll the seed balls into small round nuggets approximately an inch in diameter.
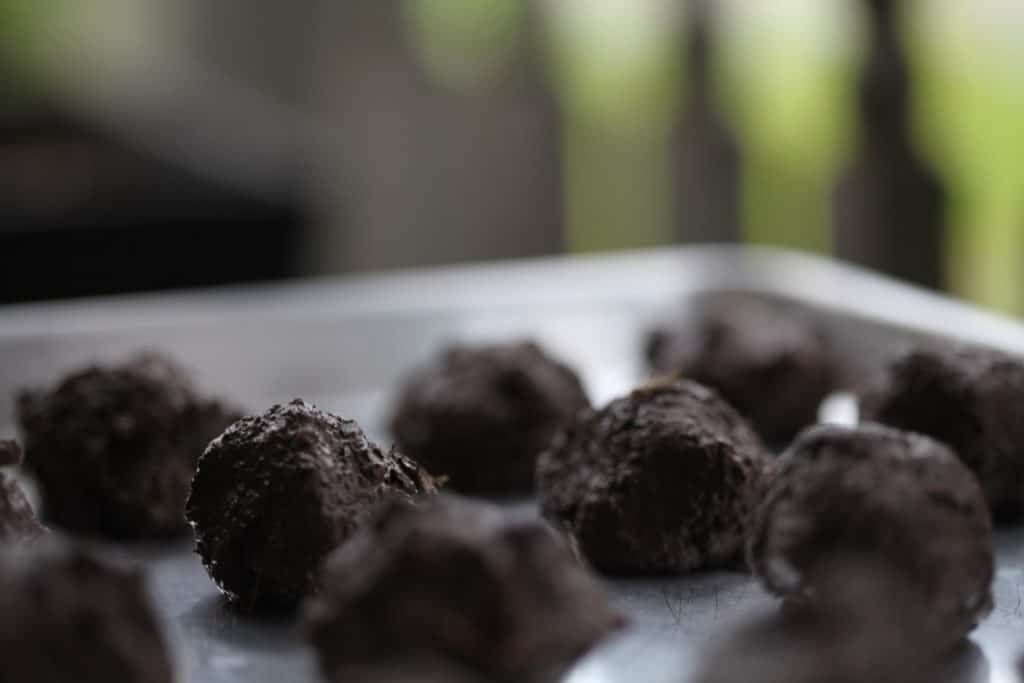
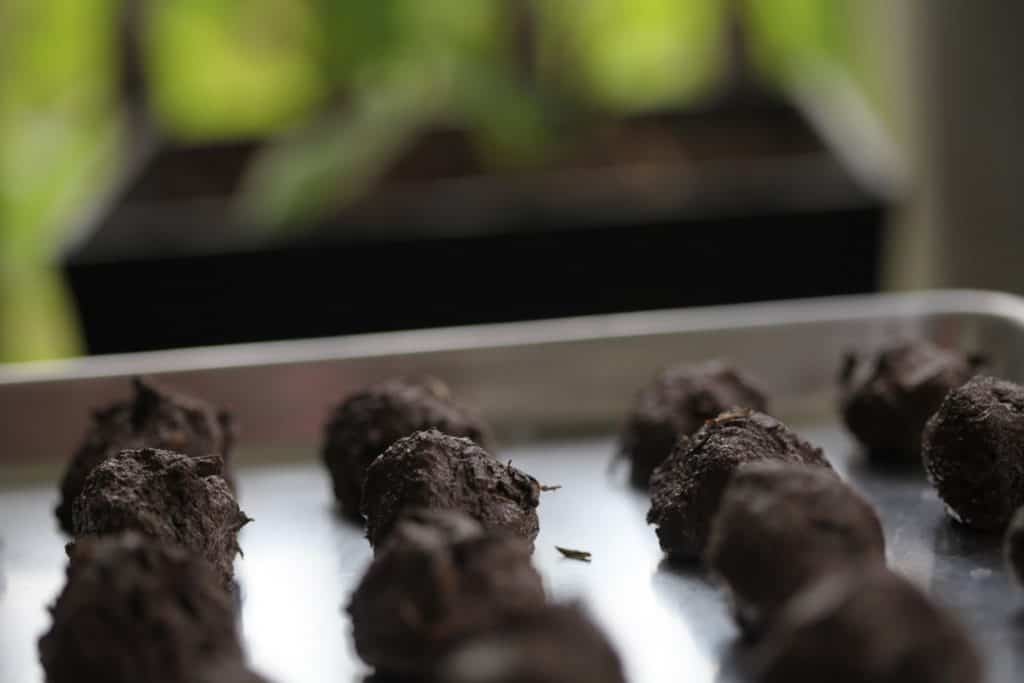
- Set them on a tray to dry. The seeds will remain dormant until they are placed outside in their growing location.
- It's important to dry them out right away so that the seeds don't start to germinate. Put them outside in the sun if you can.
- Our seedballs dried out within 12 hours.
Do Seed Balls Work?
Seed balls work well to keep the seeds that are contained inside them alive and growing while they are germinating and putting out their root system.
When placing your seedy nuggets of goodness, it is important that they are placed in the right location. They will have the best success if they have contact with some soil.
It is very important to place the units on an area of ground with bare soil, as this is the area where the flower's roots will eventually penetrate.
If they are placed on top of sod or moss, they may germinate but not be able to take hold due to the other plantings that are growing underneath them.
Seed Ball Advantages
- The mud and compost will help to keep the tiny seedlings alive when they first start to germinate, and provide them with extra nutrients that they may need until they get established.
- The seeds are protected from predators such as birds, and small animals while covered in the clay mixture.
- There is no digging or planting involved!
- The set and forget aspect of making and distributing seed balls makes this project so easy.
- People placing these bombs to beautify are making a difference in areas that may have been long neglected.
- Planting seeds, especially flower seeds, helps to bring joy to the world.
- Believe it or not, these seedy nuggets make wonderful gifts!
Disadvantages Of Seed Balls
- They don't always grow.
- Sometimes they land in the wrong location, or may dry out while germinating during a dry spell, which is not a good thing.
- It's important not to plant seeds that will compete with the native species growing in your area, so choose your seeds wisely.
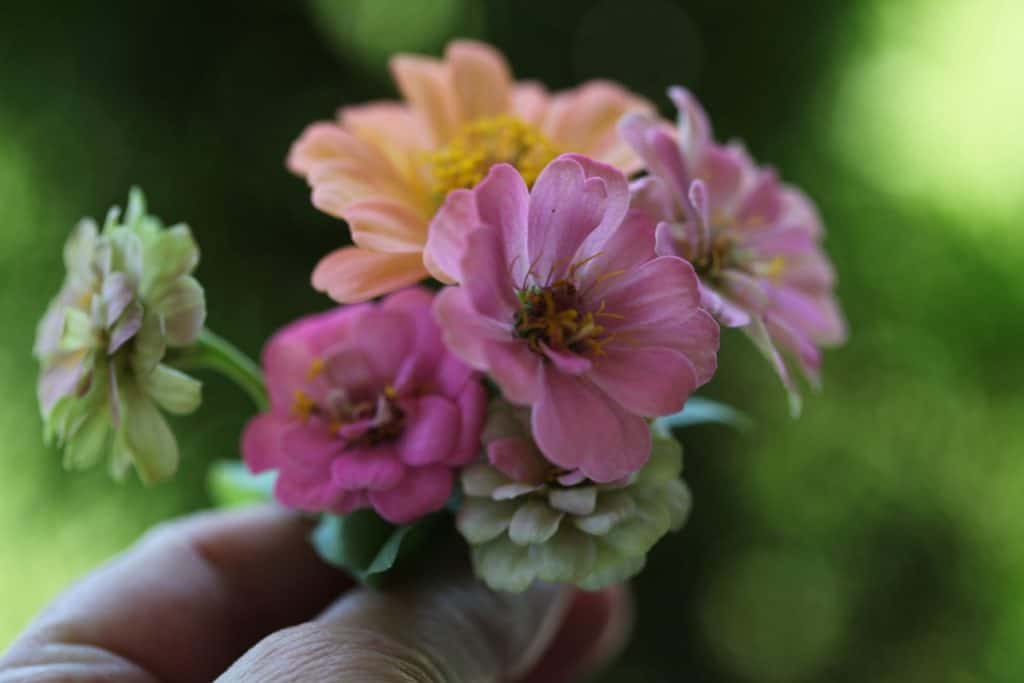
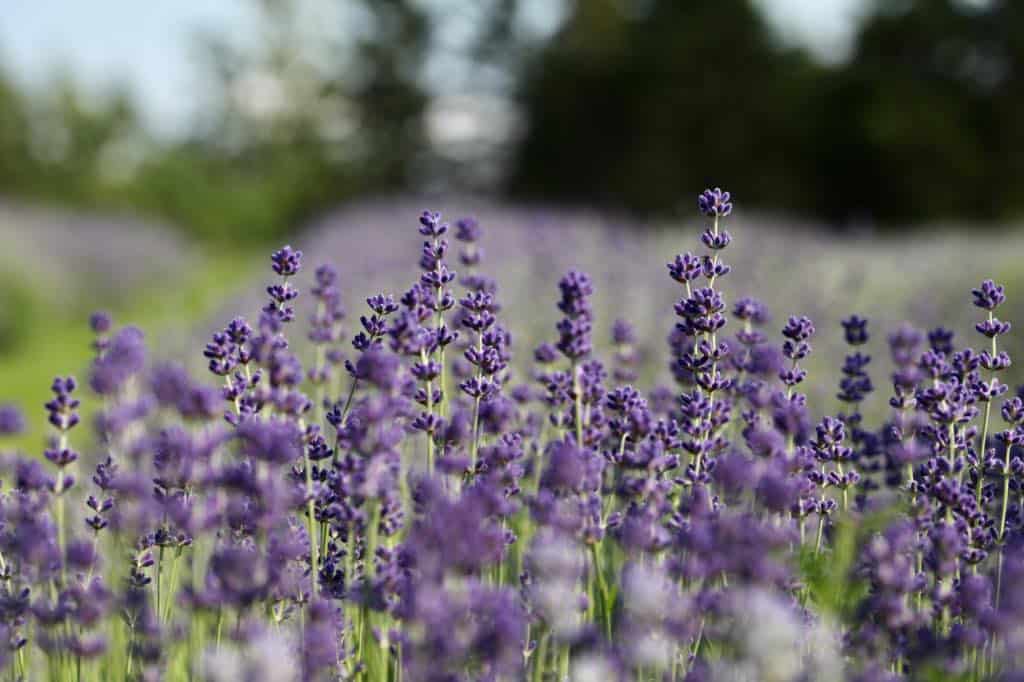
- Some of the seeds we included in our seedballs were Chinese forget me nots, señora zinnias, queen lime red zinnias, and green mist ammi. These are all annuals in our area and will not become invasive.
How To Plant Seed Balls
Now that you have your seed balls all ready to go, and the next step is to plant them. Well actually, it would be place them or throw them, as there's no planting required!
Proper timing and location is important in this process.
1. Timing
Place the seed balls at the right time of the year to enable the seeds to germinate. If you seed balls contain annual seeds, plant after all risk of frost has passed.
Tree seeds, perennials, and some hardy annuals can be planted in the fall as well to provide stratification.
2. Location
The best location for the placement is determined by the seeds being planted. Generally a sunny open area where the seeds will be able to receive moisture and sun is ideal.
Make sure that the seeds are also placed on bare soil, or at least in an area where they will be able to root.
When Should I Throw My Seed Balls?
Place or throw the seedballs into the area where you want them to grow after the risk of all frost has passed. Unless of course they contain cold hardy annuals or perennials, then they will be able to tolerate some cold and frost.
How Long Will Seed Balls Take To Germinate?
The germination time for your seed balls will be based on the actual seeds contained inside. Different seeds will have different germination times. Some flower seeds will germinate within several weeks given the right conditions. Tree seeds on the other hand can take much longer to grow.
Will Seed Balls Work In Urban Areas Or Forest Regions?
- Seed balls have been placed in both urban and forest regions.
- They have been used in reforestation projects, like this one in Kenya.
- Tree seeds can be mixed into seed balls and are able to be easily distributed for reforestry.
- In fact I have had some experience with planting trees here in Nova Scotia, using a tree planter. Use of seed balls would definitely be a much easier option.
- Seed balls have been used in urban locations where tilling or digging is more difficult. They are a creative way to add a touch of green space and awe to urban areas full of concrete and pavement.
We will do a secret planting in an open area not far from where we live, where the soil was accidentally disturbed, next to a walking path on town property.
We will plant our seeds where weed seeds and wildflowers normally grow, to beautify the area.
Have you tried to make seed balls? If you have we would live to hear about it! Be sure to leave a comment below to share your experience!
Other Posts You May Like:
PIN IT FOR LATER!

Sara
I just had my basil seeds eaten by birds! I love this idea!
cheyanne
Those hungry birds! Yes for sure this should give them half a chance!