Many years ago we were visited at the farm by a daylily hybridizer from the eastern shore of Nova Scotia. He shared with us some daylily jelly that he had made with daylilies from his garden. It was the first time I discovered that daylilies were actually edible. The jelly was tasty and sweet, and most pleasantly surprising. Learn how to make daylily jelly, to preserve some of these these delicious edible blooms from your garden.
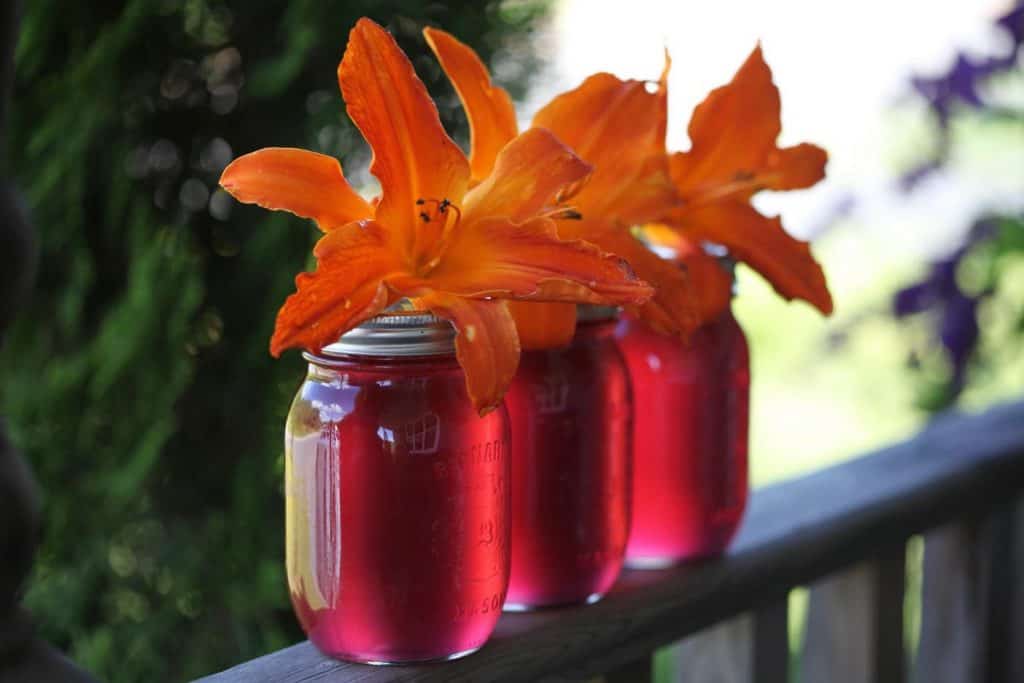
It's funny that it took so long for me to make Daylily Jelly.
I consider myself to be one of the biggest daylily lovers out there.
I guess I just couldn't see myself removing the blooms from the scapes, as each daylily bloom is precious when you are hybridizing.
These days however, I am surrounded by so many daylilies that I have lots of extras. Now I can start to explore using these wonderful edible flowers in cooking.
Let's start with the daylily jelly!
Is Daylily Jelly Easy To Make?
Daylily jelly is easy to make. All you will need are fresh daylily blooms combined with boiling water to make a steeped tea. Steep for twelve to twenty-four hours, then combine with sugar, lemon and pectin, and cook to make a wonderful flower infused daylily jelly.
Flower Essence Jellies
This summer we have been testing out some wonderful flower essence jellies made with edible flowers. They are all spectacularly unique in their own way.
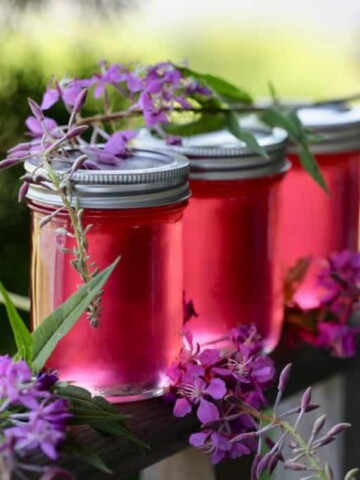
So far this year we have made dandelion jelly, lilac jelly, and fireweed jelly.
You can read about our other flower jellies here:
Next on the list is this daylily jelly, made with a mix of blooms from our garden.
Which Daylily Blooms Are Best For Jelly?
Choose perennial daylily blooms that are open and fresh to use in your jelly.
Daylily flowers only bloom for one day, so harvest the blossoms first thing in the morning when they are open and fresh.
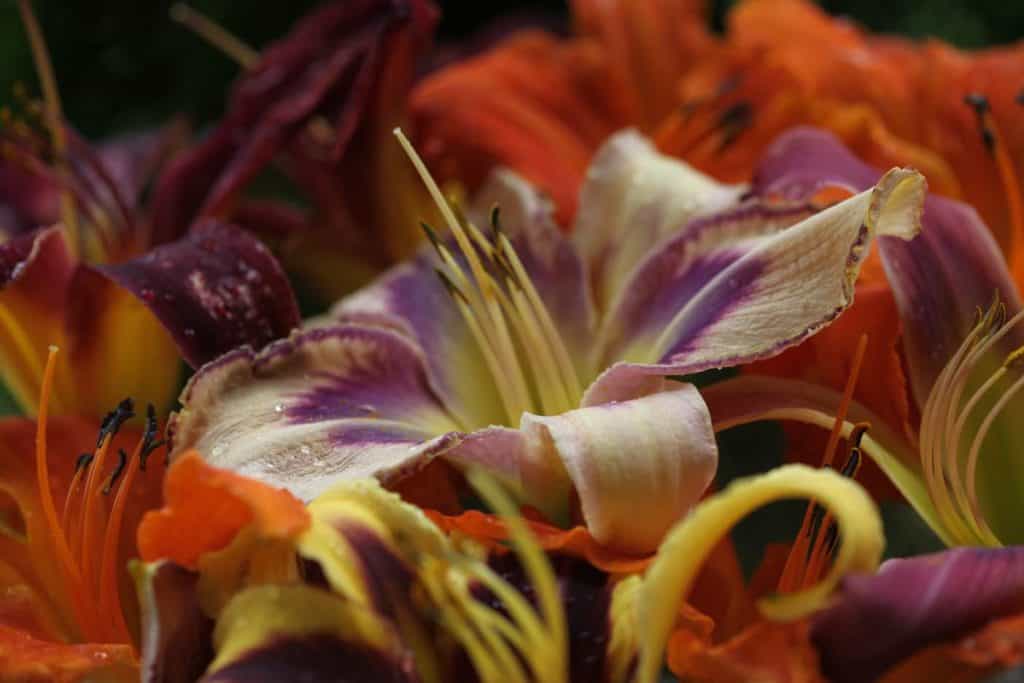
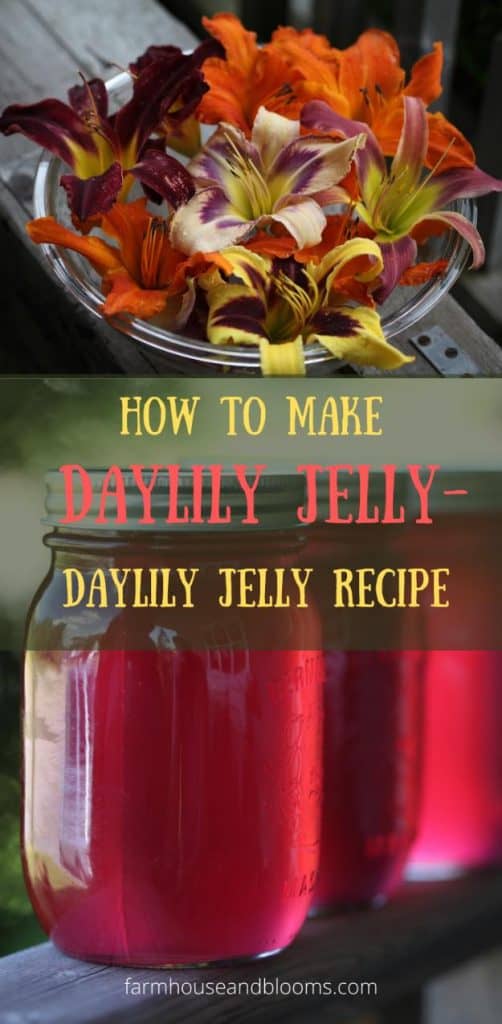
I wondered if choosing different colours of blooms would alter the colours of the jelly, so I chose a variety of different coloured blooms.
There were deep intense orange blooms from Primal Scream, and darker purple blooms from Aliens In The Garden.
I also added a bloom each from Destined To See, Zigane, and Laughing Skies for good measure.
Are Daylilies Safe To Eat?
Some safety considerations:
1. Make Sure You Are Harvesting Daylilies
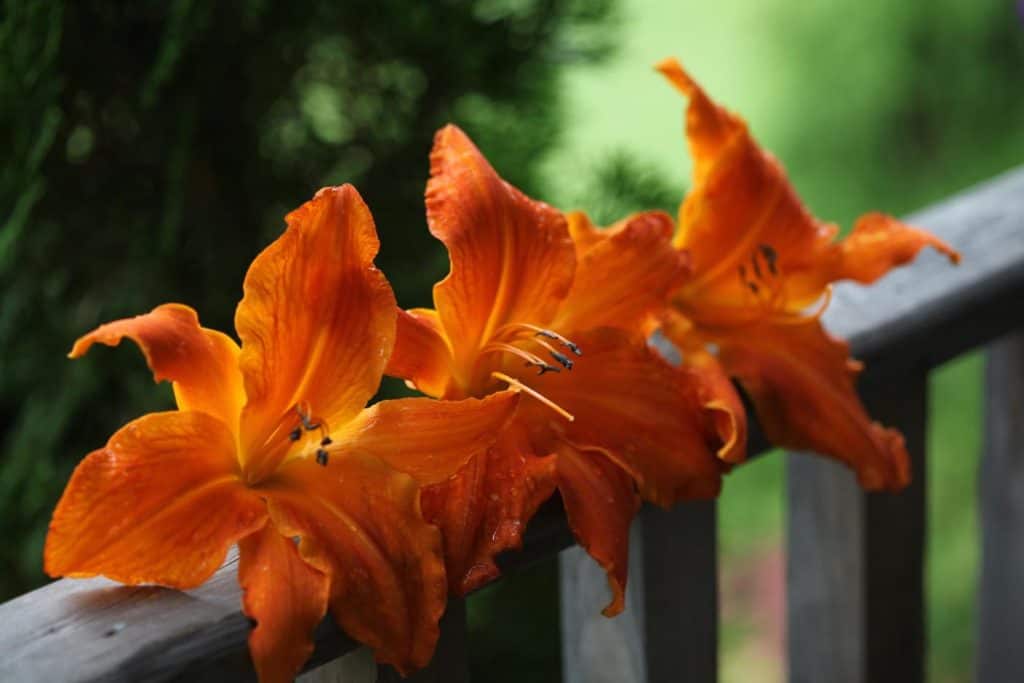
- Make sure you are harvesting daylilies, and not some other type of lilies
- Daylilies, also known as hemerocallis, are edible flowers that can be found in many gardens during the summer months.
- There are some lilies however which are not edible, and may in fact be harmful if eaten.
- To make things even more confusing - daylilies are not actually lilies, although they have the name "lily" in their name.
- It is therefore extremely important to be able to identify daylilies, and to able to differentiate them from other plants with the name "lily", such as Oriental lilies, Asiatic Lilies, and water lilies.
- Know for certain that the flowers you are harvesting for your jelly are in fact daylily blooms.
2. Make Sure You Are Harvesting In A Safe Location
Where Can Daylilies Be Safely Picked?
- Just as with any other plants or flowers picked for food consumption, make sure to pick from an area that is safe, and free from animal waste or herbicide residue.
- If you live in town and your neighbours treat their lawn, make sure there is no drainage running towards your daylily patch before harvesting to make your jelly.
- It's always best to be safe and harvest from a clean and organic area.
What Is Daylily Jelly Made From?
The list of ingredients for Daylily Jelly is quite basic.
Ingredients
Daylily Jelly is made from:
- Daylily petals- 4 cups of petals torn up into smaller pieces
- Water- 4 cups of boiling water
- Sugar- 7.5 cups of cane sugar
- Lemon juice- 2 tbsp
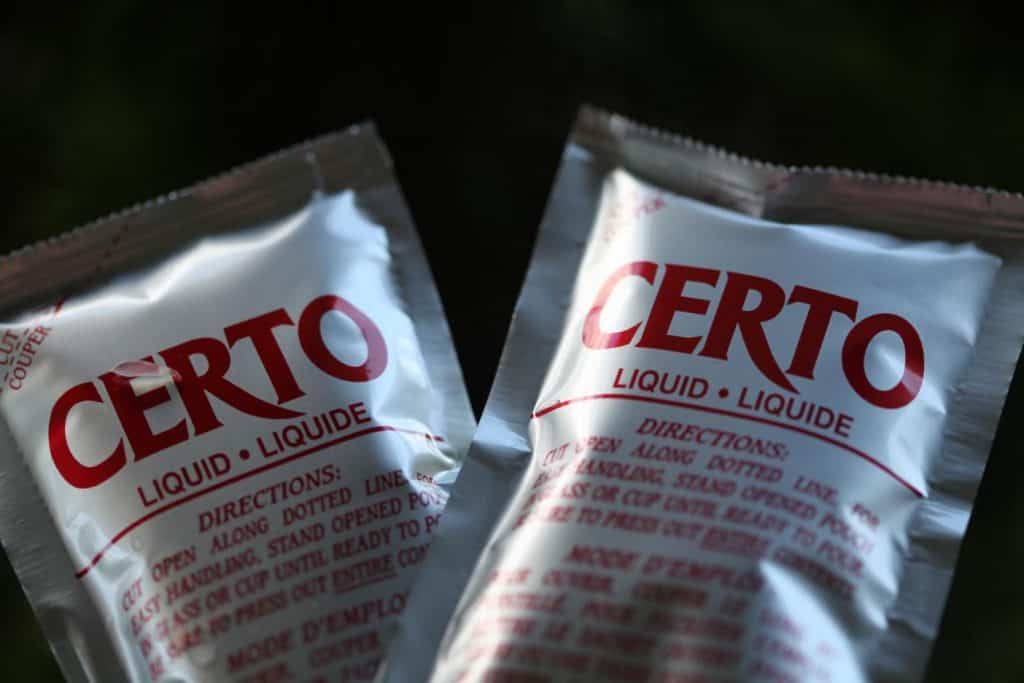
- Pectin- 2 envelopes of liquid pectin
- Butter- 1 tablespoon of butter to help eliminate foaming
A Note On Liquid Pectin
- Using liquid pectin increases the sugar amount required in the jelly, and therefore it also increases the yield.
- It is quite a sweet jelly, although very delicious.
- It would have been my preference to use the powdered pectin, however this was the only variety available in our area.
- One of the benefits of using the liquid pectin is the success it brings to the outcome of the jelly.
- It always sets well, and generally begins to set not long after the jelly is poured into the mason jars.
- If you are looking to reduce the amount of sugar, you can opt for a powdered pectin, and follow the package directions.
- If using powdered pectin, the timing for adding the pectin to the mixture is different than in this recipe.
- It is generally added and brought to a boil before the sugar is added, so make sure to read the package directions carefully.
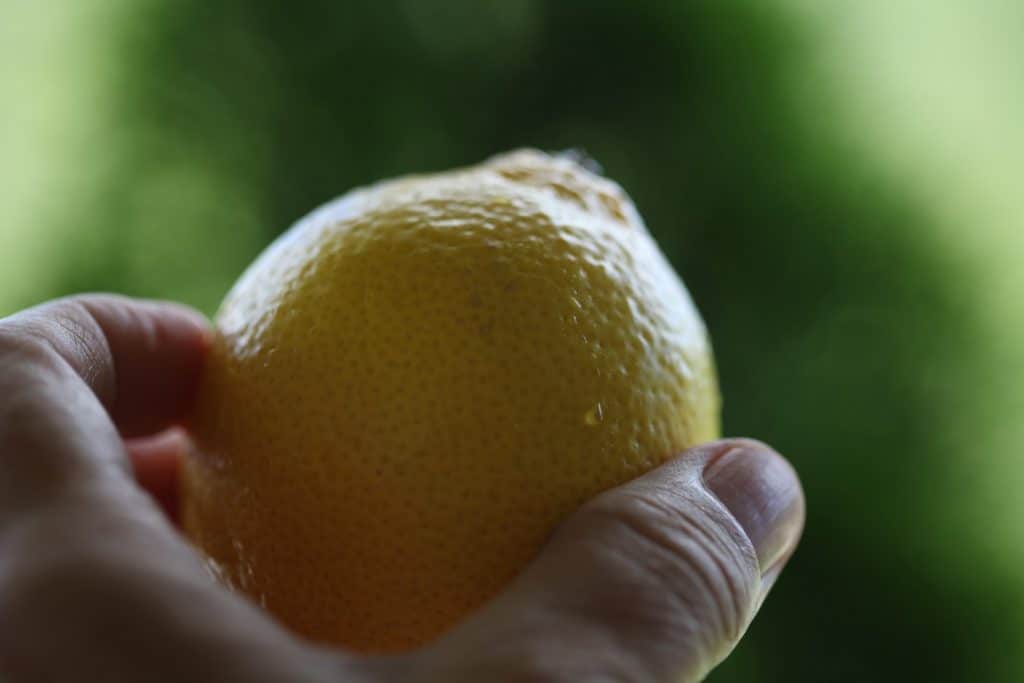
A Note On Lemon Juice
- You can use fresh or concentrated lemon juice.
- Lemon juice is added to help with the set, and as well with the safety of the jelly.
- It helps to preserve the jelly due the acidity .
- Lemon juice will cause the jelly to turn a bright pink colour almost instantly, so watch for this as you add it to the mixture. It is really interesting and almost magical.
How To Make Daylily Jelly
Now on to the the daylily recipe.
Directions:
Harvest The Daylily Blooms
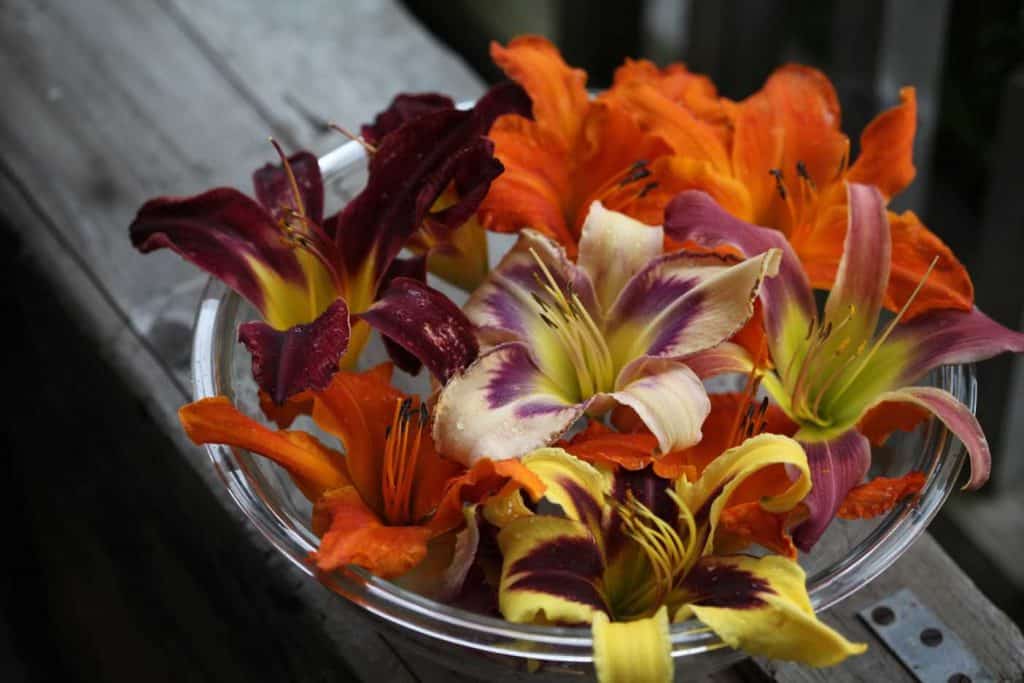
- Harvest enough for four cups of flowers.
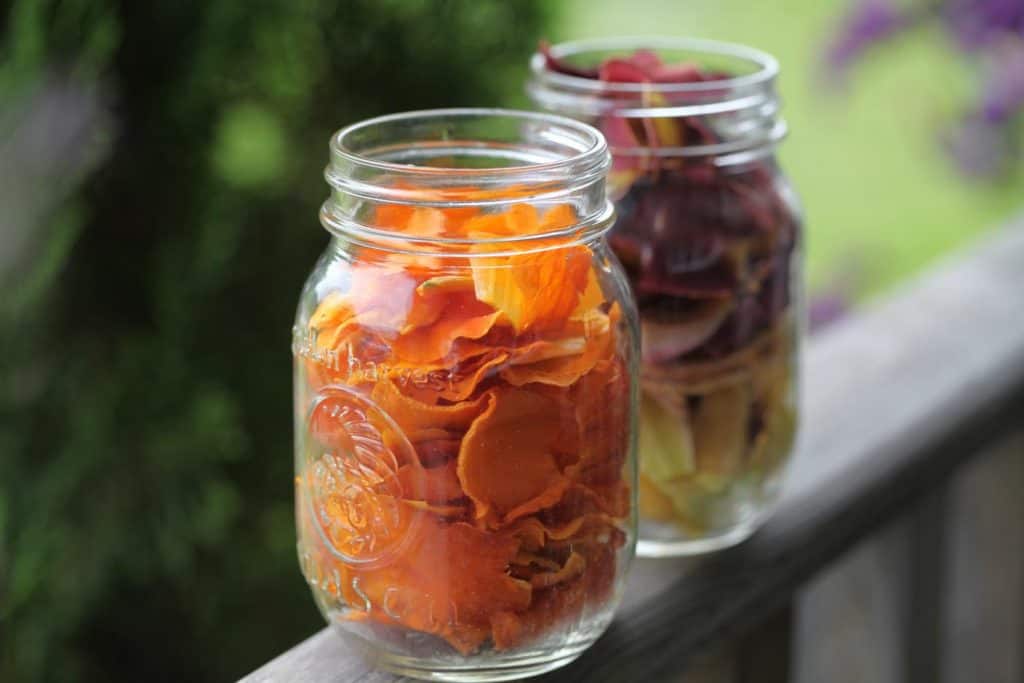
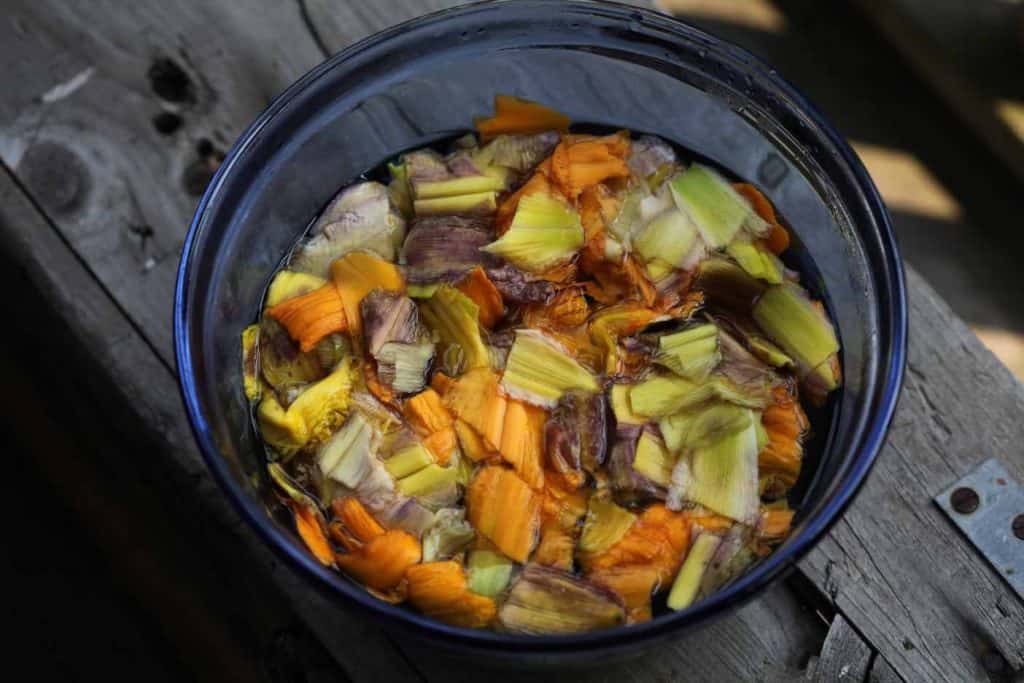
- This bowl full of flowers was just enough to fill two 500 ml mason jars full of daylily pieces.This is equivalent to four cups.
Prepare The Petals For The Infusion
- Tear the daylily petals into small pieces in preparation for making a flower infusion.
- This infusion will contain the daylily flower essence, which is used as the base of the jelly.
Pour The Water Over The Petals
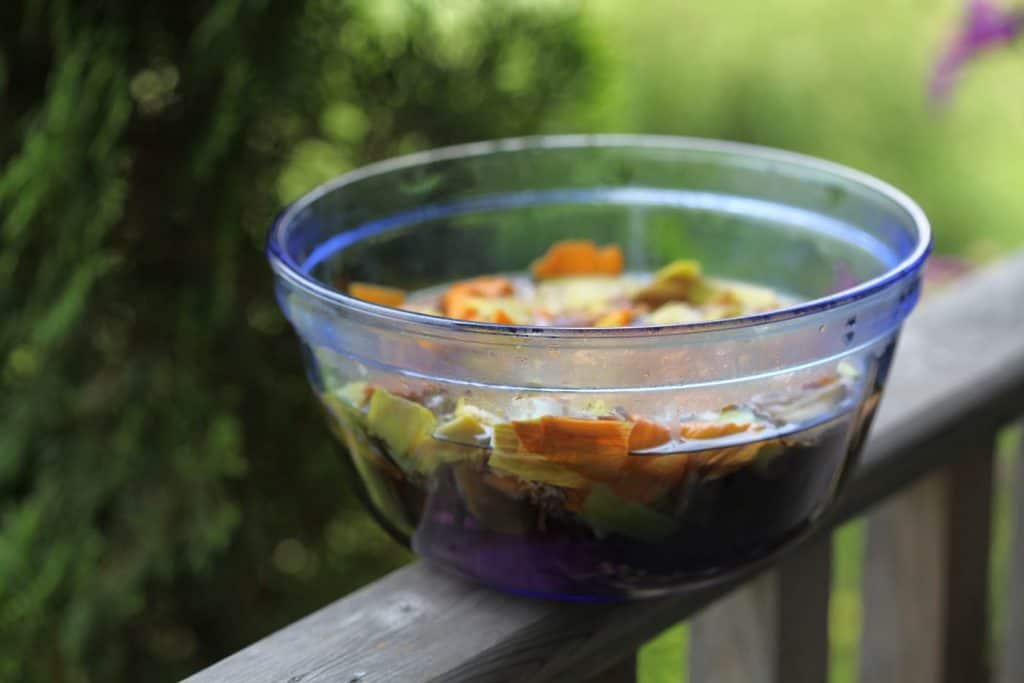
- Place the petals in a glass bowl that can tolerate the hot water.
- Pour 4 cups of hot water over the daylily petals.
Steep The Petals For Twelve To Twenty-Four Hours
- Cover and allow to infuse for twelve to twenty-four hours.
- Place the steeping mixture in the fridge while infusing.
Strain The Fluid From The Daylilies
- We let our infusion steep for twenty-four hours.
- Using a coffee filter we strained the daylilies from the fluid.
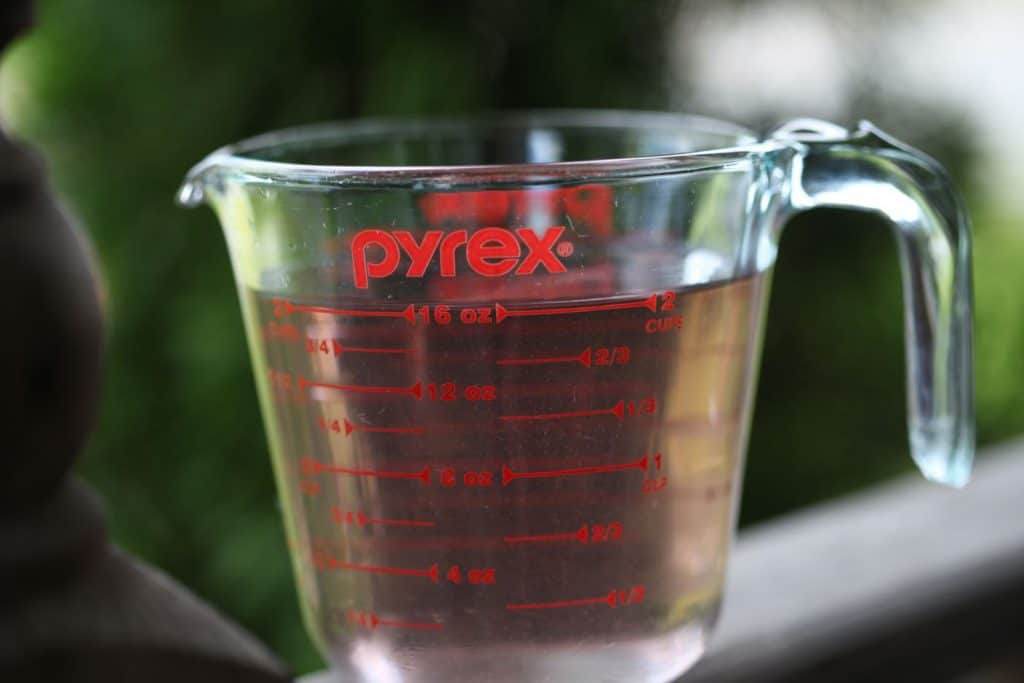
- You will need four cups daylily flower infusion for the base of the jelly. If you are a little short on fluid you can add extra water to make up the difference.
Add All The Ingredients To A Pot ~ Except The Pectin
- Mix together the flower infusion, the sugar, lemon juice, and butter in a large pot on the stove.
- Remember to watch for the colour change as you add the lemon juice!
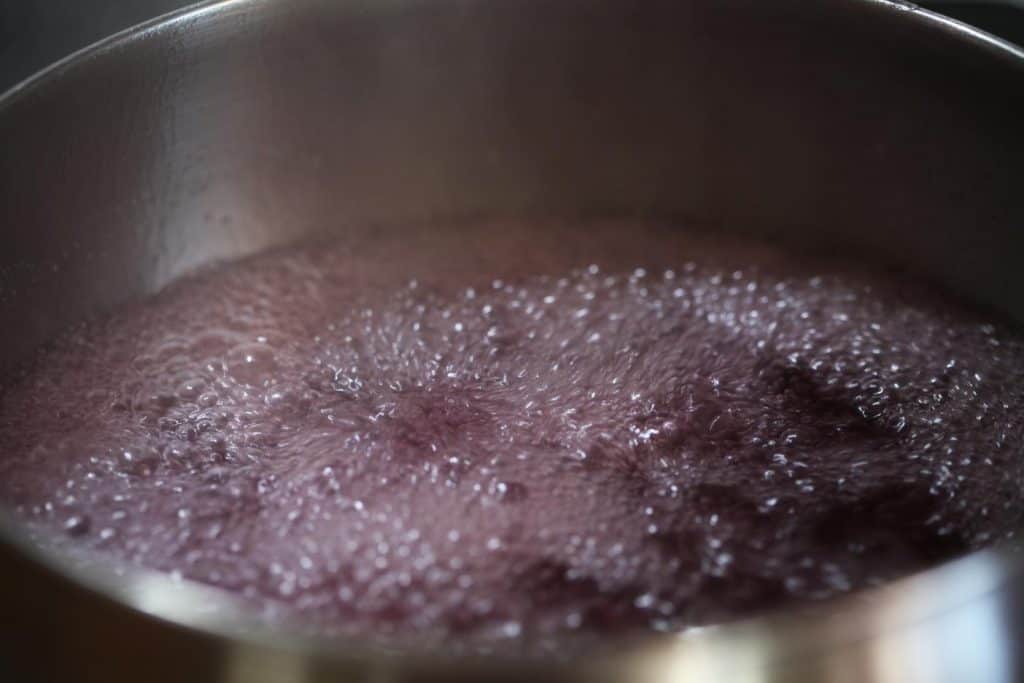
- Bring to a rolling boil.
Bring To A Rolling Boil
- Boil the ingredients in a rolling boil for one minute.
Remove From Stove And Add Pectin
- Then remove from the stove and stir in the two packages of pectin.
- Stir for five minutes to reduce foaming.
- I find that with the addition of butter there is basically no foaming at all.
Pour into Sterilized Mason Jars
- We sterilize our mason jars in the oven at 225° for ten minutes.
- We boil the jar toppers and canning utensils for the same time frame.
- Pour the jelly into sterilized mason jars, to within a quarter inch from the top of the rim.
- Wipe off the rims prior to placing the jar toppers.
Further Sterilize In A Water Bath Canner
- Boil in a water bath canner for 10 minutes. This will help to safely preserve the jelly for a longer shelf life.
Allow To Set
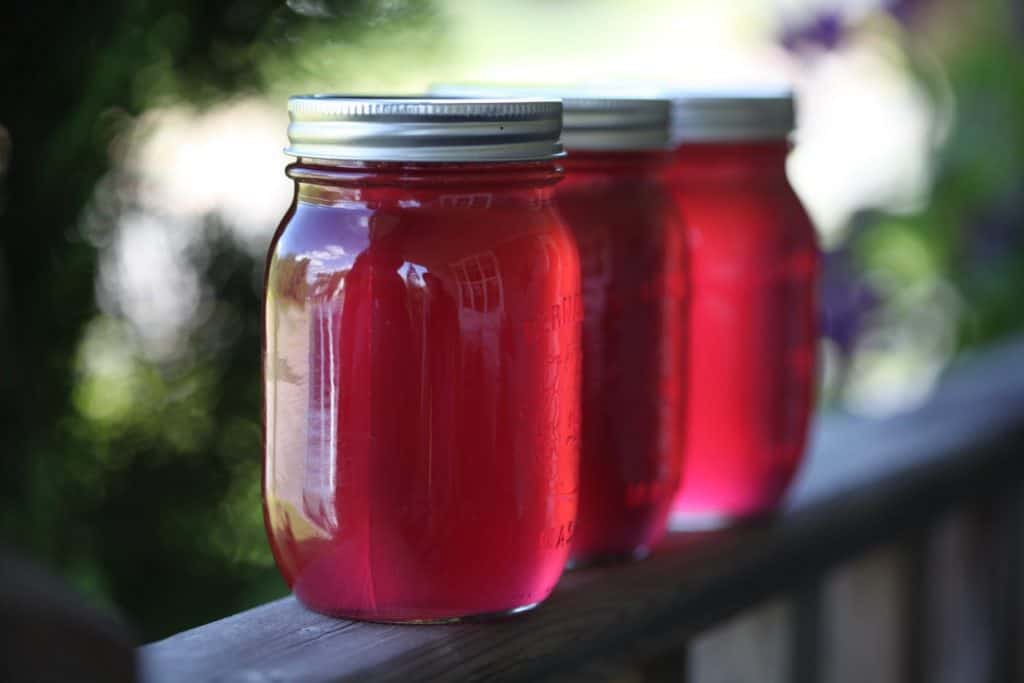
- Let your jelly set.
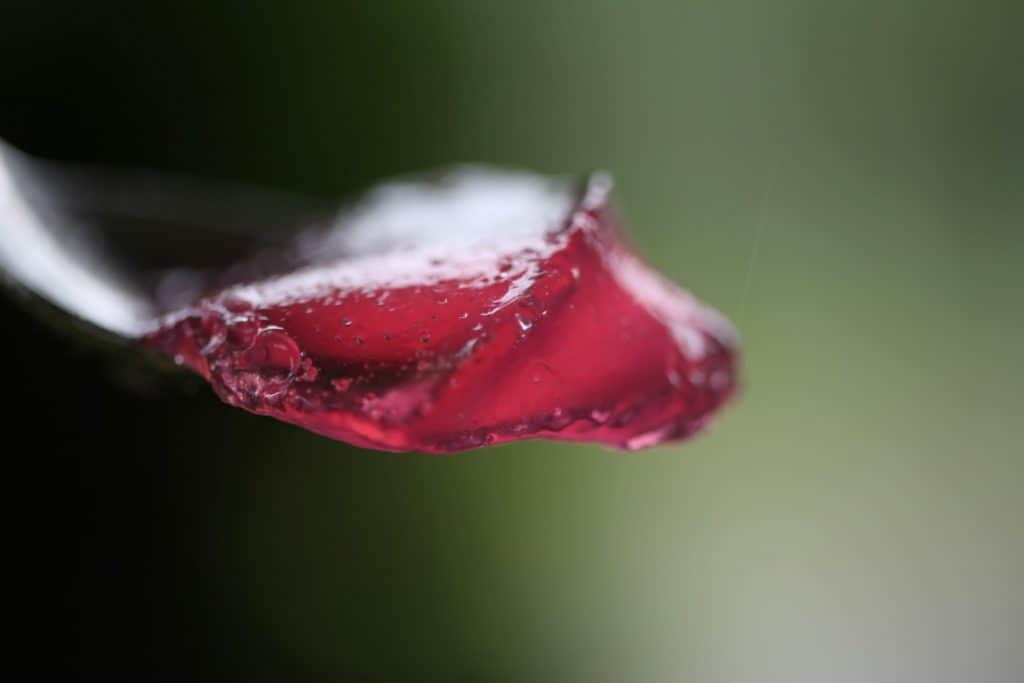
- I find that this recipe sets very readily and quickly.
- It has a great jelly texture, and perfect for eating on toast or a bagel.
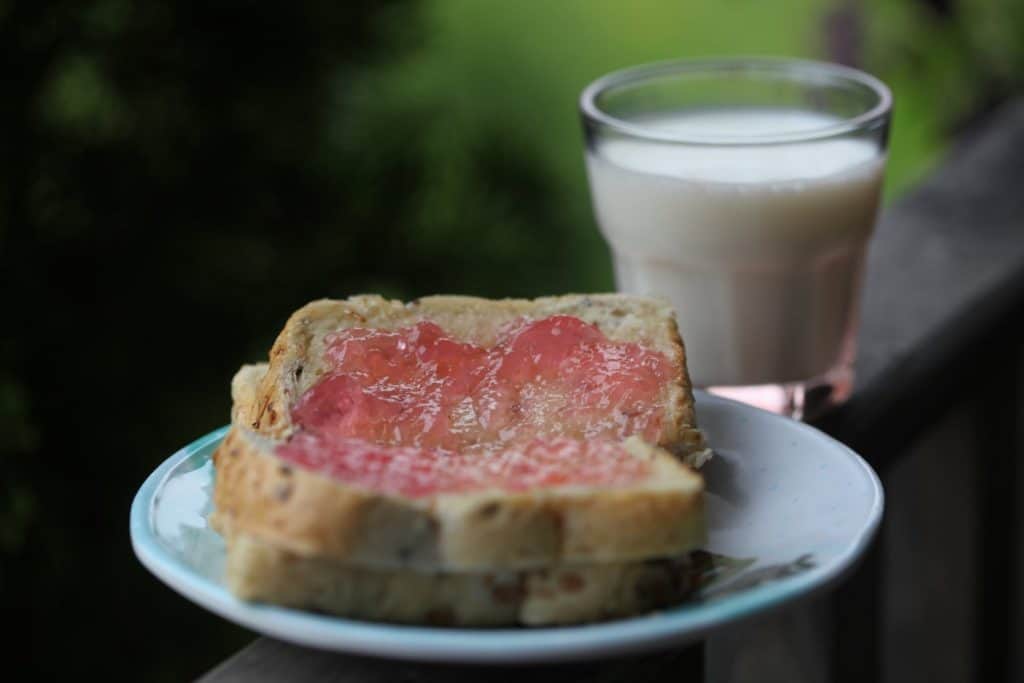
What Does Daylily Jelly Taste Like?
Daylily jelly has a wonderful floral flavour. I find it similar to dandelion jelly, although a little different as well.
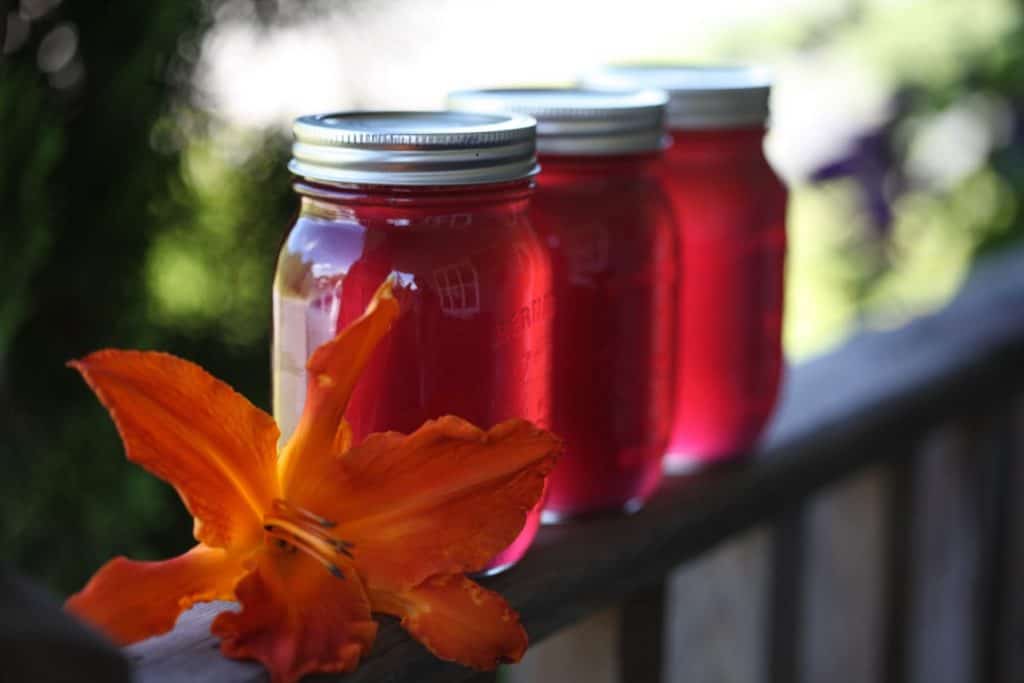
Again, it reminds me a bit of barley sugar that we ate as a child, and which I absolutely loved!
It is definitely appealing, and I will be happy to have these jars of jelly to last throughout the year.
Some will be given as gifts as well, as there's nothing quite like a special gift of homemade jelly.
Daylily Jelly Recipe
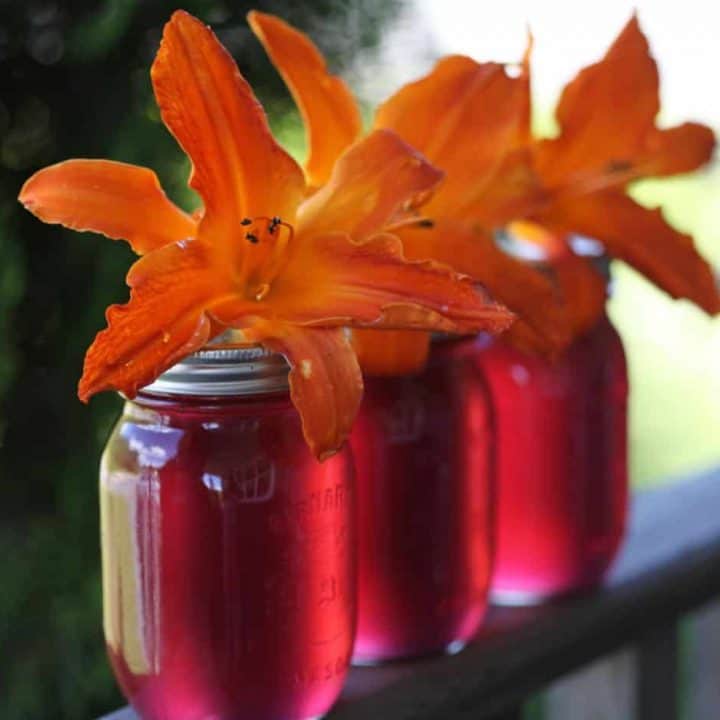
Daylily Jelly Recipe
Daylily jelly is easy to make. All you will need are fresh daylily blooms combined with boiling water to make a steeped tea. Steep for twelve to twenty-four hours, then combine with sugar, lemon and pectin, and cook to make a wonderful flower infused daylily jelly.
Ingredients
- Daylily petals- 4 cups of petals torn up into smaller pieces
- Water- 4 cups of boiling water
- Sugar- 7.5 cups of cane sugar
- Lemon juice- 2 tbsp
- Pectin- 2 envelopes of liquid pectin
- Butter- 1 tablespoon of butter to help eliminate foaming
Instructions
- Harvest the daylily blossoms, enough for 4 cups.
- Tear the daylily petals into small pieces in preparation for making a flower infusion.
- Pour 4 cups of hot water over the daylily petals.
- Cover and allow to infuse for twelve to twenty-four hours.
- Strain the daylilies from the fluid after the infusion is complete.
- You will need four cups daylily flower infusion for the base of the jelly. If you are a little short on fluid you can add extra water to make up the difference.
- Mix together the flower infusion, the sugar, lemon juice, and butter in a large pot on the stove.
- Remember to watch for the colour change as you add the lemon juice!
- Bring to a rolling boil.
- Boil the ingredients in a rolling boil for one minute.
- Then remove from the stove and stir in the two packages of pectin.
- Stir for five minutes to reduce foaming.
- Pour the jelly into sterilized mason jars, to within a quarter inch from the top of the rim.
- Wipe off the rims prior to placing the jar toppers.
- A waterbath canner will help further preserve the jelly for a longer shelf life. Boil for 10 minutes.
Notes
We sterilize our mason jars in the oven at 225° for ten minutes.
We boil the jar toppers and canning utensils for the same time frame.
Boil in water bath canner for 10 minutes as a final step to sterilize.
Nutrition Information:
Yield: 135.25 tbsp Serving Size: 1 tbspAmount Per Serving: Calories: 47Total Fat: 0gSaturated Fat: 0gTrans Fat: 0gUnsaturated Fat: 0gCholesterol: 0mgSodium: 3mgCarbohydrates: 12gFiber: 0gSugar: 11gProtein: 0g
data calculated by nutitionix, please use at your own discretion
Have you ever made Daylily Jelly? Be sure to leave a comment below to let us know how it turned out.
Other Posts You May Like:
HOW TO HYBRIDIZE DAYLILIES TO CREATE NEW FLOWERS
HOW TO TRANSPLANT DAYLILIES IN THE GARDEN
GROW DAYLILIES FROM SEED TO BLOOM
PIN IT FOR LATER!


Ann
As a microbiologist I can tell you that use of ovens for sterilizing for home canning is no longer recommended by reputable groups for health reasons. Use a minimum of 10 minutes in a boiling water bath.
cheyanne
Thank you very much for this important information Ann.I will add it to the post.
Jen
When harvesting the petals, do you use what would be the outside petals as well as the inner ones and discard the stamins? I ask because this jelly not only has a delicious floral note but normally has note of black pepper (none added), mine is missing the note of pepper.
cheyanne
Yes I harvest petals only for the daylily jam, and did not note any pepper flavour. Individual daylilies may have subtle differences, so perhaps that could explain the note of black pepper? Or perhaps they left the stamens on. It is all edible. Will have to try that next blooming season for comparison.Thanks so much for your comment!