
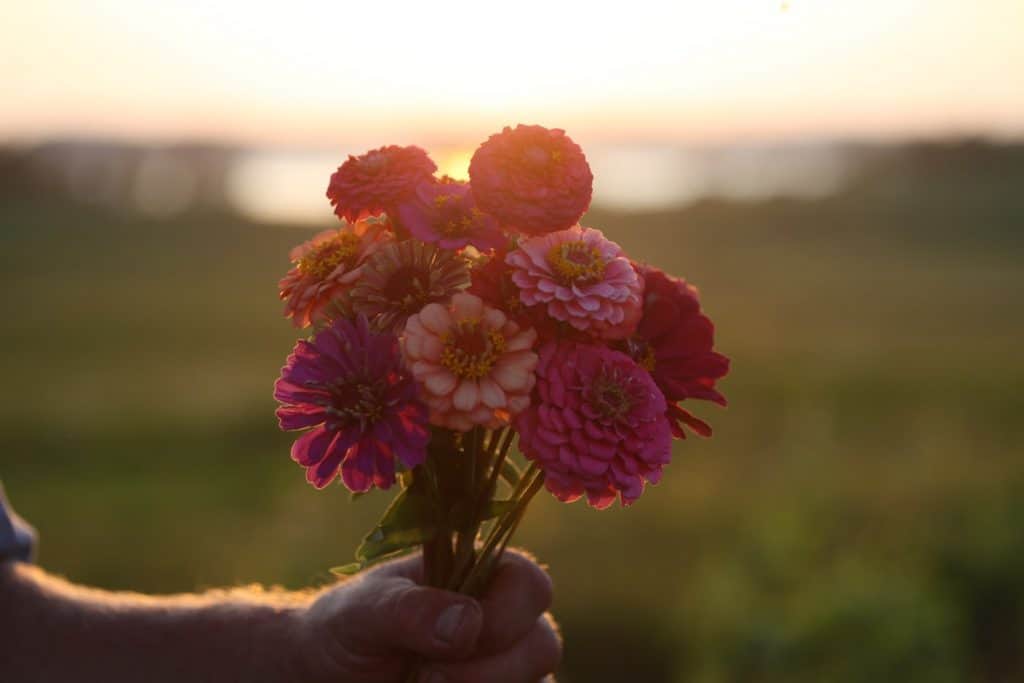
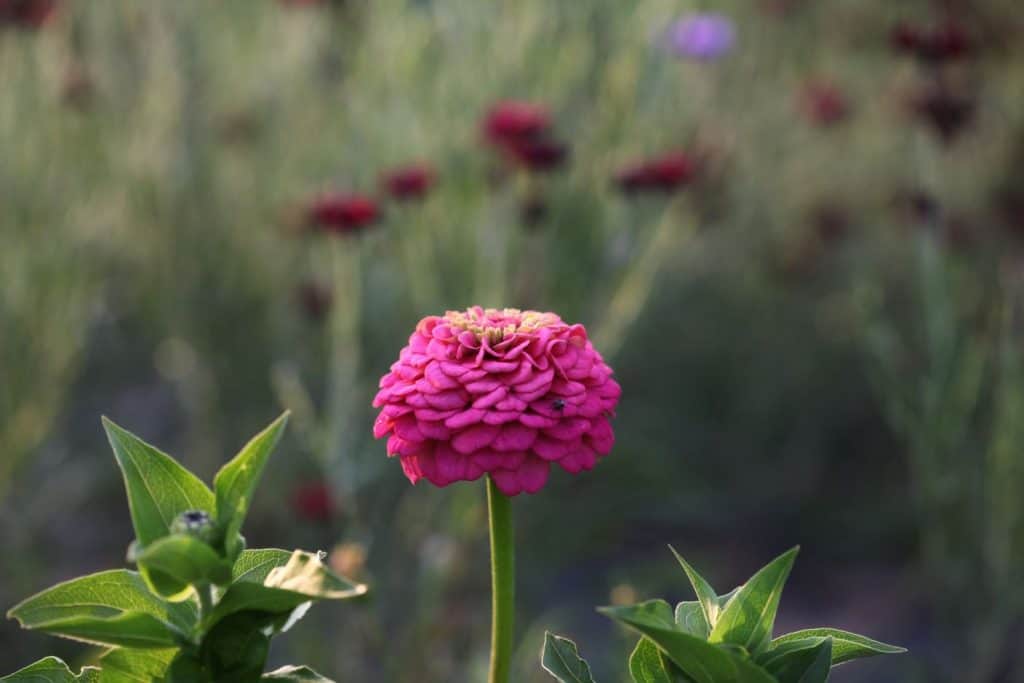
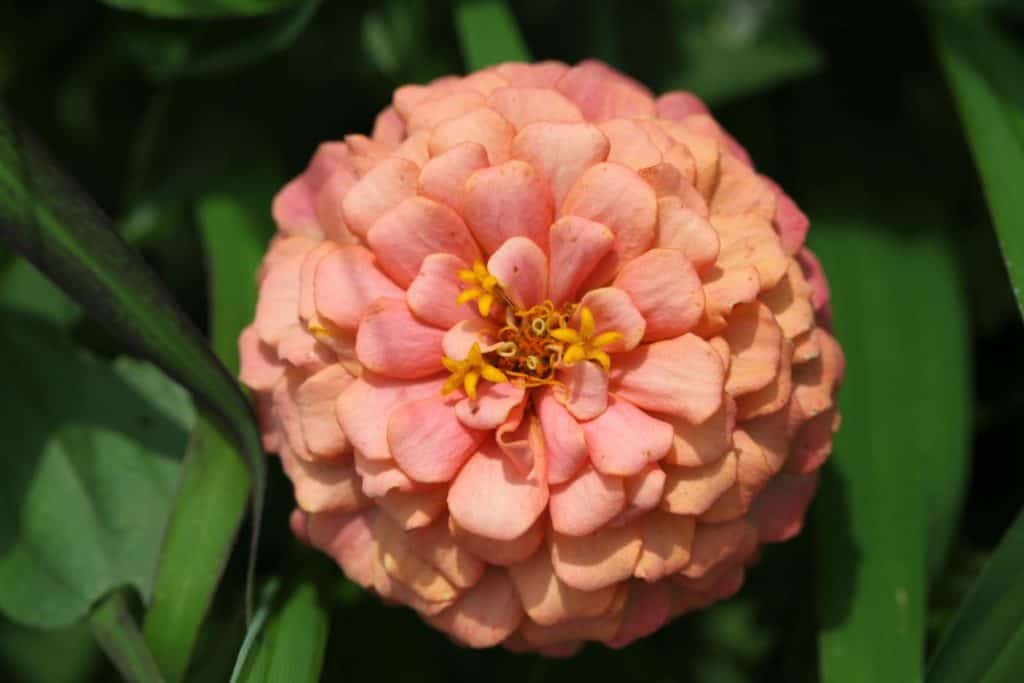
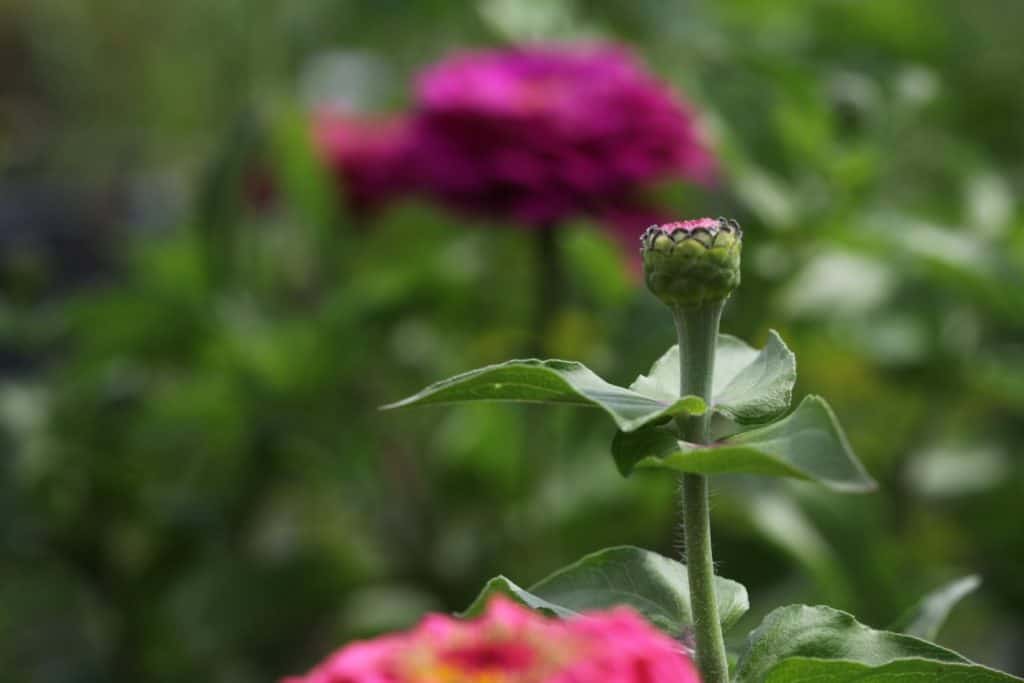
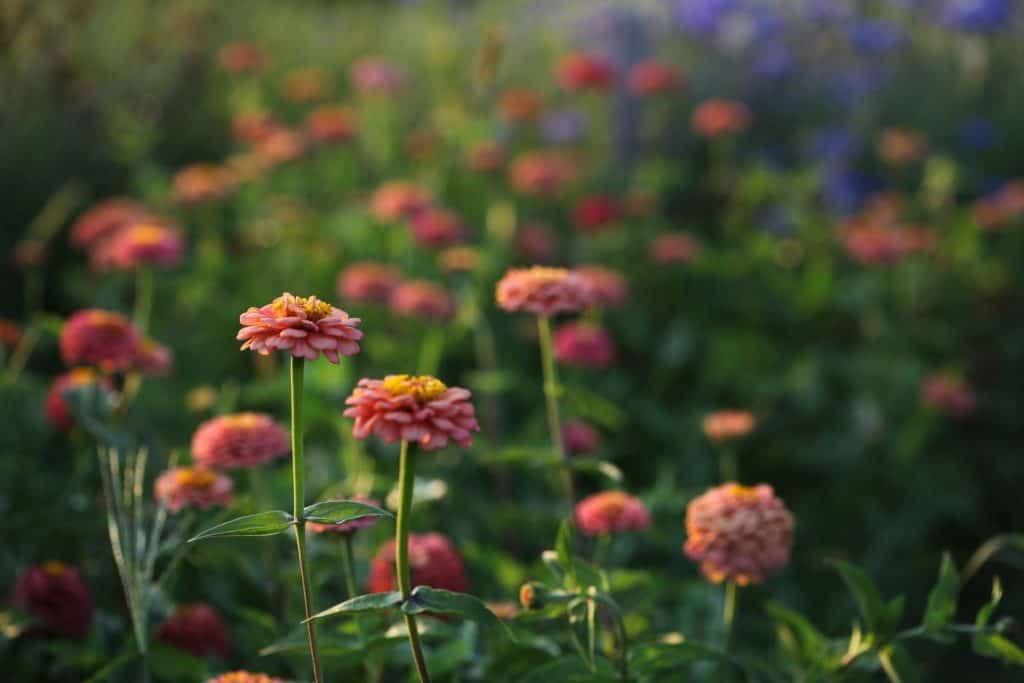
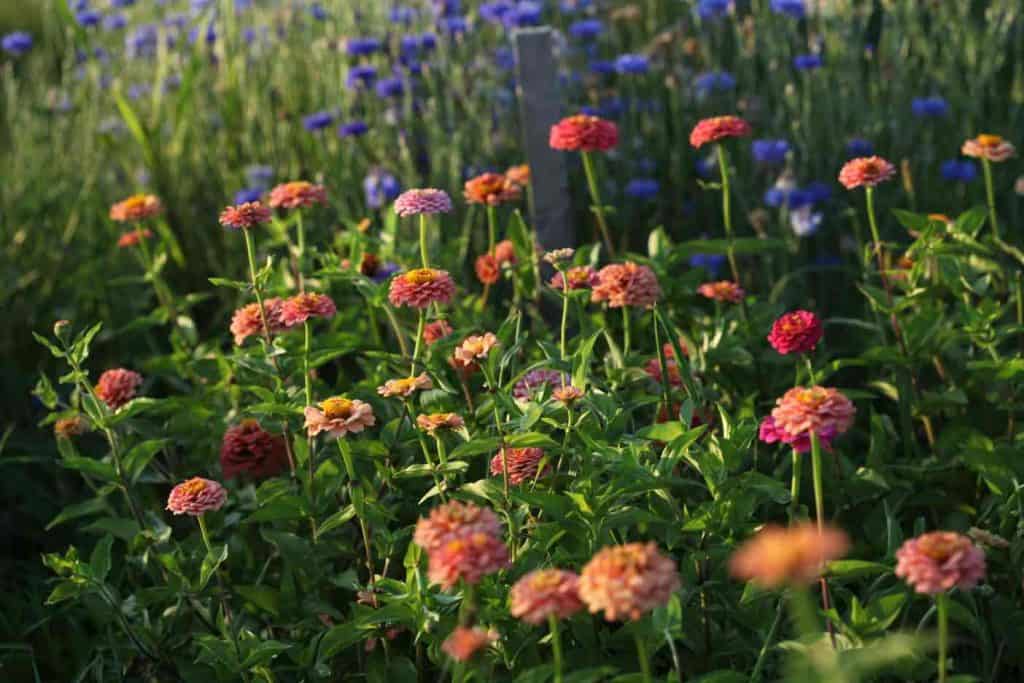
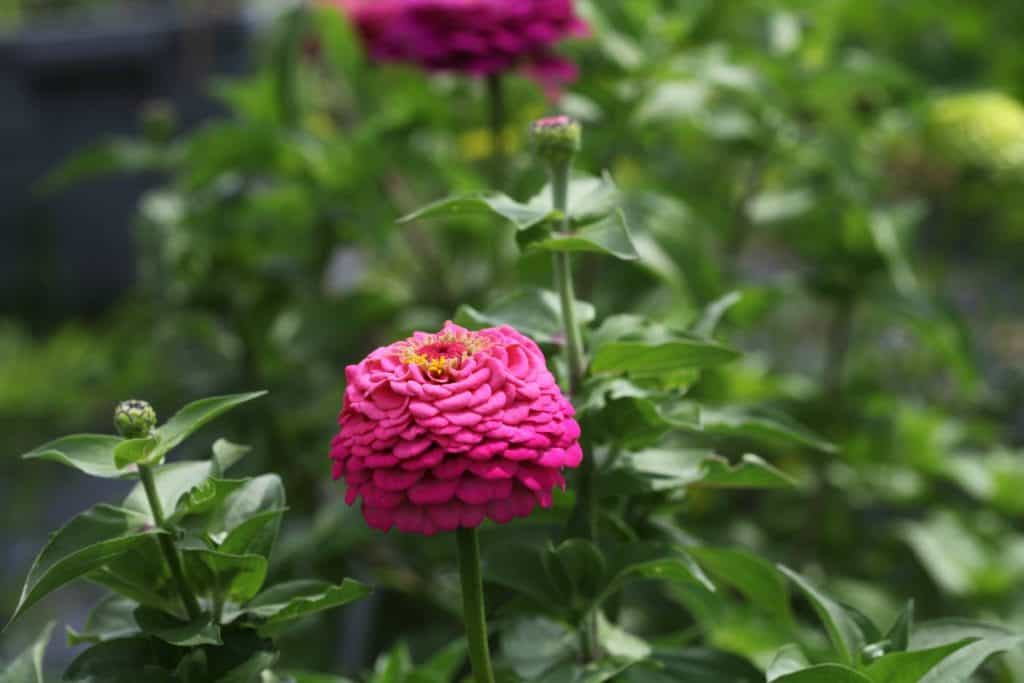
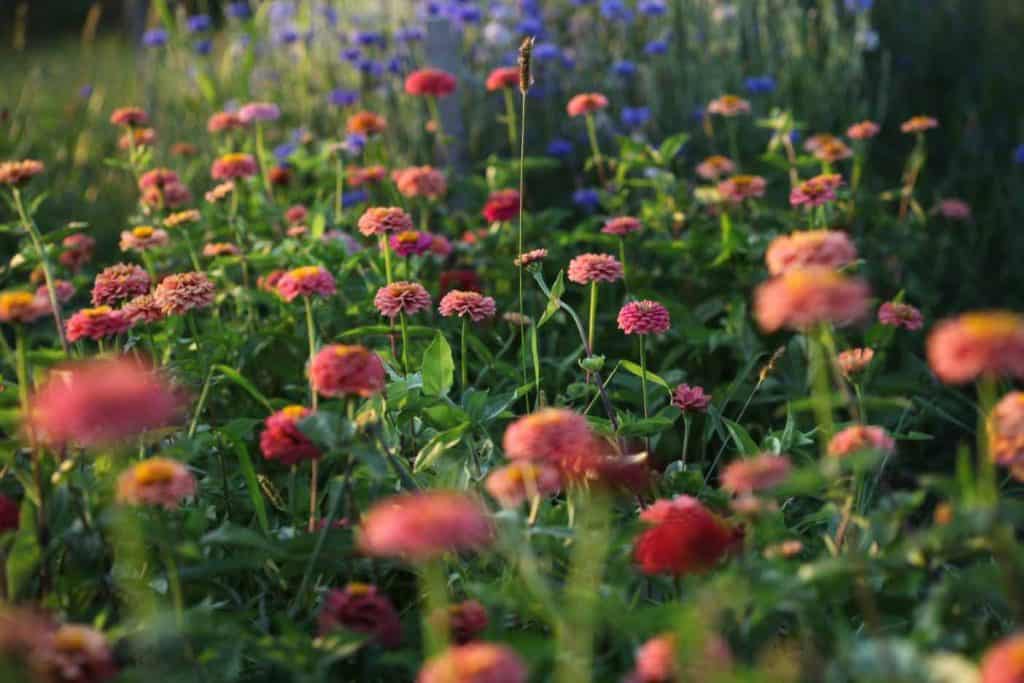
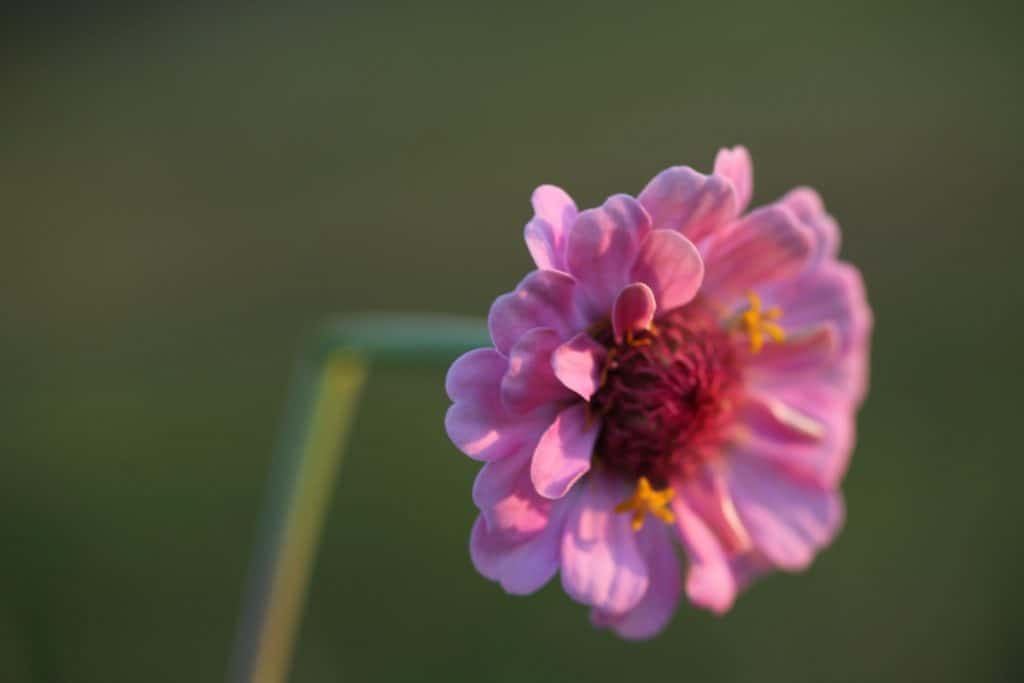
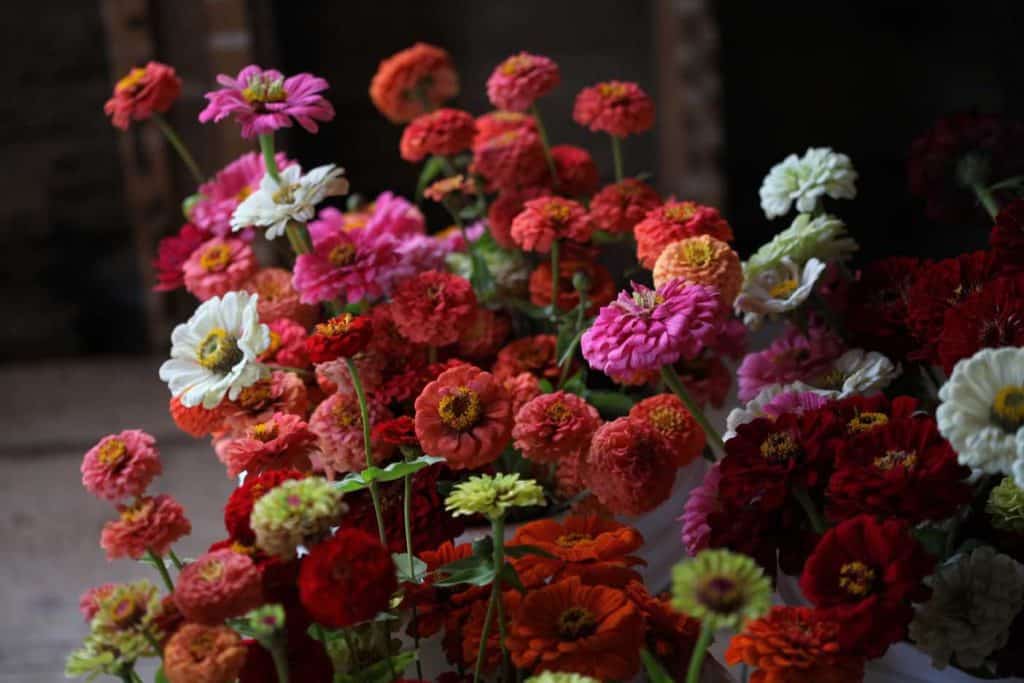
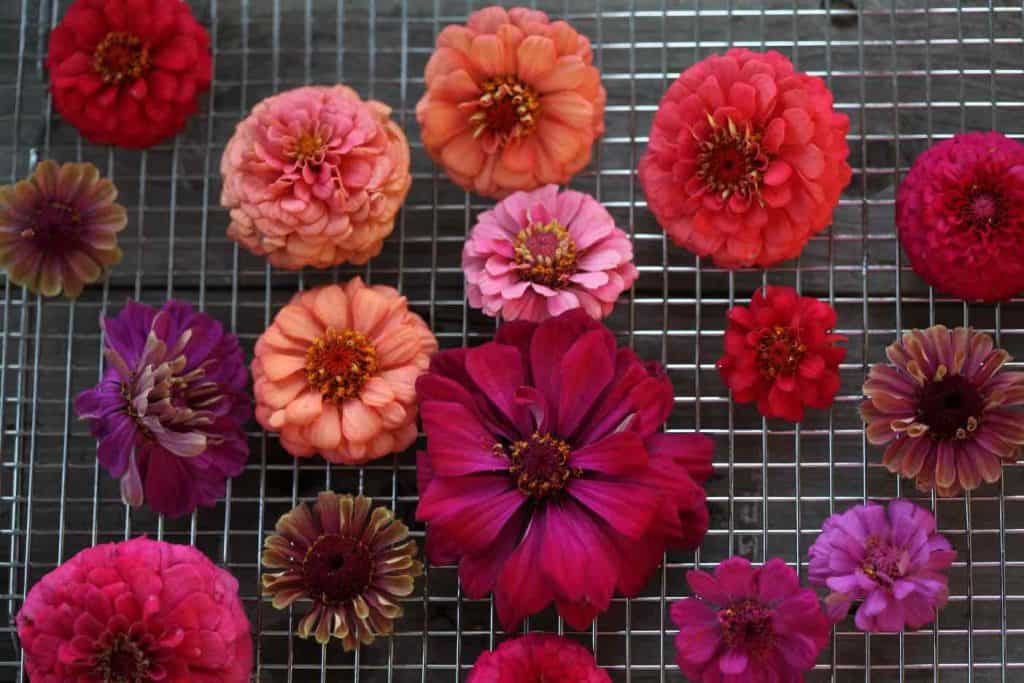
Zinnias are the most colourful blooms in our cut flower garden. It's hard to describe the individual blooms, as they are layered and multi toned, with varied shapes and sizes. Some blooms are domed, and some are single petalled. Some have the most glorious muted shades, and others are so vibrant that they look like candy. Learn how to grow zinnias, and experience this most wonderful sweet flower in your own cutting garden.
We first grew zinnias several years ago at the flower farm. At that time we were just learning and figuring out what would grow well in our zone 5b location.
We have a shorter growing season here in Nova Scotia. When other zones are experiencing their first spring blooms, like daffodils and tulips, were are still under several inches of snow.
When those same zones are harvesting their first zinnias of the season, we are just getting ours into the ground. So we were curious to see how our flowers for the cutting garden would do, especially the zinnias.
Well we didn't have to worry, because these sweet flowers made such an impression that first year that they went straight to the top of the list of flowers to always grow, every year.
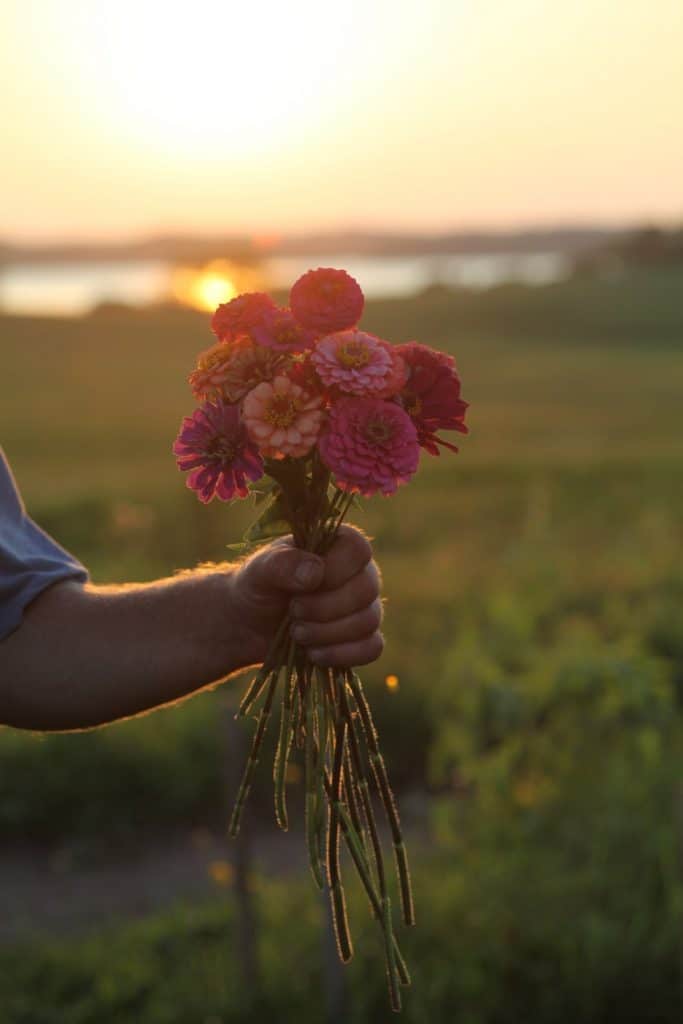
They make such a wonderful addition to bouquets, whether filling in certain accent colours, or in a bouquet all of their own. These flowers have truly won me over, due to their beauty and ease of care.
They also last long in the vase, which is an additional bonus.
Zinnia -Annual Or Perennial?
Zinnias are annual, heat loving flowers.
Sometimes people wonder if their flowers are perennial, meaning that they return again year after year.
Sometimes annual flowers are mistaken as perennials, if they reseed and regrow the following year.
We occasionally get volunteer plants that regrow in this way by reseeding themselves in our garden. I usually love it when this happens, and use these flowers in our bouquets.
Unfortunately this has never happened with our zinnias. They do not reseed in our growing zone.
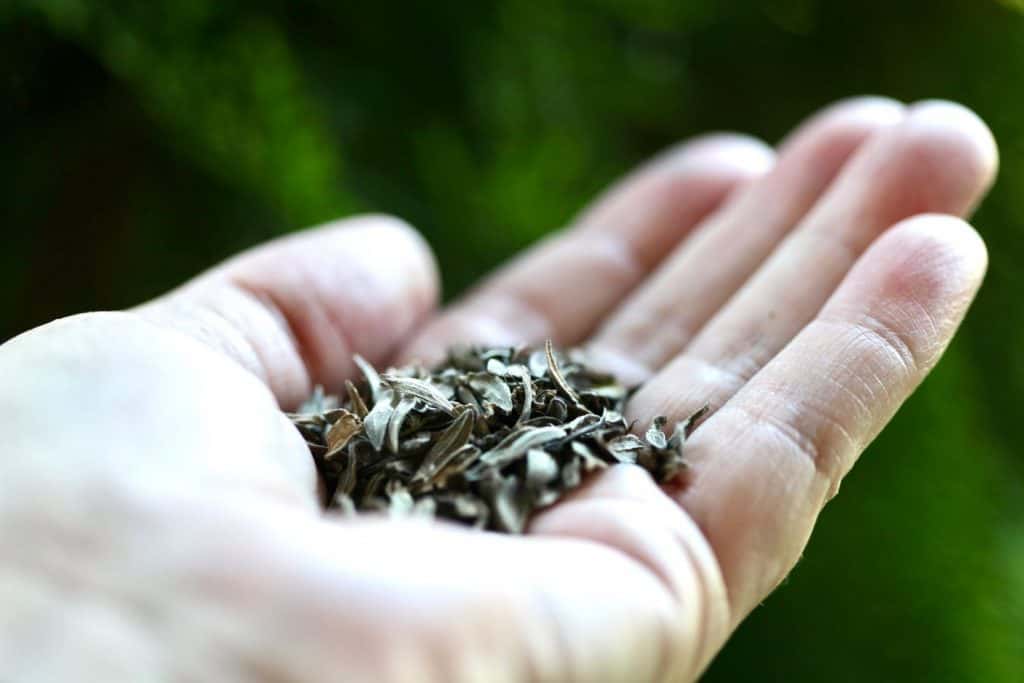
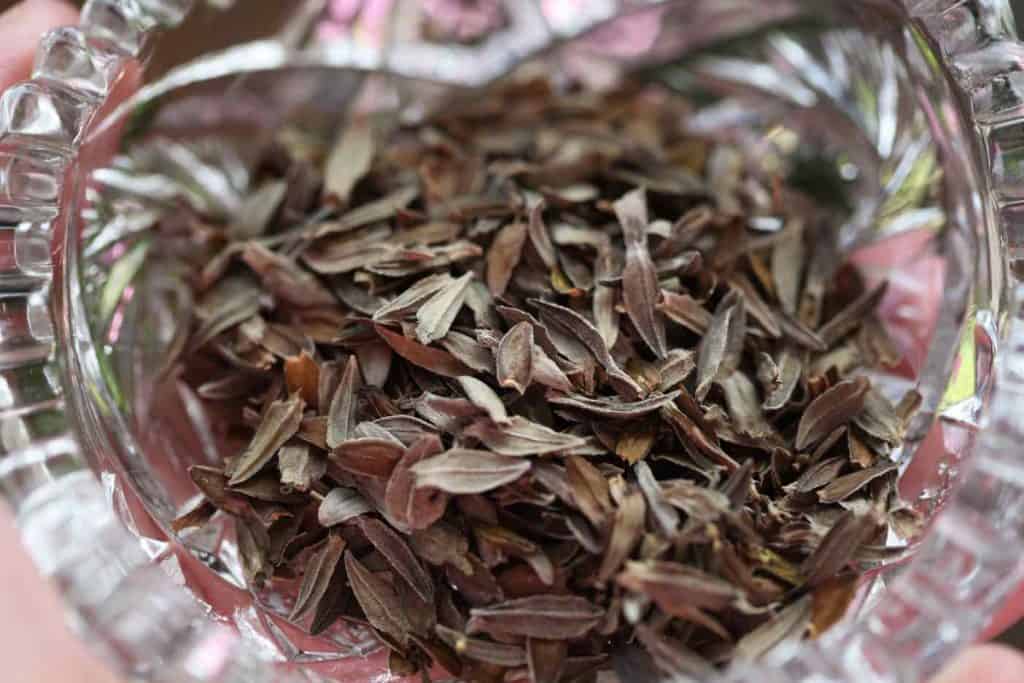
However I am extremely happy to say that they readily produce loads of seeds at the end of the season. We harvested this seed and started them indoors this winter.
So in a sense they volunteered the seed, but we intentionally grew them.
I love being able to harvest and regrow seed. The flowers become your own, and overtime they adapt to your own area. The zinnias that regrew were every bit as beautiful as last year's blooms, and those of the year before.
Growing Zinnias For Cut Flowers
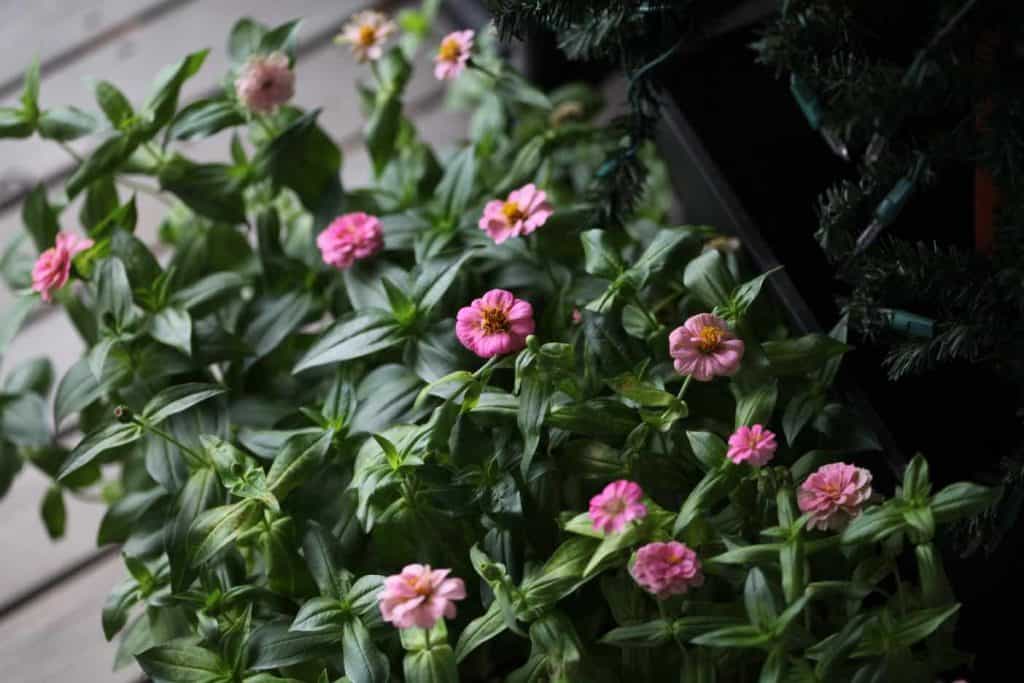
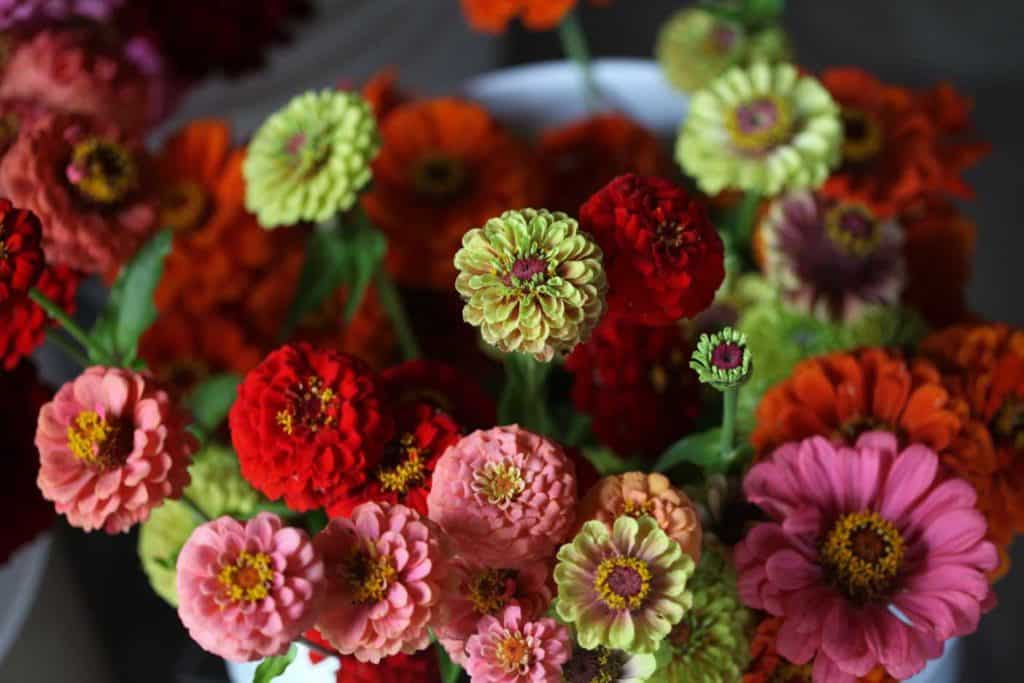
Zinnias make wonderful cut flowers.
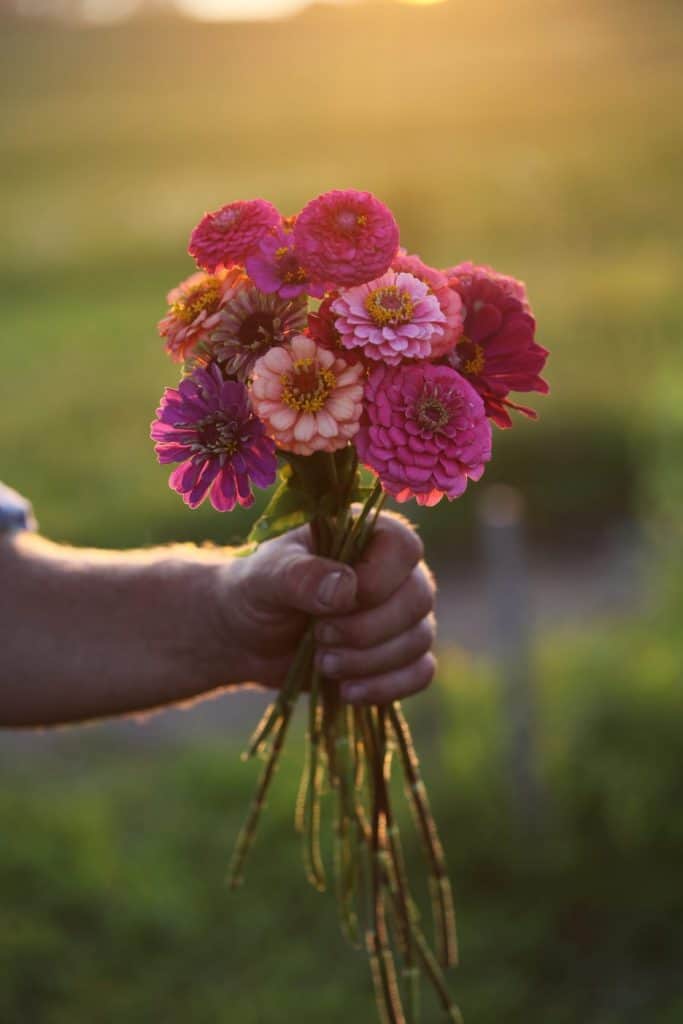
Due to the variety of colour combinations I find them to be very versatile. They also come in different sizes and shapes which expands their usability.
When I am working with zinnias, I feel like I am creating art. It's hard to explain, but the colour palettes are so varied and beautiful it really feels like working with paint or some other artistic medium.
A certain colour here, and then a few different touches over there. These flowers compliment many others, and they seem to bring out the best in the zinnias and vice versa.
Zinnias are some of our best annual flowers for cutting in the cut flower garden..
Growing Zinnias From Seed Indoors
Zinnias are very easy to grow from seed.
We grow all of our flowers from seeds indoors in late winter of early spring. This allows the plants to get off to a great head start for the season, and they are a good size when we plant them out in the late spring.
If we did not do this, the zinnias would not have had time to really come into their own and grow large and beautiful.
One very important thing to consider for zinnias is that they are heat loving flowers and that they do not tolerate frost.
We often get frost in May, and sometimes even in June.
Therefore we are very careful on the timing of our zinnia planting out into the garden.
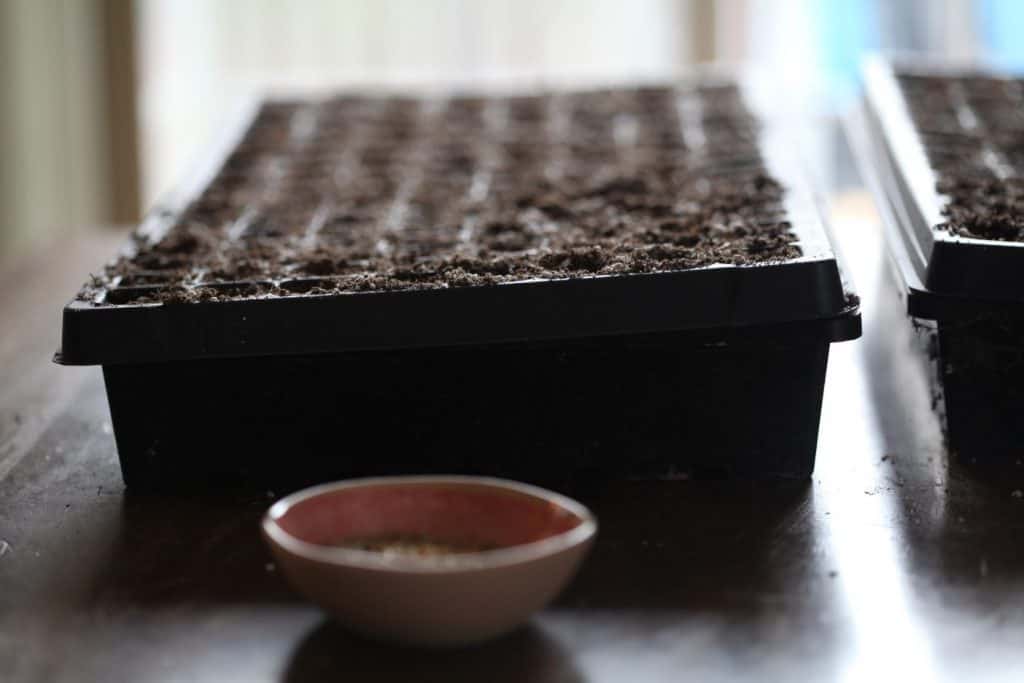
Starting Zinnias From Seeds Indoors
For a more detailed explanation of what we use and techniques employed to grow our seedlings indoors, check out this post:
HOW TO START FLOWER SEEDS INDOORS
What You Will Need To Grow Zinnias From Seed Indoors:
- zinnia seeds
- Seed starting containers- we use 128 and 72 cell trays
- A good seed starting medium
- A container for bottom watering
- A heat mat
- Shelving
- Grow lights, or a very good light source to provide at least fourteen to sixteen hours of light daily
Directions For Planting:
- Fill your seed starting containers with the seed starting medium. This can be done several ways.
- Some people moisten the medium before filling the cells or containers. I like to fill them dry, and bottom water after planting. I find this technique a little easier, however both ways work well.
- After filling the containers I like to give them a good tap on a hard surface to remove any pockets of air, and fill up the gaps with more medium.
- Next it's time to plant your seeds. I may use one or two seeds per cell, depending on the number of seeds available.
- I make a little indent in the middle of each cell, and drop the seed or seeds into this little concave space.
- Then cover with vermiculite, and bottom water until the soil is completely moistened.
Bottom Heat:
- After thoroughly moistening the planting medium, we then place the tray on a heat mat.
- We turn off our heat mats every night when we shut off our grow lights, and turn them back on again in the morning.
- Heat mats provide a consistent warmth and bottom heat for the germinating seedlings.
- Make sure to keep the seedling trays moist during the germination process, and don't let them dry out.
- The heat mats will place them at risk for drying out more quickly, so keep a close eye on the growing medium every day, and bottom water as needed.
- When sixty percent of the seedlings have germinated, they are removed from the heat mats and placed under the grow lights.
Grow Zinnias Under Lights Until It's Time To Plant Out
- The zinnia seedlings will remain under grow lights until they can be safely planted outside into the garden.
- Make sure to give them at least fourteen to sixteen hours of light daily for optimal growth.
- Before they are planted outside make sure the risk of all frost has passed.
- The seedlings should also be hardened off so that they can acclimatize to the outside elements. This will help to toughen them up before being planted out into the garden. This is a very important step.
Planting Zinnia Seedlings Into The Garden
- Plant the zinnias in full sun, and into fertile and well drained soil. Ours do very well in clay soil that is slightly amended.
- We have never had problems transplanting zinnia seedlings, and they generally tolerate the process very well.
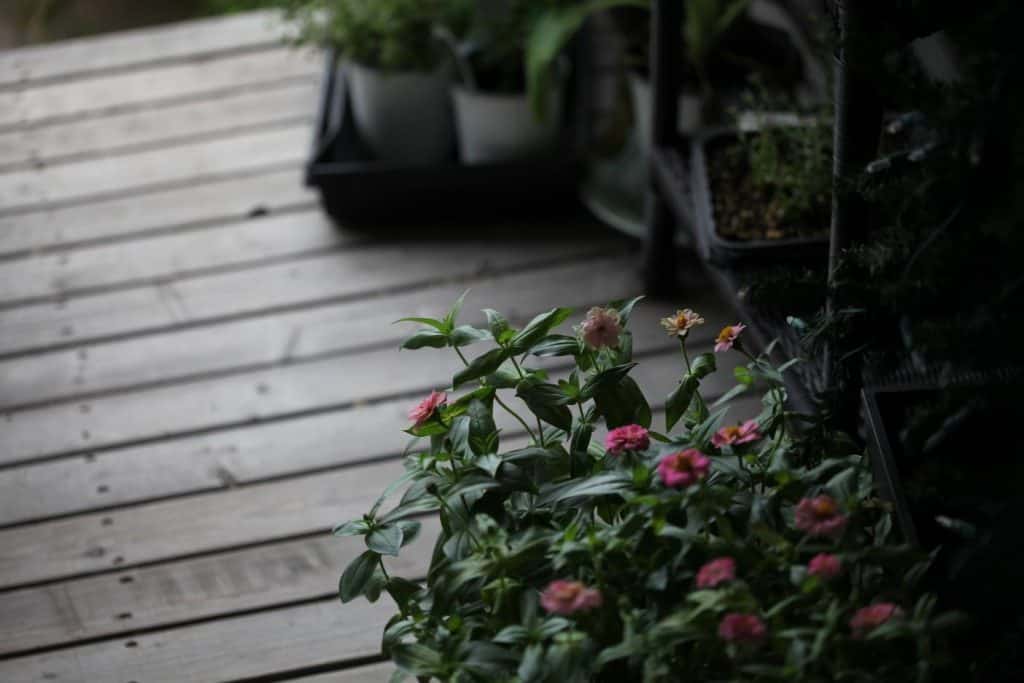
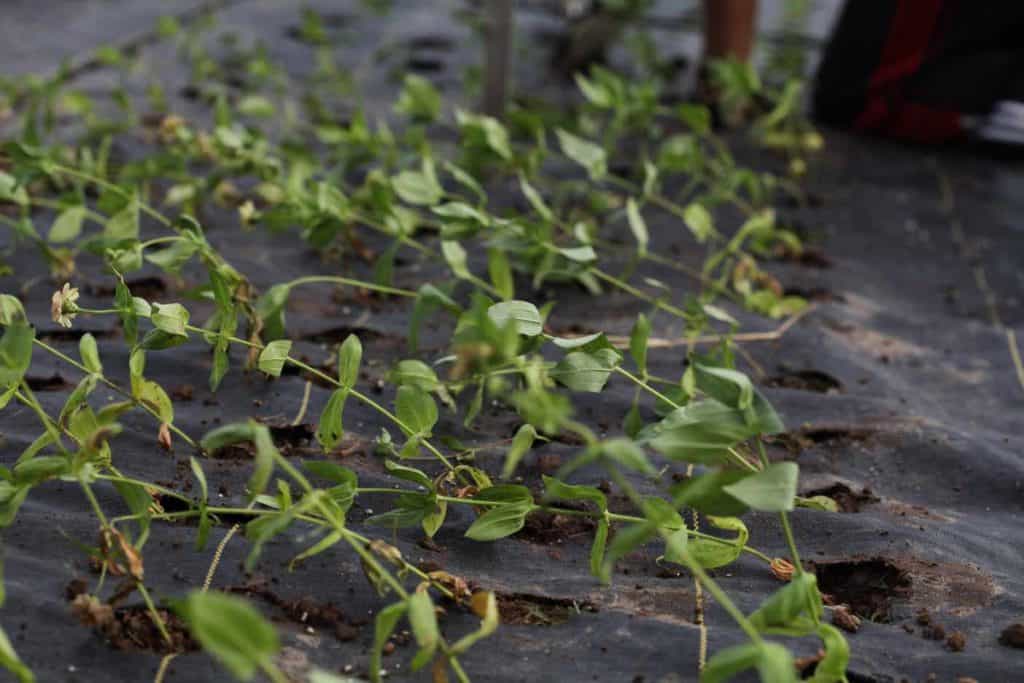
- Sometimes they may look a bit unruly as they settle in (see photo below), however eventually take hold and grow well. As long as they have been hardened off, they should tolerate their new location.
- The main thing that injures the zinnias is frost of any kind.
- We plant our zinnia seedlings into landscape fabric that has holes cut in it at nine to twelve inch spacing.
- The reason for the fabric is to help reduce weed pressure around the plants.
- The weeds do come up inside the cut out holes next to the seedlings, so require regular weeding as well.
- After planting, the seedlings will settle into their newly planted space, and will continue to grow and develop.
- Water as necessary. It's a good idea to keep the soil well watered as the seedlings are getting established.
- Once established, we generally leave the watering up to the elements, however will water if dry.
- The stems will multiply, lengthen and thicken. The blooms as well will grow into a more mature size, and depending on the seed type planted, can grow to a nice size.
- Some of the Benary's Giants will grow quite large and are strikingly beautiful.
Pinching
One important task when growing zinnias for cut flowers is the process of pinching.
I have to admit that I am not always the best at doing this, due to our shorter growing season. I sometimes feel that it will set the plant back several weeks, and it probably does.
However the end result is so much better for having done this somewhat scary task.
The pinching process involves essentially pinching off the centre growing stem when the plant is about eight to twelve inches high. You pinch off the developing growing tip by an inch or so.
If there is a small flower bud forming there, just pinch it off. This process alone will reward you with many more stems during the growing season.
It stimulates side shoots and more stem development. The plant will branch out and grow more stems from the base as well.
Growing Zinnia From Seeds Outdoors
Zinnia seeds are very easy to germinate, and can certainly be started from seed directly planted out into the garden.
It's very important to make sure that the risk of all frost has passed before sowing the seeds, since these plants may not survive a spring frost. We have lost many a zinnia seedling to frost in our growing zone, as our growing zone is quite vulnerable to late spring frosts.
Be sure to check your last spring frost date to know when it's safe to plant for your growing zone.
Some annual flowers are considered to be hardy, and can survive these frosts.
Zinnias however are considered to be half hardy annuals, and will probably become quite damaged if exposed to frost.
If we waited to plant our zinnia seeds directly into the garden in zone 5b, we would not have enough growing time before fall frosts to have a good growing season with the zinnias.
They would just be getting large enough to harvest long stems, when the first fall frost would arrive and damage them beyond repair.
This is why we start our seeds indoors in March, and have big beautiful plants by August.
Can You Grow Zinnias In Pots?
You absolutely can grow zinnias in pots.
Although we don't grow zinnias in pots ourselves, they can definitely be successfully grown this way.
As each zinnia plant grows it will put up more side shoots and fill quite an area. Each plant in the field grows at least a twelve inch diameter of space.
If growing in pots, three to five zinnia plants should fill a large planter nicely if grown under optimal conditions.
To grow in pots you can either start your seeds indoors, and transplant the seedlings to the pots when it warms up outside, or direct seed once all risk of frost has passed.
How Long Does It Take To Grow Zinnias From Seed?
It takes about three to four months from first planting the seed, to getting mature sized blooming zinnia plants.
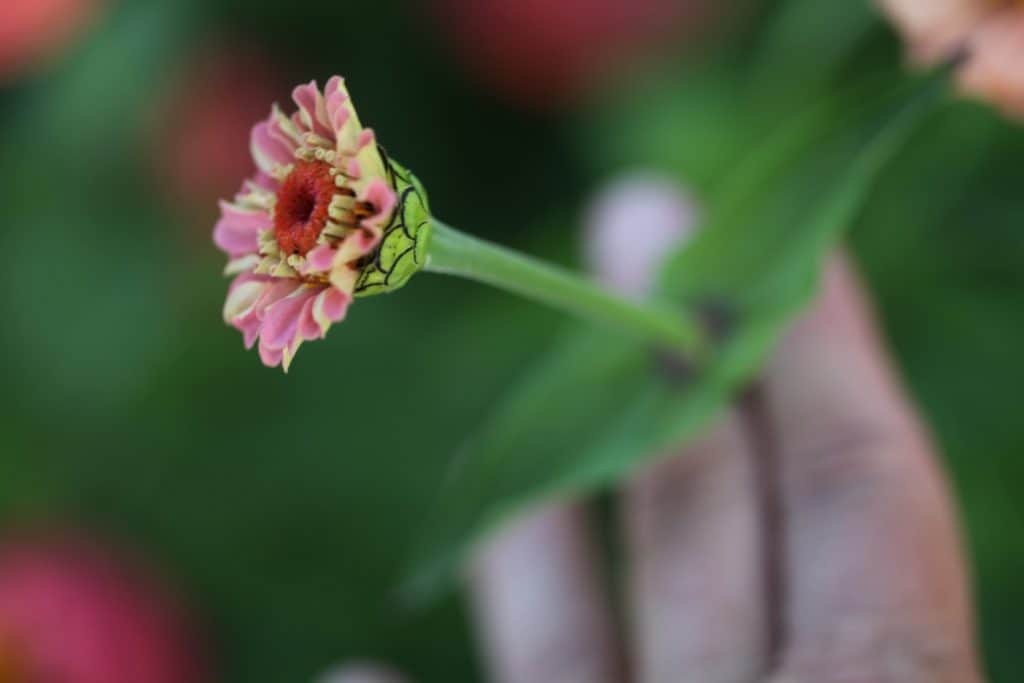
They do bloom at six to eight weeks even on tiny seedlings as in the photo below. These are not bouquet size stems however, and will need further time maturing in the garden.
We planted our zinnia seeds about mid March. They were up and growing under lights within two weeks.
For the next six to eight weeks they grew under grow lights in our basement, as we waited for the right time to get them outside into the garden.
We gradually hardened them off to acclimatize them to the outside elements, making sure that they were not exposed to any cold temperatures.
We started planting our seedlings out into the garden mid to late May. From there it took another two months of good growth in the hot summer weather to get good sized blooming plants.
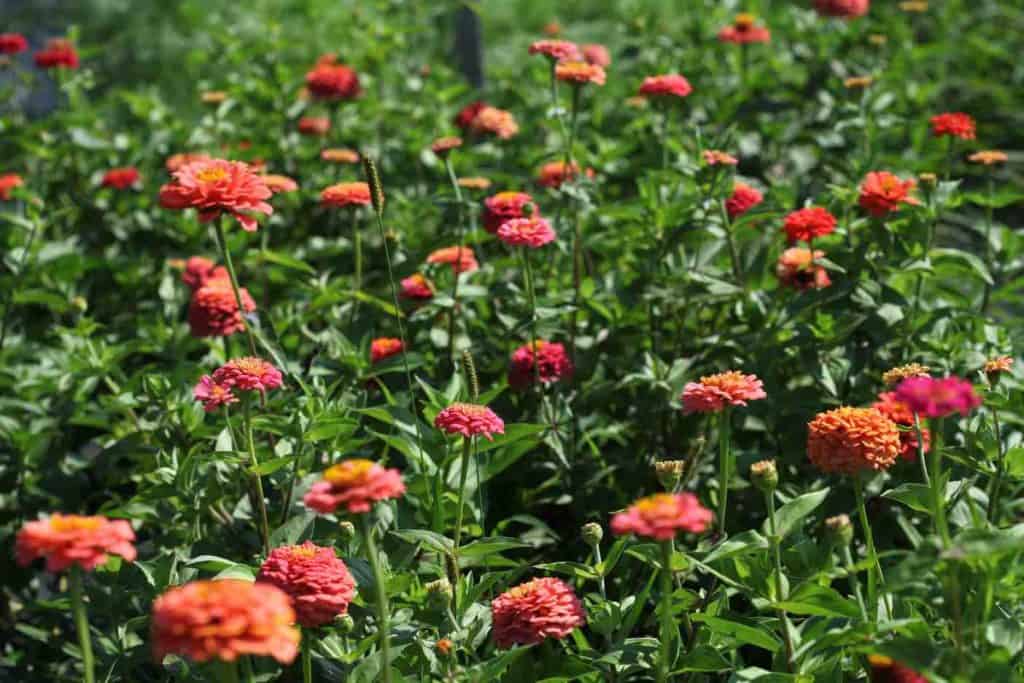
The zinnias have been in full bloom now for several weeks, and I have to say that they are magnificent.
We will hopefully get another six weeks of good growth if the weather permits. You just never know what September will bring.
When To Harvest Zinnias
When you first plant and grow your zinnia seedlings, they will be tiny and single stemmed plants. They will begin to get more sturdy and larger, setting out sideshoots and multiple stems.
They will probably even have flowers on the young plants, although these are not best to harvest as the stems will still be short.
After several months in the garden there should be lots of long stems and good sized flowers. This is the time to harvest your zinnias.
Make sure to check on bloom maturity before cutting by doing the "wiggle test".
How To Do The "Wiggle Test"
I highly recommend the wiggle test on all zinnia blooms as an indicator for harvest.
This test is an indicator of immature blooms, which you definitely do not want to harvest. If you harvest immature blooms, they are at risk for breaking and bending at the neck.
You would think that a gardener would be able to recognize mature blooms, but this is not always the case. Some big and beautiful blooms may still be immature, and at risk for damage if you pick them.
So I have resorted to the wiggle test for pretty well all zinnia blooms that I harvest. And I am always glad that I have, because they always surprise me.
So here is the wiggle test:
- Place two fingers on the zinnia stem, approximately two to three inches below the flower.
- Wiggle back and forth
- If the flower moves and bends slightly as it sways, it is immature. It wiggles back and forth as you move the stem with your fingers.
- If the flower stays stiff and upright, pointing upwards without bending as you move the stem back and forth, this is a mature bloom. This one can be harvested.
- Sometimes the larger Benary's Giants look so beautiful and harvestable. You would think that they are mature. But do the wiggle test first before you take out those clippers.
- You will not regret it.
How To Harvest Zinnias
Now that you know when to harvest zinnias, it's time to talk about how to harvest.
The essentials of harvesting many cut flowers also applies to zinnias. If you follow these guidelines you should have success with your zinnia blooms.
Tips For Harvesting Zinnias:
- Harvest in the cooler hours of the day.
- Harvest when dry.
- Remember to do the wiggle test.
- Cut deep for a long stem.
- Cut at an angle.
- Remove the lower leaves and side shoots on the cut stem, so that they are not below the water in your container.
- We remove almost everything except the top two leaves.
- Place directly into water or holding solution immediately after cutting.
- Keep in the shade and allow the stems to soak up the water.
- Zinnias are cold sensitive and may not do well in a cooler (we don't use one).
- Zinnias can make the water murky, so change the water as necessary.
Do Zinnias Grow Back After Cutting?
Zinnias are in the group of flowers considered to be "Cut And Come Again".
Just as the name suggests, when you cut a stem off your zinnia plant, another will regrow. Of course this will take some time, but the zinnias essentially bloom all summer long.
So check back with your zinnia plants on a regular basis after you harvest them for cut flowers, as they will most likely be producing more of these wonderful stems.
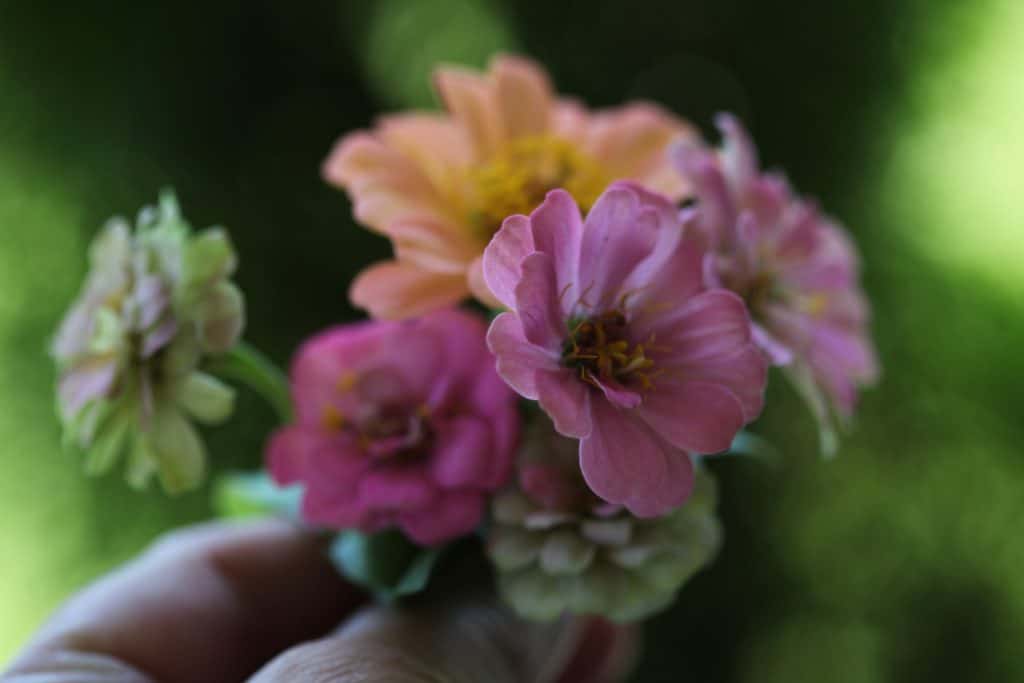
How To Use Zinnia Blooms
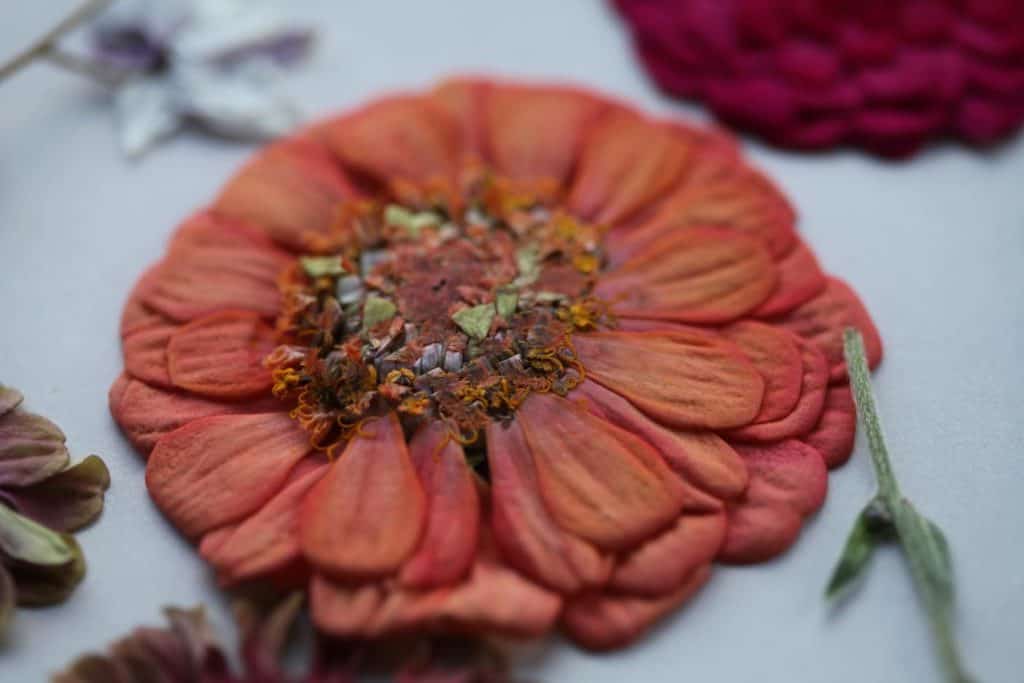
Zinnia blooms can be used either fresh or dried.
They are long lasting cut flowers in the fresh form, and also make fabulous flowers in the dried form.
In The Fresh Form
- they are great in a bouquet all on their own, or mixed in with other flowers.
- the flowers will last a good ten days in the vase if cared for and are conditioned properly.
In The Dry Form:
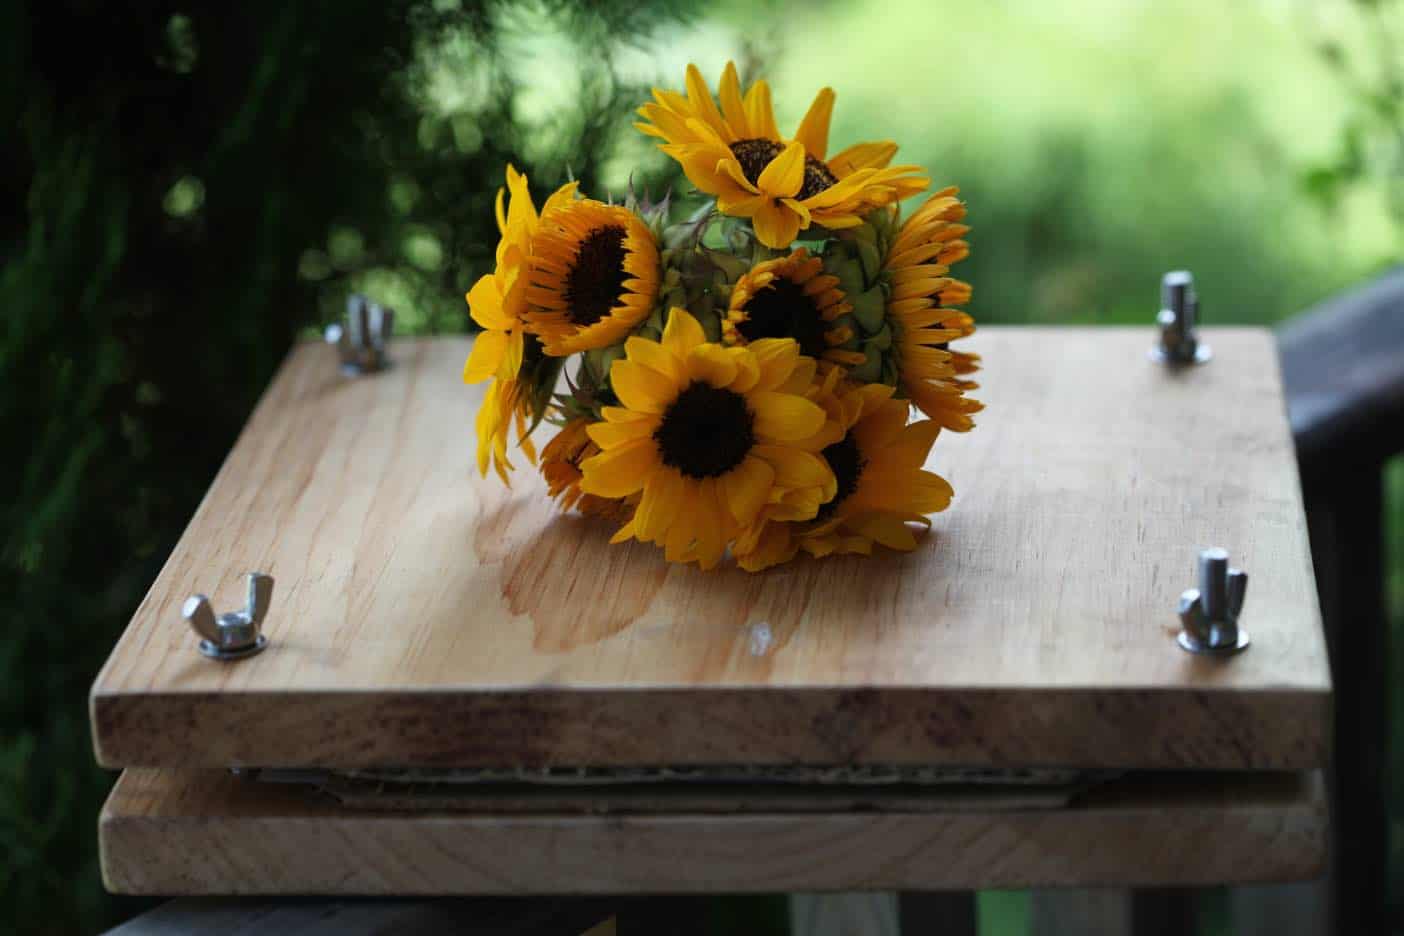
- zinnias can be pressed and used in pressed flower projects and art.
- alternatively they can be dried by hanging upside down or left standing upright in a vase, to maintain their full shape, and used in dried floral arrangements and wreaths.
- zinnia blooms can also be dried in silica gel to help preserve their shape and colour.

Have you tried to grow zinnias from seed, either indoors or sown directly outside into the garden? Be sure to leave a comment below to share your experience!
OTHER POSTS YOU MAY LIKE:
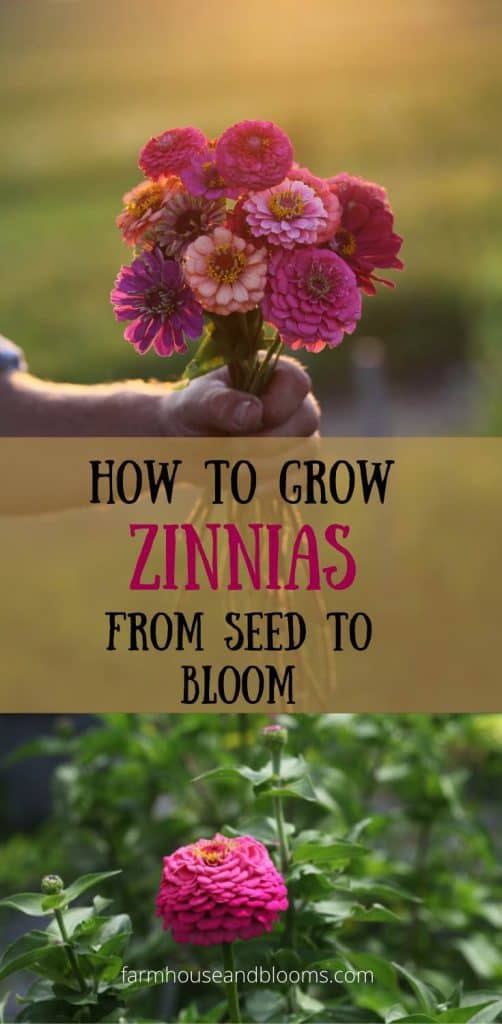
PIN IT FOR LATER!


Julia
Wow! This is an incredible resource. Thank you so much for sharing.
cheyanne
Thanks so much Julia!
Danielle
I've bookmarked this page. I LOVE zinnias and we had a great crop of them this year. I did plant from seed and got quite a long time out of them, but it would have been nice if I'd started them inside and had blooms longer. I didn't cut any because they had insects eating holes in some of them and didn't want to bring in any unwanted friends. But I've never heard of the wiggle test before, and those dried zinnias are stunning! You could make great art from those. Thanks for this great article!
Sarah
Zinnias really do make the best cut flowers. Thanks for sharing this information!
Ada
Great post! These flowers are beautiful! I'm glad that they can be grown in pots! Thank you for sharing!
Allie
I am a flower gal at heart. I have a rather large garden and peonies and hydrangeas are my favorite flowers. Love your idea for growing flowers, and am definitely going to be trying this. Thanks for sharing.
Betsy
I love this post, thank you! This was my first year doing zinnias and I used landscape fabric, as well. I was thrilled with how it worked. I've had a bouquet of zinnias on my table all summer and I don't get tired of them. 🙂
Anja
This is such an amazing and comprehensive post! Now all I need to do is go and plant zinnias!
Barbra-Sue
This is a very informative article. I love these flowers, I intend to plant in my garden to attract bees.
Geraldine
Great information, thank you! I love zinnias and have tried starting them from seed in soil blocks with great results as well. Lovely photos!