
Growing roses from cuttings is fairly easy if you use the right planting techniques and post planting care. Roses propagated from stem cuttings will be clones of the parent plant. Learn how to grow roses from cuttings, and multiply your favorite roses for planting in your garden.
Rose propagation by cuttings is one of the easiest and quickest ways to make new rose plants, for home gardeners and rose lovers alike.
The plants will be identical to the parent plant, unlike if the roses are grown from seed.
Growing roses from cuttings will also take much less time to bloom, than those grown from seed.
If you have a favorite plant that you want to take a cutting from to grow elsewhere in the garden, you are going to learn exactly how to do it.
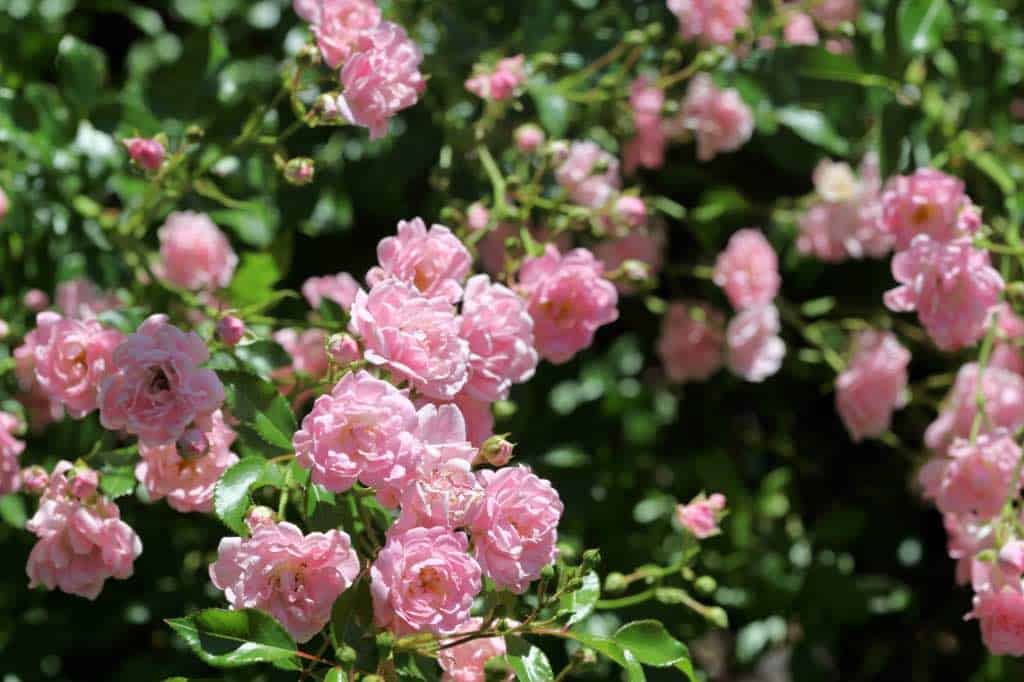
We have some old roses at the farm which have been growing there for a few generations.
In order to replicate these aging plants, I am planning to take cuttings from these cherished bushes.
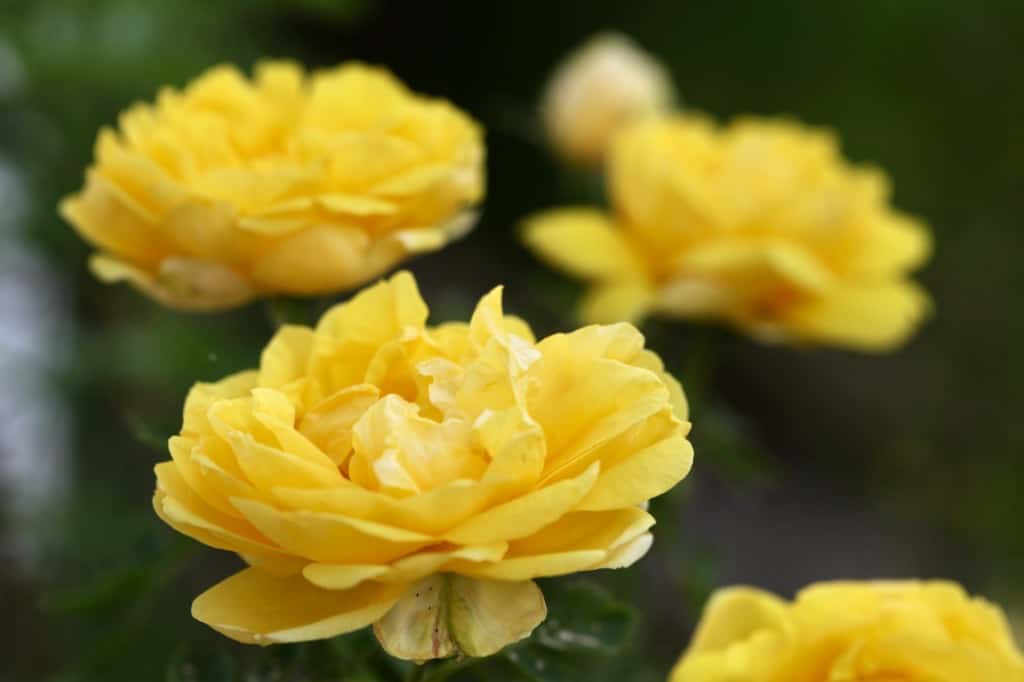
These beautiful flowers will be scattered throughout the garden, and have an opportunity to grow on.
I have also taken cuttings from my favourite climbing rose, which I would like to grow in a few other locations.
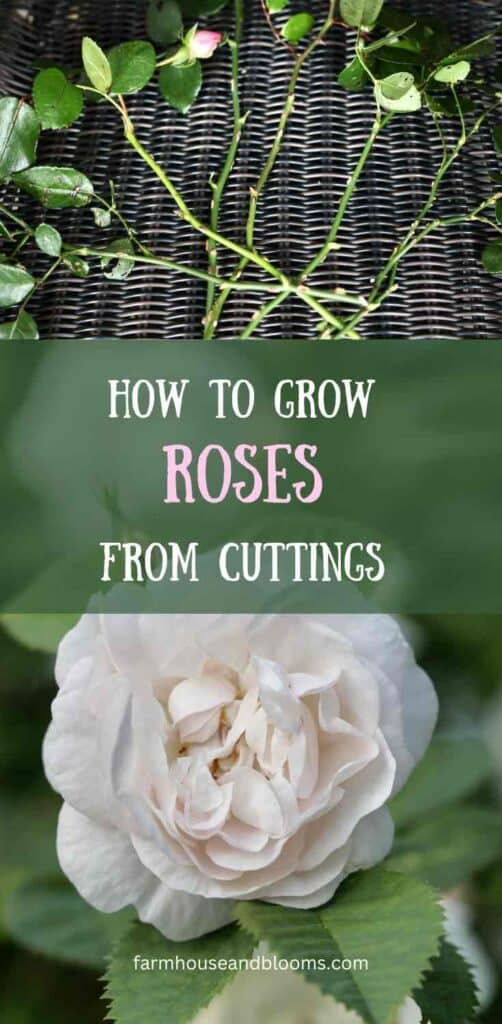
How To Grow Roses From Cuttings
You only need a few basic supplies for this project.
Make sure that your scissors or pruning shears have been sterilized for disease prevention, and cleaned between the different rose plants.
Supplies You May Need:
- Sharp clean scissors or sharp pruning shears
- A container/ containers for planting, at least 6" in depth
- Rooting hormone (either gel or powder form)
- Sterile potting medium
- A clean jar of water
When To Take The Cuttings
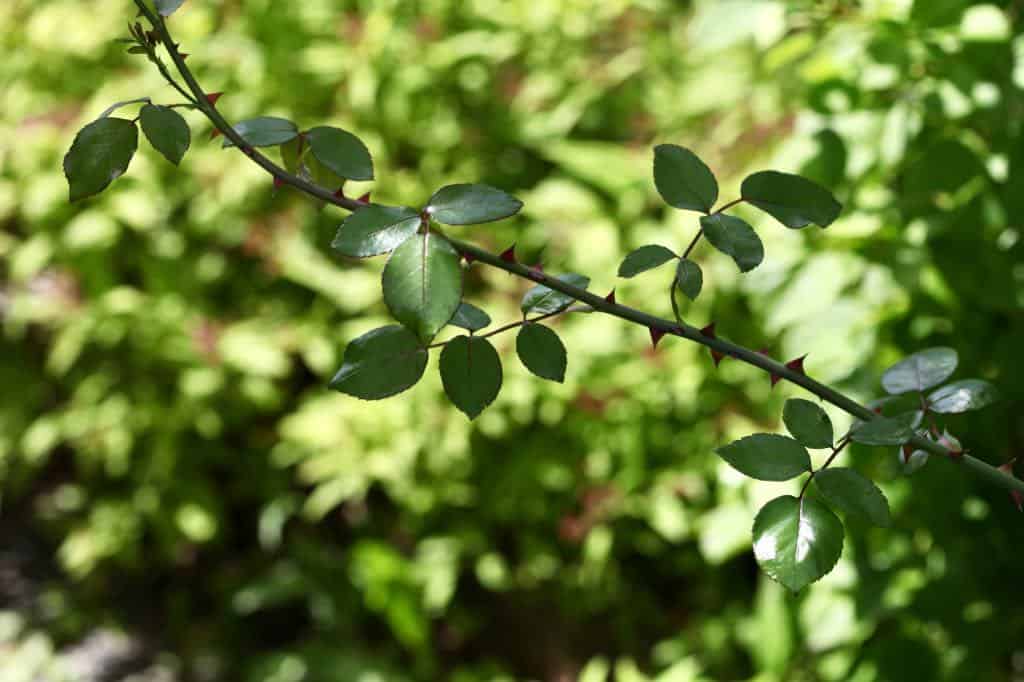
To grow roses from cuttings, it's important to take the cuttings from rose stems when they are semi hardwood, for best results.
New growth on the rose, in late spring or early in the season, is soft and tender with pliable stems, and not best for taking cuttings.
If taken at this time, these stems would be considered softwood cuttings. The success rate for rooting is lessened with softwood rose cuttings.
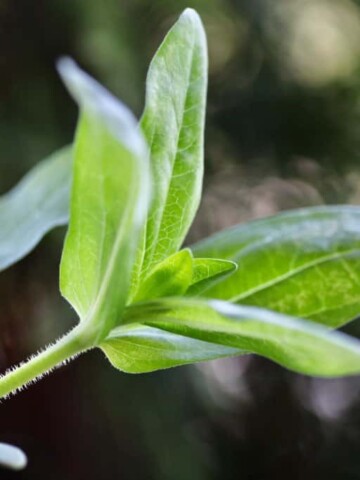
Semi hardwood growth is new growth from the current growing season, which has been hardened off.
Semi-hardwood cuttings are taken from the new growth which has become firmer, and less tender.
It's not really the month or time of year which determines the best time to take the cuttings, but rather the condition of the stems that you are cutting from.
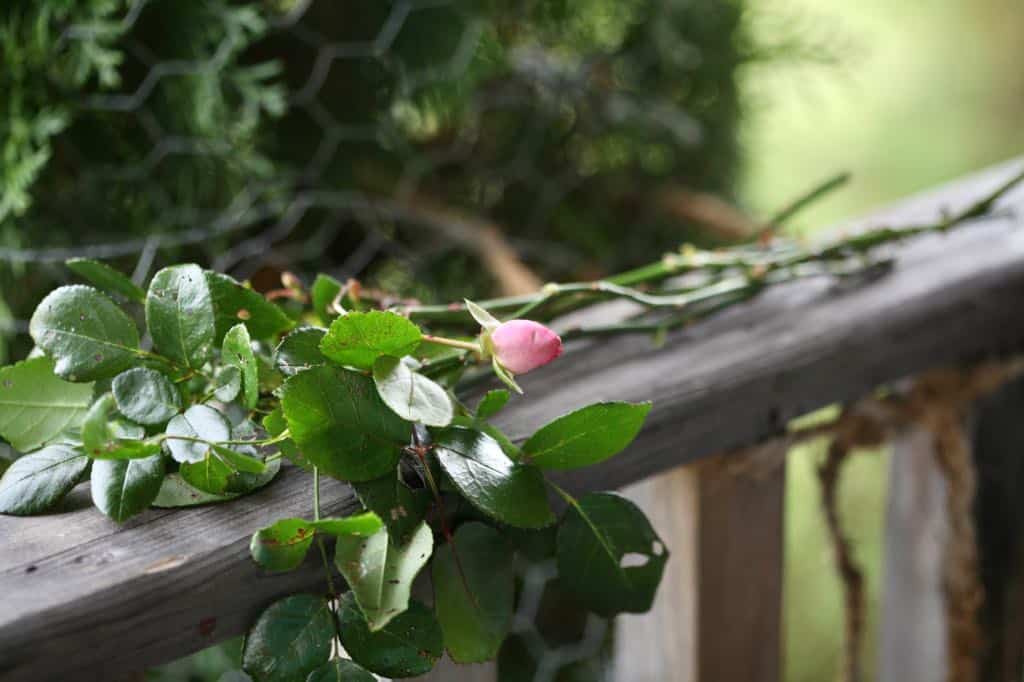
Don't take the rose cuttings from a stem which is budding, if at all possible.
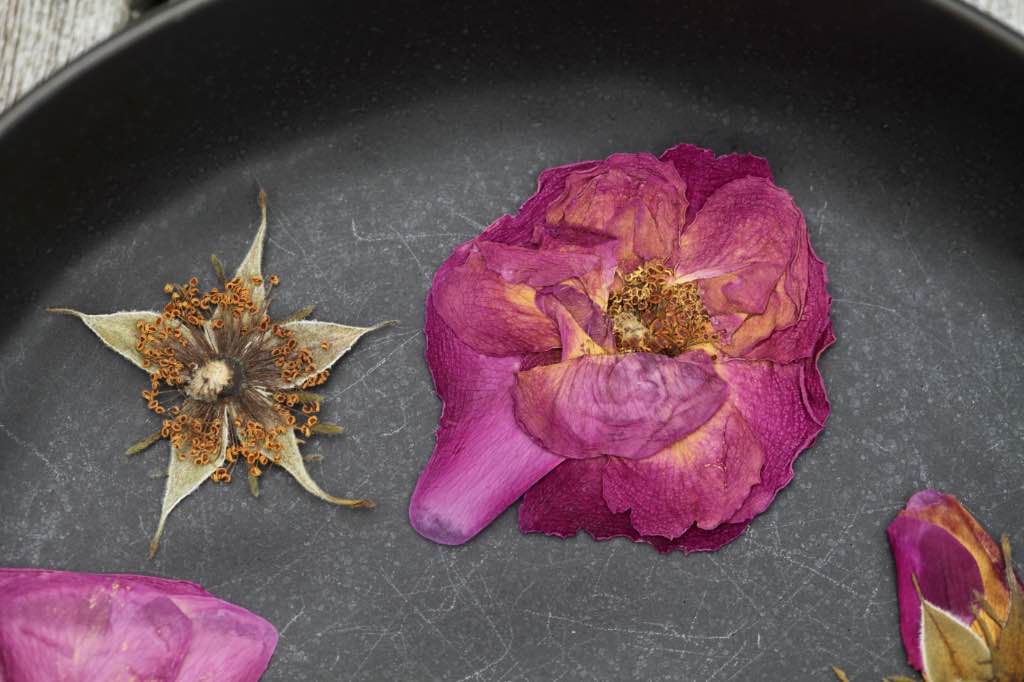
Rather, it's important to wait for those buds to finish blooming, and the flowers to be spent, with the petals falling off.
At this point the new growth on the stems is starting to harden off, and will be ideal for propagating by stem cuttings.
If you do happen to take a stem with flower buds as a cutting, make sure to remove the buds. Otherwise the bud will take energy from the cutting, which is required for the rooting process.

How To Take The Cuttings
Taking rose cuttings involves just a few simple steps.
Cut The Stems
- Take a semi hardwood cutting from a healthy stem, approximately 8 inches in length. Stems should be approximately ¼ inch in diameter.
- Make sure to cut below a leaf node, as this is where the new roots will be forming on the cutting. These leaf nodes will be planted into the soil, where they will begin to form roots.
- Cut the cutting from the mother plant with a pair of clean pruners, making a 45-degree angle cut on the bottom of the stem.

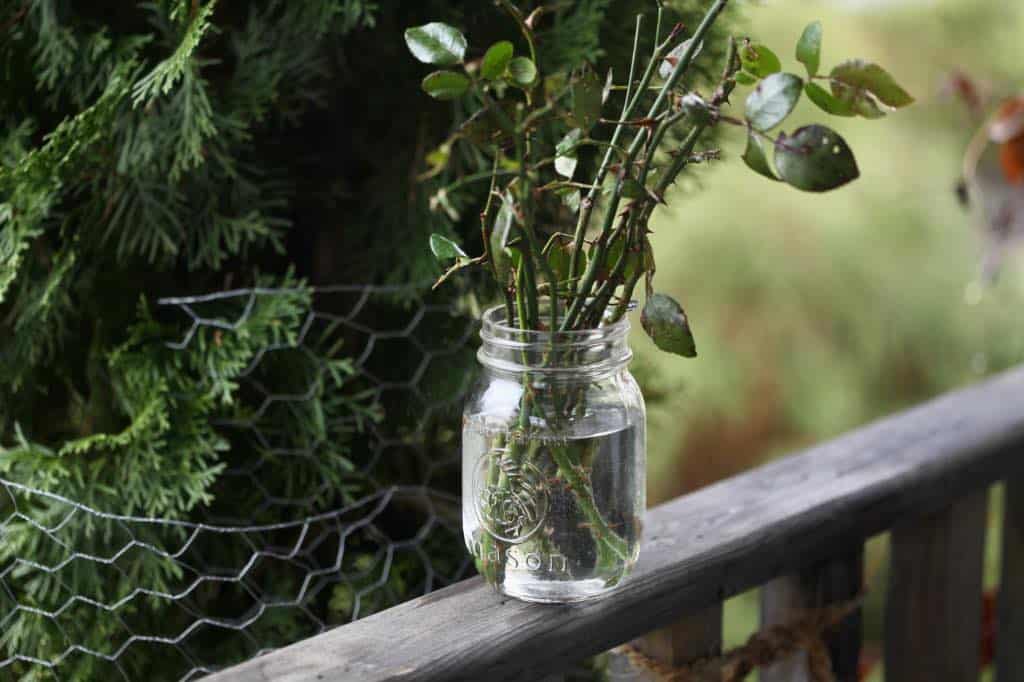
Place In Water
- If you are taking a number of cuttings, it's a good idea to place the stems into a jar or container of water during the cutting process.
- This will keep the stems hydrated until they are ready to plant.
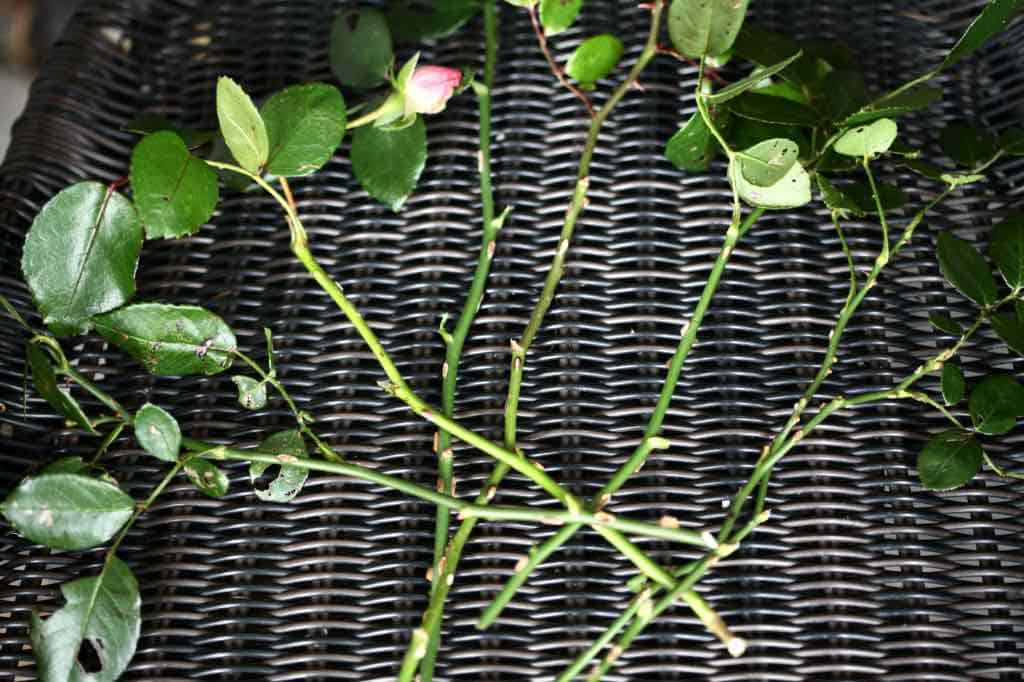
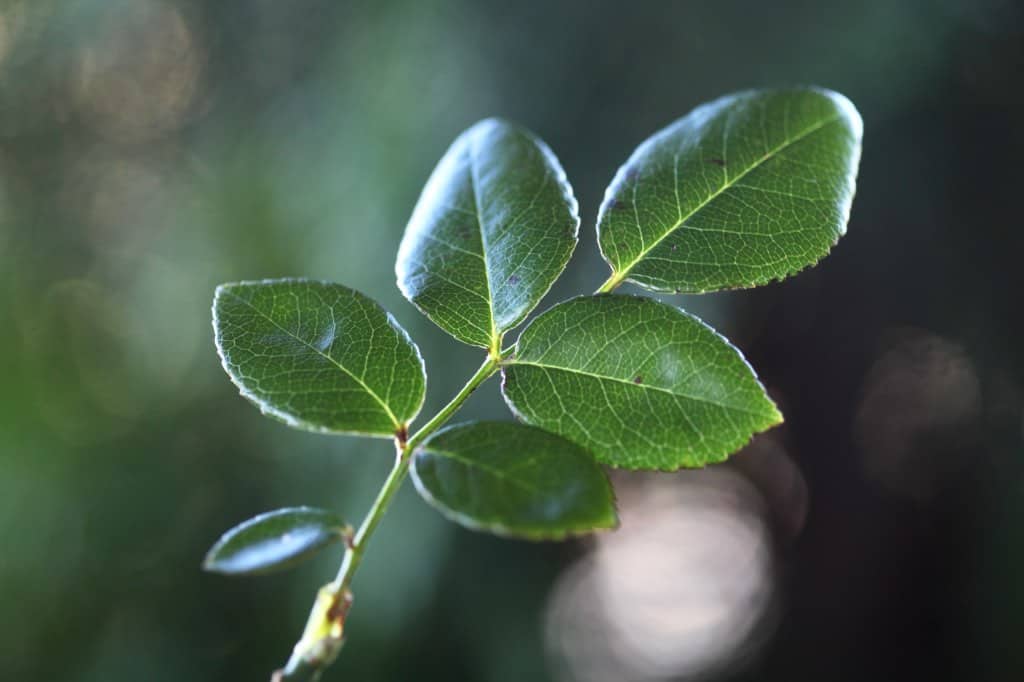
Remove Most Leaves
- When you take your cutting from the rose bush or climbing rose, there will likely be a number of leaves growing along the stem. Most of these leaves can be cut off, leaving just a few leaves in place at the top of the stem.
- It's important to leave those few leaves at the top of the cutting, to provide some energy for the plant until it begins to develop roots.
- Trim back the leaves with a sharp pair of snips or scissors, keeping only a few at the top.
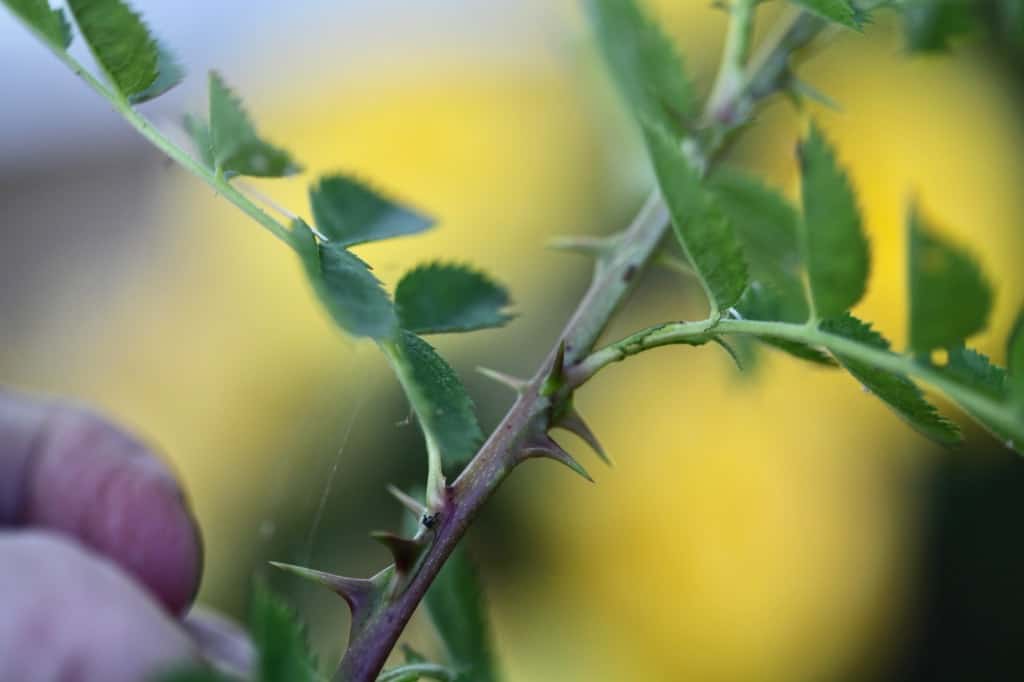
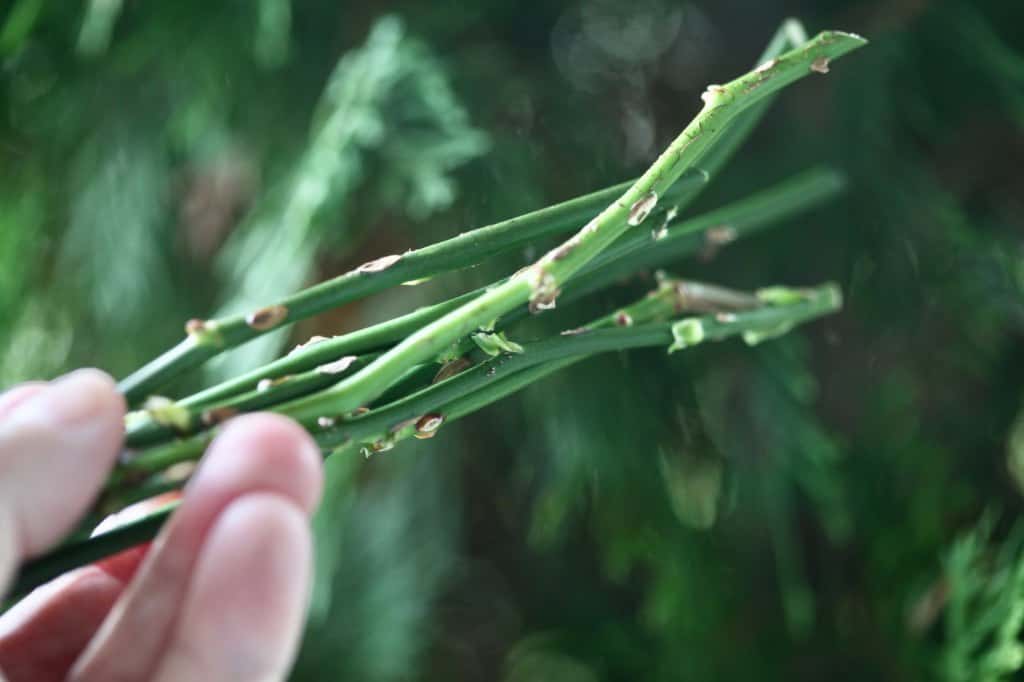
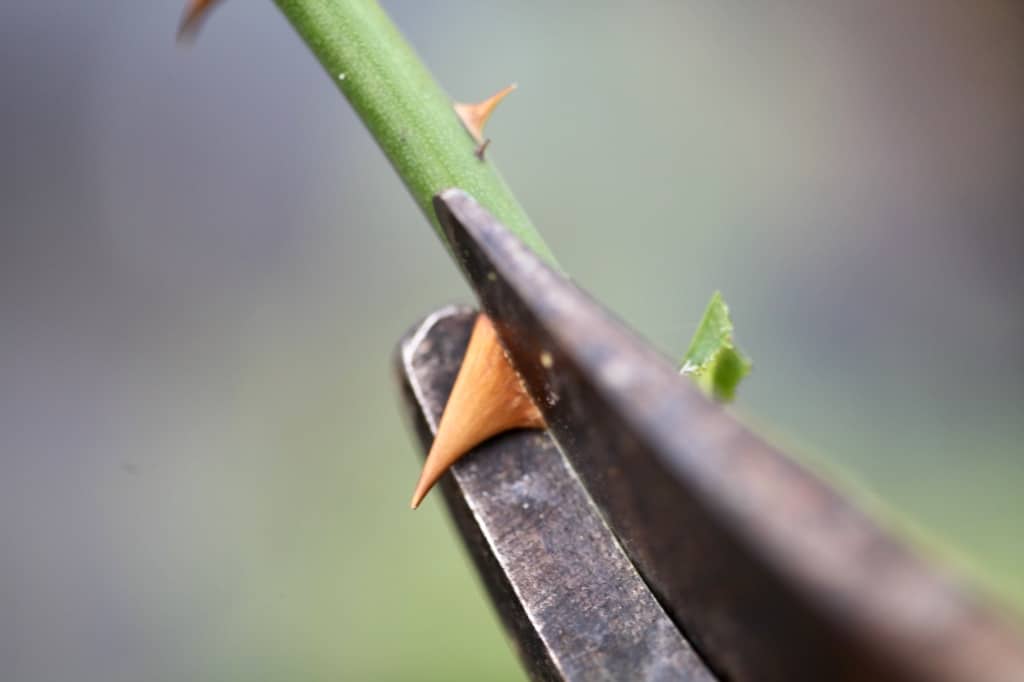
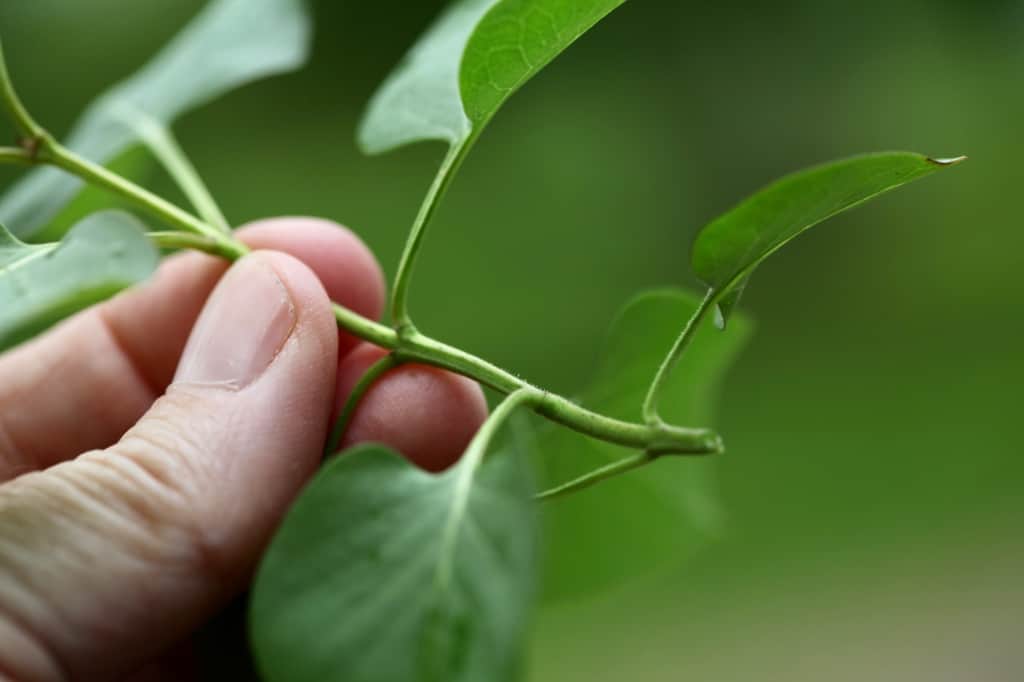
Remove Some Thorns
- Be careful of the thorns, which can be very sharp. The thorns can easily be stripped away using a thorn stripper, or even a sharp knife.
- Stripping the thorns will not damage the stem, but rather will also provide new areas on which new roots can form.
- If these areas of mild injury or scarring from the thorn removal are located below the soil, just as with the leaf nodes, new roots can form in these locations.
- After preparing the cuttings, it's now time to plant.
How To Plant The Cuttings
Prepare The Container
- Prepare the planting container in which to plant and grow your roses from cuttings.
- Make sure that there are drainage holes in the bottom of the containers.
- Label the containers to identify the rose variety, if you are planting multiple types. Use a permanent marker to make your labels.
- Fill the container or containers with a moistened sterile potting mix, which will be the rooting medium.
- You can plant more than one cutting per container, however remember that they will need to be carefully separated after rooting, to be planted up into individual containers.
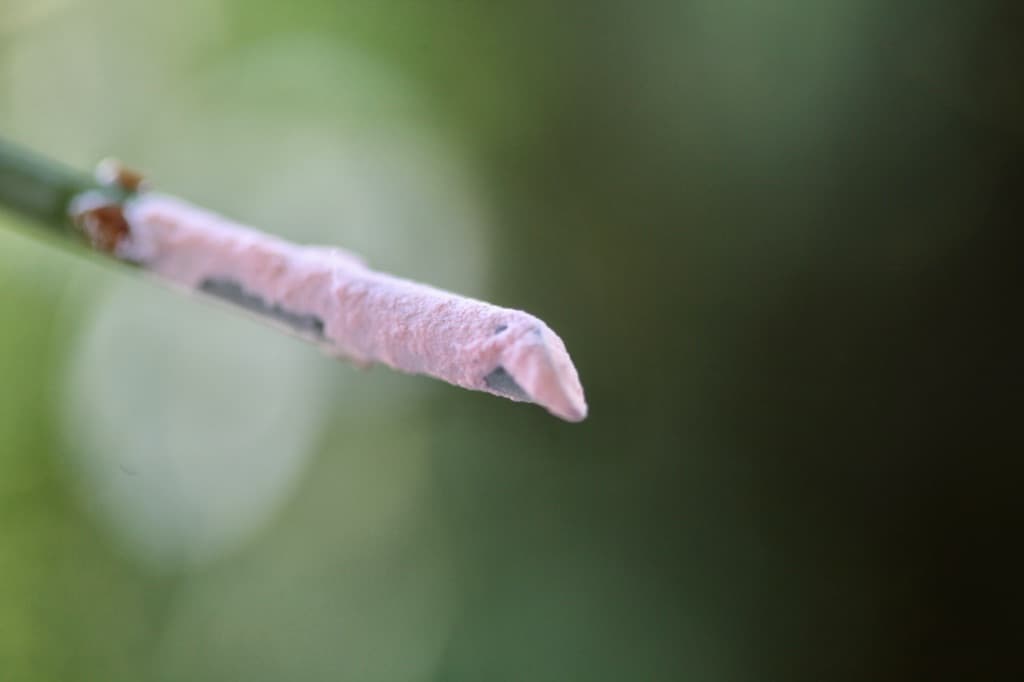
Apply Rooting Hormone
- Next it's time to apply the rooting hormone.
- Dip the cutting approximately one to two inches into the rooting hormone.
- In the areas where the thorns were removed, and along lower leaf nodes that will be placed beneath the soil, the rooting hormone will easily stick to these spots.
- Make sure that these areas are well covered with the rooting hormone.
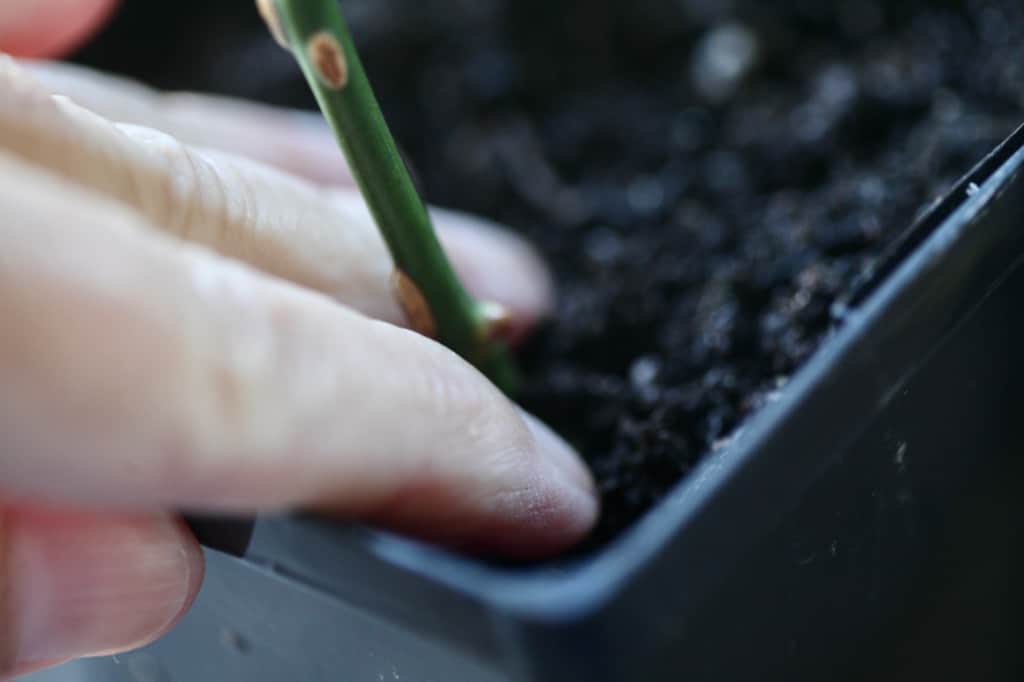
Plant The Cuttings
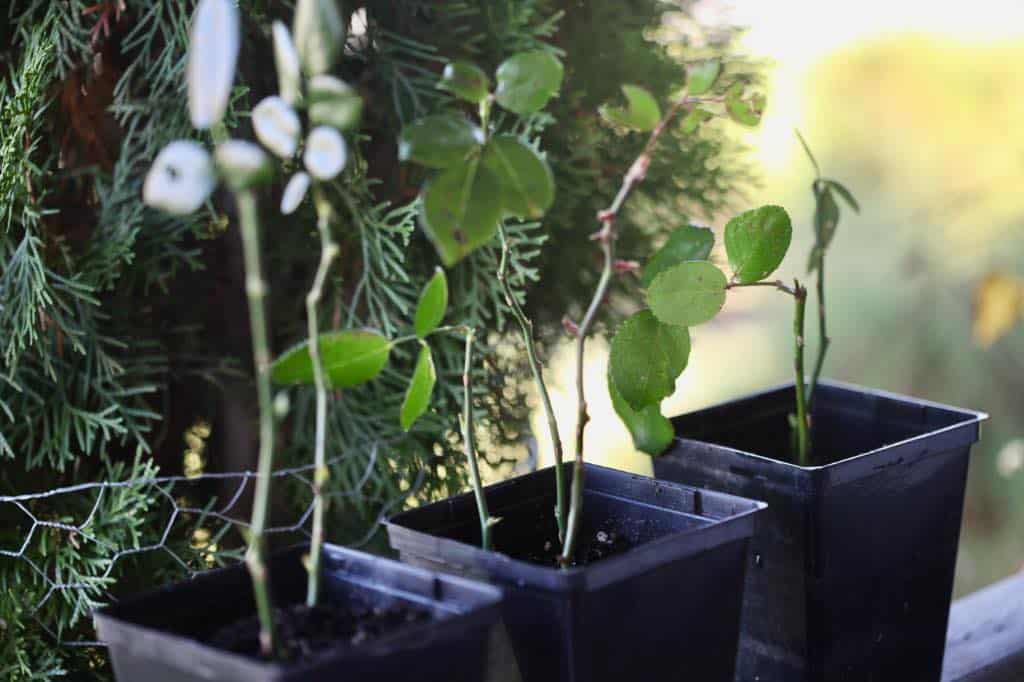
- Next, place the cuttings into the container filled with a sterile moistened potting mix.
- You can make a hole in the potting mix before planting, or just push the stem directly into place.
- Push the cutting deeply into the mix, and then firm the mix around the stem by patting it into place.
- Now it's time to place a humidity dome over the cuttings, to maintain a moist environment until rooting occurs.
Use Of A Humidity Dome
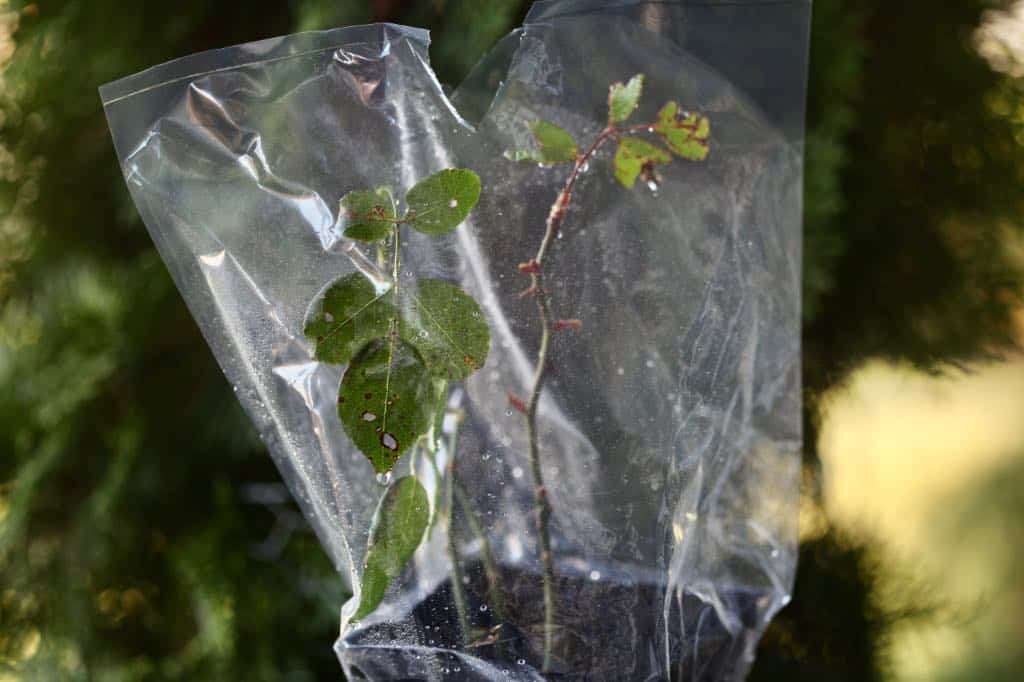
- Cover the container and newly planted cuttings with a vented humidity dome. A humidity dome is a very important tool for successful propagation of cuttings.
- The dome will provide a moist environment around the stems and the leaves. This helps to reduce transpiration or moisture loss, and helps to prevent drying out of the cutting.
- Venting of the humidity dome is also important, as this will allow excess moisture and heat to be released from the air surrounding the cuttings.
- There are a number of homemade options for humidity domes. DIY humidity domes are easily constructed from common household materials, such as a recycled plastic bottle, or a clear plastic bag.
- Just make sure that there is a hole at the top of these units. This will allow escape of warm air and excess moisture.
- This moist environment is important to be maintained, until the cuttings begin to root. Once rooted, the plant's own root system will be able to provide moisture for the stem and leaves.
Providing Moisture To The Cuttings
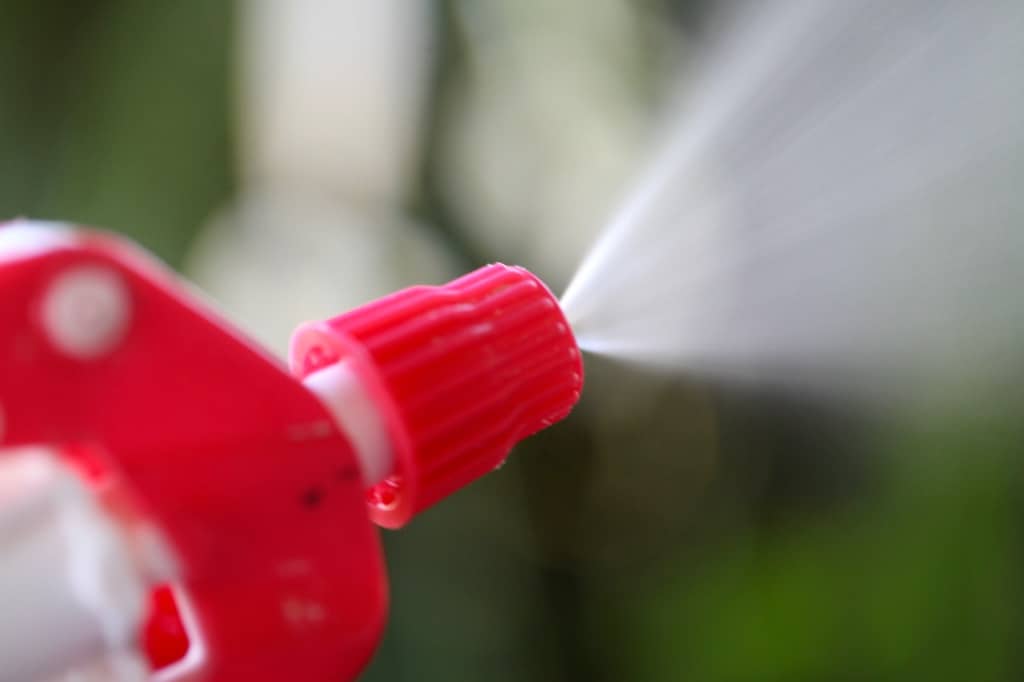
- To keep the air inside of the humidity dome moist, you will need to provide this moisture by using a spray bottle with water.
- Spray the stems and leaves with a spray bottle every now and then. Do this when you notice that there is no condensation within the humidity dome.
- Condensation and moisture is evident when you see tiny beads of water forming on the sides of the dome. The condensation is a result of the warmth and humidity within the dome.
- When there is no longer condensation on the sides of the dome, it's time to give the cuttings a gentle spray of water. Spray both the stem and leaf surfaces.
- Continue to mist and water as needed, being careful to not oversaturate the soil.
- Until the cutting develops roots, it will not require a very moist soil. If kept very wet constantly, this can lead to mold development.
- I like to rely mainly on misting at this time, although will water occasionally to prevent the soil from drying out.
Where To Place The Cuttings
- Place the container with cuttings in a location with diffuse light, although no direct sunlight, for approximately 6 to 8 weeks.
- If placing outdoors to root, the north side of the house is a good location.
- I took my cuttings at season's end from my recently pruned climbing rose, which tends to bloom all season long. This season, due to the pruning, the plant produced lots of new growth.
- The cuttings were taken from lateral canes that had just bloomed.
- Since it was cool outside, the cuttings were brought inside to root.
- After planting the cuttings, they were placed under artificial light, or grow lights. The lights are bright, yet not injurious to new and tender growth.
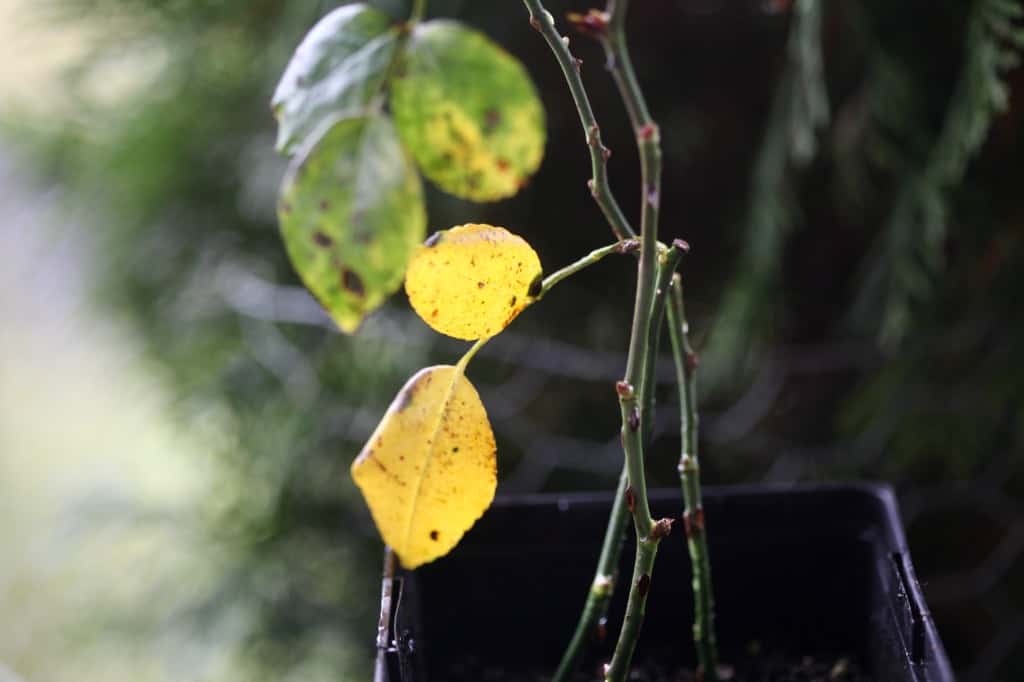
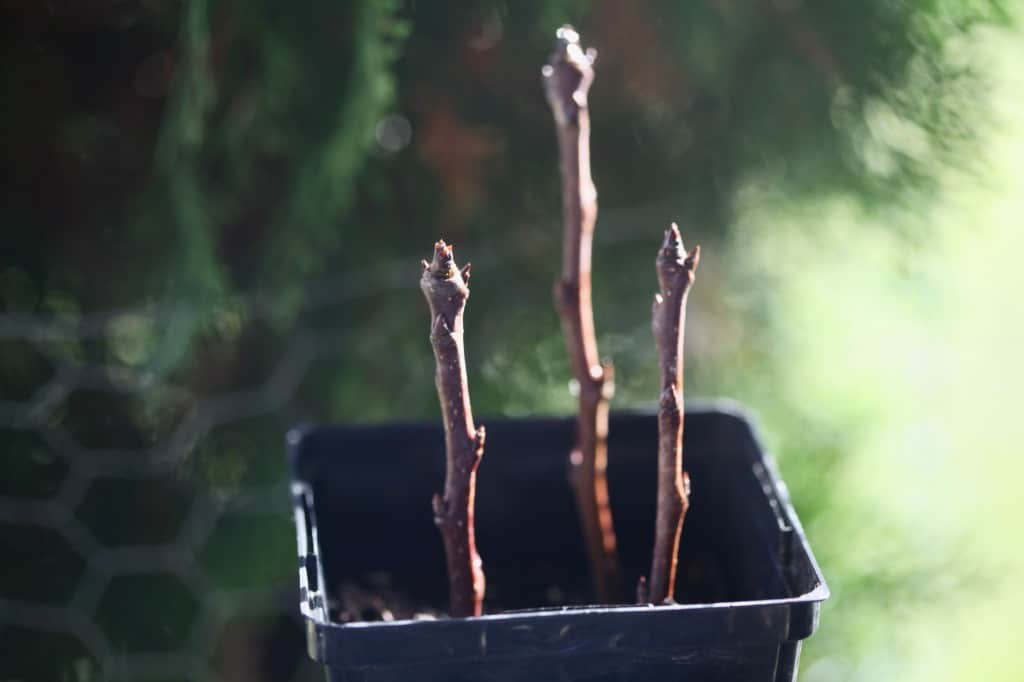
- If the cuttings drop their leaves before they have rooted, take heart, all is not lost. As long as the stems are still green and not dried out, or show evidence of dormant buds, they are likely just fine.
- Continue to mist, and wait for evidence of growth, such as new leaves sprouting.
How Long Does It Take Rose Cuttings To Root?
With ideal conditions, rooting will occur within approximately 8 weeks.
Try to be patient, and not interfere with root growth by pulling the cuttings up out of the soil, especially if they have lost the leaves at the top.
I know of this personally, as I have done this a few times.
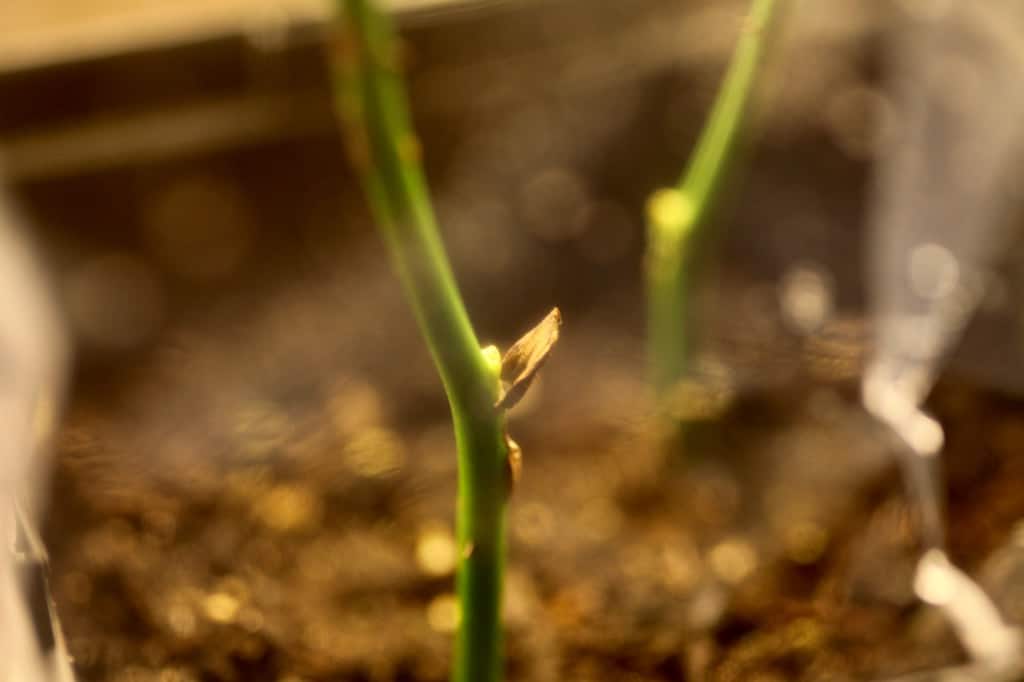
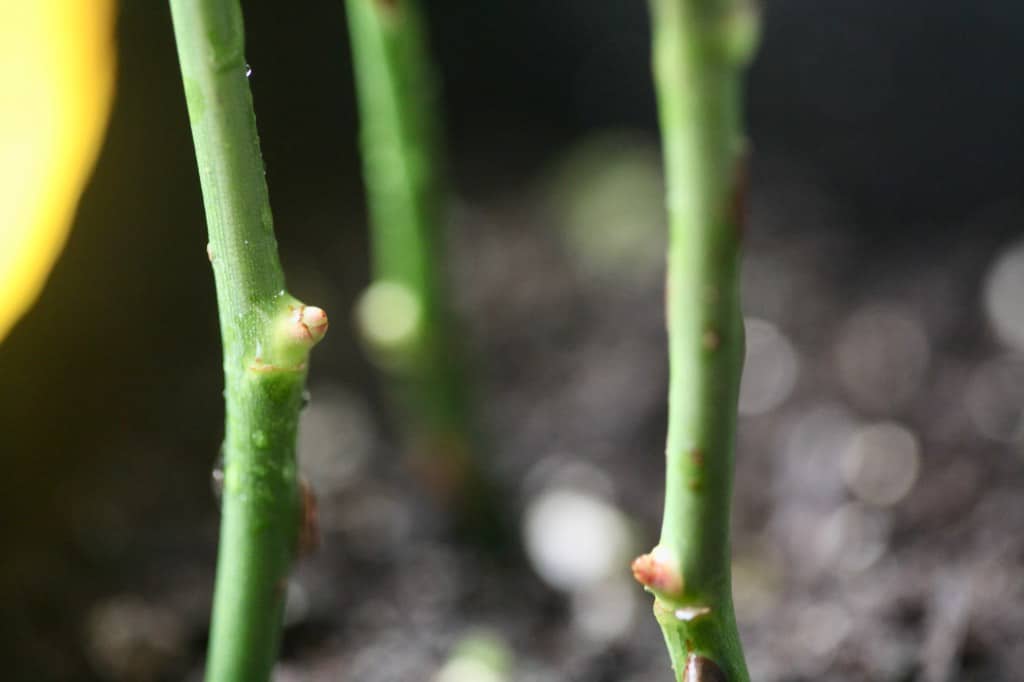
Now I keep an eye on the stems, and I look for buds forming on the cuttings even if they have lost all of the leaves. New growth, in the form of a small leaf node forming, is an excellent sign that the cutting is rooting, if you are seeing these signs after a month or so.
As well, if the cutting is still green, that is a sign of life.
You can also very gently pull up on the cutting, to see if there is some resistance. This is also a sign that rooting is taking place.
Once rooted, grow the new plants on, until they can be planted into the garden. Depending on your growing zone, this can be either a spring or fall planting.
If several cuttings have been started in the same container, gently separate the cuttings and repot into individual containers.
Water in well, and grow until ready to be planted out.
If planting out in spring, make sure to harden off the new rose plants before planting into the garden. Know your frost dates for your usda plant hardiness zone, and plant when the risk of frost has passed.
Transplanting The Rose Cuttings Into The Garden
When the time is right for your gardening zone, it's time to transplant your new rose cuttings into the garden, into their permanent location.
For us in cooler climates, this time is in early spring, when the risk of frost has passed.
Plant the young plants into a sunny location, in rich and amended fertile soil.
If planting multiple cuttings, remember to space the plants to accommodate for their size at maturity.
Water in well, and keep well watered until the new roses establish in their new planting location.
It will take about two to four years for your new rose bushes to reach blooming size.
Conclusion
Roses are easily to grow from cuttings.
Make sure to use the right techniques for the best results and rooting success.
The great thing about propagating roses from cuttings is that it can help you to perpetuate and multiply some of your favourite rose bushes.
Growing from cuttings is also a great way to share rose plants with other gardeners. Exchange pieces of some of your favorite rose plants with gardening friends and family.
You will likely receive some new cultivars in exchange for your own.
It will take some time for the new plants to grow and flower, however in the world of gardening these seasons will pass in the blink of an eye.

Have you ever tried to grow roses from cuttings? Be sure to leave a comment below to share your experience!
Other Posts You May Like:
PIN IT FOR LATER!


Leave a Reply