Propagating a pear tree from cuttings will result in new plants, which are exactly the same as the parent pear tree. If the cuttings successfully root, they will be identical to the parent tree, and clones of the parent. Learn how to propagate pear trees from cuttings, and grow new specimens of your favourite pear tree.
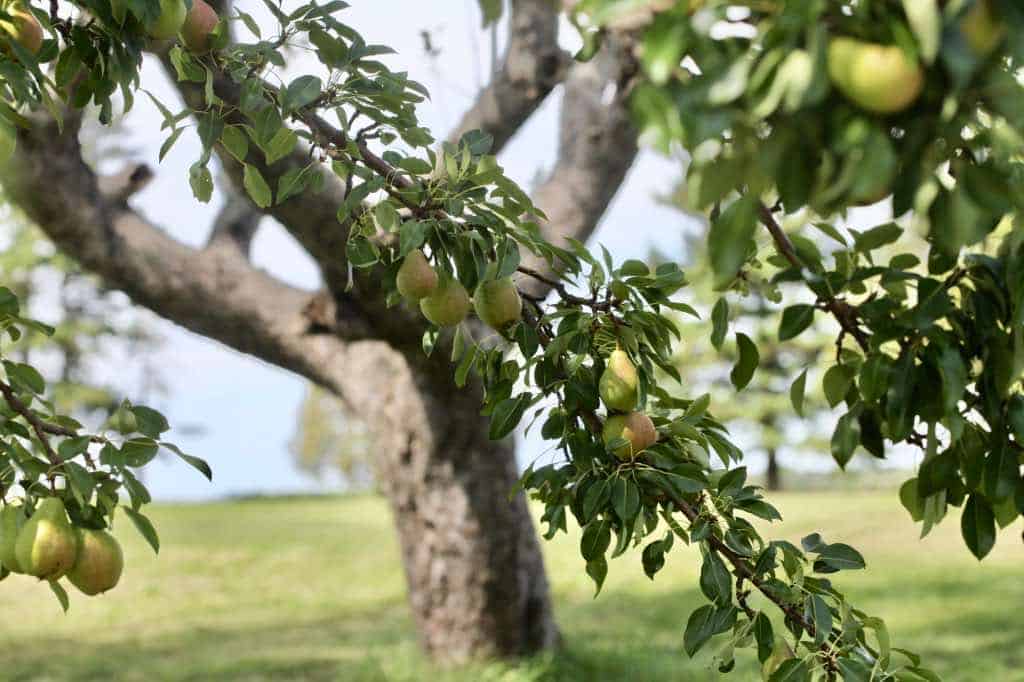
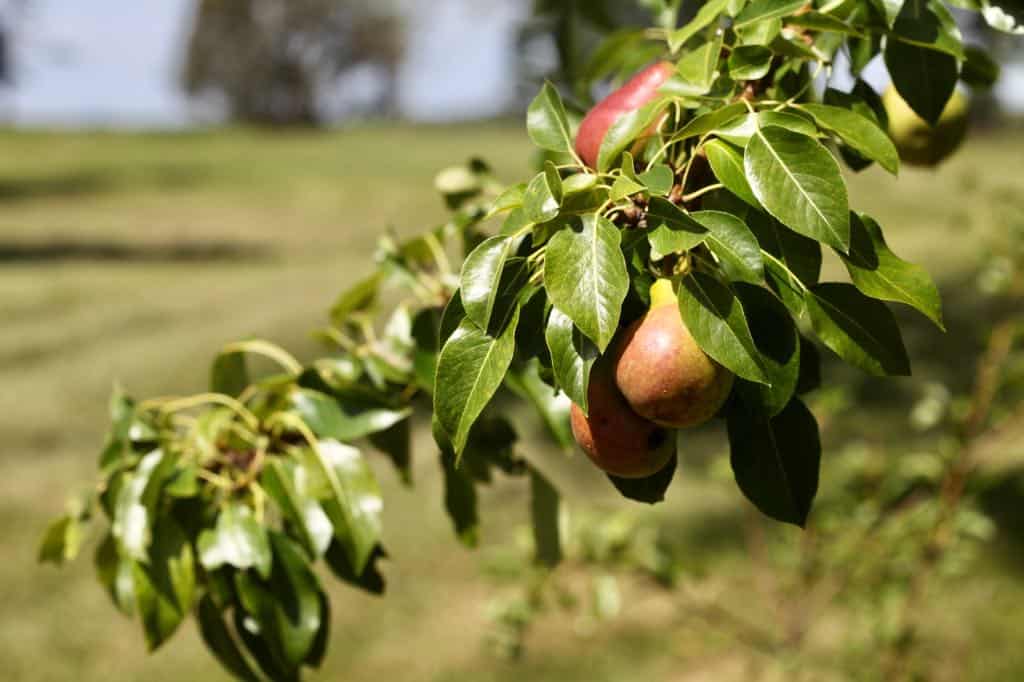
This season we lost many large trees to a large and forceful hurricane, including a large Bartlett pear tree, planted at least several generations ago.
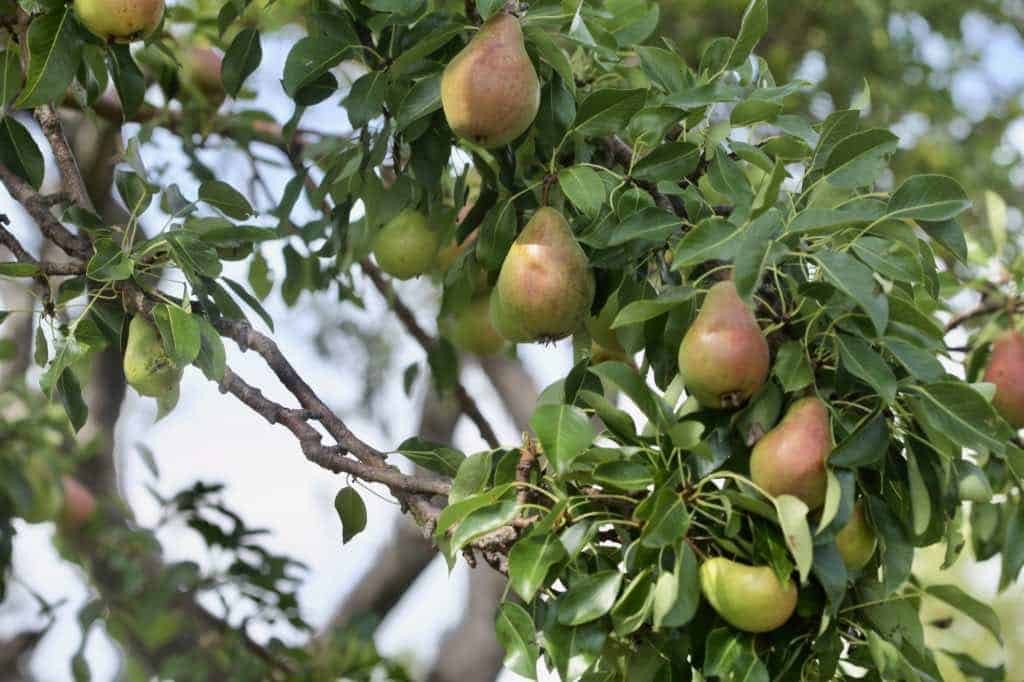
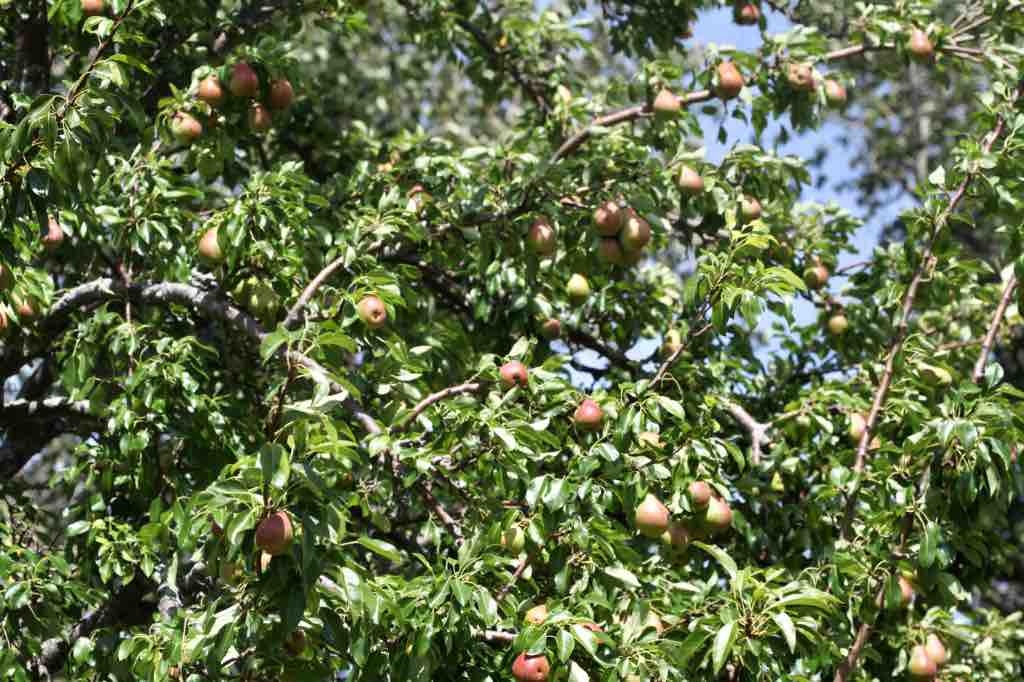
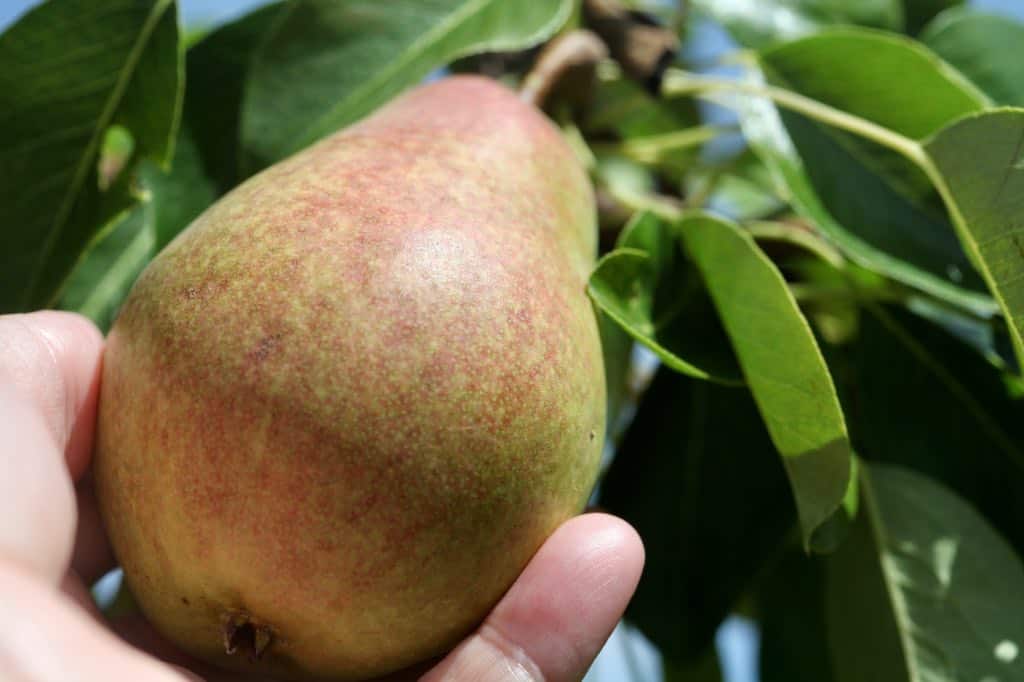
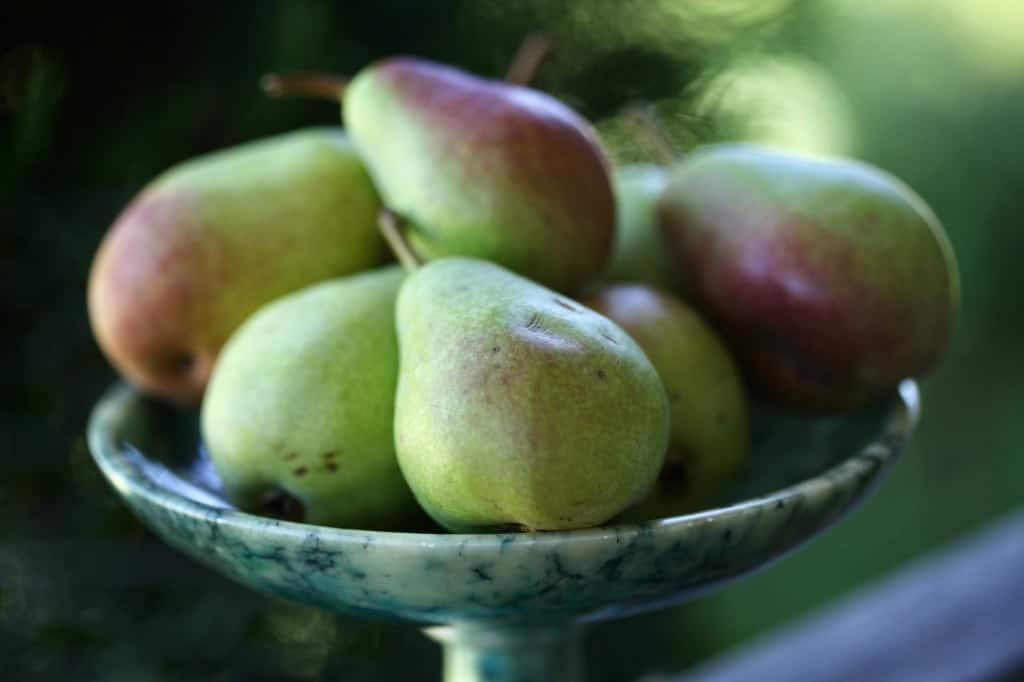
This same pear tree had been so productive this season, and we had been amazed at the number of fruit that were produced for harvest. Perhaps the tree sensed something of the risk, as often trees will produce extra fruit for reseeding if they are stressed.
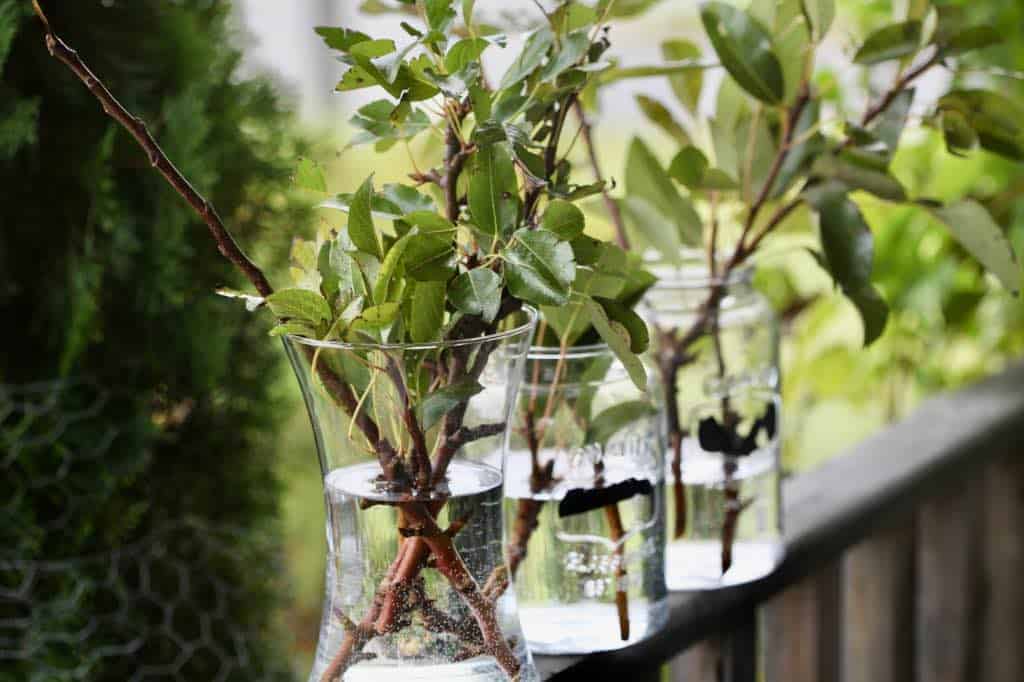
When this favorite pear tree blew down, one of the first things I did was take cuttings from this year's growth, at the top of some of the branches. Rooting the stem cuttings was important to save pieces of the tree for growing on.
These upper stems would never have been accessible before, without a very long ladder. Now sadly, they lay flat against the ground, for easy cutting.
Propagating Pear Trees From Cuttings
It is moderately easy to propagate pear trees from cuttings, using the right techniques. Choose cuttings from this year's growth, either softwood cuttings in the spring, or semi-hardwood cuttings in the fall. Plant the cuttings, dipped in root hormone, into a soilless potting mix. Cover with a humidity dome, and mist regularly until rooted, which can take several months or more.
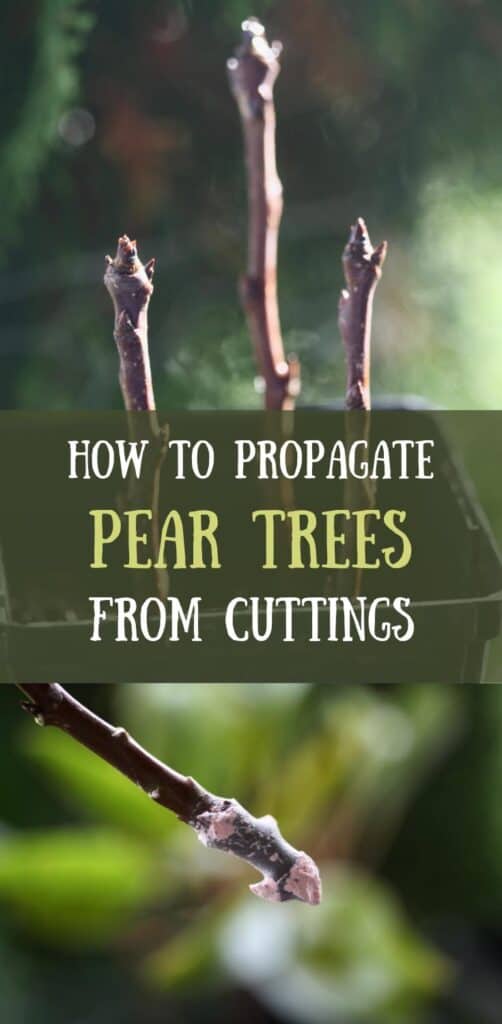
How To Propagate Pear Trees From Cuttings
Propagating pear trees from cuttings can be fairly easy, depending upon the cultivars used for propagation.
One of the best skills for producing successful cuttings is having patience, and allowing the cuttings some time for the new roots to take form.
It may be very tempting to dig down into the pot or to pull up the stem, to see if the cutting has rooted. However it's best not to disrupt the plant at this time, and to allow the new tree some time to grow.
Continue to care for the cutting, and await for the rooting to take place. In most cases there is a good chance for success, if you have used the right techniques for proper planting and care.
When To Take Pear Cuttings
- Pear cuttings can be taken in spring or fall.
- The cuttings should be taken from the new season's growth for best results.
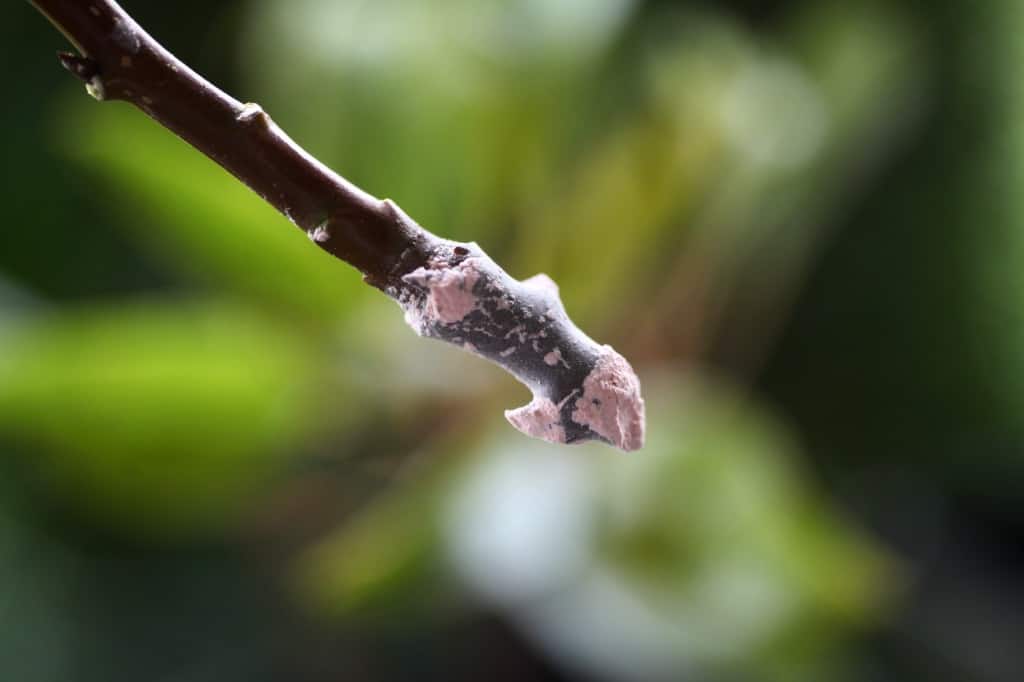
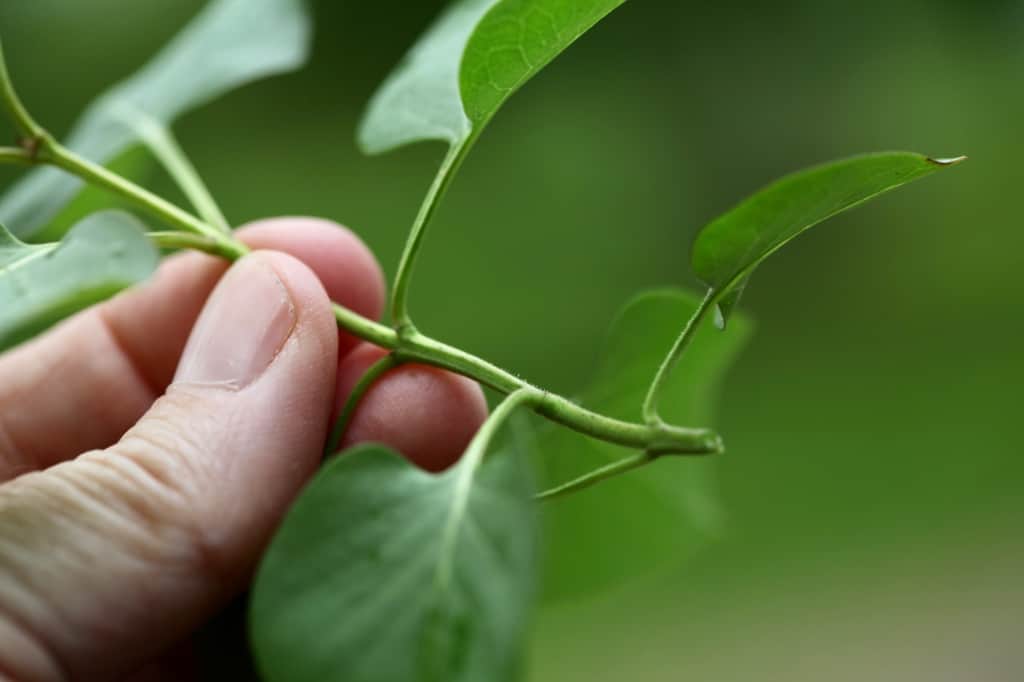
- In early spring, take softwood cuttings from new spring growth. The growth is easy to identify, as the color of the new growth is green, and the stems are tender.
- In fall, this same new growth becomes brown and firmer in feel and structure. At this point the wood is considered to be semi-hardwood.
- The stems of both softwood and semi-hardwood cuttings are fairly easy to root, although the semi hardwood specimens may take longer to root than the more tender soft wood in spring.
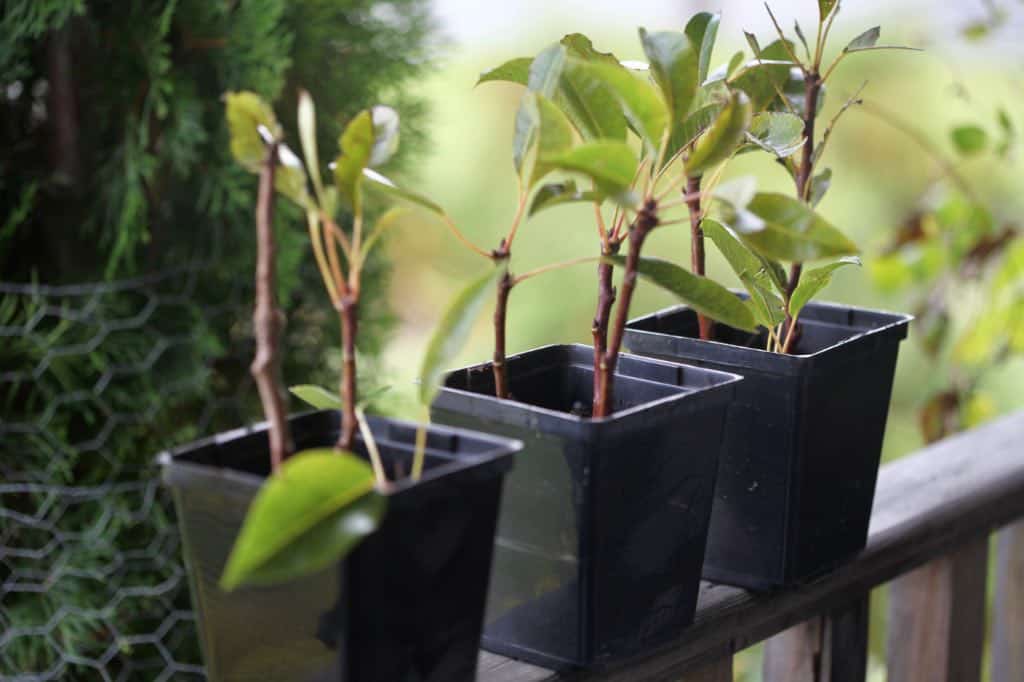
- Cuttings that I took for the sake of this post were semi-hardwood, from the downed pear tree in fall.
- The stems were still fresh, and the leaves still green on the tree.
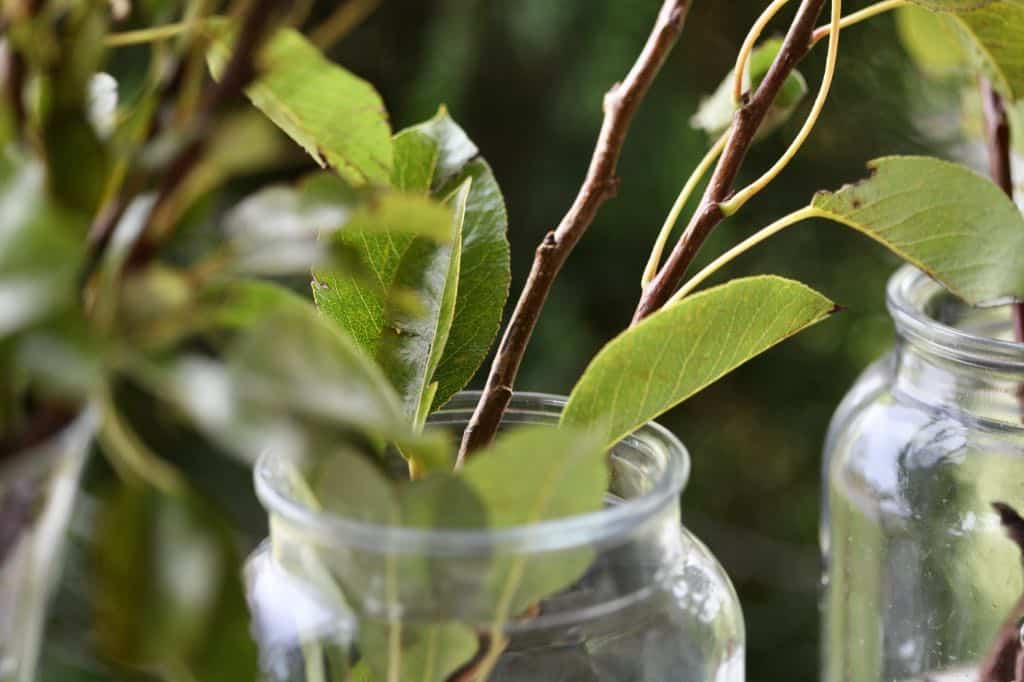
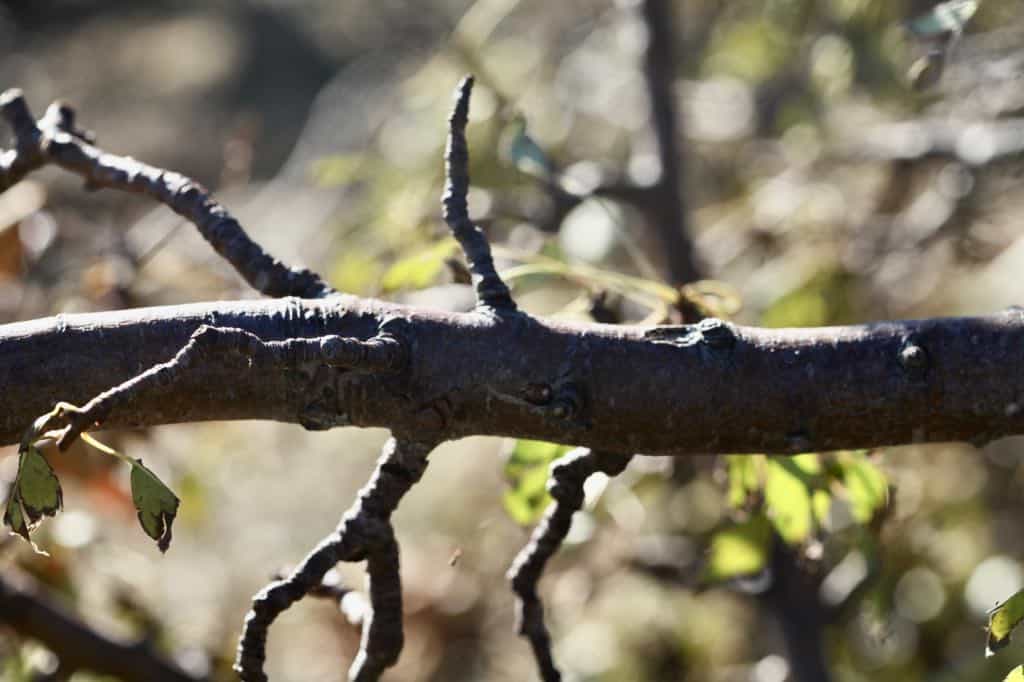
How To Take Pear Cuttings
- When you propagate pear trees from cuttings, it's a good idea to take multiple cuttings, since generally not all of your specimens will take.
- With a sharp pair of clean pruners, cut each stem from the pear tree at a 45° angle.
- The stems should be approximately 8" in length, and about the width of a pencil or smaller.
- Select shoots which are free of disease, with leaves at the tips of the stem.
- Make sure that there will be at least several leaf nodes which can be buried into the soil, because it is from each leaf node under the soil that the roots will be forming.
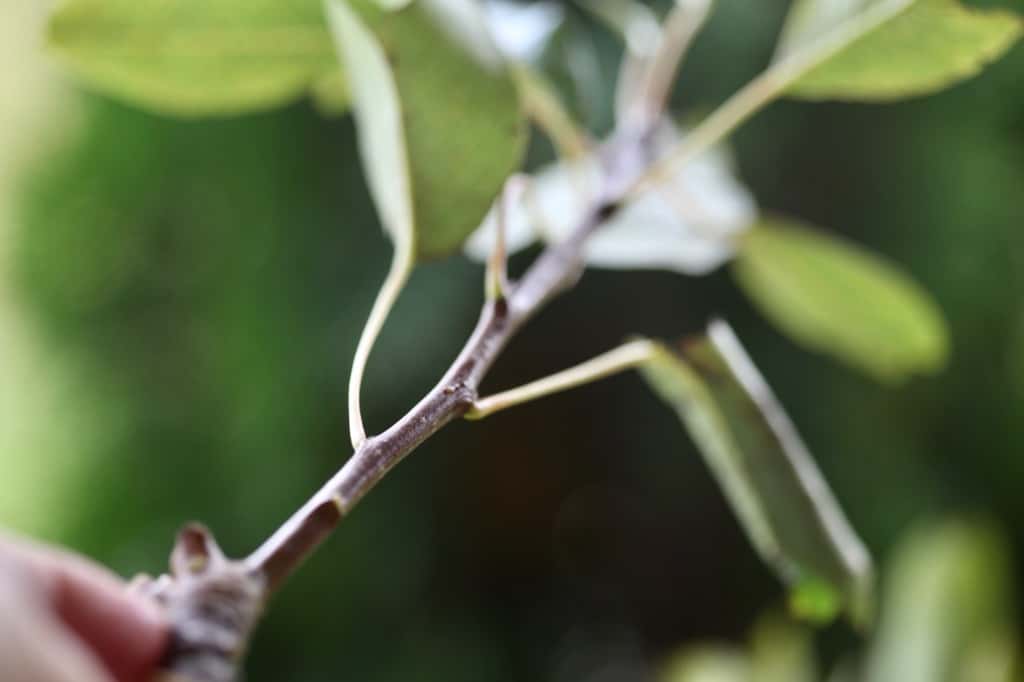
- Remove any leaves along the sides of the cuttings. Leave a few of the leaves remaining at the top of each cutting.
- It's a good idea to place the newly cut stems into a glass of fresh water, to keep them hydrated until ready to plant them for rooting.

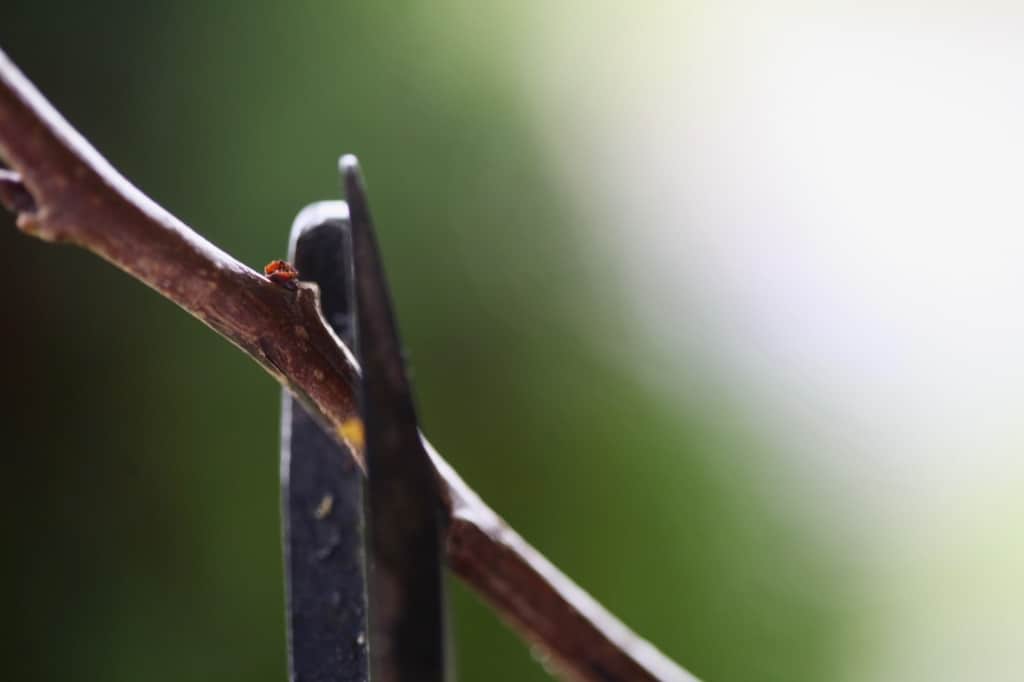
Planting The Cuttings
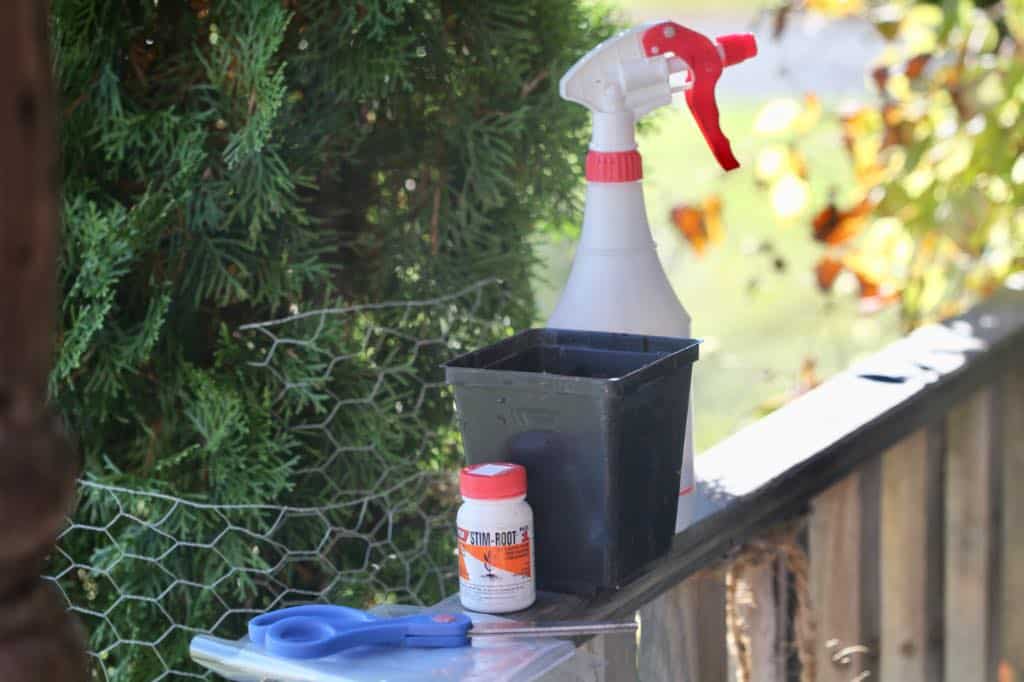
Prior to planting the cuttings, gather the tools you will need for processing them.
Tools You Will Need:
- scissors or snips
- containers for planting
- soilless potting mix
- rooting hormone
- large plastic bags
- elastic bands
- mist sprayer
Prepare The Planting Containers
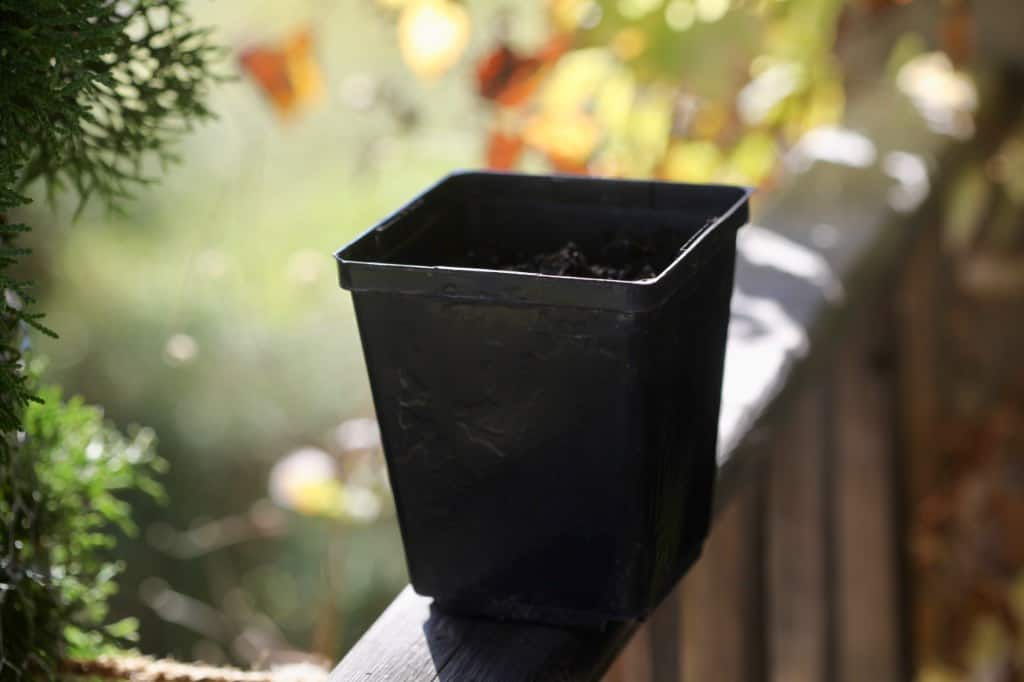
- Choose planting containers with a good depth, as the cuttings will need some space for growth. Make sure that there are drainage holes in the bottom of the containers.
- I chose planting containers that were 4" deep.
- You can also chose clear plastic cups with a good depth, such as clear solo cups. With these containers you will have an opportunity to see the roots developing within the soil.
- Fill the planting containers with a soilless potting mix.
- Slightly moisten the soil with water.
Process And Plant The Cuttings
Before planting the cuttings, it is important to process the stems.
Prepare The Stems
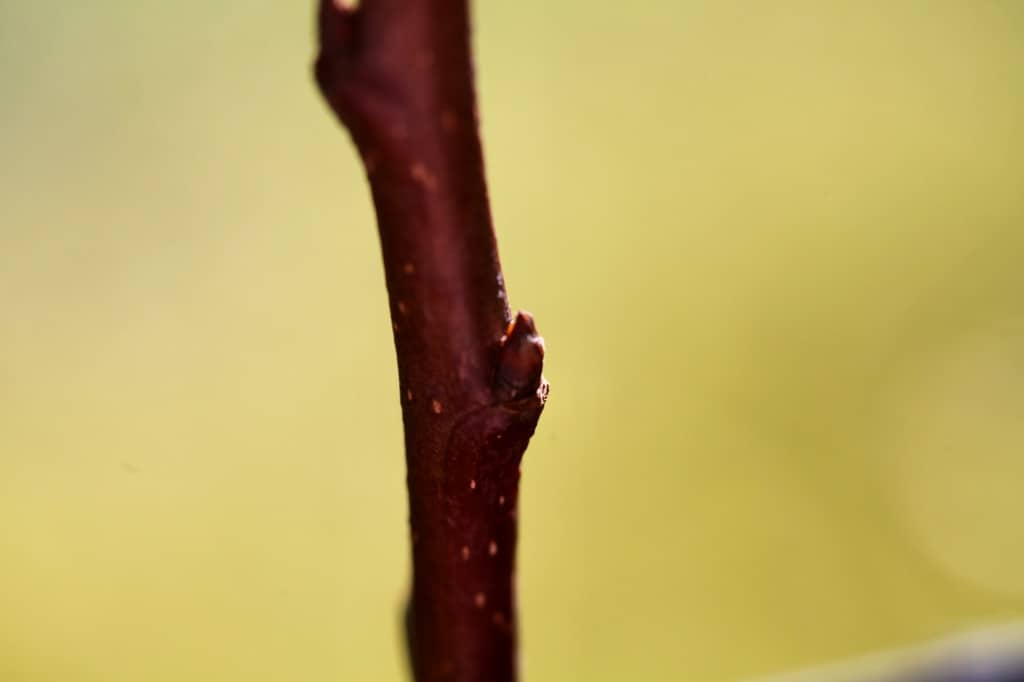
- Give another clean angled cut to the bottom of the stems at a 45-degree angle.
- Make sure to remove all of the leaves from the sides of the stems, as the cutting will not be able to nourish these leaves.
- Leave several leaves at the top, to provide some energy to the plant.
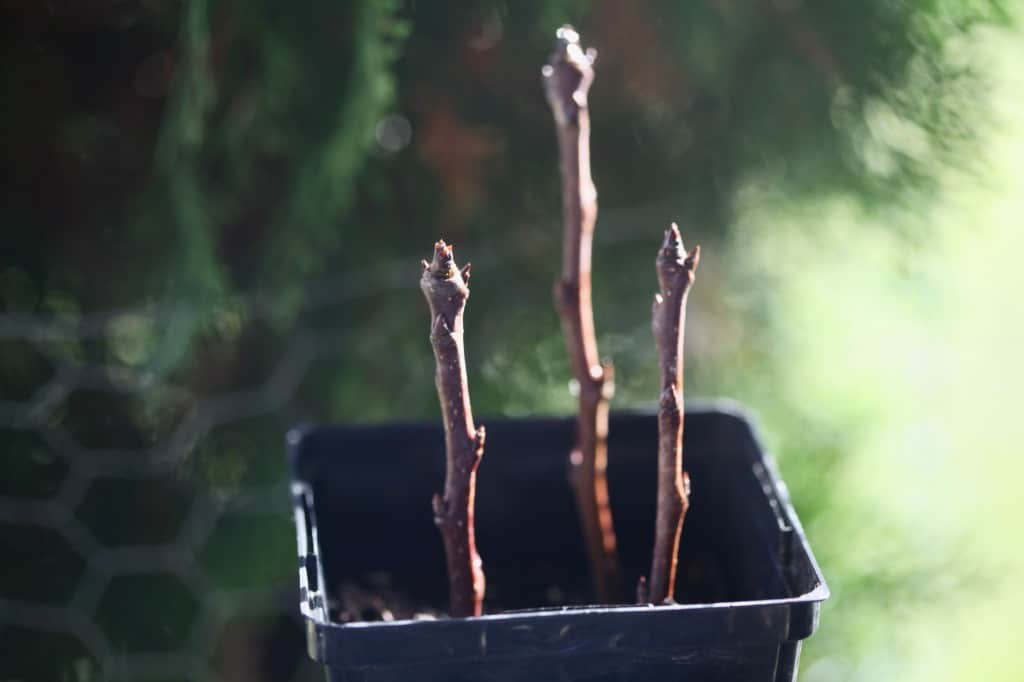
- These leaves may eventually fall off, if the cuttings were obtained in fall. This does not mean that the cutting has failed, only that the stems are dormant.
- If there are no leaves on the cutting, make sure that you are planting right side up. Leaf nodes should be pointing upwards.
Dip In Rooting Hormone
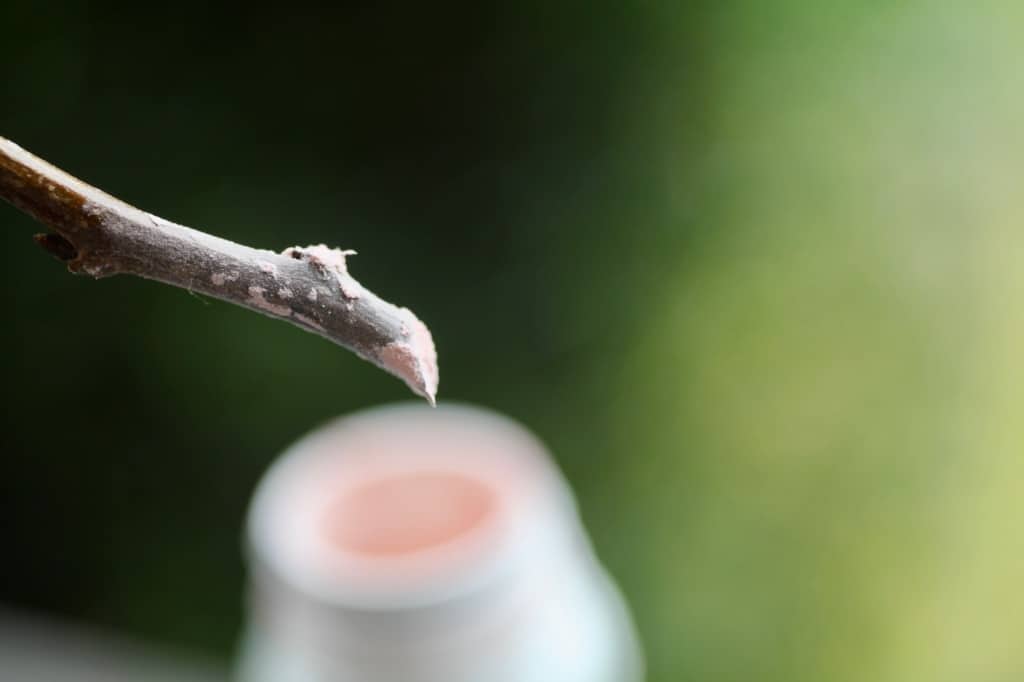
- Dip the base of the cutting into a rooting hormone, allowing the hormone to cover approximately 2" or higher, up the bottom of the stem. Make sure to cover some of the lower leaf nodes.
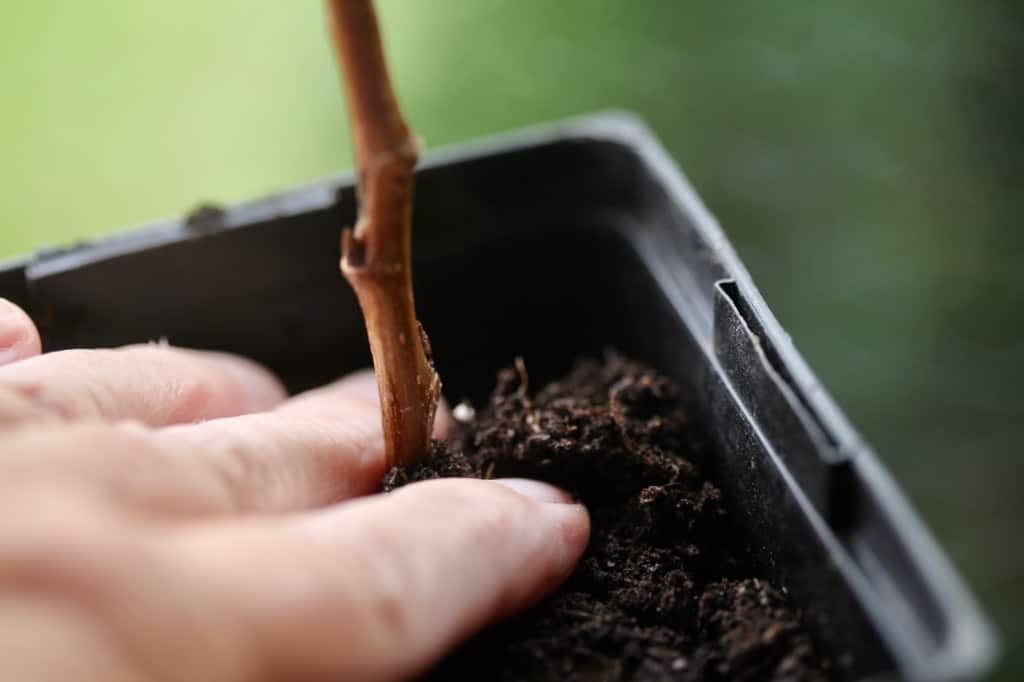
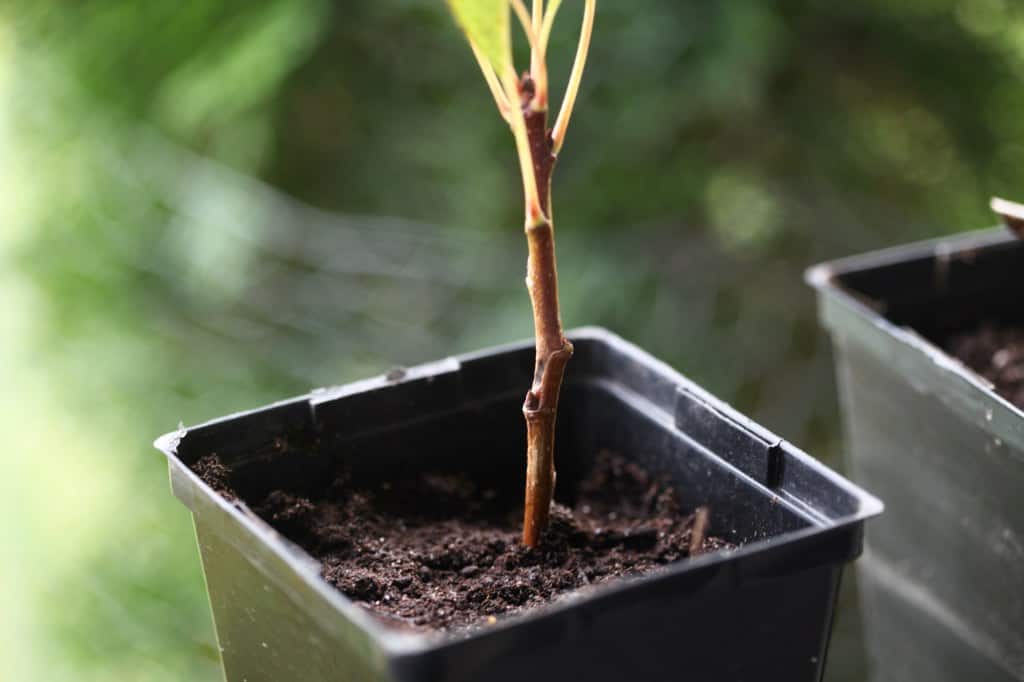
- Once the cut end of the stem is covered with rooting hormone, poke the stem into the potting mix in your container, planting deeply, at least 3" in depth. This will allow those lower leaf nodes to go deep into the soil for root formation.
- Pat the soil around the planted cuttings, firming the soil around the stems.
Add Vermiculite (Optional)
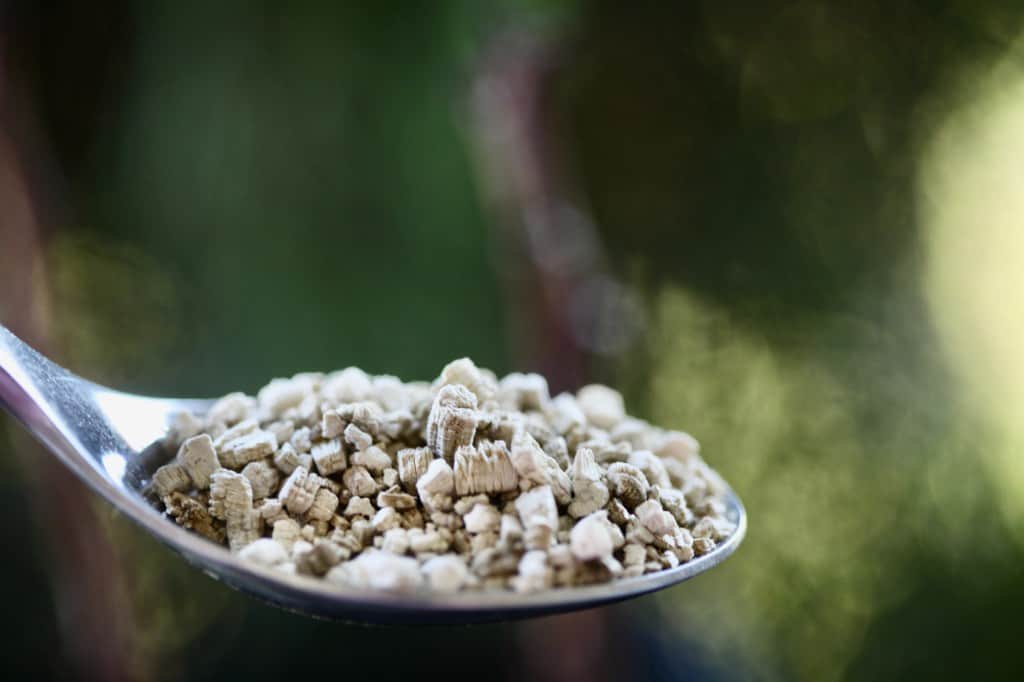
- You can also add some vermiculite or fine sand to the top of the soil, if you have a tendency to have fungal gnats.
- These substances will help to deter the gnats from entering the soil, and their larva from eating any fresh roots that develop.
Use Of A Humidity Dome
Use of a humidity dome is important when you propagate pear trees from cuttings.
Using a humidity dome will help to keep the new cutting in a high humidity environment, and will help to prevent transpiration of the leaves, and drying of the stem.
After taking a cutting, the leaves on the cut stems will be at risk of drying out quickly, because they are no longer getting moisture from the plant's roots.
By providing a green house type covering and some additional moisture, the leaves can stay healthy and continue to provide some energy to the stems.
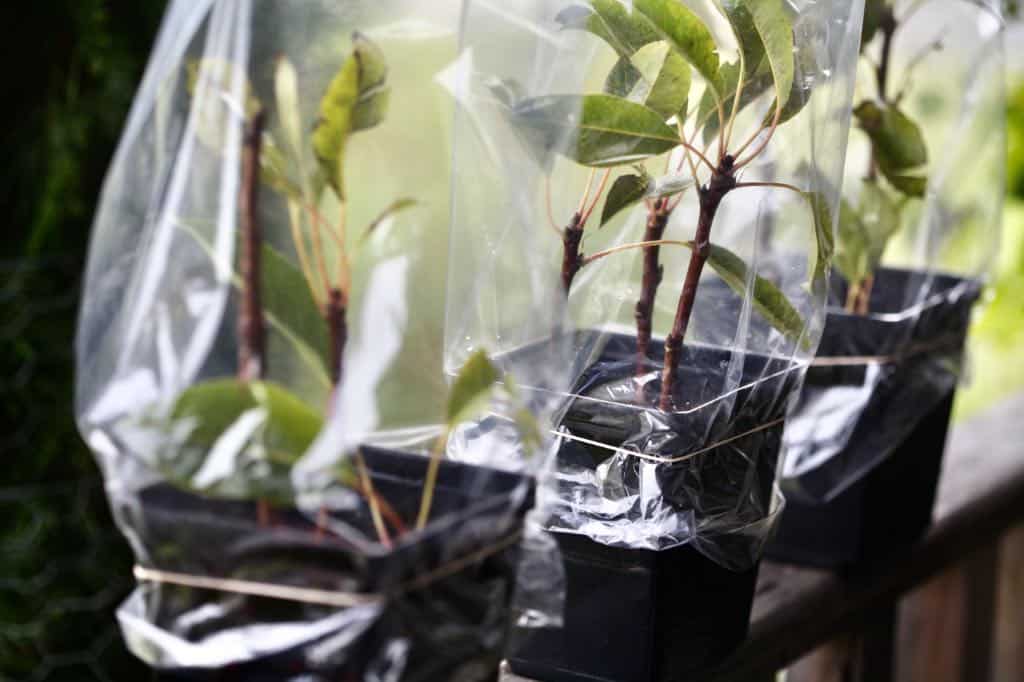
Homemade Options For Humidity Domes
There are a number of different options for homemade humidity domes which you can place on top of the pear cuttings.
Recycled Pop Or Juice Containers
- You can recycle something as simple as an old plastic pop or juice bottle to place on top of the plant.
- Make sure that there is an opening in the top of the humidity dome to allow escape of warm air. In the case of a pop bottle, just leave the lid off.

Plastic Bags
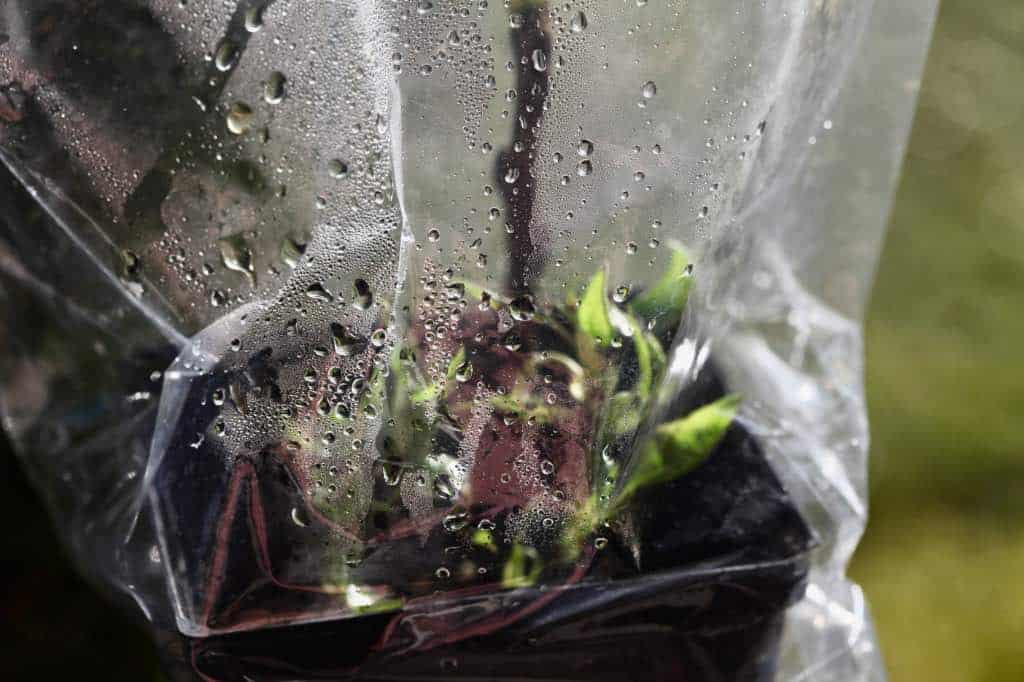
- I like to use a plastic bag, and cut a small hole in the top of the bag to allow warm air to escape. This also helps to allow for some air circulation.
- I cover the cuttings and pot with the plastic bag, and secure it in place over the pot with an elastic or rubber band.
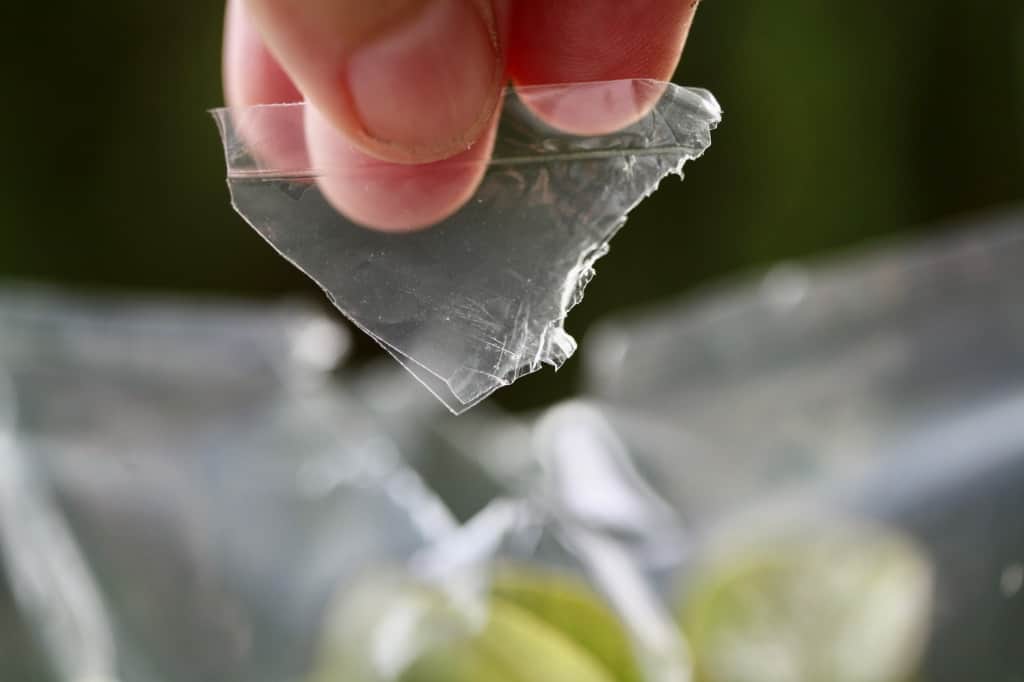
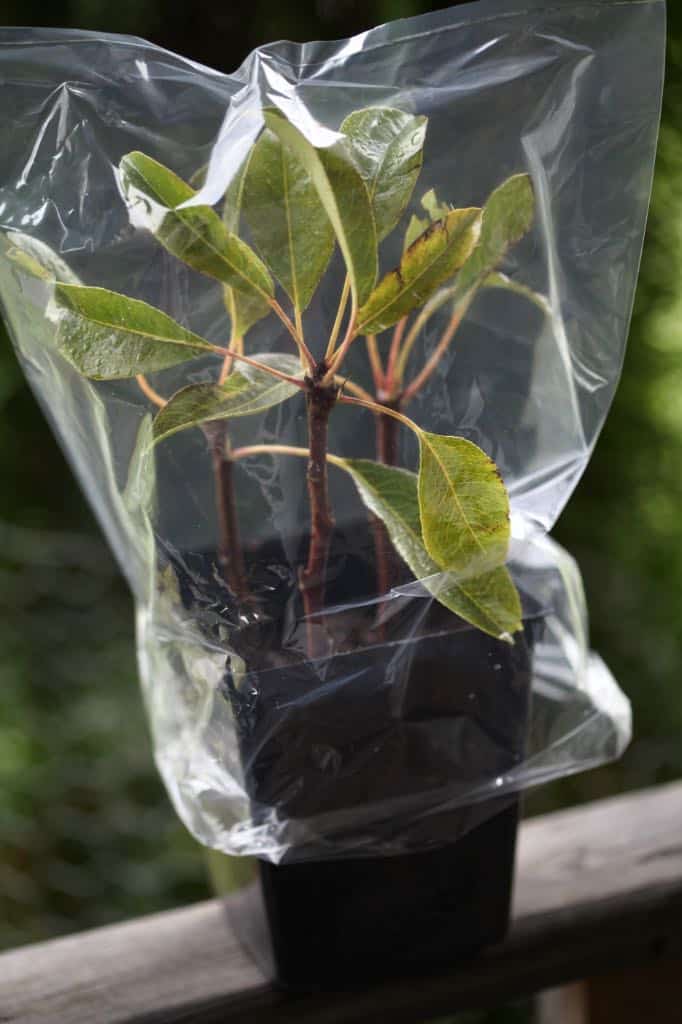
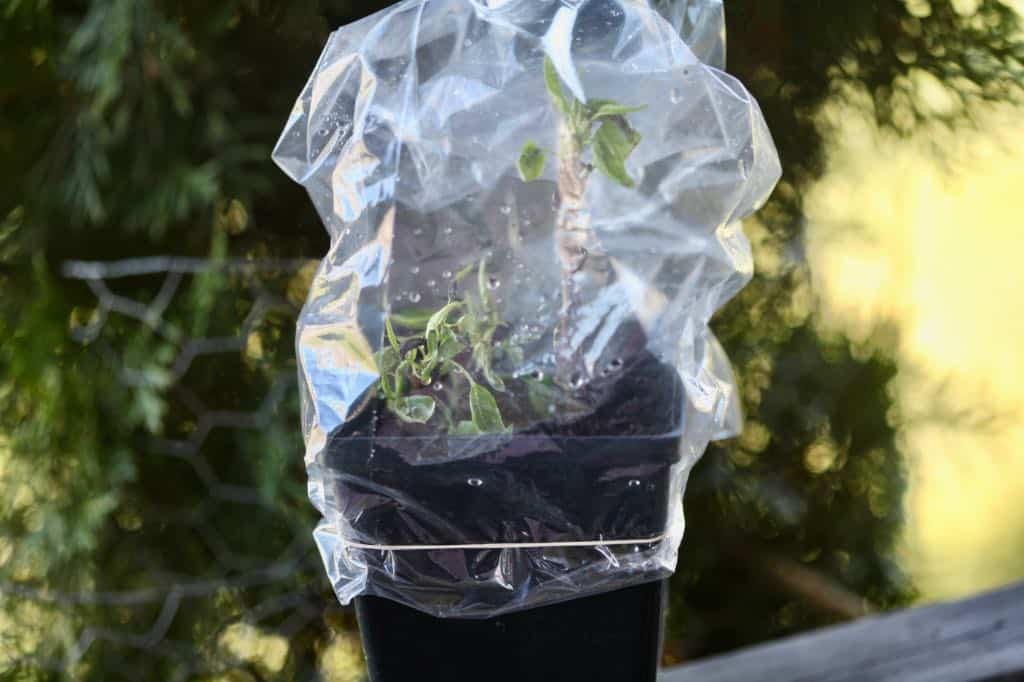
- This hole also allows to spray and mist the plants from above. Mist whenever you no longer see any condensation inside the humidity dome.
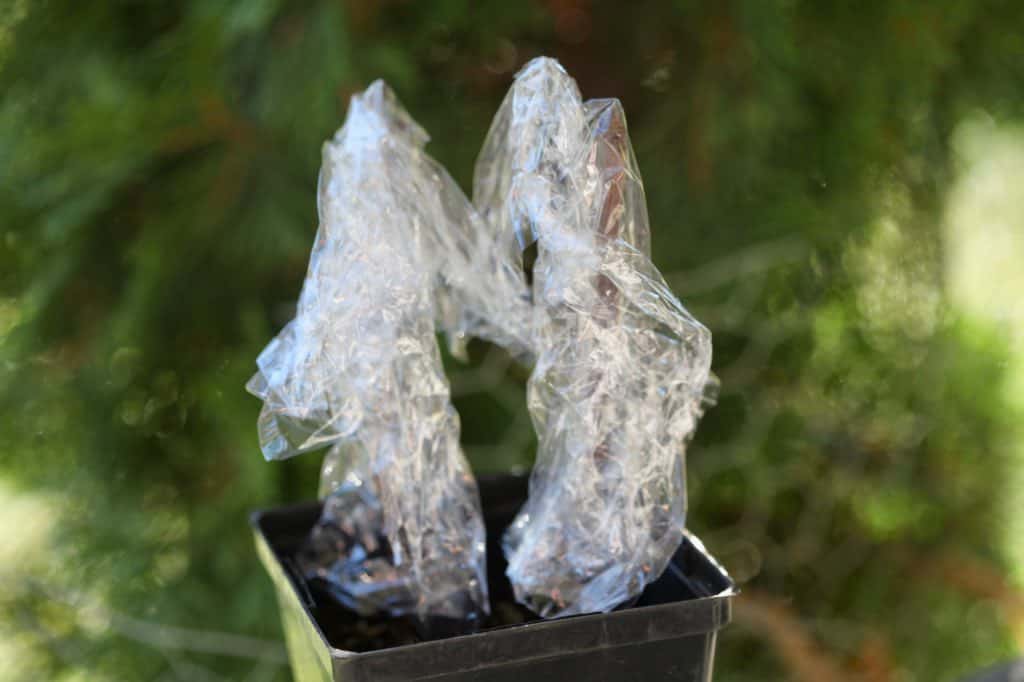
Plastic Wrap
- Another option to help keep humidity in, is to wrap the stems with plastic wrap. This will help to keep the humidity in the stem.
- If you have wrapped the branches with plastic wrap, you will likely not be spraying the branches. In this case, make sure to regularly water the container of soil that the branches are in.
Care Of The Cuttings While Rooting
When you propagate pear trees from cuttings, proper care is important for successful growth and root development.
With the right care, the cuttings will have an increased chance of successful growth and develop their own roots.
Provide Light And Warmth
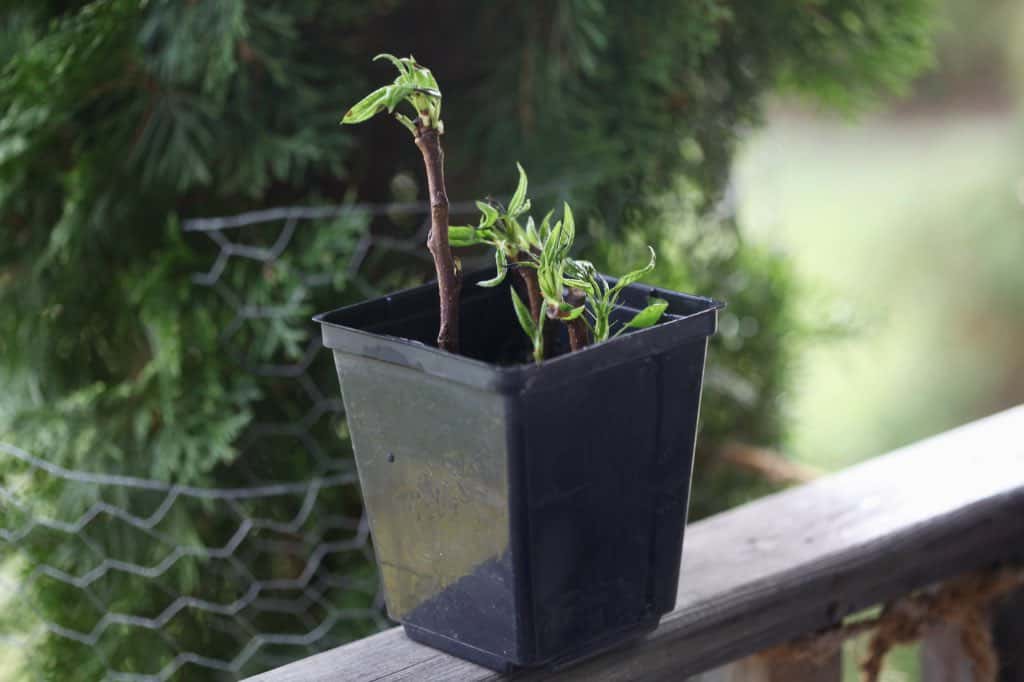
- Place the newly planted pear cuttings under grow lights indoors, or into a greenhouse setting with access to warmth and light. You can even place on a bright sunny window sill that receives sunlight.
- Temperatures should be between 60° F to 80°F.
- Do not overheat, as this can cause stress for the plants. It can also contribute to growth of mold, in a warm and humid environment.
- Also, do not place in direct sunlight, especially with the humidity dome in place. This can quickly scorch and burn the leaves on the cuttings.
- It will take at least two months or longer for semi hardwood cuttings to root.
- Softwood cuttings may take less time, and often will root within six weeks or so.
- I no longer provide bottom heat to cuttings from heating mats, as it seems to provide more heat than the cuttings can tolerate.
- If under a grow light, the light will also heat up the environment, especially if under a humidity dome.
Mist The Cuttings
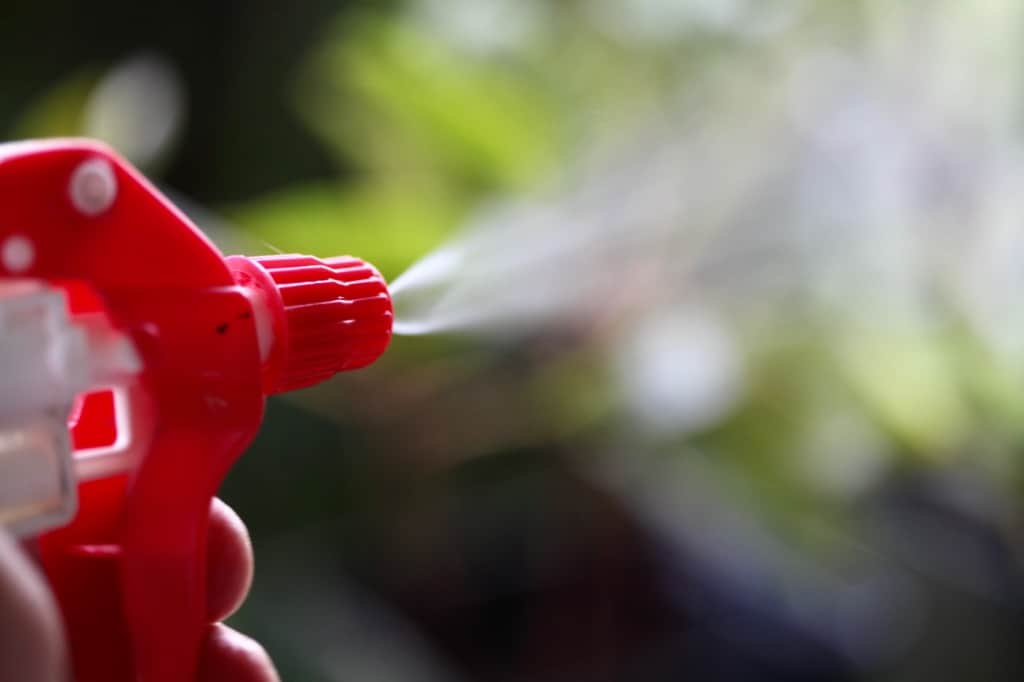
- Mist the cuttings regularly with a spray bottle full of water.
- Provide a mist to the leaves and the stems.
- Mist when you no longer see any condensation on the inside of the humidity dome, an indication that the humidity is low.
- I tend to only mist, rather than water the containers, while waiting for roots to develop. This helps to prevent excess moisture and potential for rot.
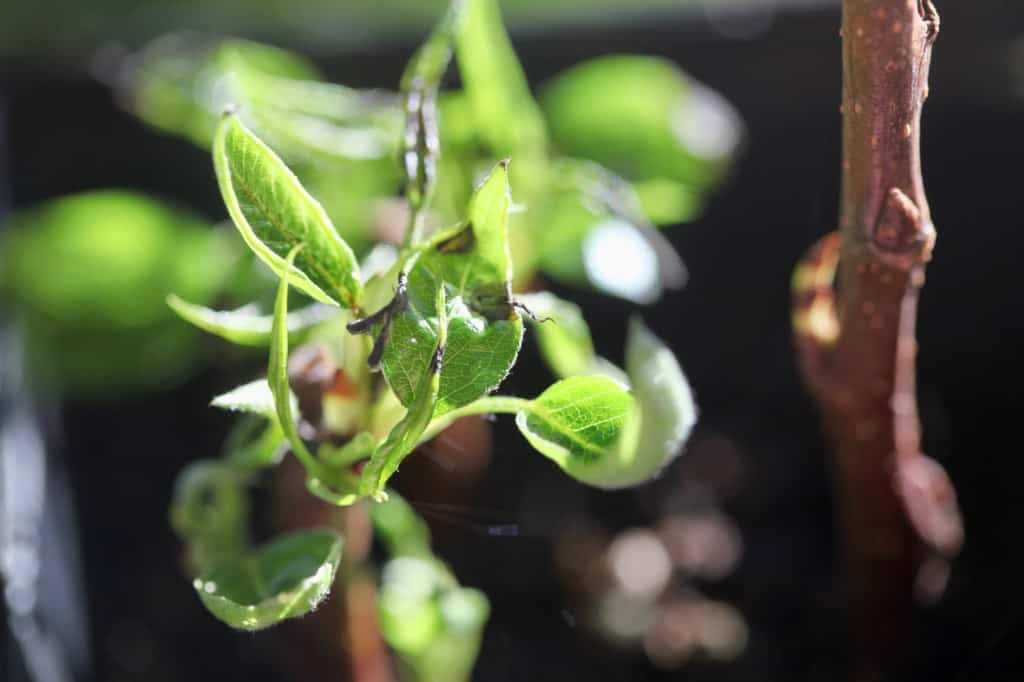
If the leaves fall off of the cuttings, all is not lost. Continue to mist if the stems look healthy, especially if you see any healthy leaf nodes.
This happened with some of my fall cuttings, and it seemed that the stems had gone dormant, so I continued to mist them.
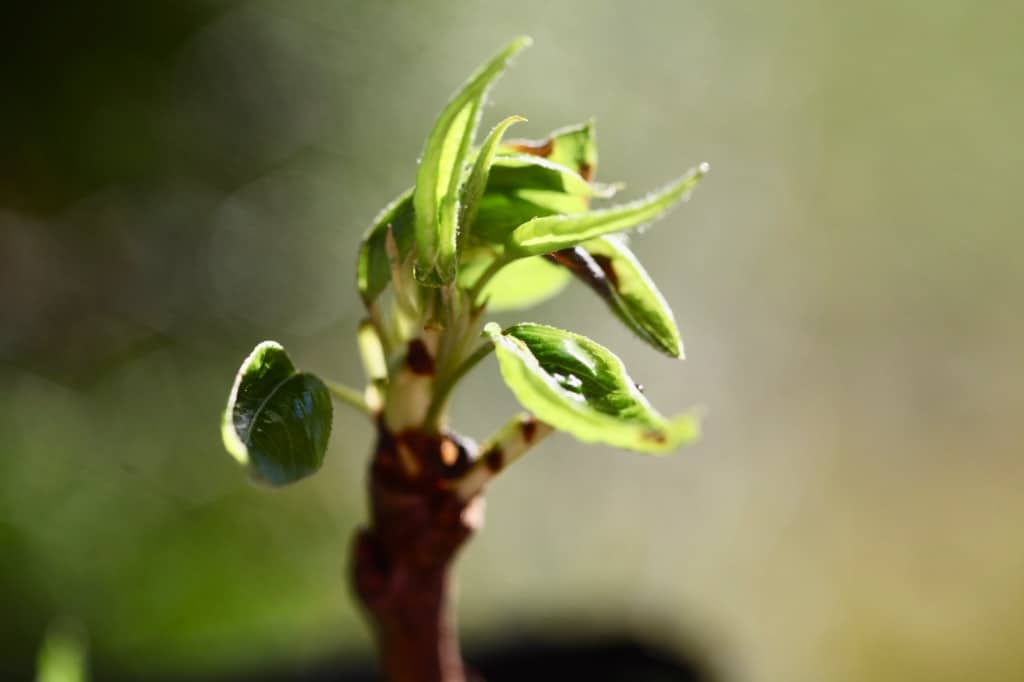
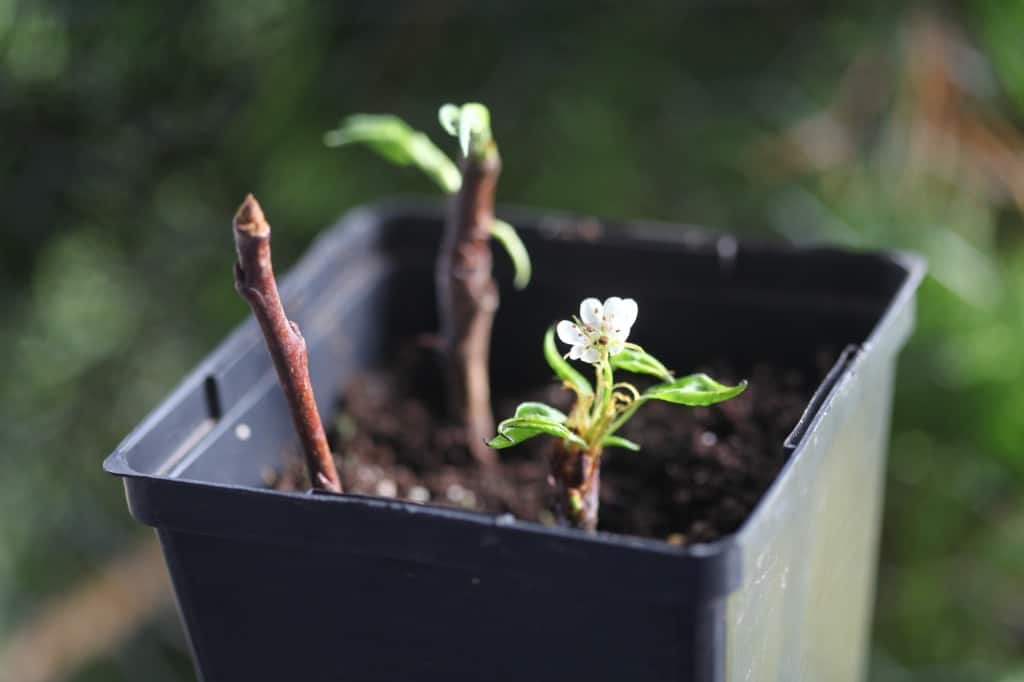
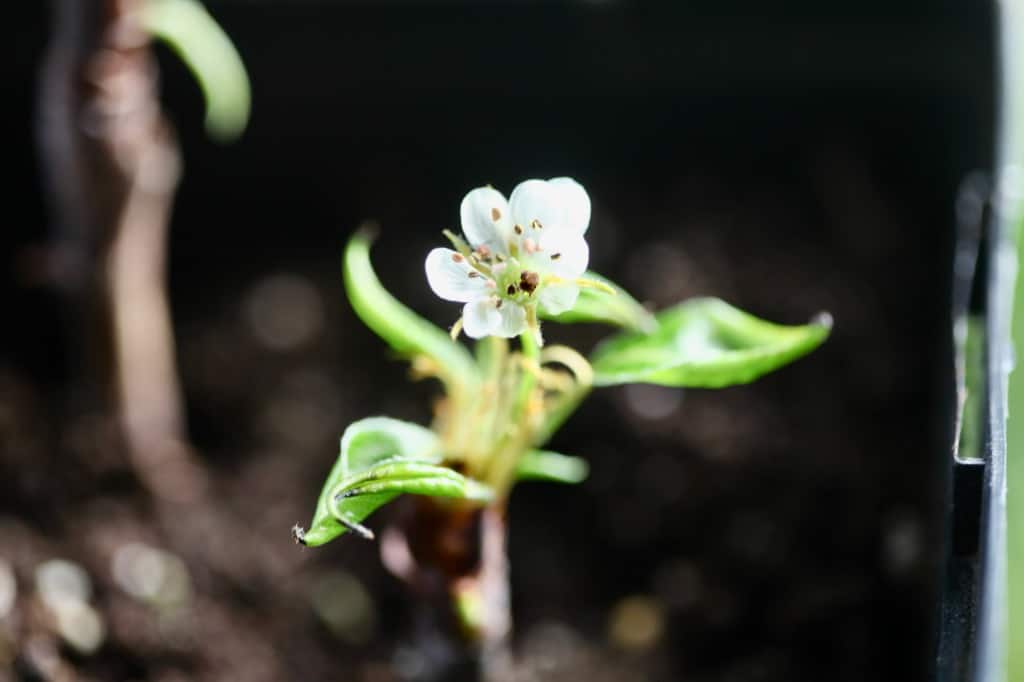
If the leaf buds or even flower buds start to bloom, this is not necessarily an indication of root formation. This is more like forcing the stems, to produce leaves and flowers.
Continue with your care, until you are certain that root formation has occurred.
Giving a gentle tug on the cutting and receiving some resistance is a good indication of root formation. Also, new roots visible in a clear cup or coming out the bottom of drainage holes is also evidence of root formation.
If after several months you still have some leaves, the stem has likely rooted.
As well, continue to care for any dormant stems throughout the winter months. These cuttings may not produce leaves until the following spring.
When To Transplant Into The Garden
- Transplant the pear cuttings into the garden after they have established a good root system, and when the season is right for planting.
- Don't plant the cuttings out too early, for best survival. Plant when the newly rooted cutting is at least six to twelve months old.
- Planting time is generally in spring, or late winter ( in warmer growing zones).
- If growing in cooler climates, you may wish to hold off and do a spring planting the following season, to allow the plants to establish in the garden throughout the growing season.
- This will prevent winter heaving of newly planted plants.
- Be sure to harden off the young trees if they have been growing in a sheltered environment, before planting into the garden. This will help them to acclimatize the new trees to the outdoor setting.
Transplanting And Care In The Garden
When transplanting your pear cuttings into the garden and into their permanent location, there are a few important considerations to consider for successfully growing the new trees. Let's review the growing requirements.
Growing Zone
- Pears will grow well in usda zones 4 to 10, depending on the cultivars. Know your individual pear variety to determine growing zone.
- Most pears will grow in zones 5 to 9, however some are more cold hardy and can grow in zone 3 and 4, such as Summercrisp and Patten. Other cultivars do better in warmer zones such as Flordahome and Monterrey, to name a few.
- Avoid planting in areas with known frost pockets, as frost will damage growing fruit or blossoms.
Spacing
- Remember that the small tree grown from a cutting will develop to be a much larger tree, so space accordingly.
- Standard pear trees should be planted at least 20 feet apart, to allow for growth and yet still provide for cross pollination between different pear varieties. Dwarf varieties can be planted 12 to 15 feet apart.
- Many pear trees will self fertilize, however having a different variety planted nearby will help to increase fruit production.
- Keep this in mind if planting lots of new cuttings of the same variety.
Soil Requirements
- Pear trees should be planted in well drained and fertile soil for best production.
- These fruit trees will grow in average soil types as well, however you will get better fruit production in fertile loamy soils.
- Pears also prefer a slightly acidic soil
- Our trees grow well in clay soil, which is very fertile and nutrient dense.
Light requirements
- Full sun will contribute to more flower production, and more vigorous growth of the tree.
- Pear trees will grow best in a full sun location for higher yields and best fruit production.
Moisture Requirements
- Young pear trees will require watering at least once or twice a week while establishing.
- Light or sandy soil plantings will require waterings twice a week. Clay soil will help to retain the moisture in the soil, so plantings in clay soil will likely only need once a week waterings.
- Older trees will require less water, once established.
- Mulching around the base of the tree with compost or mulch will help to maintain moisture in the soil. It will also help to contribute organic matter to the soil, when the compost or mulch eventually breaks down.
- If using mulch, make sure to pull it away from the base of the trunk about six inches, to allow good air circulation to this part of the tree.
Time To Maturity
- It will take some time for pear cuttings to grow, and reach a size for blooming and fruit production.
- The small trees may produce fruit in three to five years, or even longer, after planting into the garden. Most of the energy will go into growth and root production during the first few years.
Conclusion
Growing pears from cuttings ifs fairly easy, but make sure that you take multiple cuttings, as the success rate is usually not 100%.
If you want more specimens of your own pear tree, try to propagate from cuttings to obtain more trees of the same plant.
Pear tree cuttings that take root and grow, will be the same plant genetically as the parent plant from which they were taken.
Rooting cuttings is a fun project, and will likely result in a few pear trees for planting.
I am certainly hoping that some of the cuttings from our old and prized pear tree will take, so it can grow on, in these tiny pieces of it's branches, propagated with love.
Have you ever tried to propagate pear trees from cuttings? Be sure to leave a comment below to share your experience!
Other Posts You May Like:
PIN IT FOR LATER!


Leave a Reply