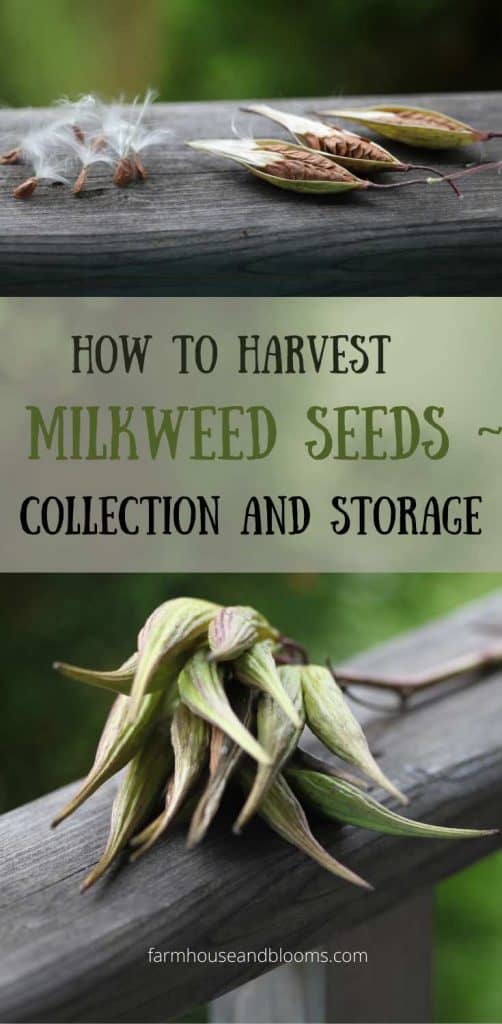
Milkweed seeds are such interesting specimens. It's such fun to watch the milkweed pods grow and expand as they prepare to disperse their precious cargo throughout the garden. Learn how to harvest milkweed seeds, to increase your milkweed plantings and share the joy of milkweed with others.
Milkweed plants are the food source of Monarch butterflies. So when you plant milkweed they will come.
That is the joy of growing milkweed plants. It's about feeding and supporting the Monarchs, plus the other pollinators that visit the plants as well.
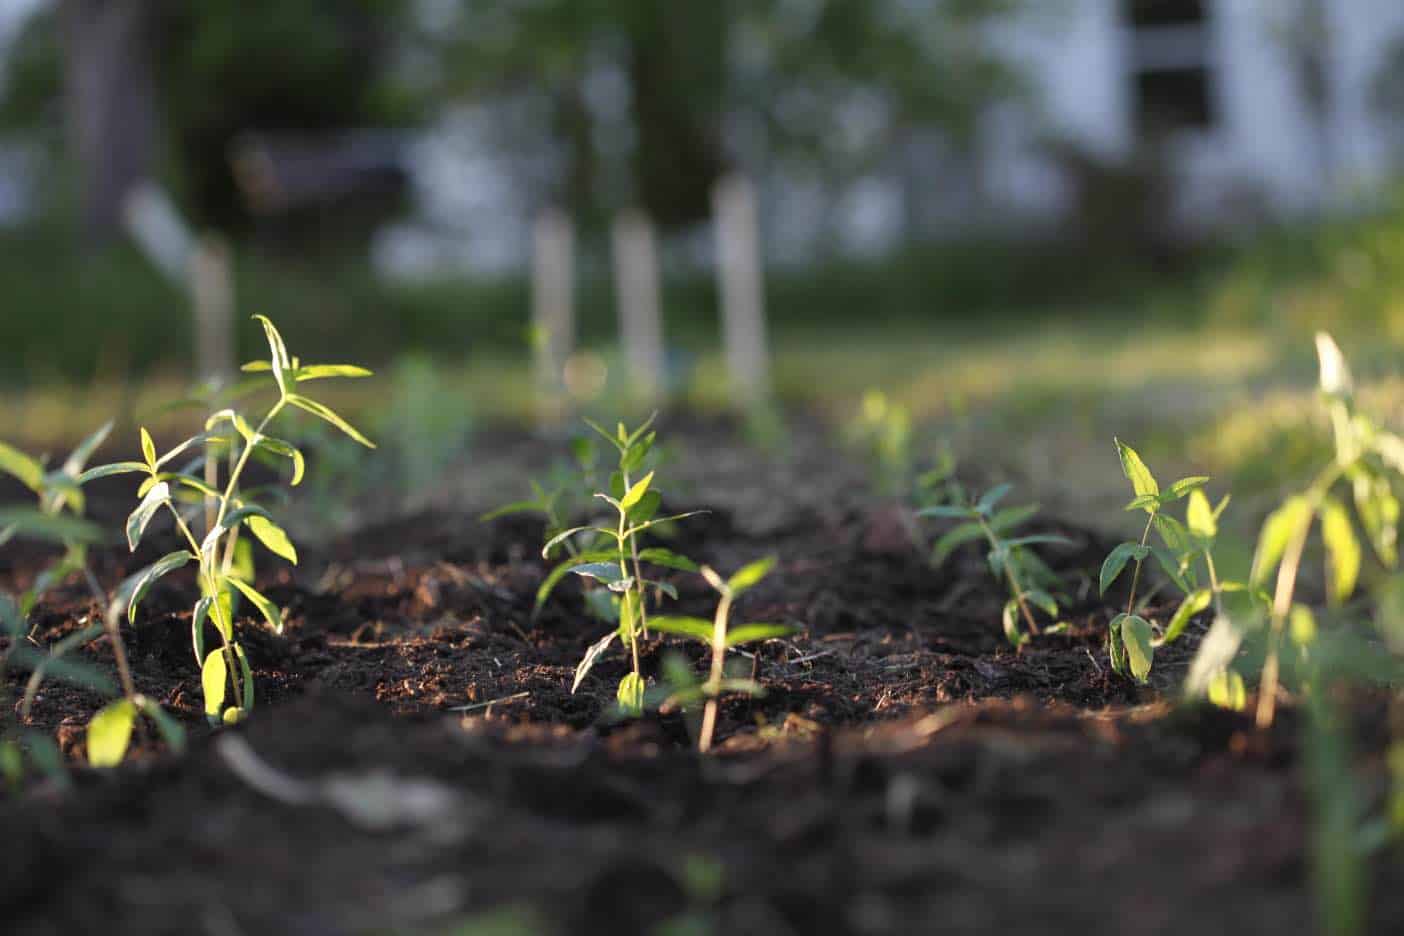
We were exceedingly fortunate this year to have several milkweed pods form on our first year milkweed seedlings.
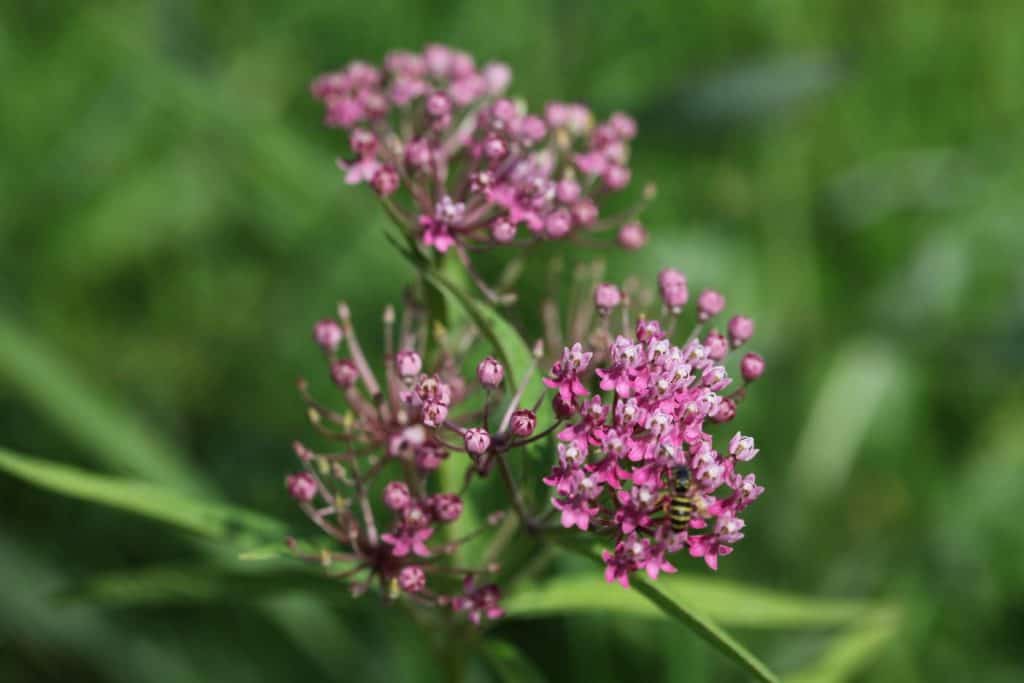
I did not anticipate any blooms until next year, yet there they were in August in all their glory. It was wonderful to see the blooms, and we knew we were on the right track.
I had not even considered that pods would form.
But sure enough, by mid September we had several huge clusters of milkweed seed pods growing on the milkweed plants.
When Do Milkweed Pods Form?
Milkweed pods will begin to form after the milkweed flowers have been fertilized.
We had milkweed blooms in the third week of August, and had full sized pods formed by mid September. It was quite a surprise, as the pods were fairly large and we certainly weren't expecting them on first year plants.
What Does A Milkweed Pod Look Like?
The appearance of milkweed pods will be dependent on the type of milkweed plant they come from.
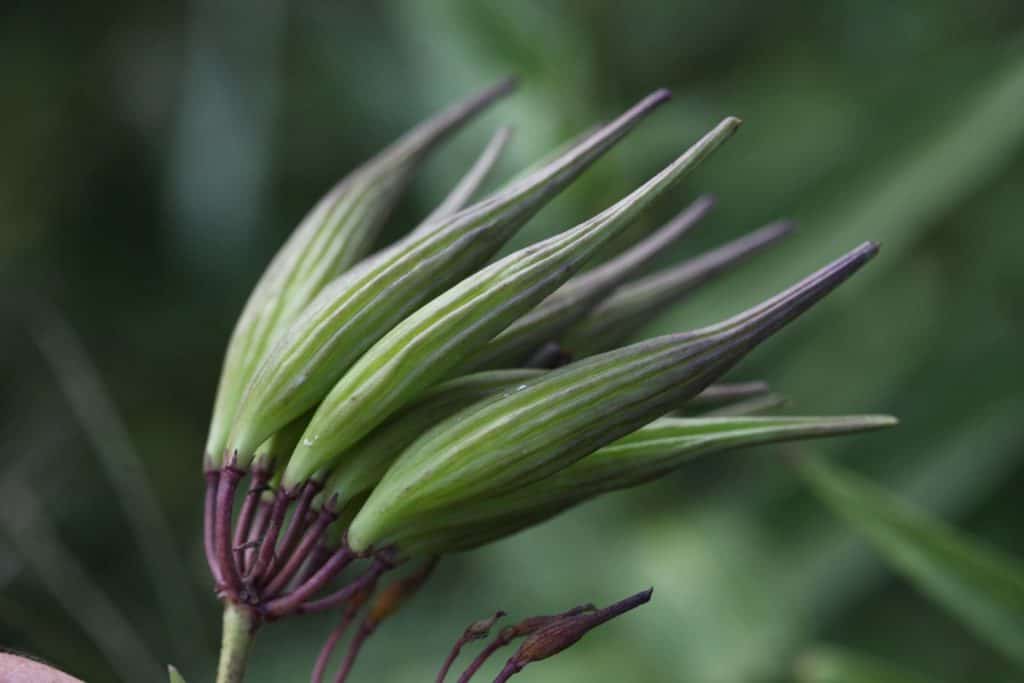
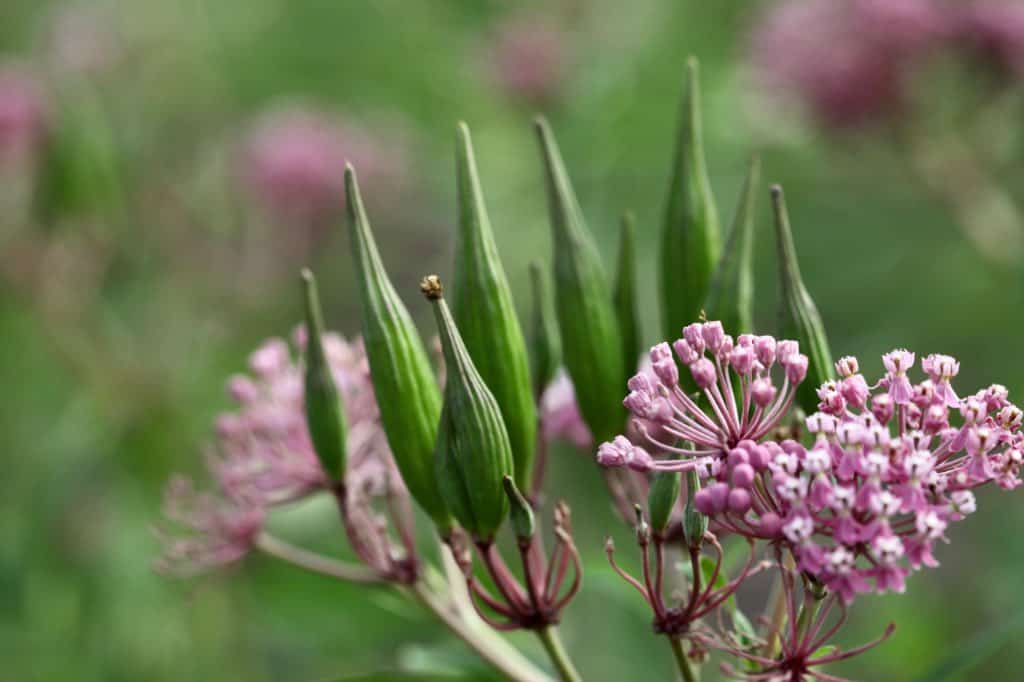
We grew Swamp milkweed, and the pods were very intriguing. They started off as a green colour and then gradually faded to a brownish and green. They developed some spots on the surface as well as they matured.
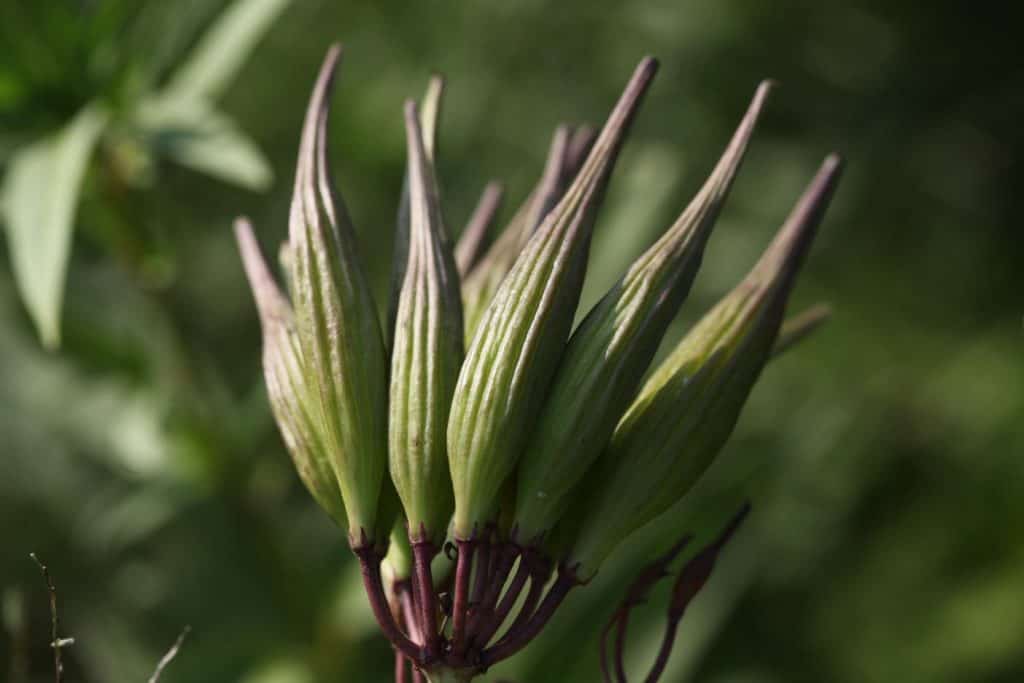
The pods were about three inches in length and were fairly smooth with slight ridges running lengthwise. They were long and pointy, yet thicker in the middle at about an inch diameter on the larger pods.
Common milkweed pods are elongated as well, and have a spiny bumpy surface rather than a smooth one. The seed pods can be three to five inches long on the common milkweed plant.
There is a milkweed whose pods are called "hairy balls", and that is exactly what they look like, round lantern-like green pods with green hairlike structures.
The appearance of the pods that are produced is dependent on the species of milkweed plants that are being grown.
Can You Grow Milkweed From The Seed Pods?
You can grow milkweed from the mature seeds that have grown in the milkweed seed pods. It's important not to harvest the seed pods too early, and that they are left in place to ripen and mature on the plant.
How Do You Know When Milkweed Seeds Are Ready To Harvest?
Harvest milkweed in the fall, when the pods are mature and the seeds are viable.
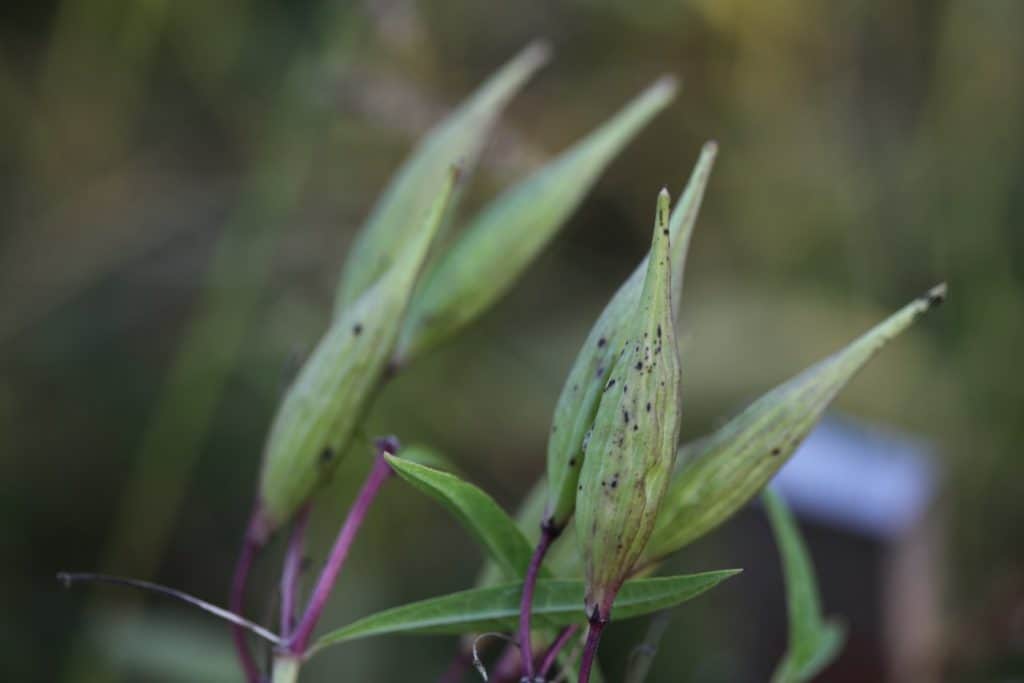
The pods need to mature on the plant to be viable.
Sometimes you can also harvest in early spring if there are any unopened pods left on the milkweed stalk after the winter. These seeds may or may not be good, however sometimes you can get lucky and find viable seeds.
When assessing the seed pods for harvest in the fall, inspect them carefully.
Not all pods will mature at the same time, so only harvest the pods that are actually ready to be picked.
Milk weed pods are ready to harvest when their colour has turned from green to brown or yellow, and the seams of the pods start to open.
If you give the pod a slight squeeze in the middle and the seam opens up, the pod is mature and ready to harvest.
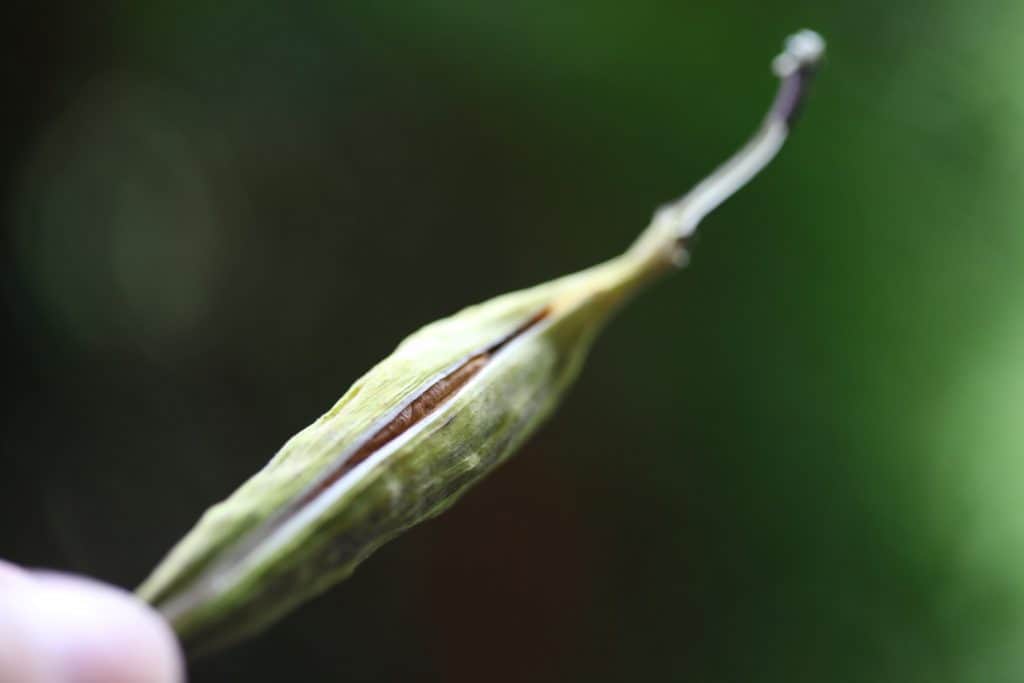
This can happen pretty quickly, and all on it's own.
Keep an eye on the pods that you plan to harvest. It's important to catch the pod before it opens.
I kept an eye on our pods, and they stayed a greenish colour right into mid October, although they started to develop some spots with age. The seams along the sides of the pods were quite tight and did not open when I squeezed.
Then one day, not long after I last checked, they were open. The white fluffy substance that carries them off in the wind was starting to protrude.
I was surprised that it happened so quickly and glad that I caught them before the seeds dispersed.
Needless to say they were harvested right then and there, as I did not want to lose a single seed.
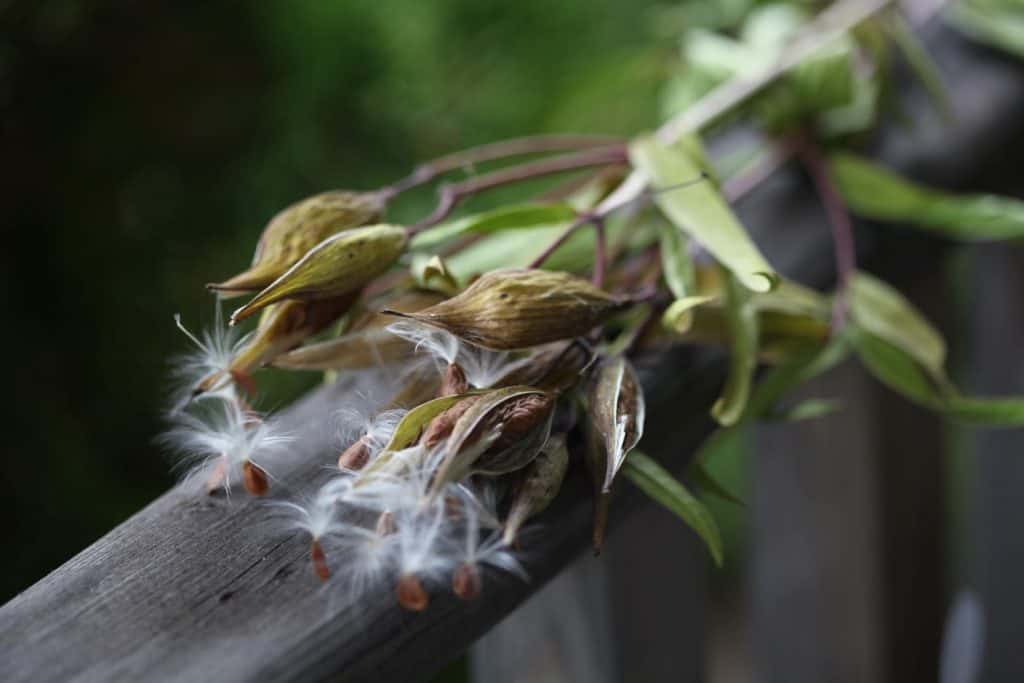
I learned my lesson and know what to do for next year.
Secure The Pods With An Elastic
Since the pods can open so quickly when mature there is a little technique that you can use to keep them together until you can get to them. This involves securing the mature pods with an elastic.
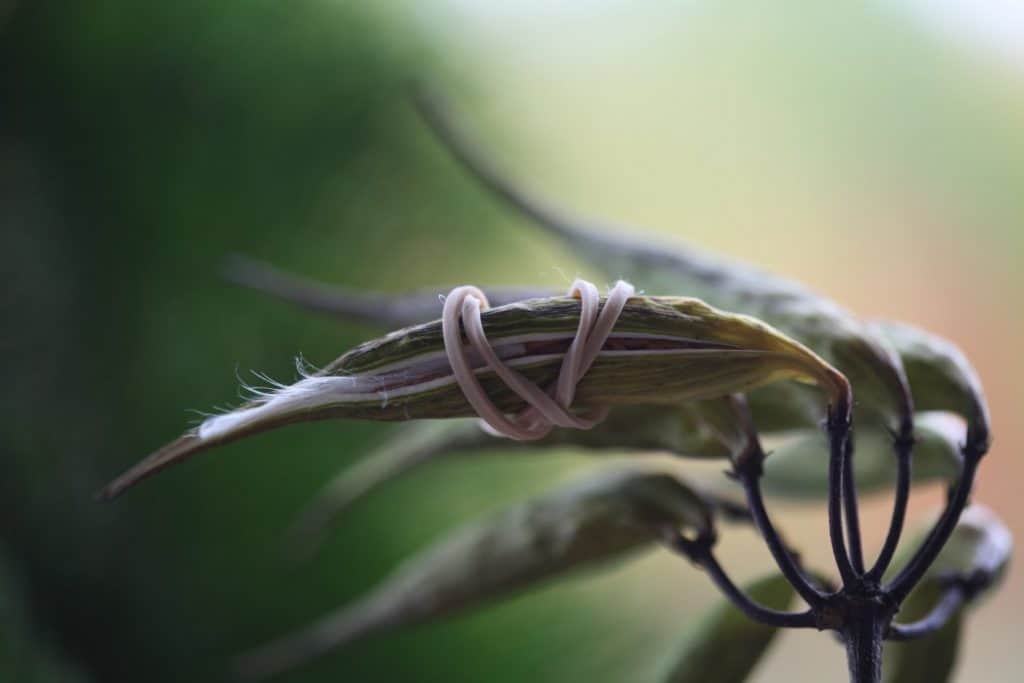
Slip an elastic around the centre of the pod that you intend to harvest.
Banding the seed pod will allow the pod to continue to mature on the plant, while also preventing it from bursting open and releasing the seeds until you can get back to harvest it.
Harvesting Foraged Milkweed Pods
If you are foraging to harvest milkweed seeds, make sure to only collect some of the seed and to leave lots of pods on the plant for natural regeneration.
Can You Pick Milkweed Pods Early?
The milkweed pods should be left on the plant to ripen and mature. There is a risk to picking too early, as the seeds may remain immature and not be able to germinate.
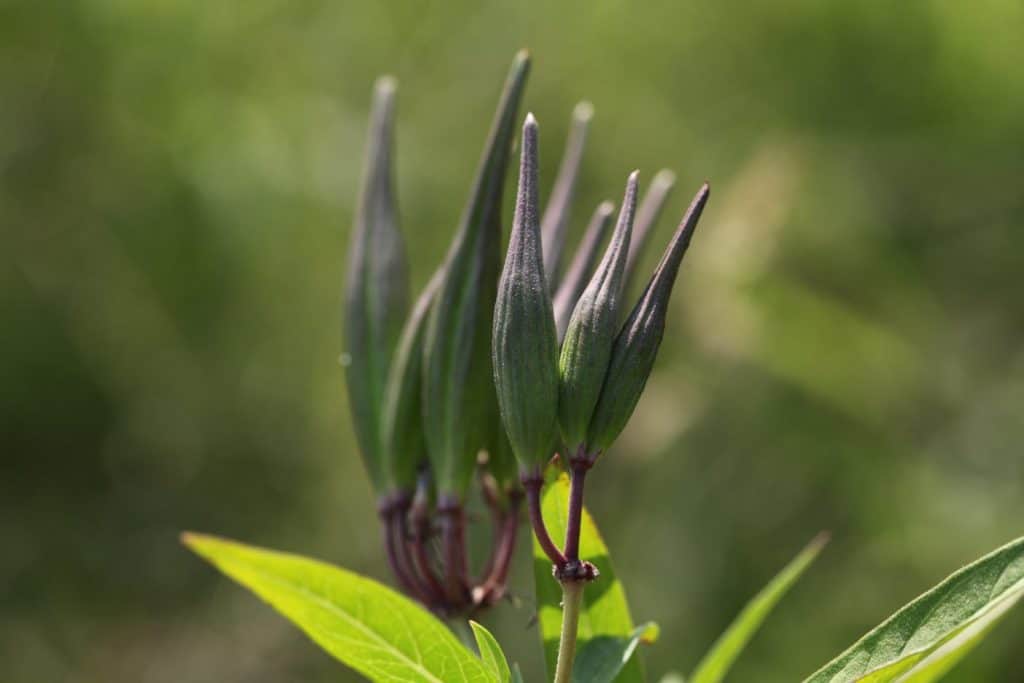
Consider ways to protect your seeds while waiting for them to mature in the pods.
There are strategies that can contain the seeds so they don't drift off in the breeze, such as the banding technique above, or even slipping an organza bag over the pod.
Make sure however to allow for good air circulation around the pod so that it can stay dry.
It is reassuring when the pods have been protected, as you can then harvest them at your leisure without worrying about the seed dispersal while you are waiting.
Should I Remove Milkweed Pods?
If you are growing milkweed and you don't want it to spread, you can harvest the pods at any time.
Milkweed will spread by seed, and some species will also spread by underground rhizomes. Harvesting the pods early, or removing them before they are mature is deadheading so to speak.
If you do not plan to save seed and are not concerned about propagation by seed, you can leave the pods in place and let nature take care of the rest.
What Do Mature Milkweed Seeds Look Like?
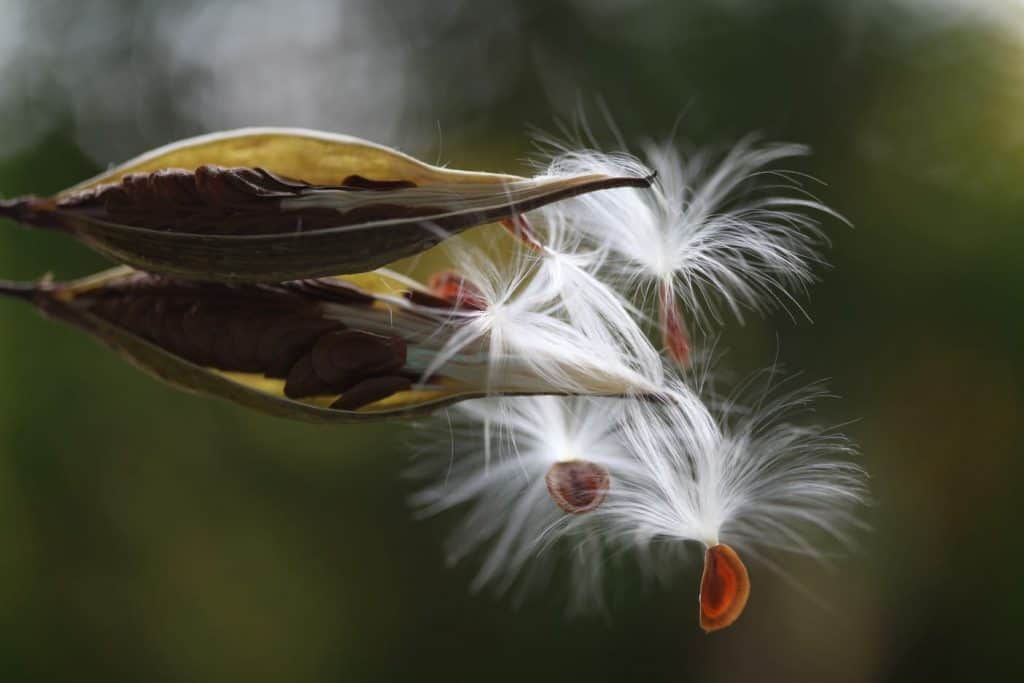
Mature milkweed seeds are brown in colour and have a thin brown material along the outer edges of the seed. The material has a flat edge which encircles the seed.
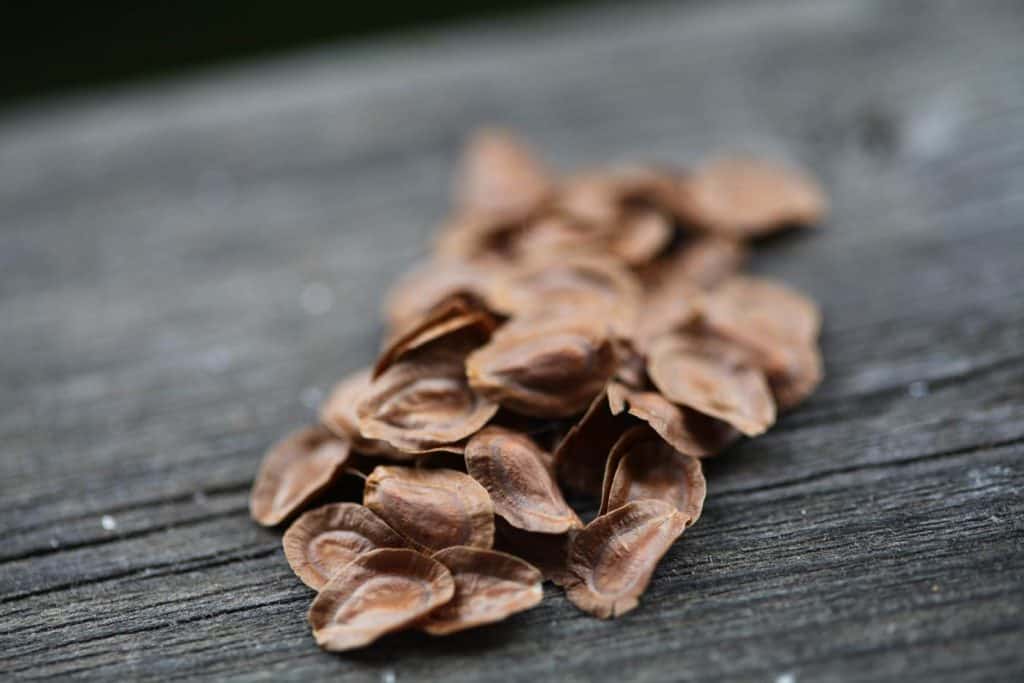
Milkweed seeds are darker when they are mature, and lighter in colour when they are immature.
Very immature milkweed seeds will be white.
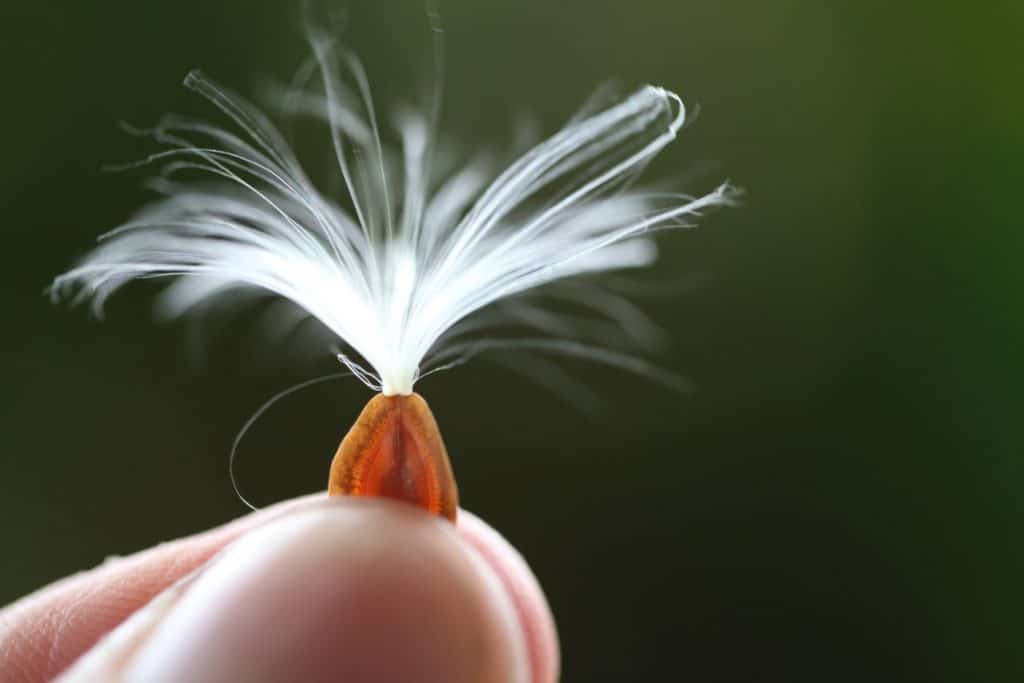
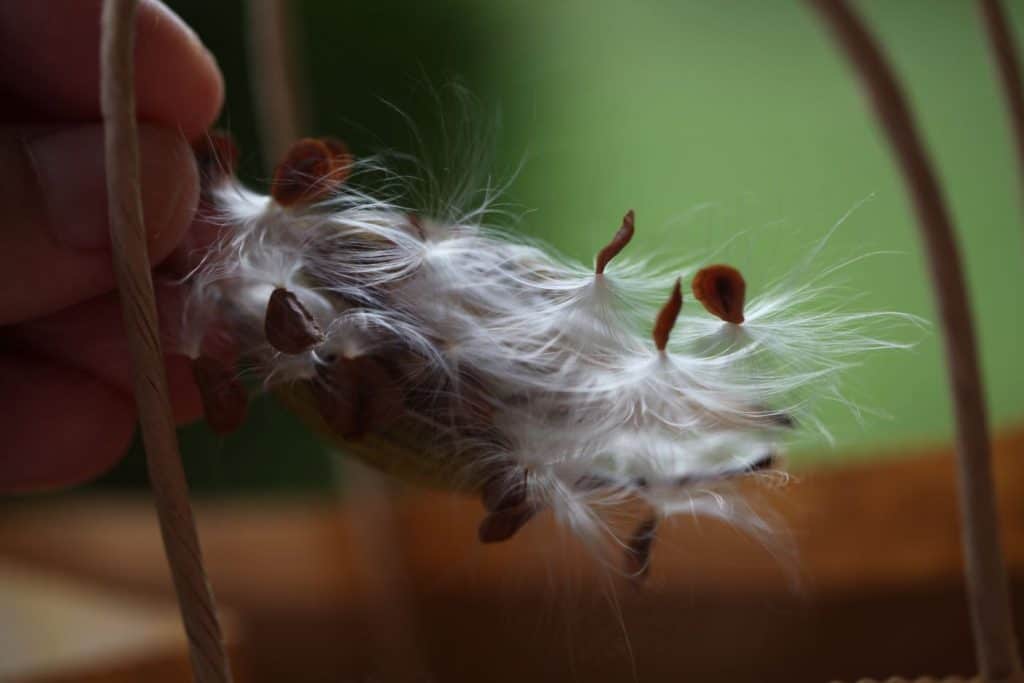
Attached to the top of each seed is a white structure called a coma. This structure is soft and fine and shaped like a fountain. It's the perfect shape to allow the milkweed seeds to be easily carried up and away in a breeze.
The seeds and coma are very light and easily float away when harvesting seeds outside, so be careful when it's windy.
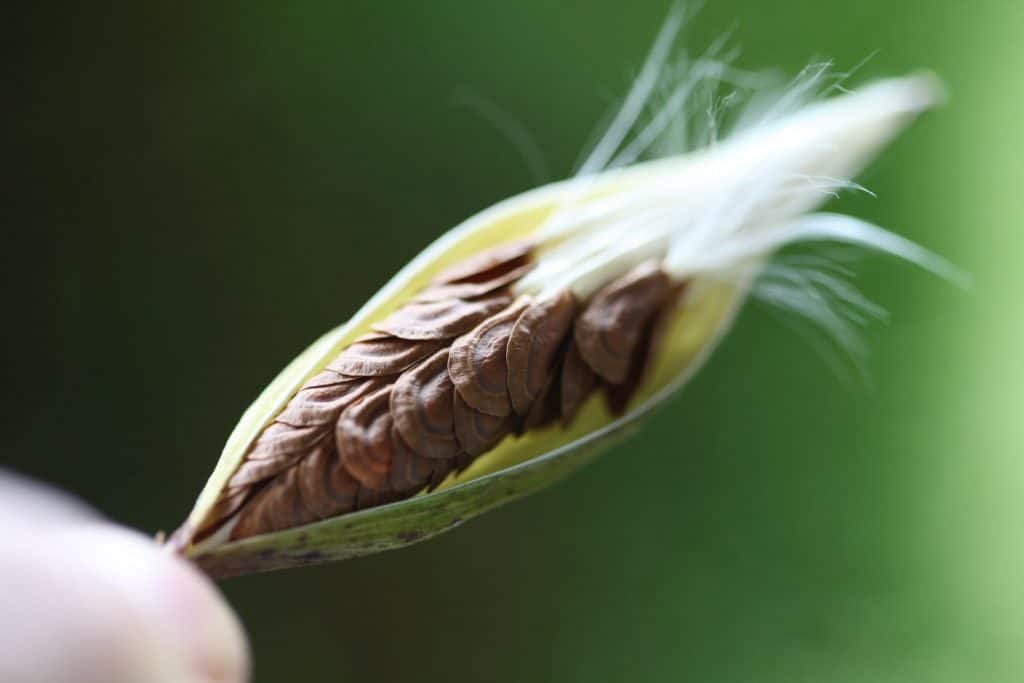
When you first open up a mature milkweed seed pod, you will see the mature brown seeds arranged neatly inside the pod. The seeds are on the outside of the inner surface and encompass a white fluffy substance on the inside of the pod.
The white fluffy substance is the coma or silk, neatly arranged and packaged before it lets go.
Once it is removed from the pod it literally goes everywhere and can make quite a mess.
When the pod opens up, the seeds and coma protrude fairly quickly, and some can certainly float away in the wind if you are not careful. Best to open the pods if possible in a protected area.
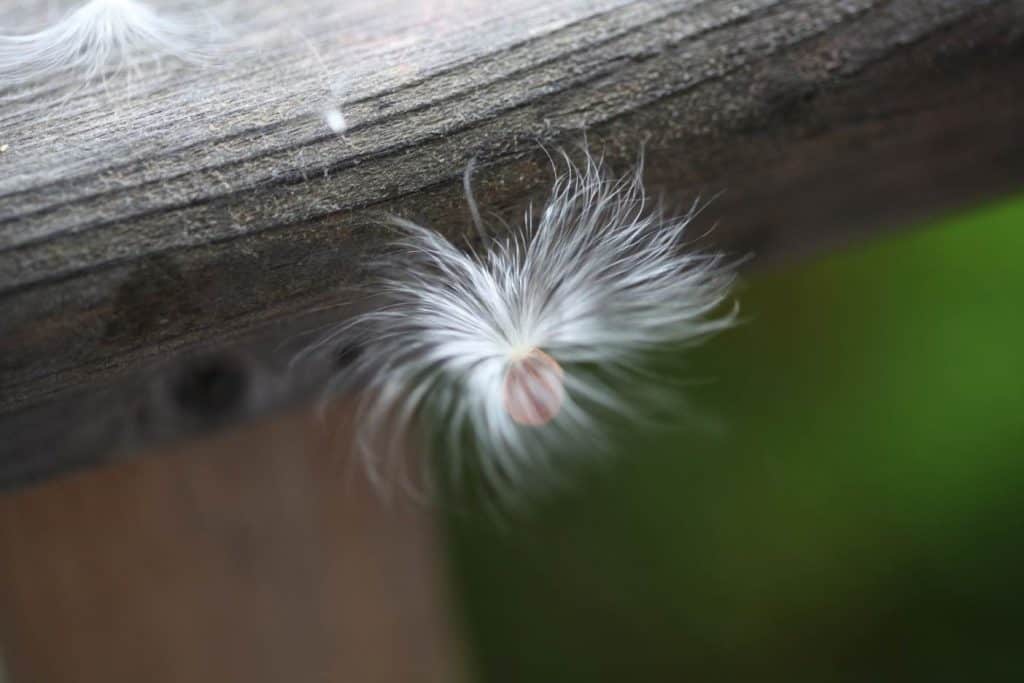
If the seeds and white fluff are fully out of the pod, you may not want to separate them inside your house, as there will be soft fluff floating everywhere.
That being said, it is very easy to separate the mature seeds from the coma, and the white silk can easily be pulled off and detached from the actual seed.
Swamp Milkweed Seeds
Swamp Milkweed seeds are dark brown in colour and contain a white coma at the top. The coma is easily separated from the seed, and should be removed prior to storing.
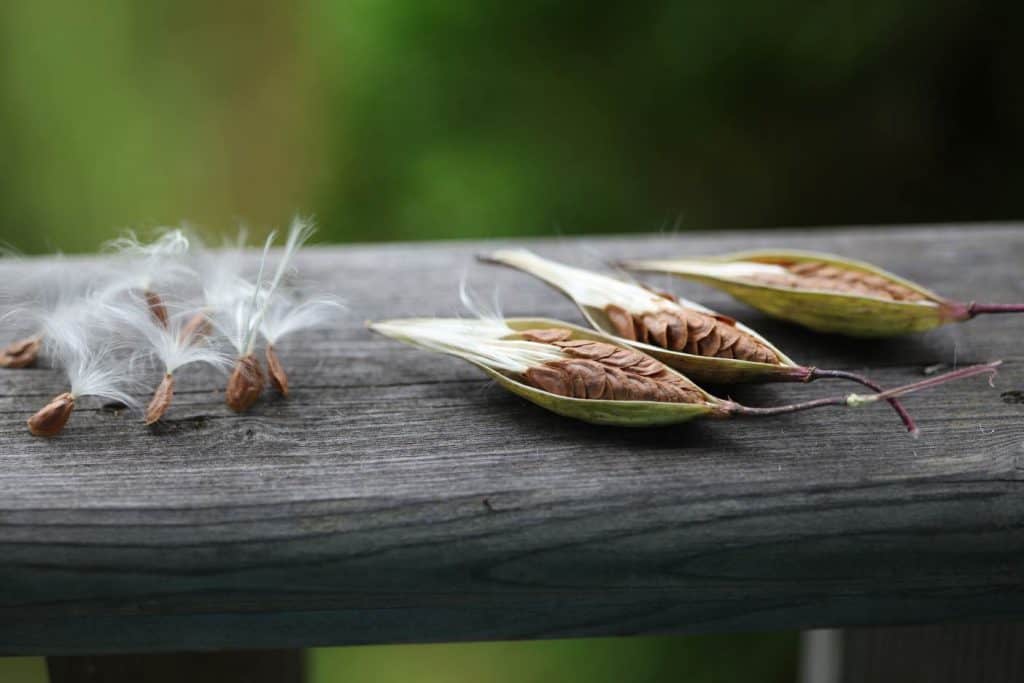
It's a good idea to remove the coma right at the beginning as you harvest the pods and remove the seed content from each pod.
Removing the white fluff will allow the seeds to dry and prevent any mould from retained moisture.
How To Harvest Milkweed Seeds
Pick a dry day on which to harvest milkweed pods.
Harvest each milkweed pod when it is mature and the pods are opening at the seams. Once this has occurred, you are ready to harvest the milkweed seeds from the pods.
So we have already talked about the fluff, those soft silky fibres that float so easily with the slightly of air current.
It's important to keep these soft fluffy fibres contained as much as possible during the seed extraction, as they will float everywhere.
No matter what your location during the milkweed seed harvest, but especially if you are doing this process inside the house, it's important to know how to remove the seeds without making a big fluffy mess.
How Do You Separate Milkweed Seeds From Fluff?
There are a number of ways to separate the milkweed seeds from the soft white structure attached to it.
There are several techniques which I found very effective and mostly mess free.
These techniques are as follows:
1. Rolling The Milkweed Pod Technique
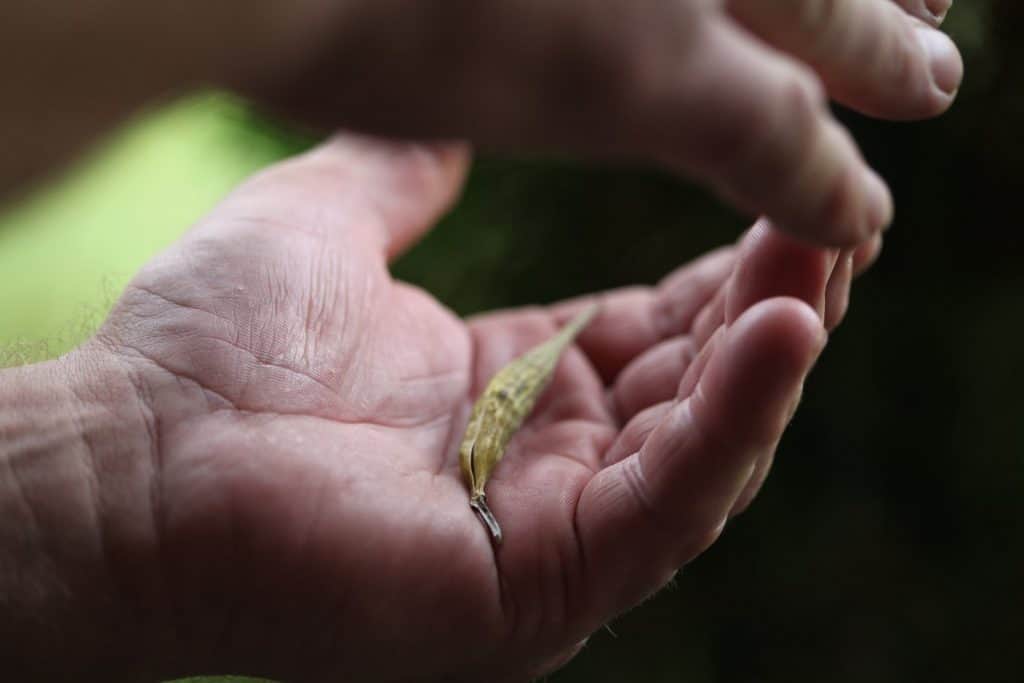
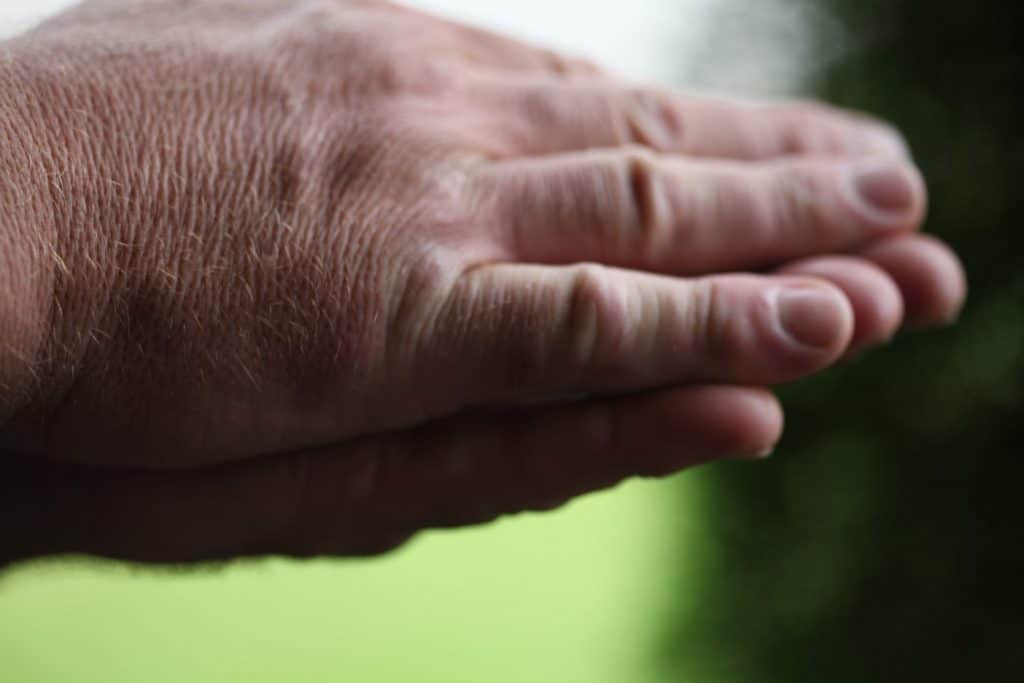
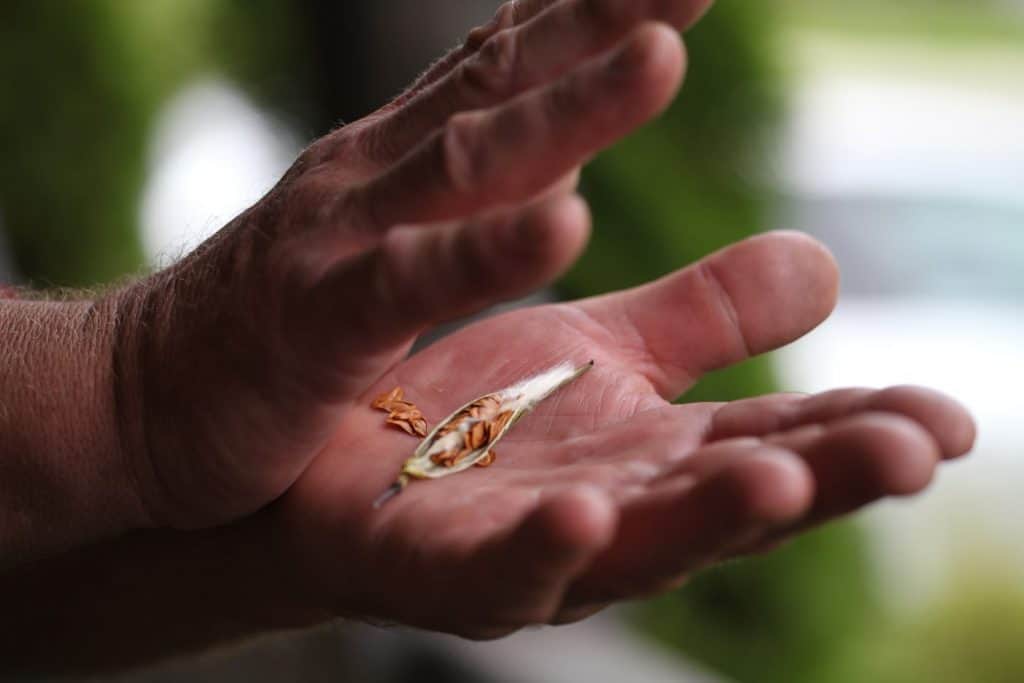
- This technique is super easy and quick. It's also pretty well mess free.
- Hold the ripe pod in the palm of your hand.
- Firmly roll the pod between your palms, applying pressure to the pod as you roll it.
- Roll the pod back and forth several times.
- Next slowly open the pod.
- You will find that many of the seeds have already separated from the coma, and will fall right into your hand.
- Carefully securing the end of the pod you can gently remove the rest of the seeds.
- This is a choice technique to harvest milkweed seeds.
2. Securing The End Of The Silk Technique
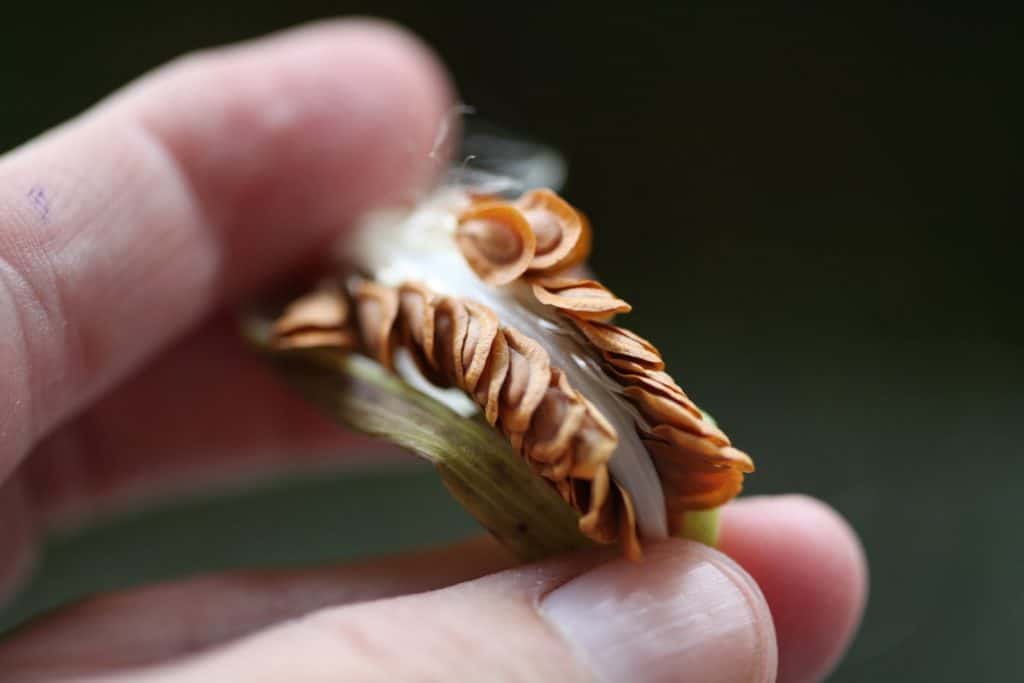
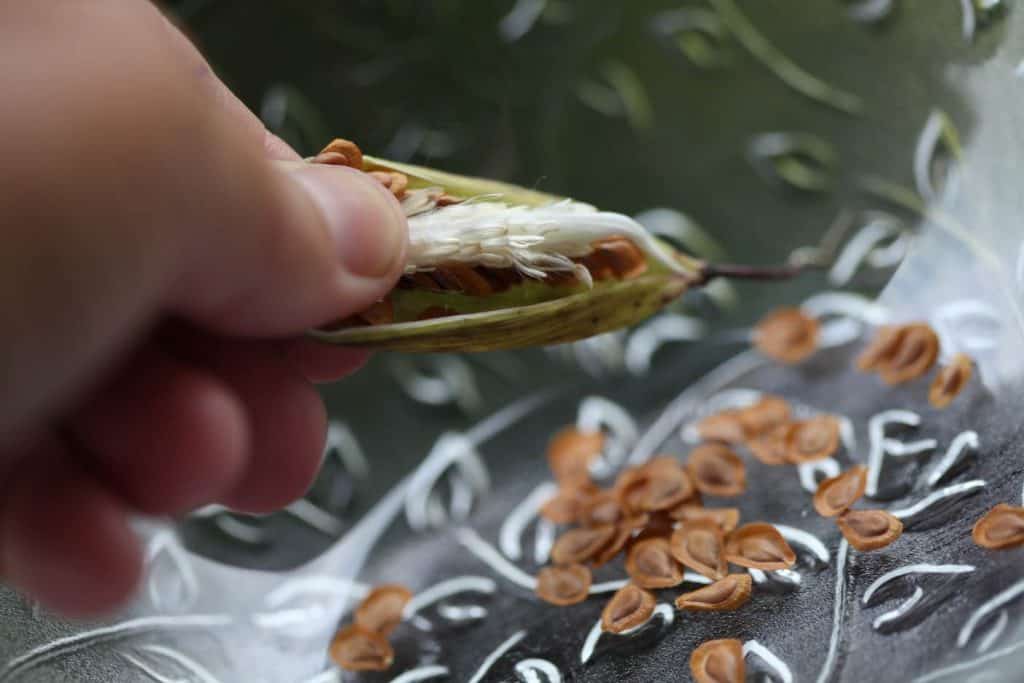
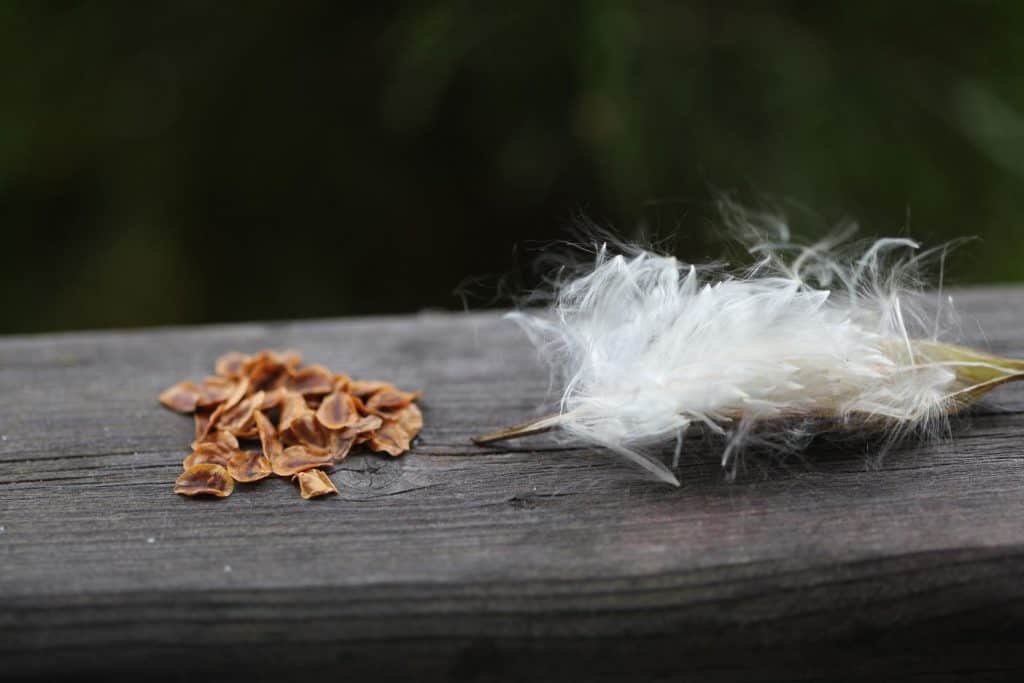
- This technique is similar to the first except it does not involve the rolling motion.
- Slowly open the pod while holding the silk securely at one end.
- Bend the pod backwards while lifting up the seeds.
- The seeds detach easily from the coma.
- Continue to hold the silk securely as you remove all of the seeds.
- Once all the seeds have been removed discard the pod and fluffy silk.
- Another great way to harvest milkweed.
3. Paper Bag Shake Technique
- Open the milkweed pod and it's contents into a paper bag with some small pebbles or coins.
- Give the bag and contents a good shake.
- The shaking of the material helps to separate the seed from the coma.
- The seeds are heavier than the fluffy coma, and many will settle at the bottom of the bag.
- Remove the white fluff and retrieve your seeds.
- You can also cut a hole in the bag to allow the seeds to drop out.
- In my opinion this was the messiest and longest option, as there were still pieces of the fluff that had to be pulled from the seeds.
- It was not as efficient as the first two techniques and took twice as long.
May favourite technique is the first one, which was the rolling the milkweed pod to separate the seeds.
It worked very well with swamp milkweed pods, and was a clean and efficient method of seed extraction.
How Many Seeds In A Milkweed Pod?
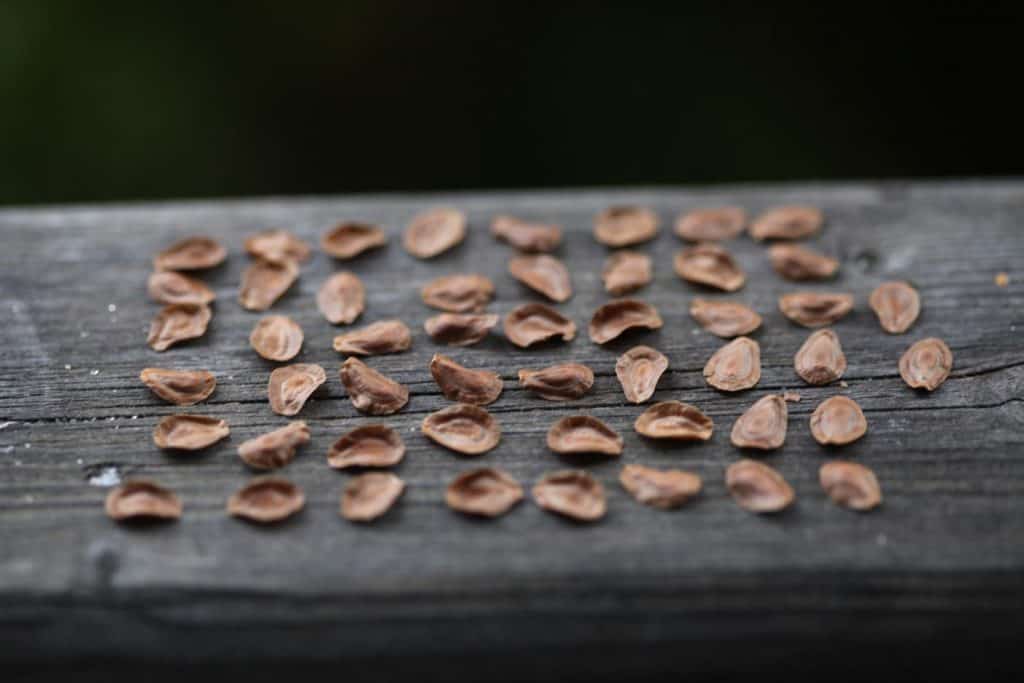
A milkweed pod can carry up to two hundred seeds in some large pods.
I counted fifty seeds in one of the swamp milkweed pods that I opened. It was a grand harvest.
How To Store Milkweed Seeds
After you remove the seeds from the pod it's important to dry them before storage. This will prevent damage from mould, which can damage the seeds if it occurs.
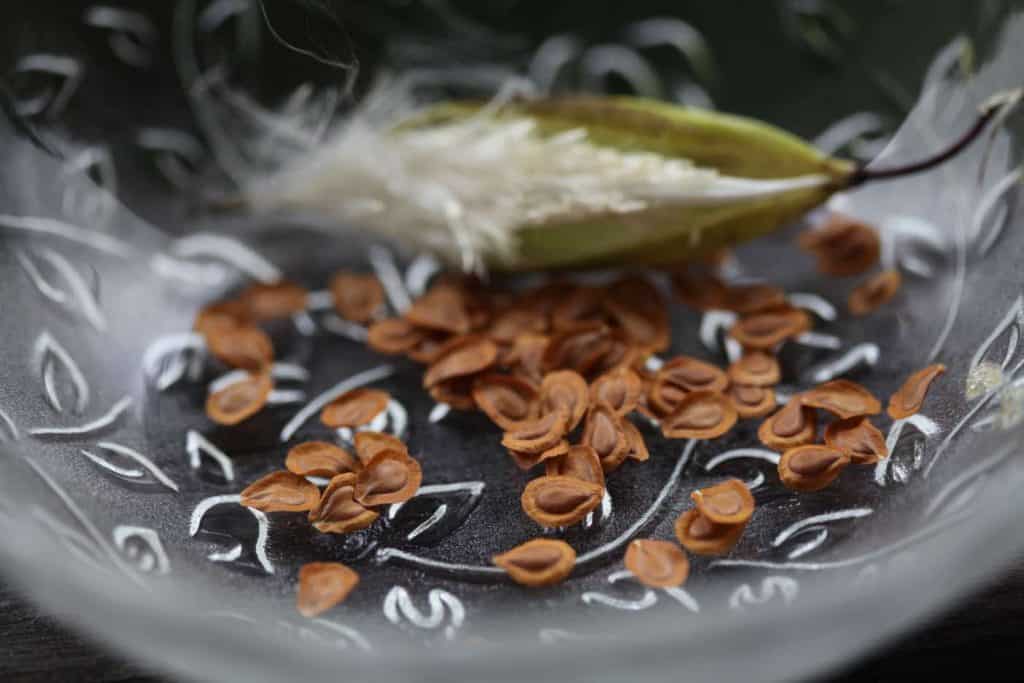
To dry the seeds spread them out on a surface such as a pan or a large plate. Allow them to dry for a couple of days.
Once dry they can be placed in a paper envelope for storage.
Label to identify the contents of the envelope.
You can leave the seeds in a cool room in the envelope until ready to start cold storage.
Milkweed seeds from cold climates will benefit from a period of stratification.
Milkweed is a herbaceous perennial and benefits from a period of cold moist storage in the fridge to aid in the germination process. Out in nature this cold chill happens naturally.
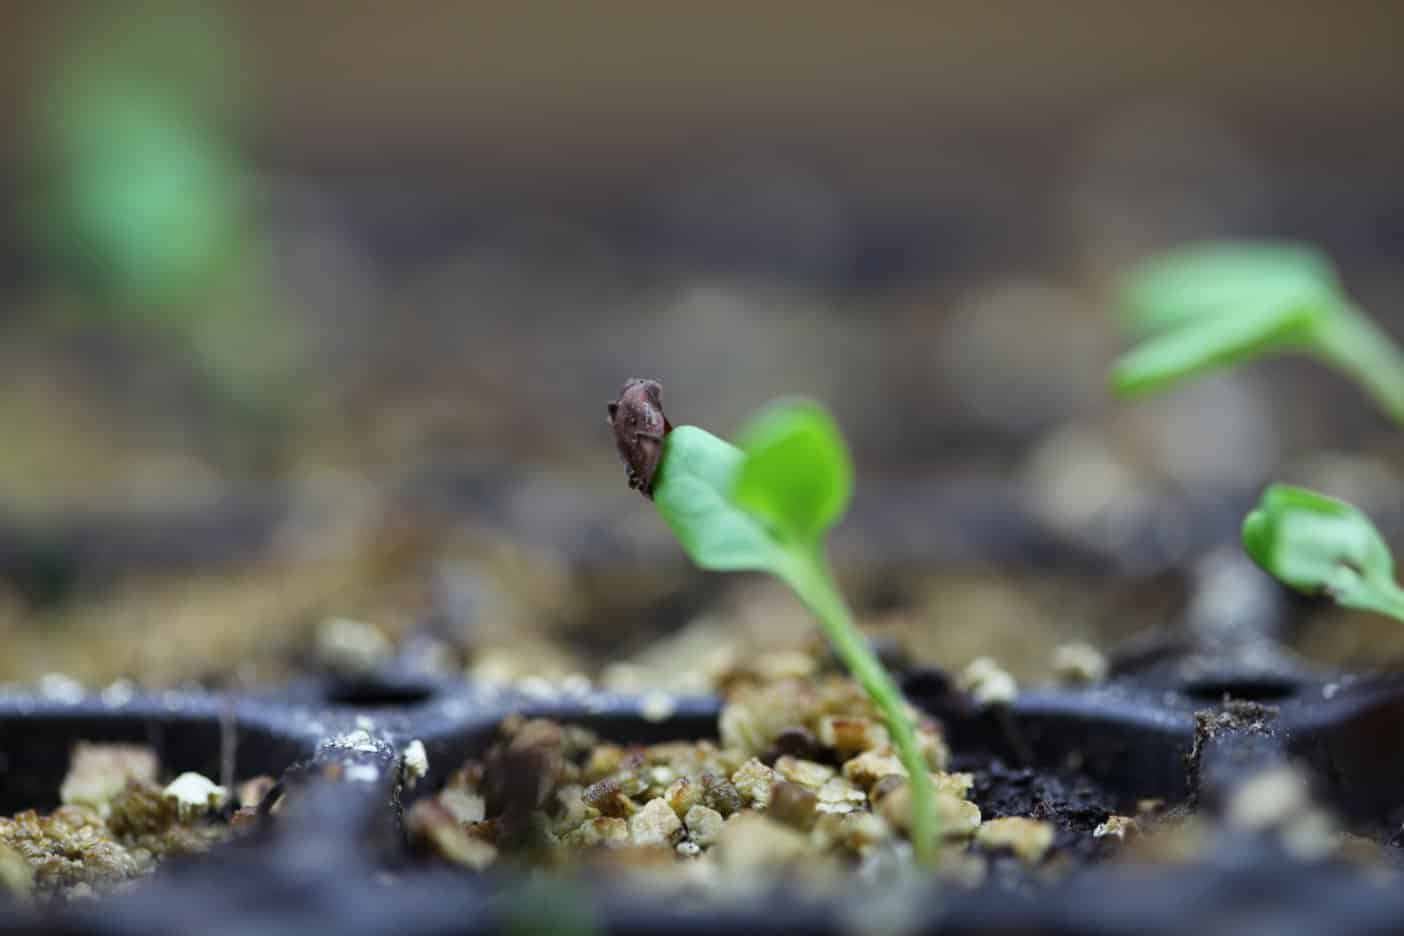
If you plan to plant your milkweed seeds inside in winter to get a head start on the season, you will need to stratify the seeds using a moist chill in the fridge for at least thirty days before planting.
This moist chill involves transferring the seeds from the paper envelope to a plastic bag. The seeds are placed either inside a moist paper towel or in some moist vermiculite inside the plastic bag.
We generally use moist vermiculite for the seeds during the stratification process. The vermiculite prevents the small roots from getting stuck in the fibres of the paper towel.
Some people store their milkweed seeds in the freezer. This replicates the freezes of the winter season.
We place our seeds in the fridge and have had good success with this technique.
After the seeds have had the period of stratification, they can then be planted.
How Long Do Milkweed Seeds Last?
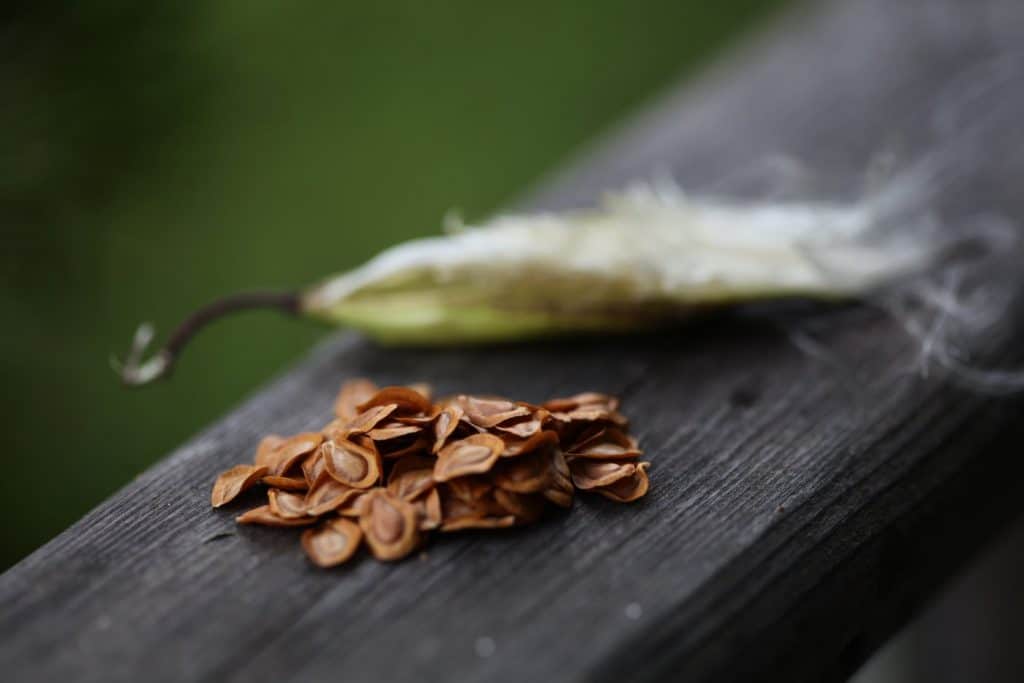
If you do not intend to plant your seeds this season, they can be safely stored in the longterm in an airtight container in a cool location. The fridge is suitable for this storage.
Storing milkweed seeds in this manner can keep them viable for a few years.
Have you ever tried to harvest milkweed seeds? Be sure to leave a comment below to share your experience!
OTHER POSTS YOU MAY LIKE:
See the Web Story on Harvesting Milkweed Seeds!
PIN IT FOR LATER!


Kaylee
I just did this the other day! I love milkweeds. Can’t wait to plant them now. Thank you for sharing this knowledge.
cheyanne
Thank you Kaylee!I'm so glad to hear.Good luck with your planting!
Julie
You are a wealth of knowledge! Thank you so much for sharing...our milkweeds have begun setting seed and I want to plant some more in our pollinator garden (the monarch's loved visiting them this year). Stunning photos as always!
Barbra-Sue
This was such an interesting post! I took a picture of monarch butterflies last month but I don’t think the plant was milkweed, I didn’t realize they flowered. I’ve found quite a bit of milkweed on our homestead. I’ll pay better attention next year to see them bloom. Thank you