If you have extra pears at harvest time, knowing how to dry and preserve them will allow you to save them for later use. Learn how to make dried pears, and preserve your homegrown fruit.
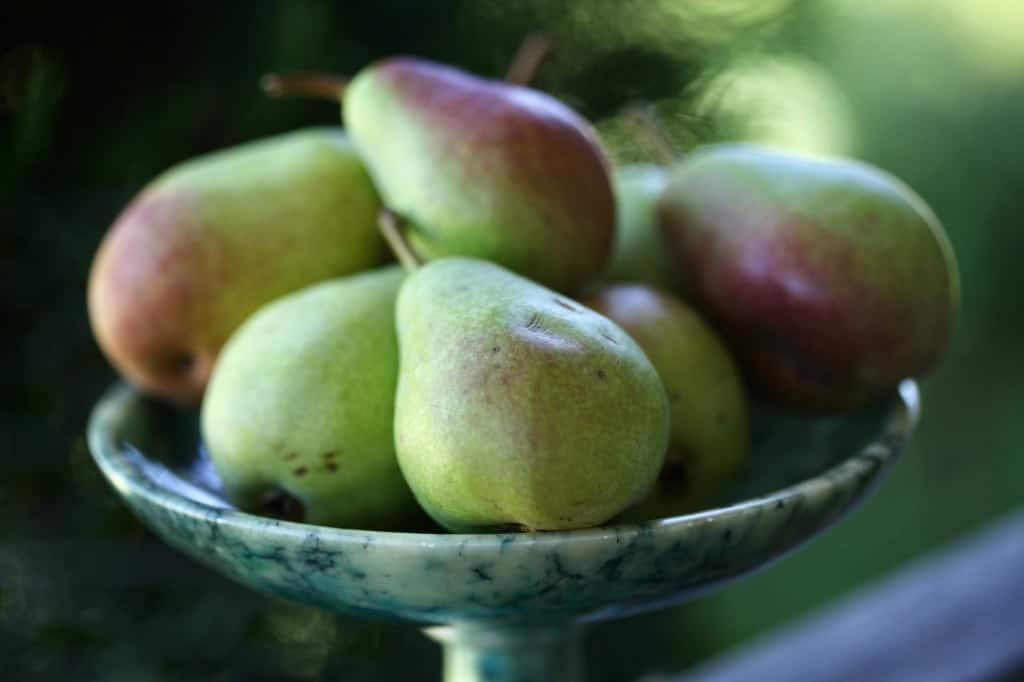
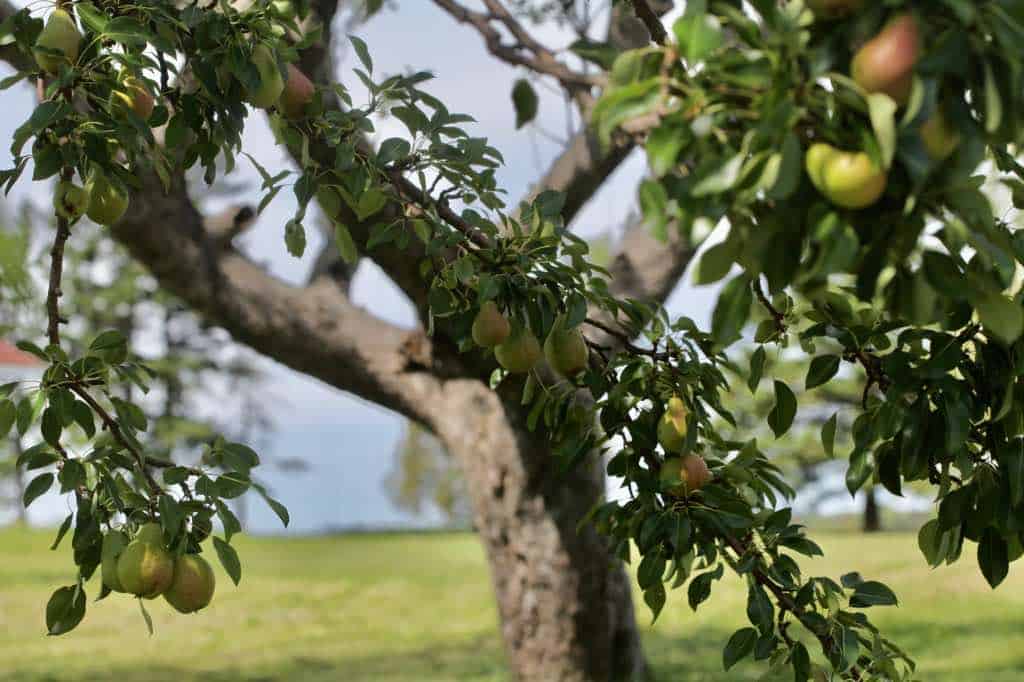
We have an old pear tree at the farm, and every year in late summer, the fresh Bartlett pears seem to ripen all at once. This amount of ripe fruit is way more than our family can eat, fresh off the tree.
Preserving the fruit is an excellent way to keep them from spoiling. It's a great way to enjoy the bounty of the harvest, throughout the whole year.
This year I was determined to preserve and save as many pears as I could, by harvesting them a little earlier, and drying lots of pear slices.
Drying pears is a simple and easy method of fruit preservation. The process removes the moisture from the fruit, giving the fruit a longer shelf life.
Dried pears make a nutritious, delicious, and healthy snack.
Pears can be dried in several different ways, so let's have a look at the different processes.
How To Make Dried Pears
You can dry pears a number of different ways:
- One method for drying is using a dehydrator. The dehydrator will dry the pears by using a low heat, as well as blowing warm air with a fan, for an efficient drying process.
- If you don't have a dehydrator, you can dry the pears in the oven, on it's lowest temperature setting. A baker's rack can help speed to up this drying process, by helping to circulate air.
- Another choice for drying pears is to dehydrate them in an air fryer. This is a good choice if you have just a few fruit to dry. The air fryer must have a dehydrate button to dry the pears using this method.
Preparing The Fruit
Sort The Fruit
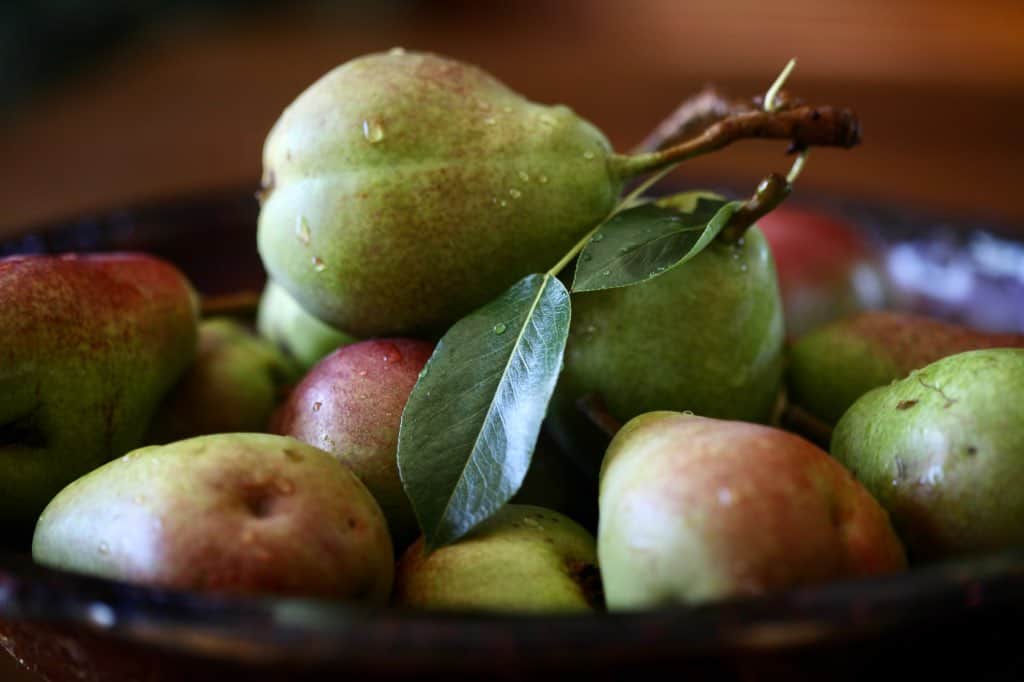
- Prepare the fresh pears by first carefully sorting, washing and drying in preparation for slicing.
- Choose fruit that are ripe yet still firm. Firmer pears are easier to slice and handle.
- Pears at the peak of ripeness tend to be soft, and are not as easy to slice.
- If you have harvested from your own tree, make sure to assess for any bug damage or brown spots. I find that these fruit do not slice as cleanly, and will often set them aside.
Slice The Fruit
- The ripe pears can be sliced with the skin of the pear in place.
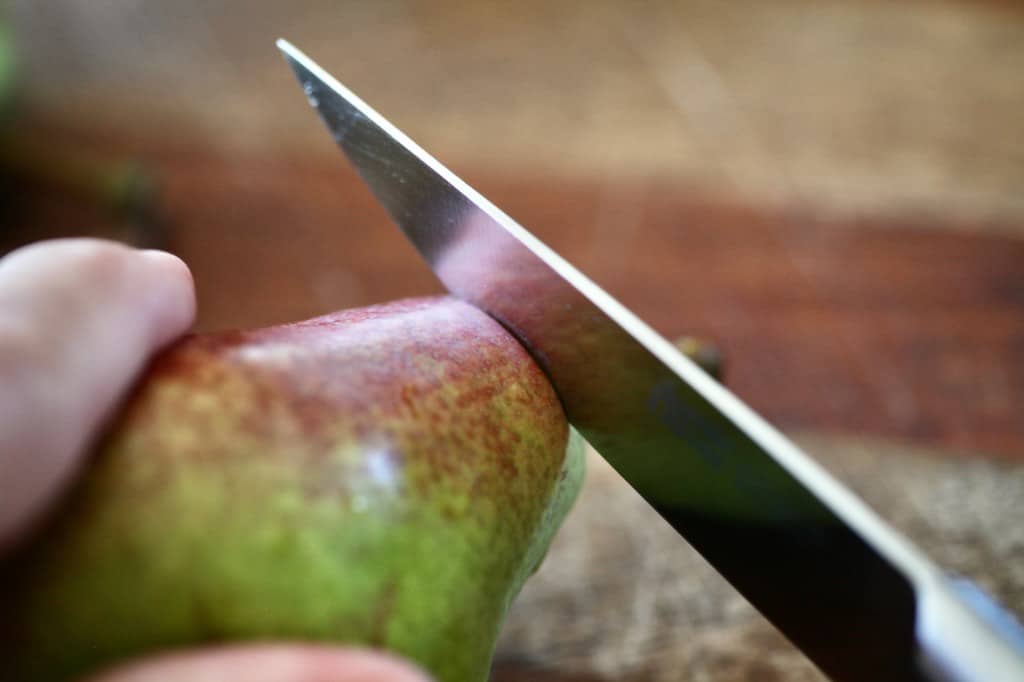
- Use a paring knife to remove the stem, as well as the blossom end of the pear.
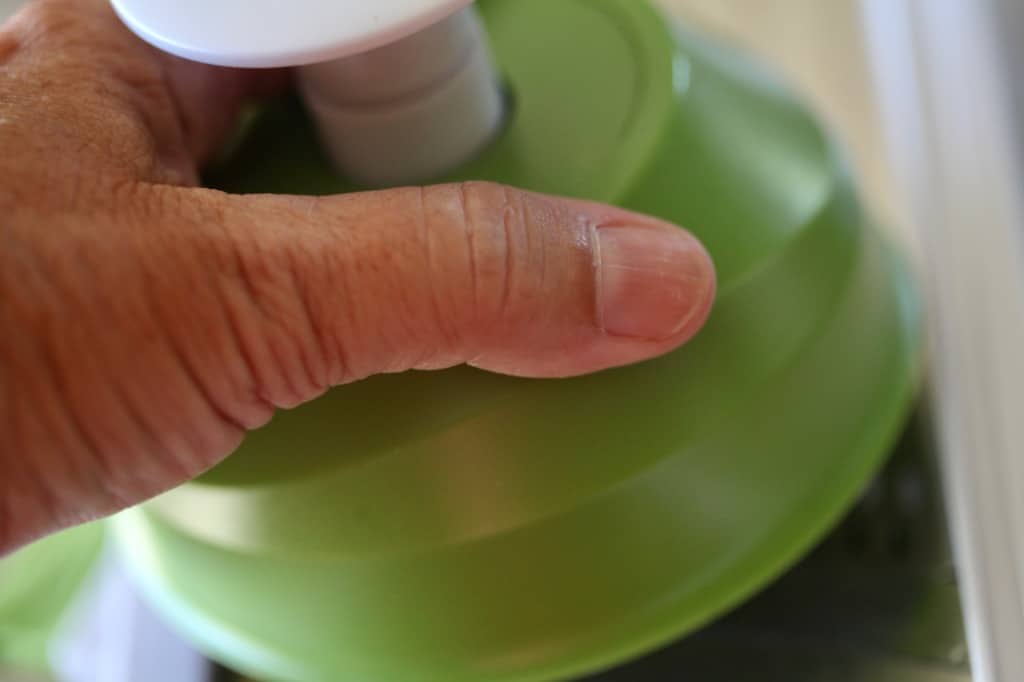
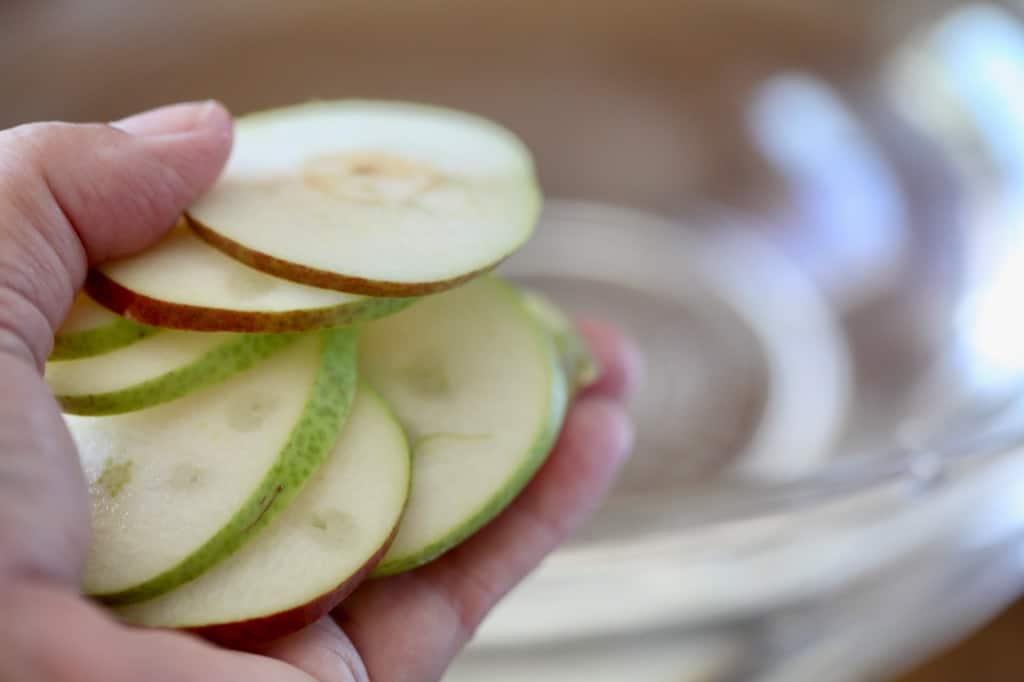
- Next, use a mandolin slicer or a sharp knife, to cut the pears into thin slices, approximately ⅛ to ¼ inches thick.
- Using a mandolin slicer will create uniformity in the sliced pieces of fruit. It also does a quick and easy job.
- Uniform slices will help the drying fruit to complete the drying process at the same time.
Soak The Fruit To Prevent Oxidation
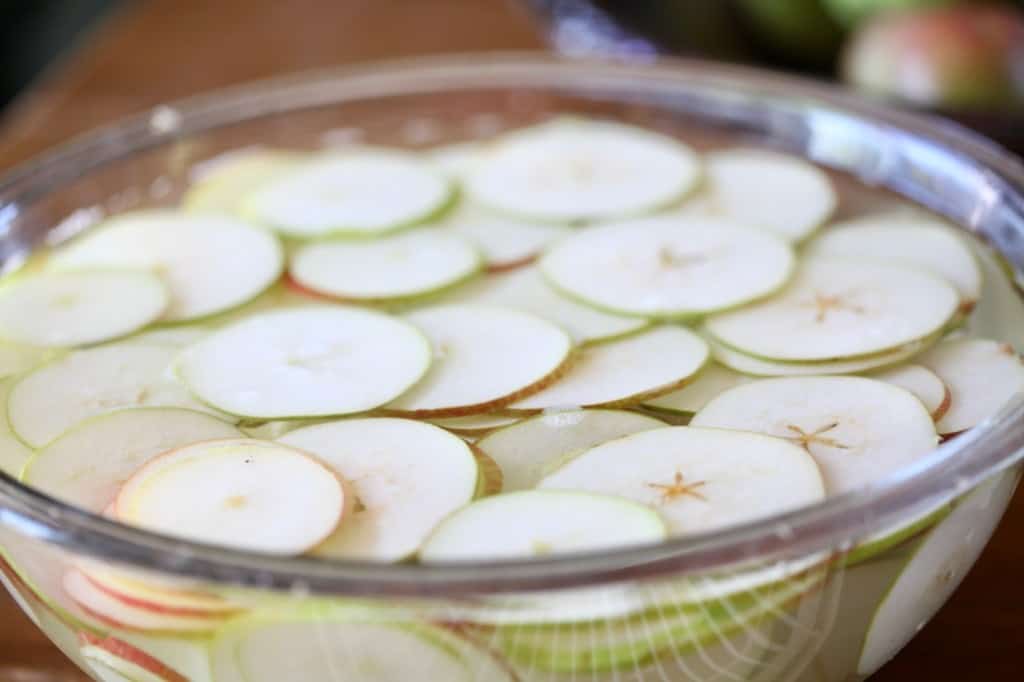
- To prevent oxidation of the fruit, it is an option to dip the pear slices into water containing lemon juice.
- To make this mixture, place ¼ cup of lemon juice into a large bowl of water, and allow the slices to soak for several minutes.
- I found that the pear slices that I worked with did not tend to brown quickly, and not require this step.
- If your pears are browning after cutting, this is definitely a step to consider.
Drying Pears In The Dehydrator
- Drying pears in a food dehydrator is a quick and easy method.
- Depending on the type of dehydrator that you have available, you will likely have multiple stacked trays on which to dry the fruit. This will allow you to dry many fruit slices all at once, and help with the efficiency of the process.
- To dry the sliced pears, arrange the pieces on the dehydrator trays so that they are in a single layer. It's okay if the edges of the pieces are touching, because they won't be touching for long.
- As the fruit slices start to dry, the fruit will begin to shrink, and the slices will no longer be crowded together.
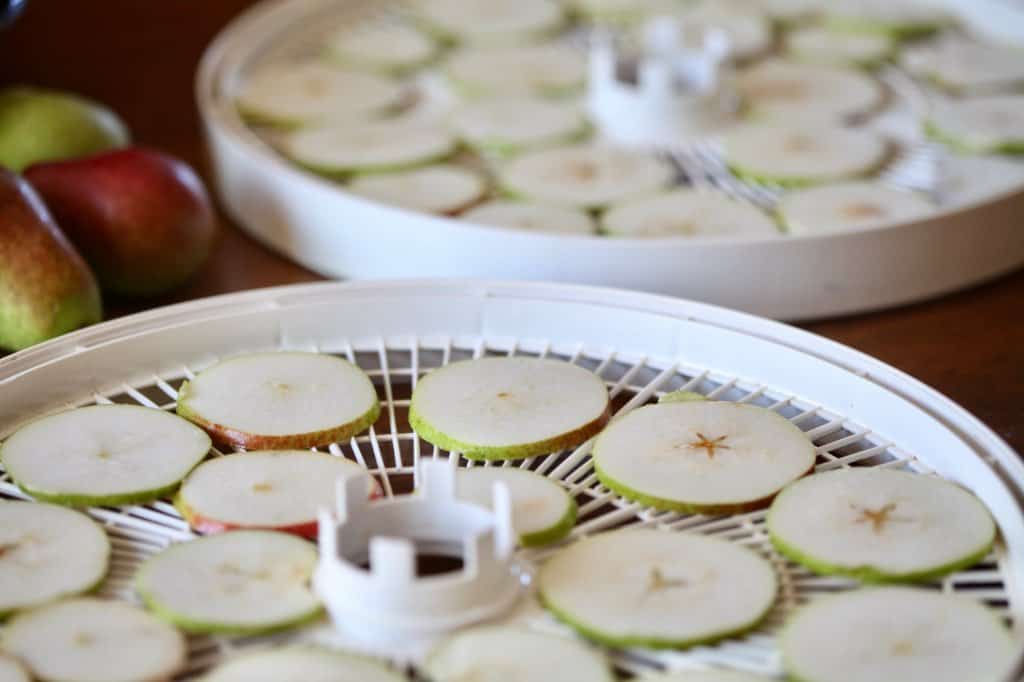
- After all of the trays have been covered by the pear slices, place them in the dehydrator.
- Set the temperature to the fruit and veggie setting, which is 135°F.
- Plug the unit in.
- Drying time is an approximation, and dependent on the dehydrator, as well as the fruit. Fruit that has been evenly sliced will dry more uniformly, and more likely to dry at the same time.
- Thinner slices will dehydrate more quickly than thicker slices.
- The size of your pears as well as the moisture content will also make a difference in drying time.
- The pears that were sliced with the mandolin slicer took 3.5 hours to dry in the food dehydrator.
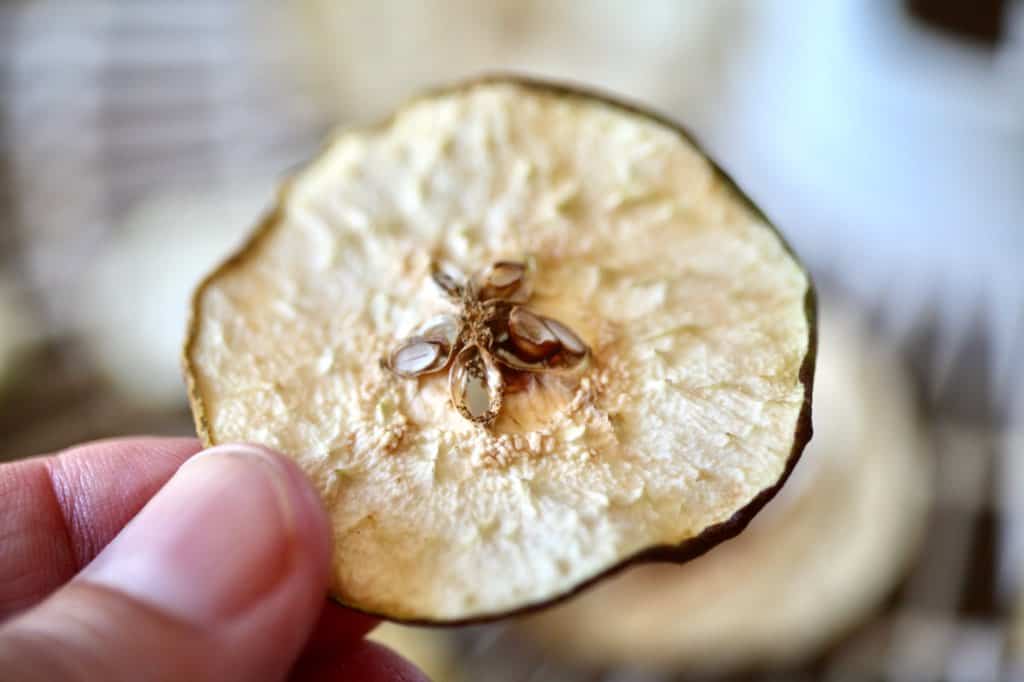
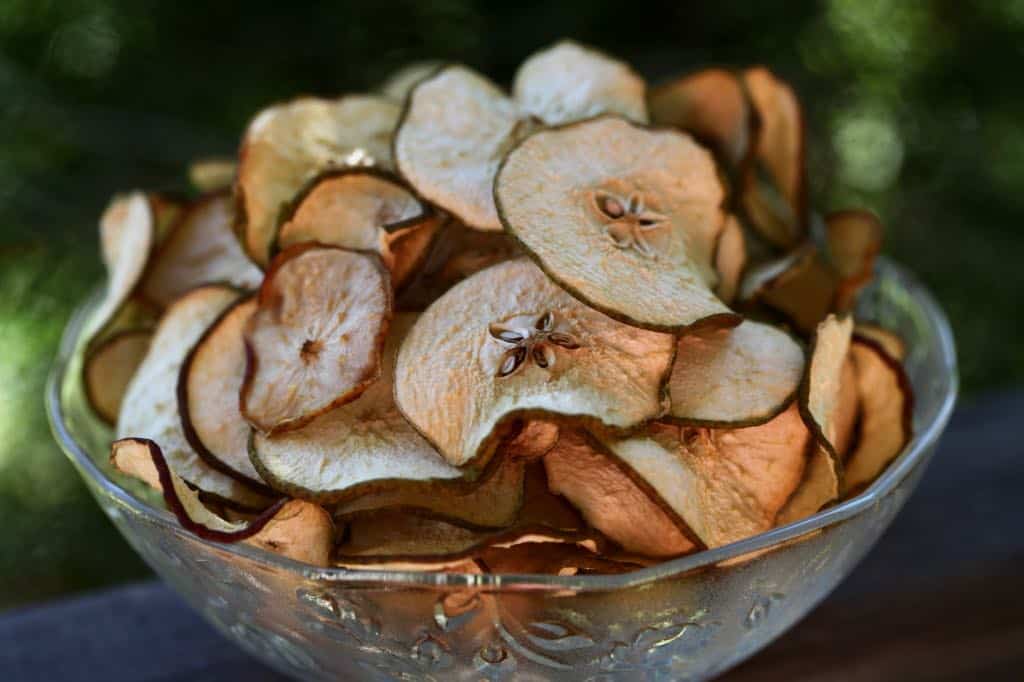
- Remove the pear slices from the dehydrator when they are completely dry.
- Allow the fruit slices to cool to room temperate before storing away.
- Store the dehydrated fruit in an air-tight container.
Oven Method For Drying Pears
- To dry pears in the oven, place the pear slices on a baking tray.
- The fruit slices can go directly onto the baking sheet, or on top of a wire rack that is placed on top of the baking sheet. The wire rack is optional, and will help to allow air flow around the fruit during the drying process.
- It's a good idea to spray the drying surfaces lightly with a non stick cooking spray to prevent sticking.
- Place the pieces in a single layer on the wire rack or baking sheet.
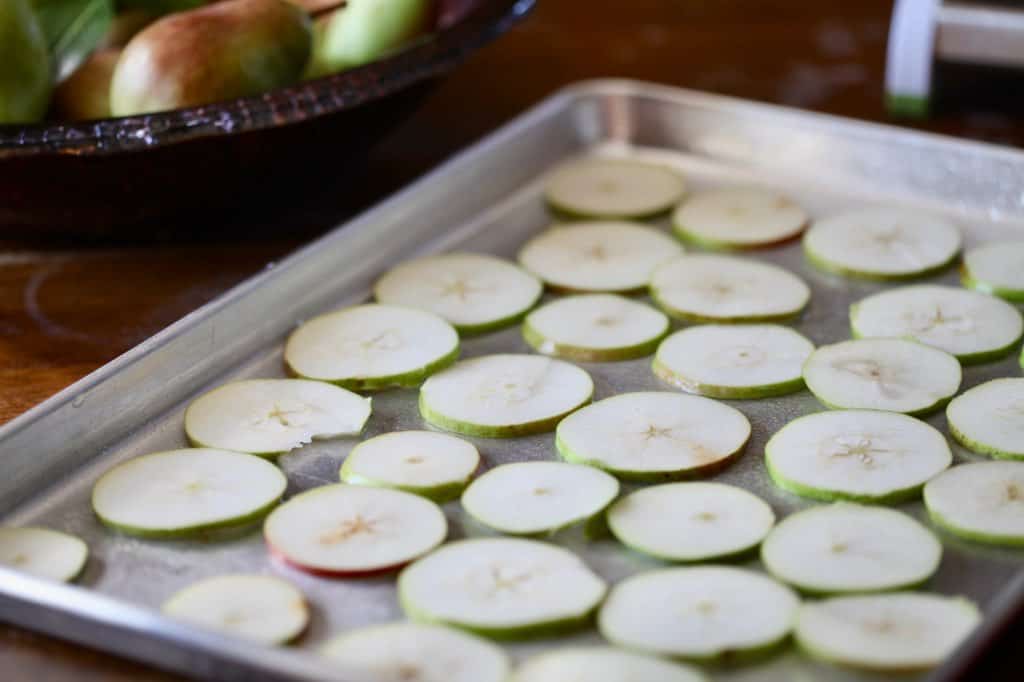
- Drying time is dependent on the thickness of the pear slices, as well as the oven temperature.
- Turn the oven temperature down to the lowest temperature setting. To preserve the fruit, you want to dry it, not cook it, so the lowest oven temperature setting is important.
- The lowest temperature setting on my oven is 170°F. The pear slices dried well at this temperature.
- If you have a confection oven with a fan, this will help to speed up the drying process.
- Turn the pear slices halfway through the drying process, to help speed up the drying.
- Drying time in the oven was 5 hours.
- Remove the slices when completely dry. Allow to cool before storing away.
- Store in an airtight container.
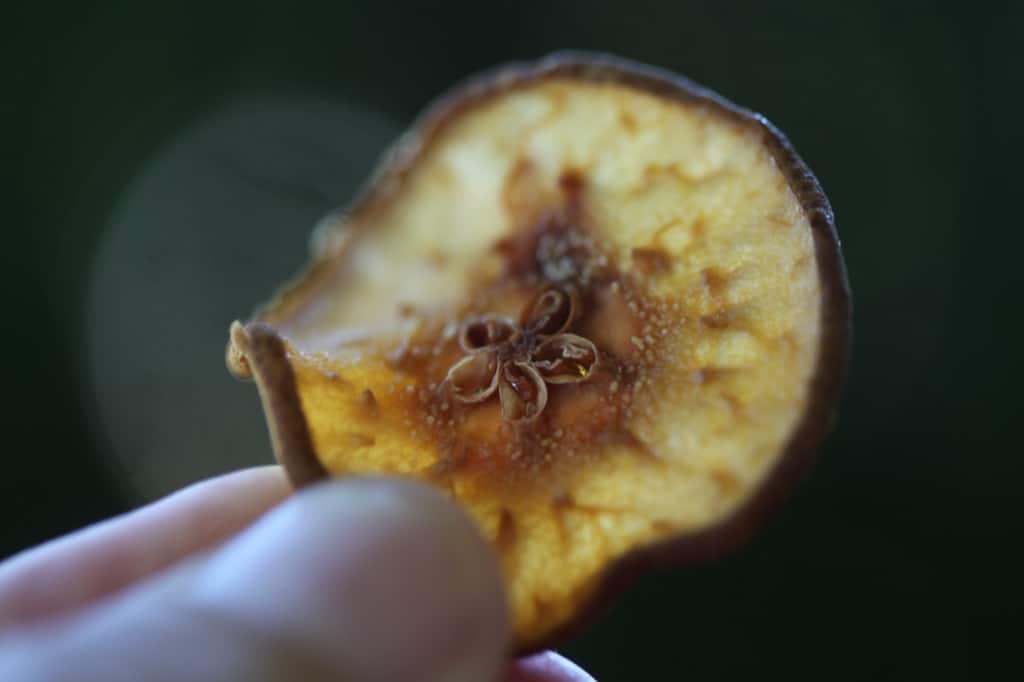
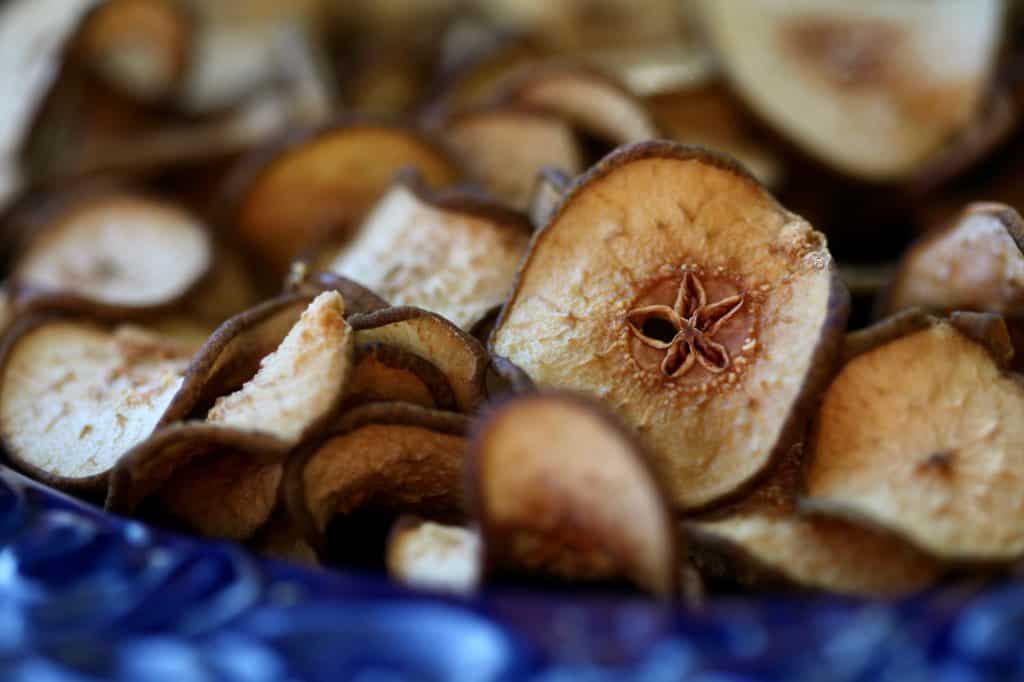
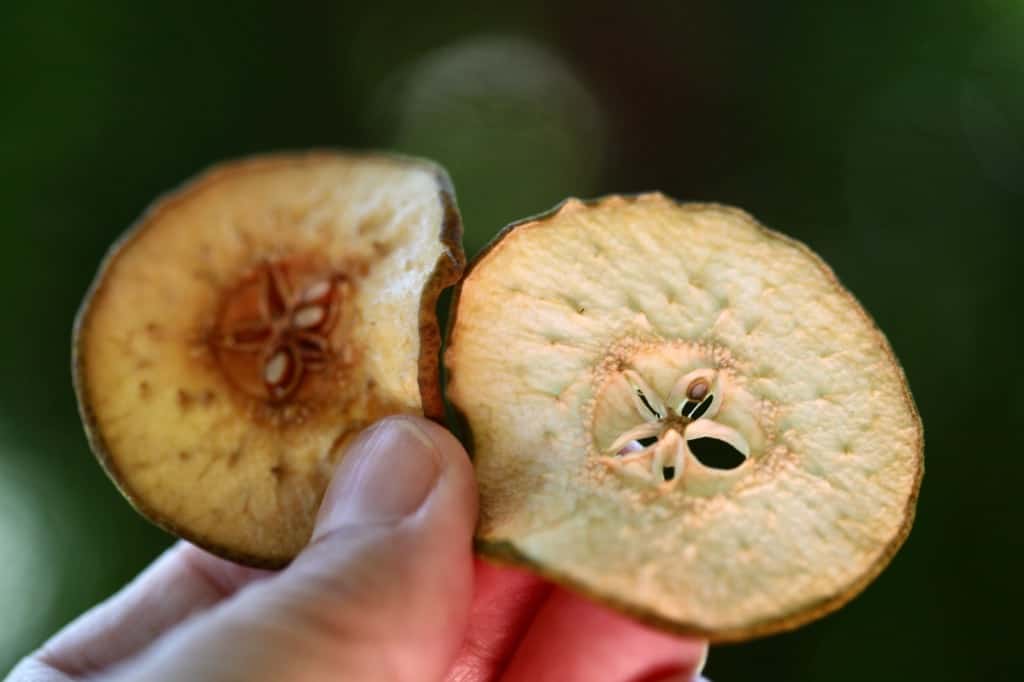
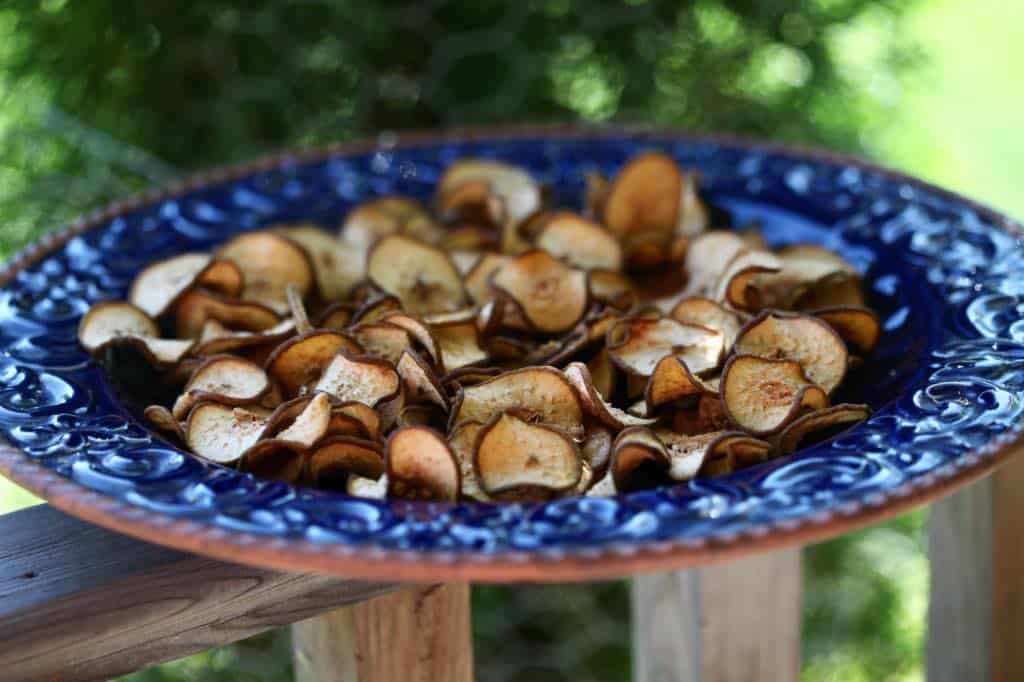
- The slices that were dried in the oven turned out darker than those dried in the dehydrator.
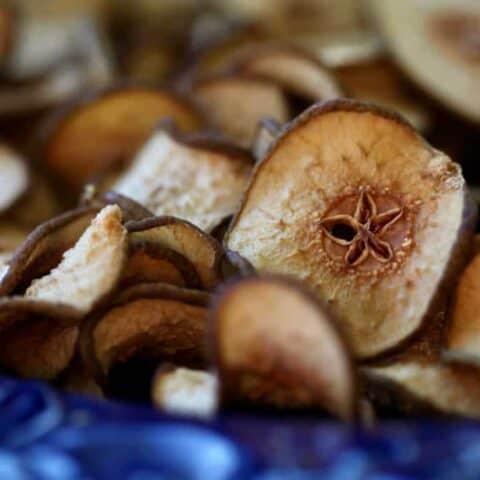
- The oven-dried pears were a beautiful warm golden brown color.
Drying Pears In An Air Fryer
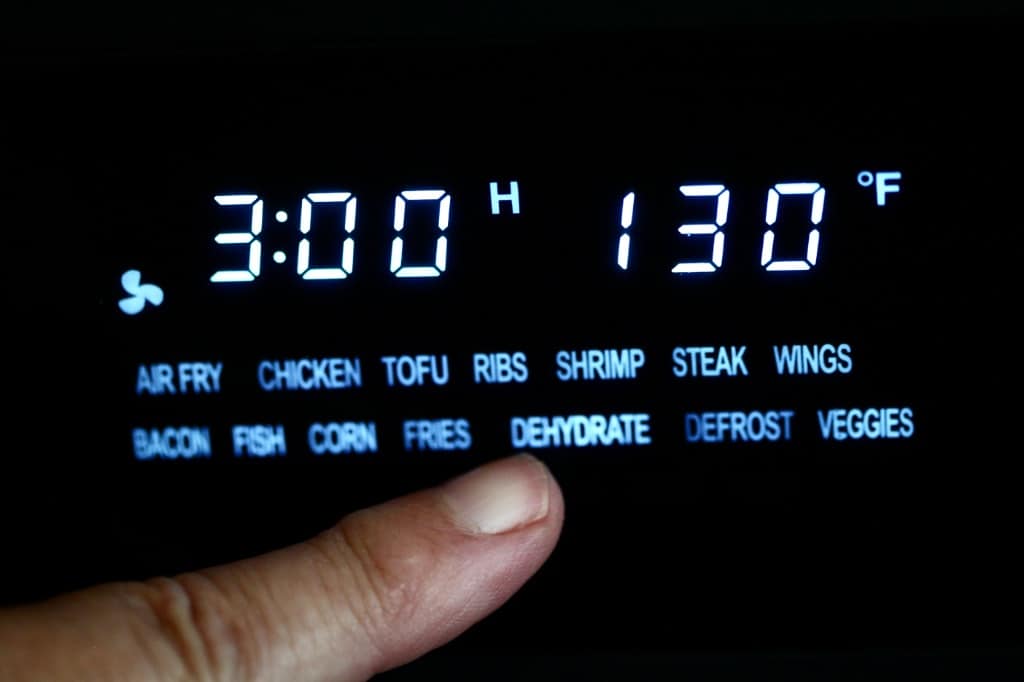
- To dehydrate fruit in an air fryer, it is important that you have an air fryer with a dehydrate function.
- The dehydrate function will allow you to dry foods at lower temperatures, rather than air fry or cook the foods, which occurs at higher temperatures.
- The air fryer dehydrate temperature setting on my Kaloric air fryer is set at 130°F, however this temperature setting is adjustable.
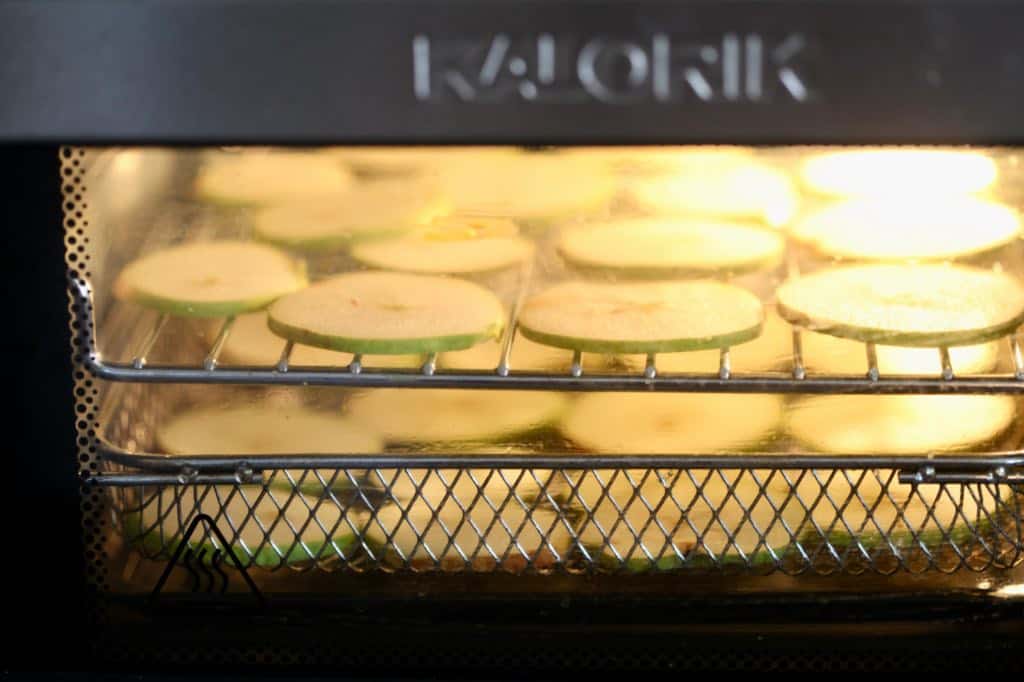
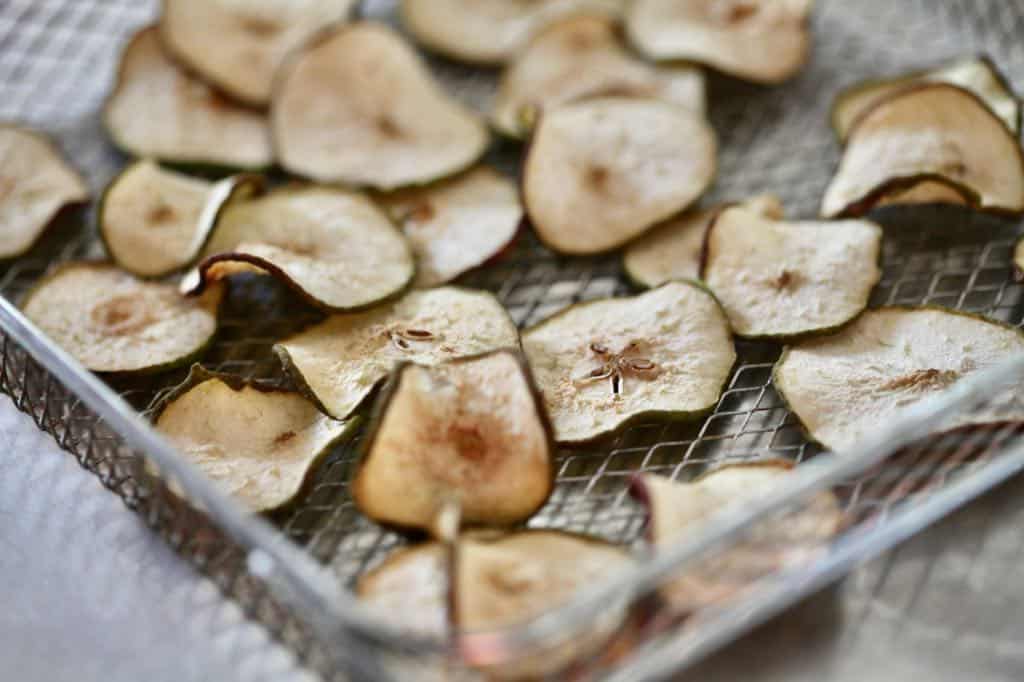
- Place the pear slices on the trays inside the air fryer, in a single layer.
- Place the trays into the air fryer, and dry for approximately 3 hours.
- The drying time is dependent on your own air fryer, and the size and thickness of the pear fruit slices.
- Monitor the drying process to determine best drying time for your own air fryer dried fruit.
- The air fryer has a fan, so is very similar to the dehydrator drying process.
- The drying space in the air fryer is much smaller than that of the oven or dehydrator, so this method of drying is best used for a small batch of fruit.
- Once the fruit slices have dried, remove them from the air fryer and allow to cool to room temperature.
- Store in an air tight container.
Storing Dried Pears
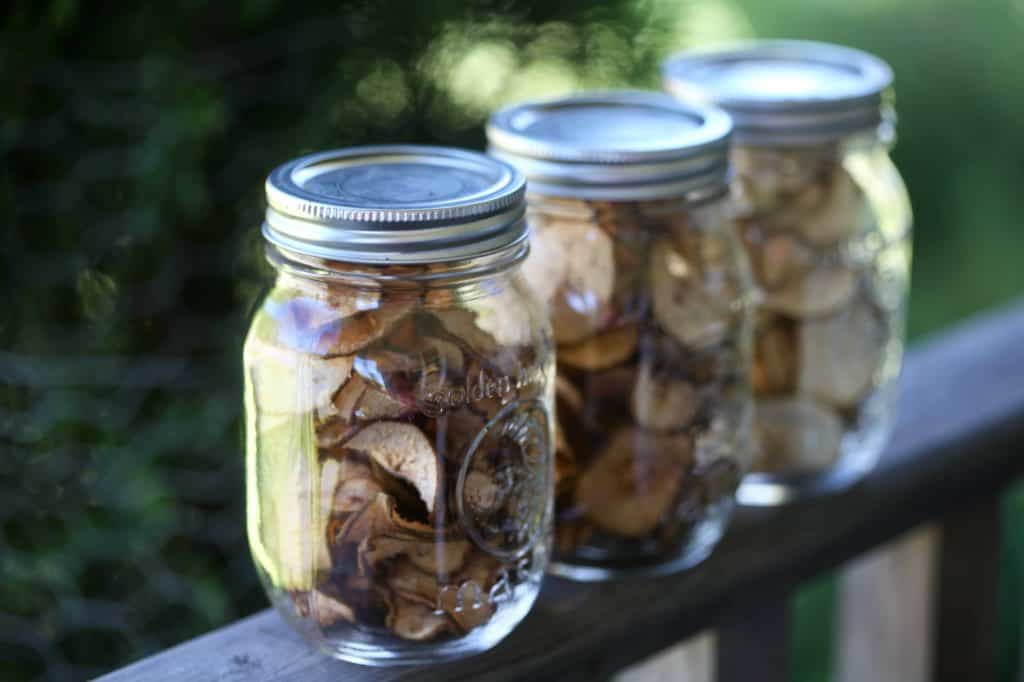
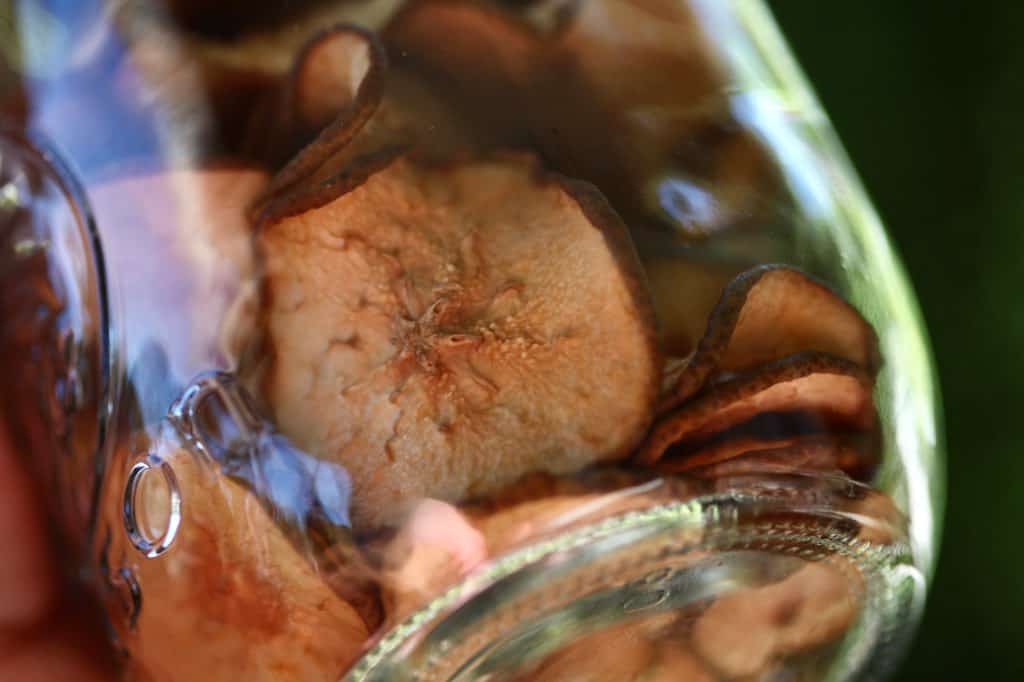
- Store the dried pear slices in an airtight container, such as a glass jar with an air tight lid, for up to six months.
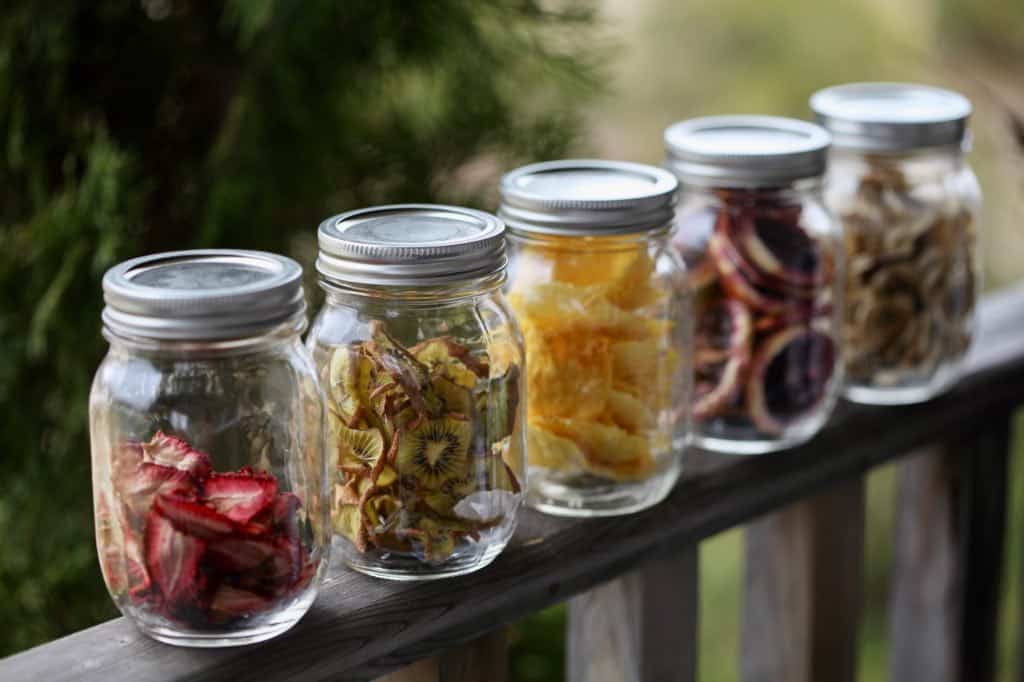
- I like to use a mason jar to store dried pieces of fruit.
- You can also use other food safe options, such as a large freezer bag, if you have made lots of dried pear pieces.
- Make sure to label your storage container with the storage date.
RECIPE: Drying Pears
If you have extra pears at harvest time, knowing how to dry and preserve them will allow you to save them for later use. Learn how to make dried pears, and preserve your homegrown fruit.
Ingredients
- 4 fresh pears (or more)
- lemon juice (optional)
Instructions
- Prepare the fresh pears by first carefully sorting, washing and drying in preparation for slicing.
- Choose fruit that are ripe yet still firm. Firmer pears are easier to slice and handle.
- Use a paring knife to remove the stem, as well as the blossom end of the pear.
- Next, use a mandolin slicer or a sharp knife, to cut the pears into thin uniform slices, approximately ⅛ to ¼ inches thick.
- To prevent oxidation of the fruit, it is an option to dip the pear slices into water containing lemon juice.
- To make this mixture, place ¼ cup of lemon juice into a large bowl of water, and allow the slices to soak for several minutes.
- To dry the slices in the dehydrator, set the temperature to the fruit and veggie setting, which is 135°F. Drying time is approximately 3.5 hours.
- To dry pears in the oven, place the pear slices on a baking sheet sprayed with a non stick cooking spray, and dry at the lowest temperature setting of 170°F for approximately 5 hours.
- To dry fruit in an air fryer, it is important that you have an air fryer with a dehydrate function. Dry the slices at 130°F for approximately 3 hours.
- Once the fruit slices have dried, allow them to cool to room temperature.
- Store the dried pear slices in an air tight container.
Notes
Drying time is an approximation, and dependent on the method used, as well as the fruit. Fruit that has been evenly sliced will dry more uniformly, and is more likely to dry at the same time.
Nutrition Information:
Yield: 4 Serving Size: 1Amount Per Serving: Calories: 102Total Fat: 0gSaturated Fat: 0gTrans Fat: 0gUnsaturated Fat: 0gCholesterol: 0mgSodium: 2mgCarbohydrates: 27gFiber: 6gSugar: 17gProtein: 1g
Please note: This nutritional information is an estimation only. Please calculate your exact brands and ingredients for better accuracy.
Conclusion
Making dried pears is a great way to preserve your own fruit. Dried pear slices will last much longer than the fresh fruit.
Drying fruit helps to avoid food waste, especially if you have many pears ripening at the same time.
Dried pears also makes a nutritious and delicious snack.
Add the dry fruit to trail mix for a simple snack. You can also sprinkle in a little cinnamon for added flavor.
If you have a lot of pears, or just some extra fruit pieces on your counter, drying is a great option regardless.
It's a simple and easy method of preserving, and a cost effective way of saving those nutritious fruit for later use.
Other Posts You May Like:
Pin It For Later!




Leave a Reply