Privet can make a wonderful privacy hedge. The plants can grow tall and wide. The leaves grow closely together making them ideal hedge plants. Learn how to grow a privet hedge from cuttings, and create a privacy screen for your landscape.
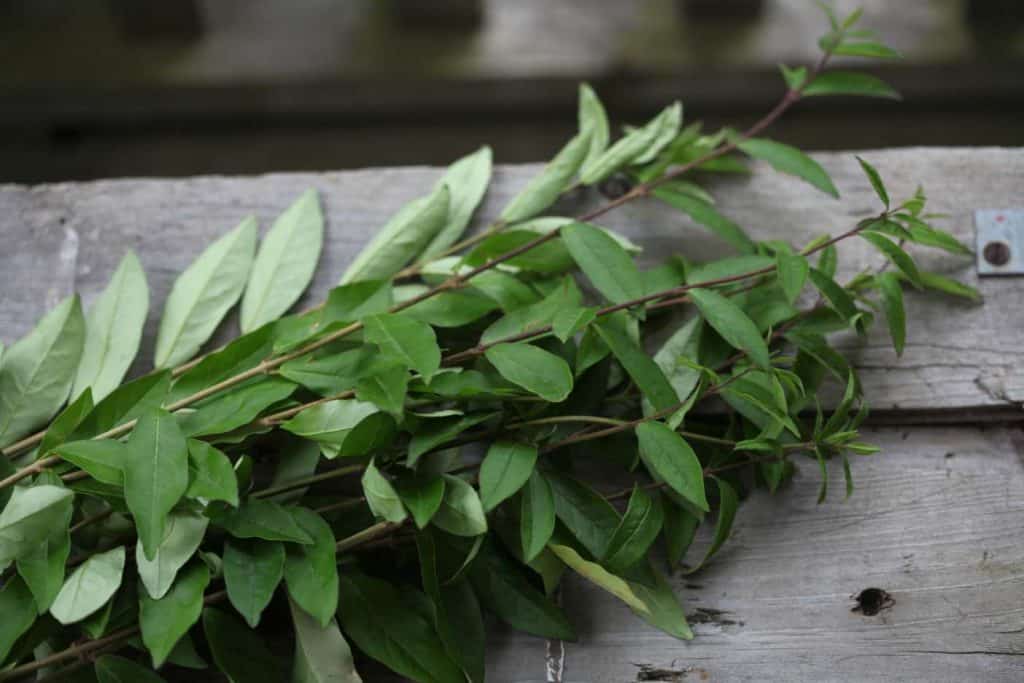
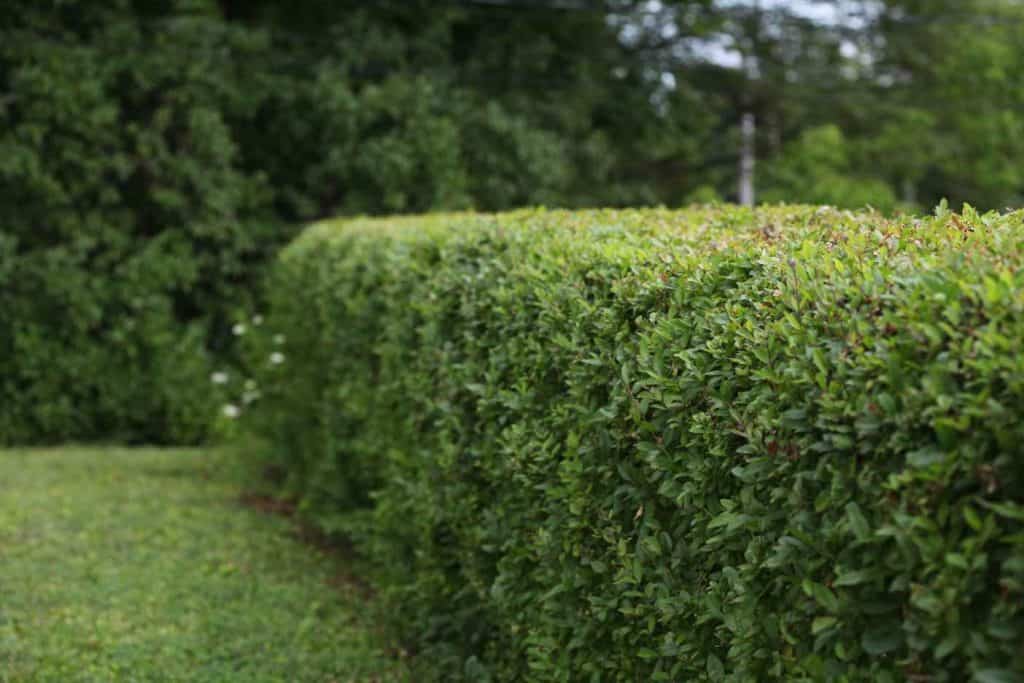
We had a neighbour that grew a privet hedge on the border of our properties.
The hedge was very tall and dense, and the perfect boundary between our properties.
It was also a wonderful green backdrop for one of my larger garden beds.
Every spring the whole neighbourhood was filled with the beautiful scent of those privet blooms.
I appreciated the privet for all of those benefits, and have always wanted to grow it at the farm.
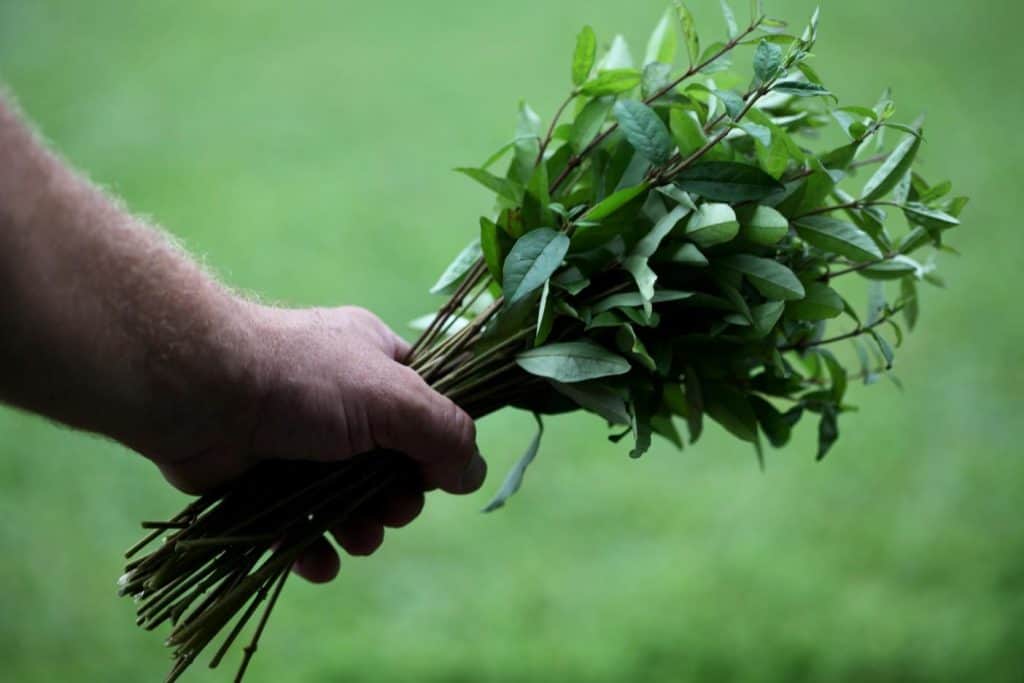
Fortunately for us, this year we received a gift of privet cuttings from a family member. It will be exciting to root these stems and get them transplanted into the garden.
We plan to grow a privet hedge from these cuttings, and are so excited to do so.
Different Varieties Of Privet
Privet is a flowering plant from the genus Ligustrum. There are fifty species within this genus, many of which are shrubs, and some are also trees.
There are a number of varieties of privet that can be used for hedging.
Each variety has different temperature requirements.
Some are only hardy to warmer growing zones.
Some as well are hardy to cooler zones. The privet we are planting is hardy to zone 3.
Here are some varieties of privet used for hedging:
- Box Leaf Privet, Ligustrum undulatum
- Japanese Privet, Ligustrum japonicum
- Common Privet, Ligostrum ovalifolium
Most privets are easy to root and grow from cuttings.
Benefits Of Growing A Privet Hedge
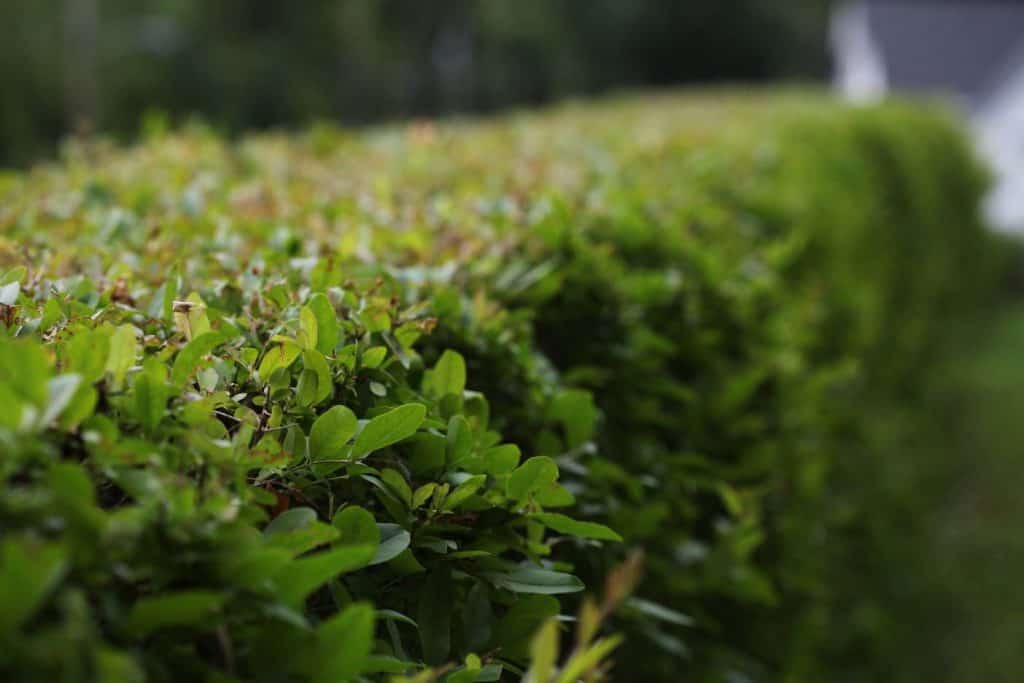
- A privet hedge is great to screen unsightly views.
- It offers a great backdrop to the gardening landscape.
- Privet is a fairly quick growing privacy screen.
- It offers a great noise border, absorbing noise from the street or a neighbouring yard.
- Privet can grow large and wide, and depending on the variety can grow up to fifteen feet in height. Width can be five to six feet or wider if left untrimmed.
- Some types of privet have attractive glossy foliage (Japanese privet- Ligustrom japonica).
- Privets are deer and insect resistant.
- This hedge offers a great sanctuary for birds to nest.
- Privet hedges can offer a great boundary marker between properties.
- Privets have great visual appeal, especially when freshly trimmed and formed.
Benefits Of Growing A Privet Hedge From Cuttings
- Saving money is the biggest factor on growing a privet hedge from cuttings.
- You can grow many plants for very little cost, possibly even for free if the privet is donated, and you have the rooting supplies.
- Although it will take a little longer than if you were to invest in larger fully rooted plantings, the privet cuttings will still grow fairly quickly if their growing needs are met.
Drawbacks Of Growing Privet
- In some growing locations, in particular the south, privet can have unwanted spread.
- Privet has been listed as an invasive species in Invasive Plant Atlas Of The United States.
- The plant is also listed on the Toronto Master Gardeners Invasive Plants Facts Sheets.
- As well, this may not be the greatest plant as a foundation planting. It can quickly outgrow it's space unless kept in check with a good pruning.

Can You Grow Privet From A Cutting?
Privet can be easily grown from a cutting. Cut the stems from the privet plant up to a foot in length. Stems should be slim and no wider than pencil width. Strip the lower leaves from the stems, dip in rooting hormone, and place the stems in a good soilless medium until rooted. Transplant into the garden and keep well watered until established. This process will take two to three months.
Can You Take Cuttings Any Time Of Year?

We actually got our cuttings from privet plants that were trimmed back at the first of August.
This is not the best time to take cuttings, however for us it was still worth the risk. This was the time frame when the cuttings were available, and they were free, so we were willing to take a chance.
There will be time for these cuttings to root this season, however there may be not enough time for them to establish in the garden this year.
Ideally the best time to do this is in the early spring so that you have the advantage of the whole growing season.
In our zone 5b garden, many plants will not survive our winters if planted late in the season.
The reason for this is that the frosts can heave the plants that do not have enough time to really take hold in the ground before winter.
Lots of good root growth seems to make a difference in survival rates through the winter.
If we have a mild fall season, this should help with the root growth and plant establishment of our late season rooted privet cuttings.
How Do You Take Cuttings From Privet?

- Cuttings can easily be taken from a privet shrub.
- Start by cutting stems from the plant, no larger than pencil size in width, and up to a foot in length. This size is the best for successful rooting.
- Cut before or after a node, which is the area where the leaves are growing off the stem.
- Place the newly cut stem cuttings in water to keep them hydrated until they are ready to be propagated.

How To Root Privet Cuttings
- Cut each stem into six inch long pieces.
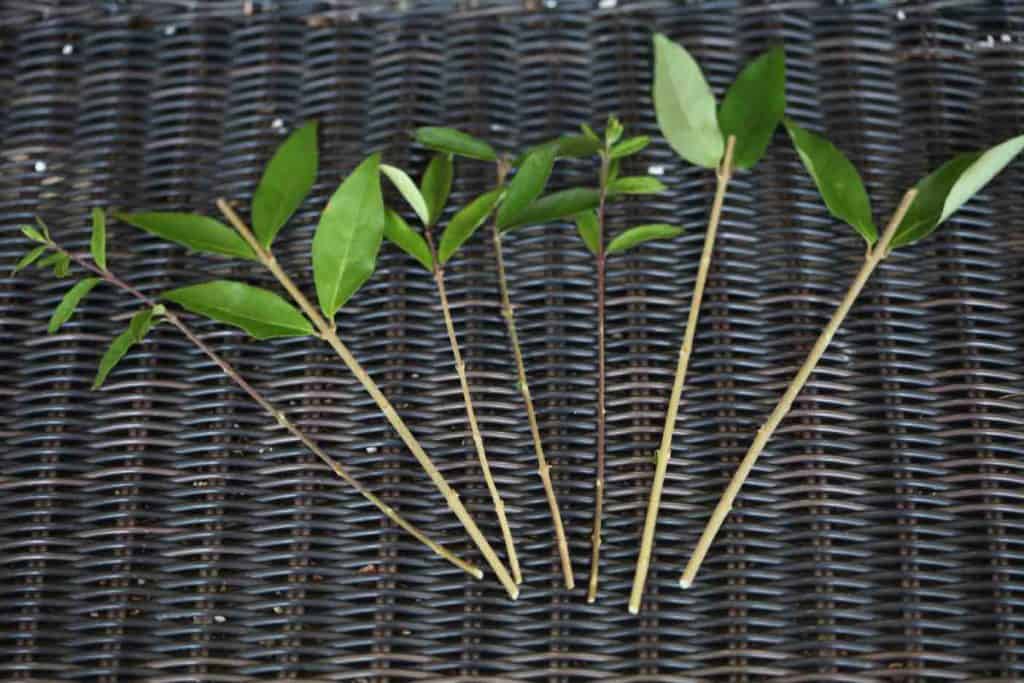
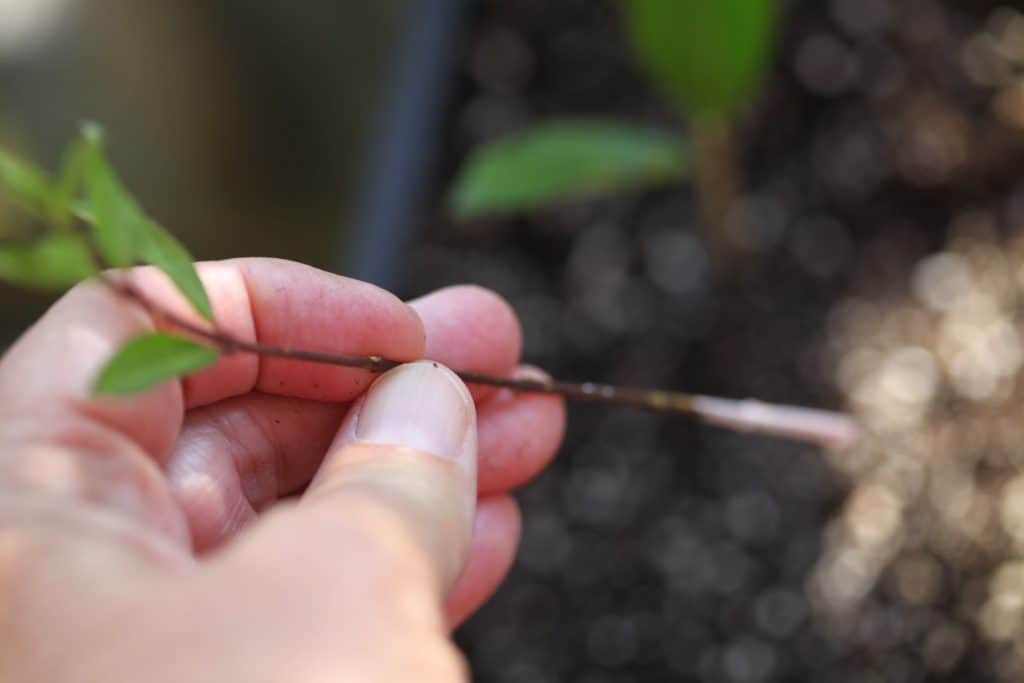
- Next strip the leaves from the bottom of the stems, leaving several leaves at the top.
- You will want the energy of the plant to go into establishing and producing new roots, rather than maintaining these leaves.
- Next dip the cuttings into rooting hormone. Either powdered or liquid rooting hormone will do.
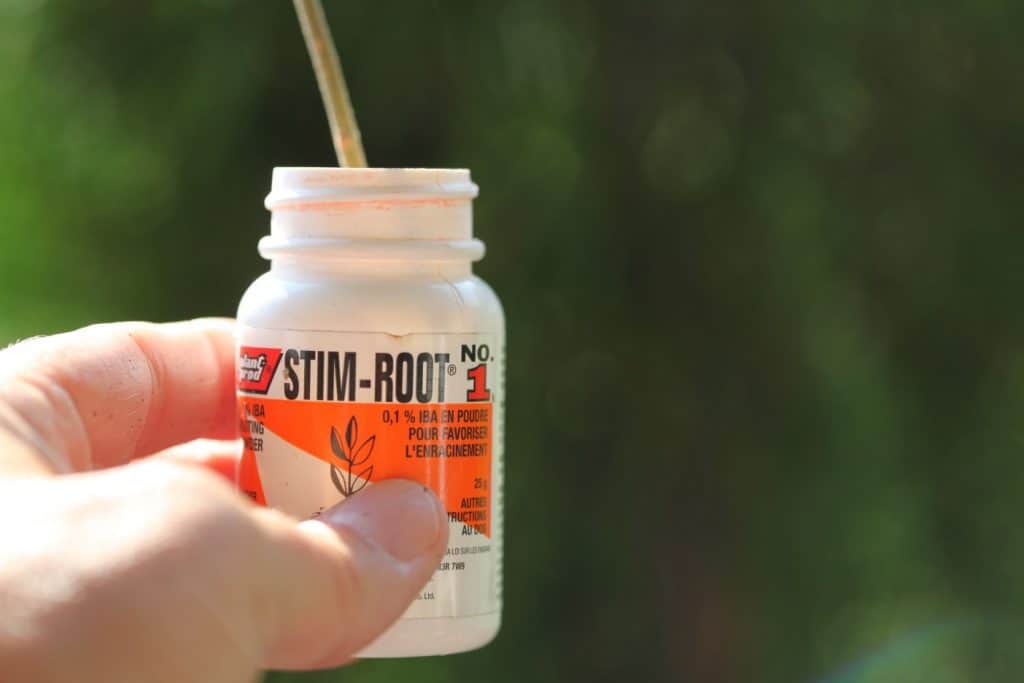
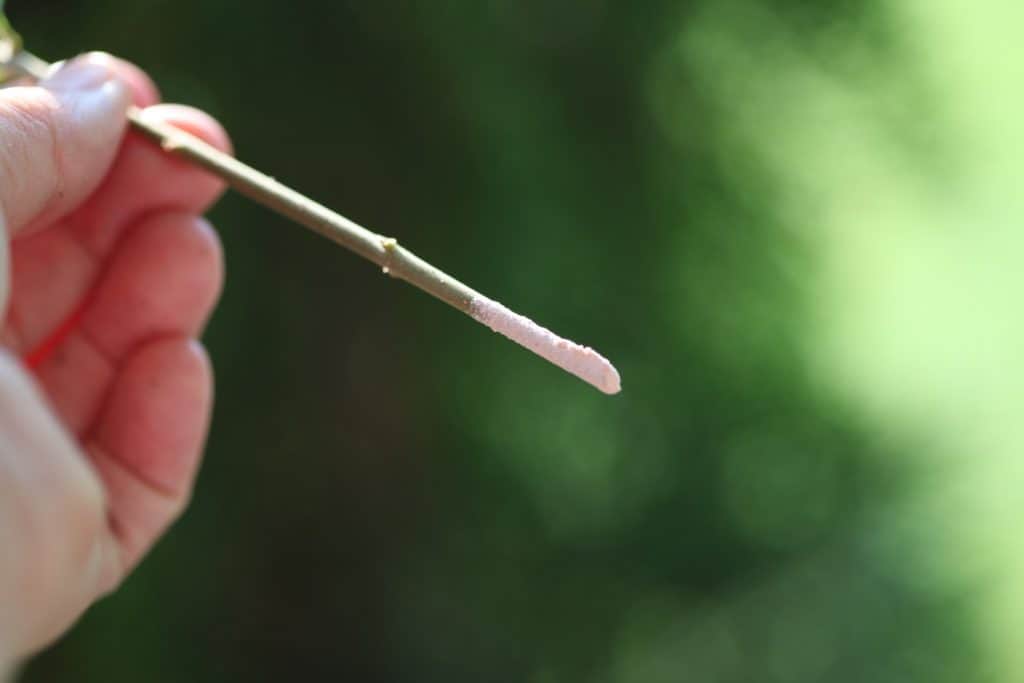
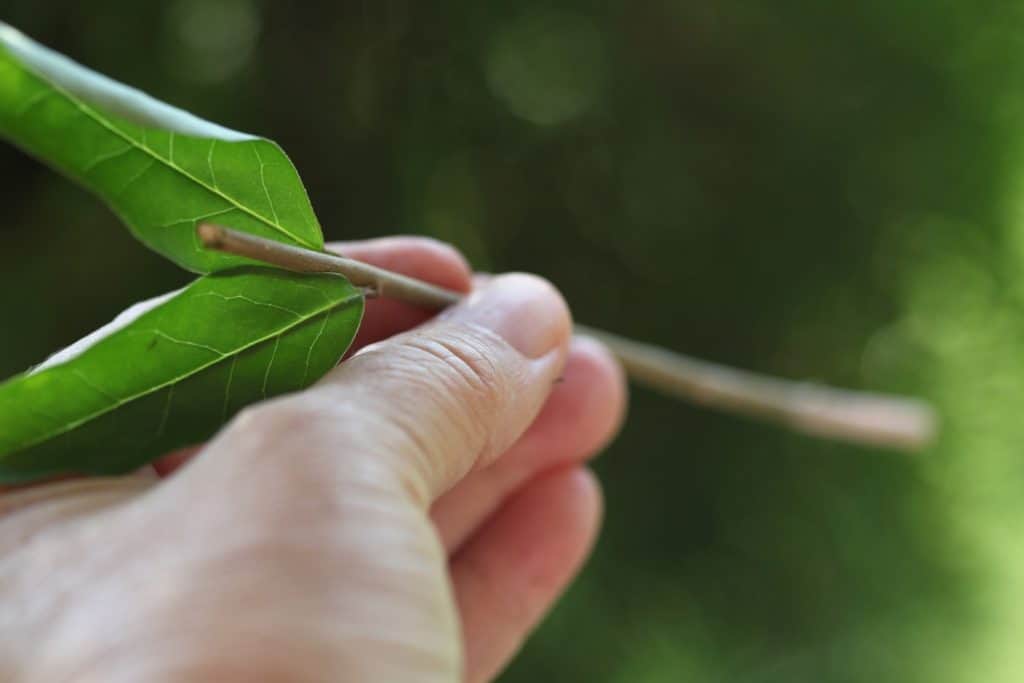
- Place the cuttings in a moist medium, such as perlite mixed with peat, or a good seed starting medium.
- Stick the stems several inches down into the soil, making sure to cover the node with rooting hormone.
- Give a firm squeeze around the cutting with the soil, and tamp down with your fingers to firm the soil nicely around the cutting.
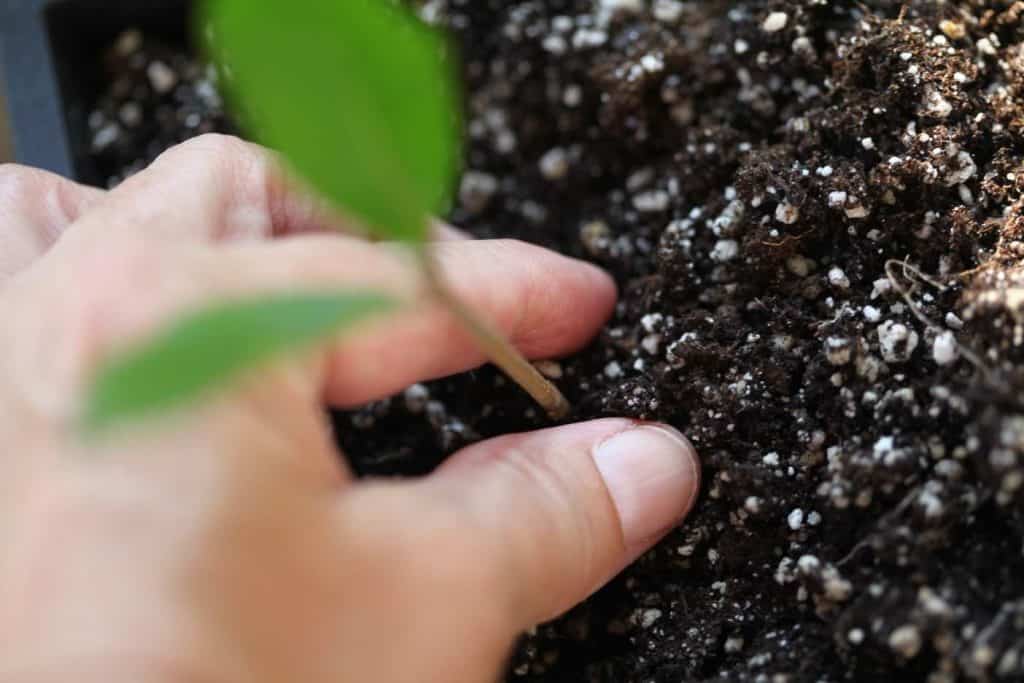
- It is important that the cuttings remain moist until rooted. This is key to successful rooting of the cuttings.
- It may take several months before there is good root production.
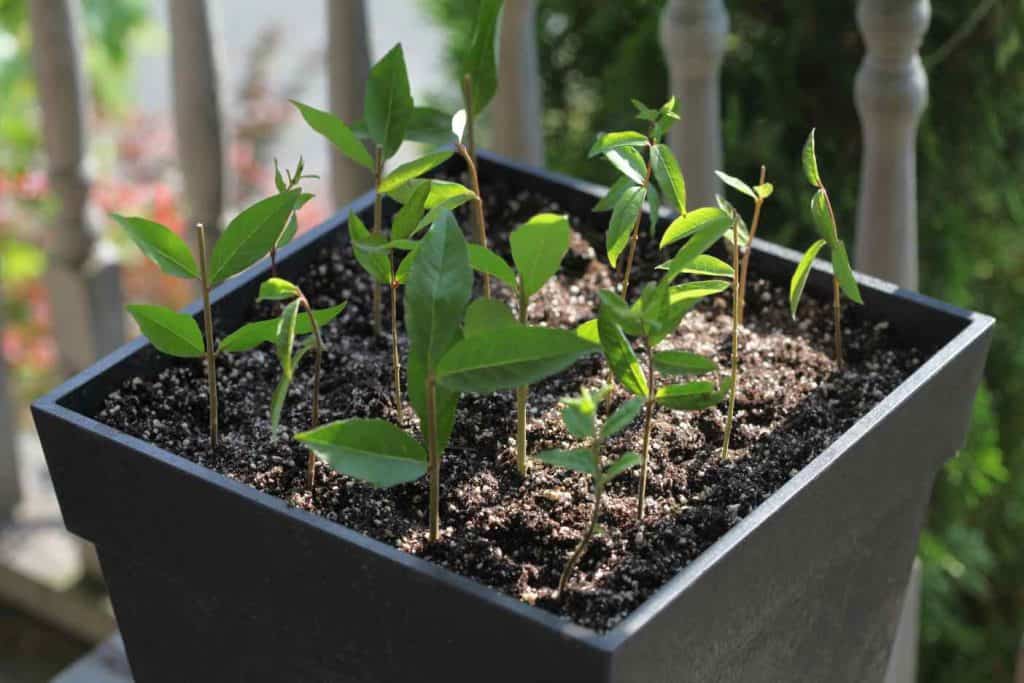
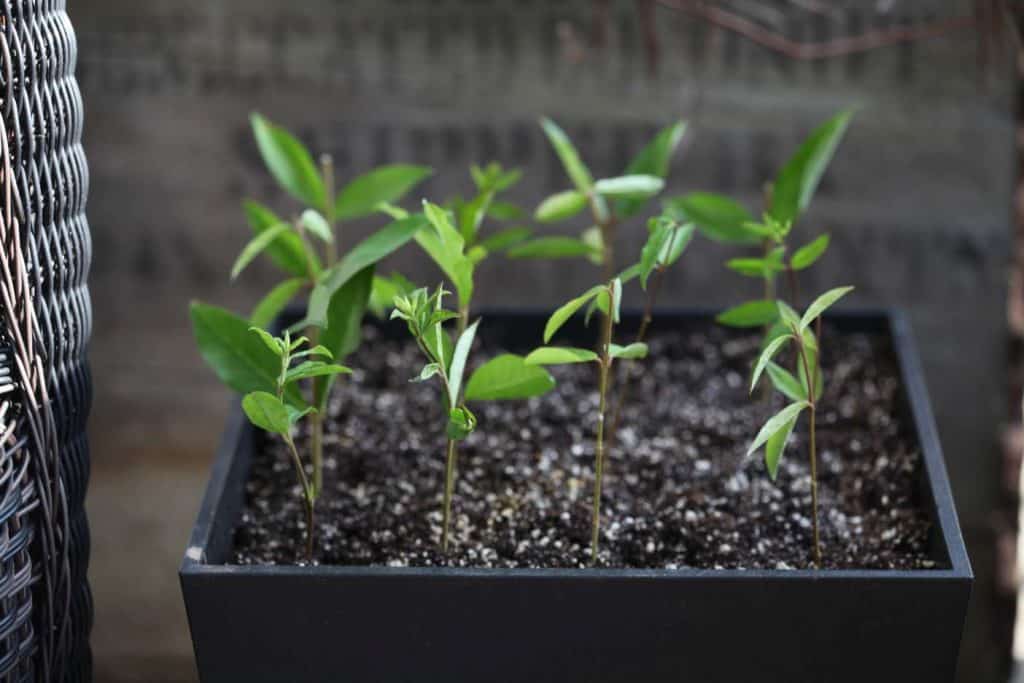
- Once the cuttings have established roots, they can be planted into pots in a good quality potting mix.
- Alternatively they can be planted out into the garden, or wherever you are planning to grow the privet hedge.
- Don't be surprised if the cuttings lose their leaves after transplanting.
- If the stems remain viable and there has been root production, new leaves will eventually reemerge.
Importance Of Maintaining A Moist Soil Until Established
I can't stress enough the importance of keeping the soil moist until the establishment of a good root system.
Water after initial plantings, and keep moist until rooted.
Once the plants are become established, they are quite drought tolerant.
Privet is considered a moderate moisture need plant.
When Should I Take Cuttings?
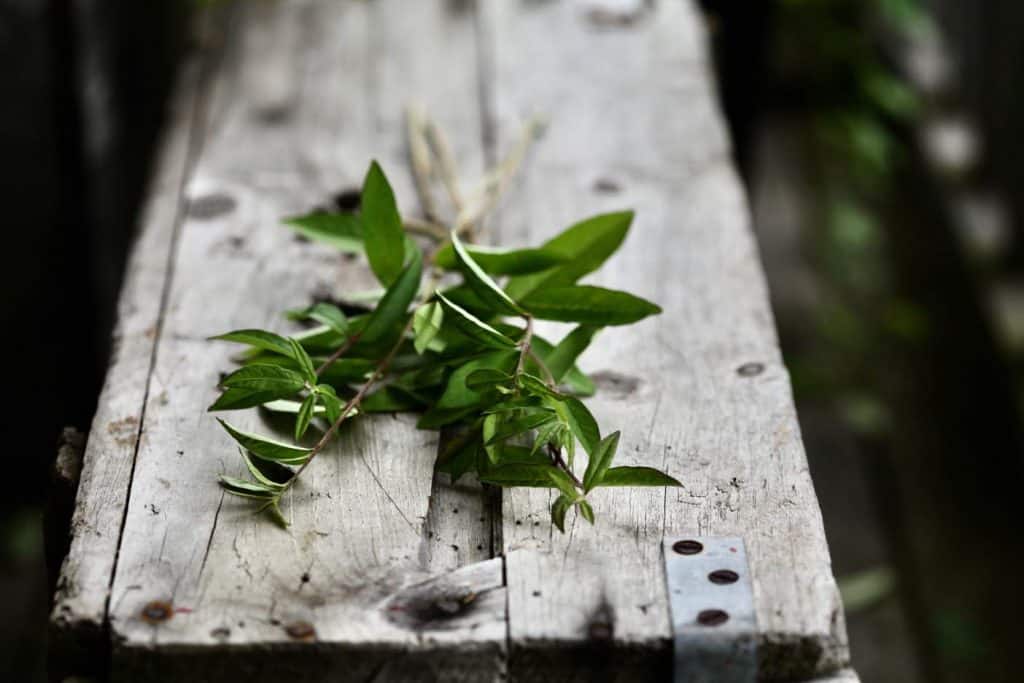
The best time to take cuttings is in early spring, to allow for rooting and eventual establishment in the garden during the growing season.
This is particularly important in cooler growing zones, where root establishment is important before winter frosts set in the ground.
How Long Does It Take To Grow A Privet Hedge?
The length of time it takes to grow a privet hedge will depend on the rate of growth of the variety of privet planted, as well as growing conditions. Privet is a fast growing shrub, and should grow at least one to two feet a year. In three years it is possible to have six feet of growth for some varieties of privet. For others it will take a little longer.
Privet Rate Of Growth
The rate of growth of course is affected by a number of factors, including:
- variety of privet planted ( Japanese privet is an exceptionally fast grower, growing more than two feet per year).
- planting location.
- growing conditions, including soil, sun, moisture and nutrients provided.
- and the health of the plant.
How To Plant A Privet Hedge
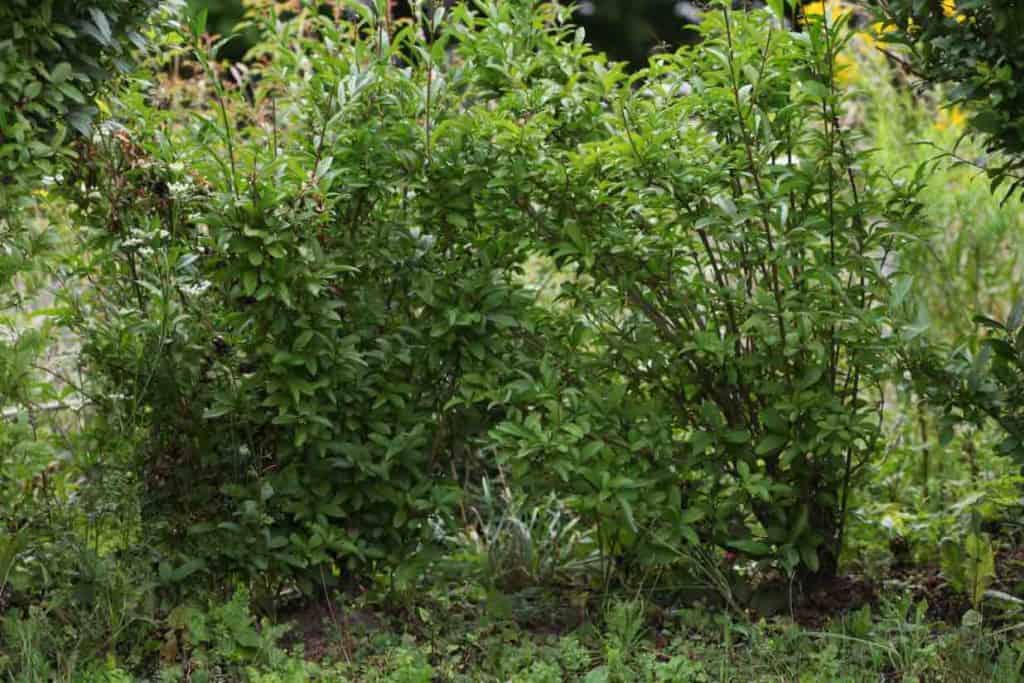
- Once the cuttings have established a good root system the privet cuttings can then be transplanted into the garden.
- It's best to remove the sod in the area where you will be transplanting the privet.
- Privet will grow in a variety of different soil types. It is important to ensure good soil drainage.
- Plant the privets two to three feet on centre. They will grow together to form a dense wall.
- Plant in full sun to light shade. If growing in partial shade, make sure the plants receive at least six hours of sunlight per day.
- The more sun, the more blooming that will occur on the plant.
- Make sure to keep the soil well watered while the plants are getting established in their new location.
- A drip line of irrigation can make the watering easier depending on the number of plantings that you have.

I recall that the beautiful privet hedge in our neighbour's yard did have an area of poor drainage.
The part of the hedge that grew in the waterlogged soil did not grow as well, and eventually died.
Although watering is important, so is good drainage, for a happy and healthy plant.
We are looking forward to planting our privet cuttings, and hopefully someday to have a wonderful hedge.
I also look forward to the beautiful intoxicating scent of privet in spring.
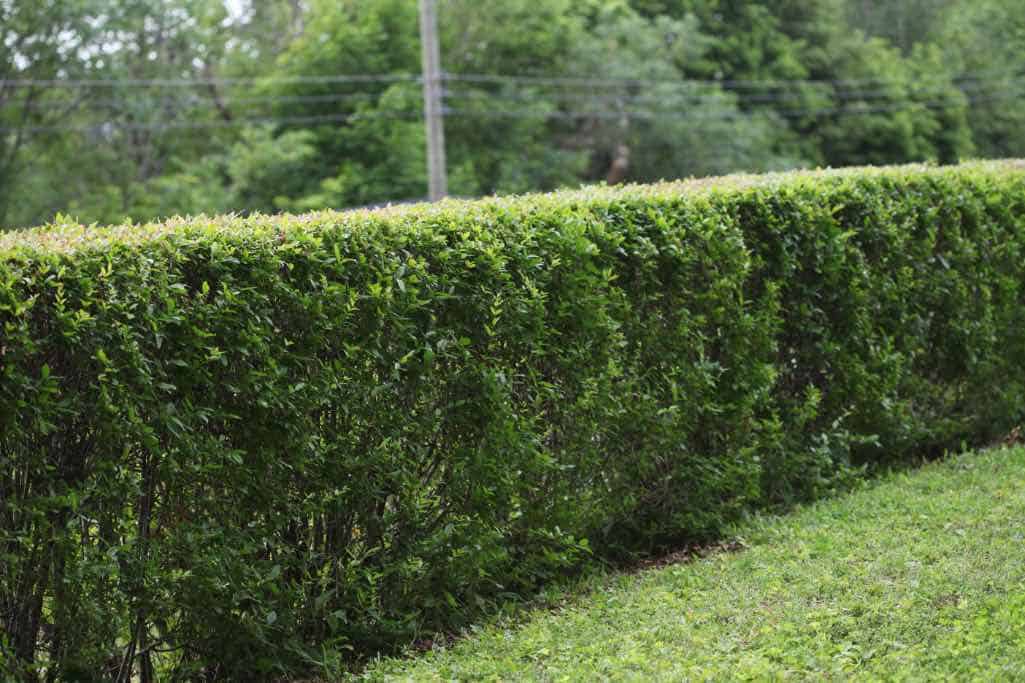
Have you ever tried to grow a privet hedge from cuttings? Be sure to leave a comment below to share your experience!

HOW TO CARD: Grow A Privet Hedge From Cuttings
Privet can make a wonderful privacy hedge. The plants can grow tall and wide. The leaves grow closely together making them ideal hedge plants. Learn how to grow a privet hedge from cuttings, and create a privacy screen for your landscape.
Materials
- privet bush
- a bucket of water
- a pair of sharp clean clippers
- rooting hormone
- a container with good potting medium (ideally peat and perlite)
- a shovel
Instructions
- Cuttings can easily be taken from a privet shrub.
- Start by cutting stems from the plant, no larger than pencil size in width, and up to a foot in length. This size is the best for successful rooting.
- Cut before or after a node, which is the area where the leaves are growing off the stem.
- Place the newly cut stem cuttings in water to keep them hydrated until they are ready to be propagated.
- Cut each stem into six inch long pieces.
- Next strip the leaves from the bottom of the stems, leaving several leaves at the top.
- Dip the cuttings into rooting hormone. Either powdered or liquid rooting hormone will do.
- Make sure to cover the lowest node with the rooting hormone.
- Place the cuttings in a moist medium, such as perlite mixed with peat, or a good seed starting medium.
- Stick the stems down several inches into the soil, making sure to cover the node with rooting hormone.
- Give a firm squeeze around the cutting with the soil, and tamp down with your fingers to firm the soil nicely around the cutting.
- Water in. It is important that the cuttings remain moist until rooted. This is key to successful rooting of the cuttings.
- It may take several months before there is good root production.
- Once the cuttings have established roots, they can be planted into pots in a good quality potting mix.
- Alternatively they can be planted out into the garden, or wherever you are planning to grow the privet hedge.
- To transplant into the garden, prepare your planting space.
- It's best to remove the sod in the area where you will be transplanting the privet.
- Plant the privets two to three feet on centre. They will grow together to form a dense wall.
- Make sure to keep the soil well watered while the plants are getting established in their new location.
Notes
- Don't be surprised if the cuttings lose their leaves after transplanting.
- If the stems remain viable and there has been root production, new leaves will eventually reemerge.
- Once planted out into the garden, continue to water regularly until established.
OTHER POSTS YOU MAY LIKE:
HOW TO PRUNE RASPBERRIES THE RIGHT WAY
See the Web Story on Growing A Privet Hedge From Cuttings!
PIN IT FOR LATER!




Leave a Reply